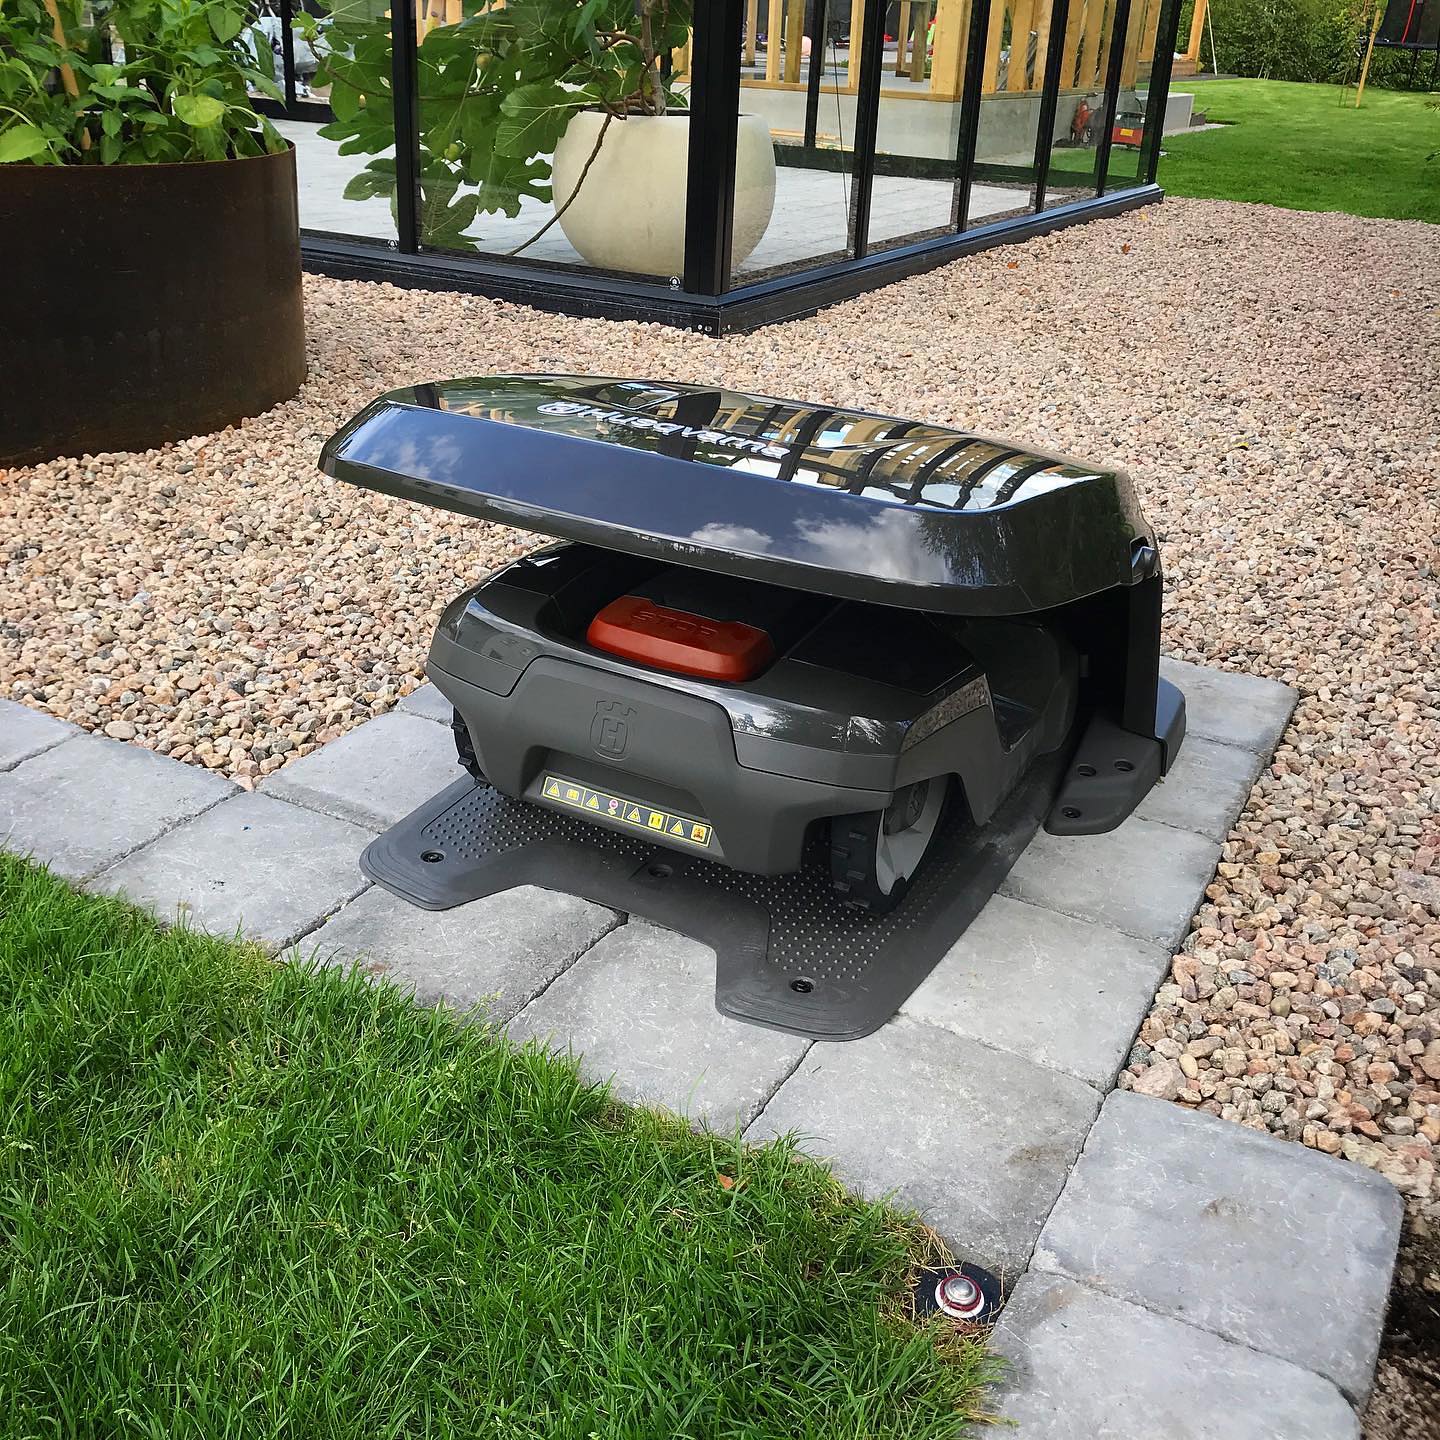
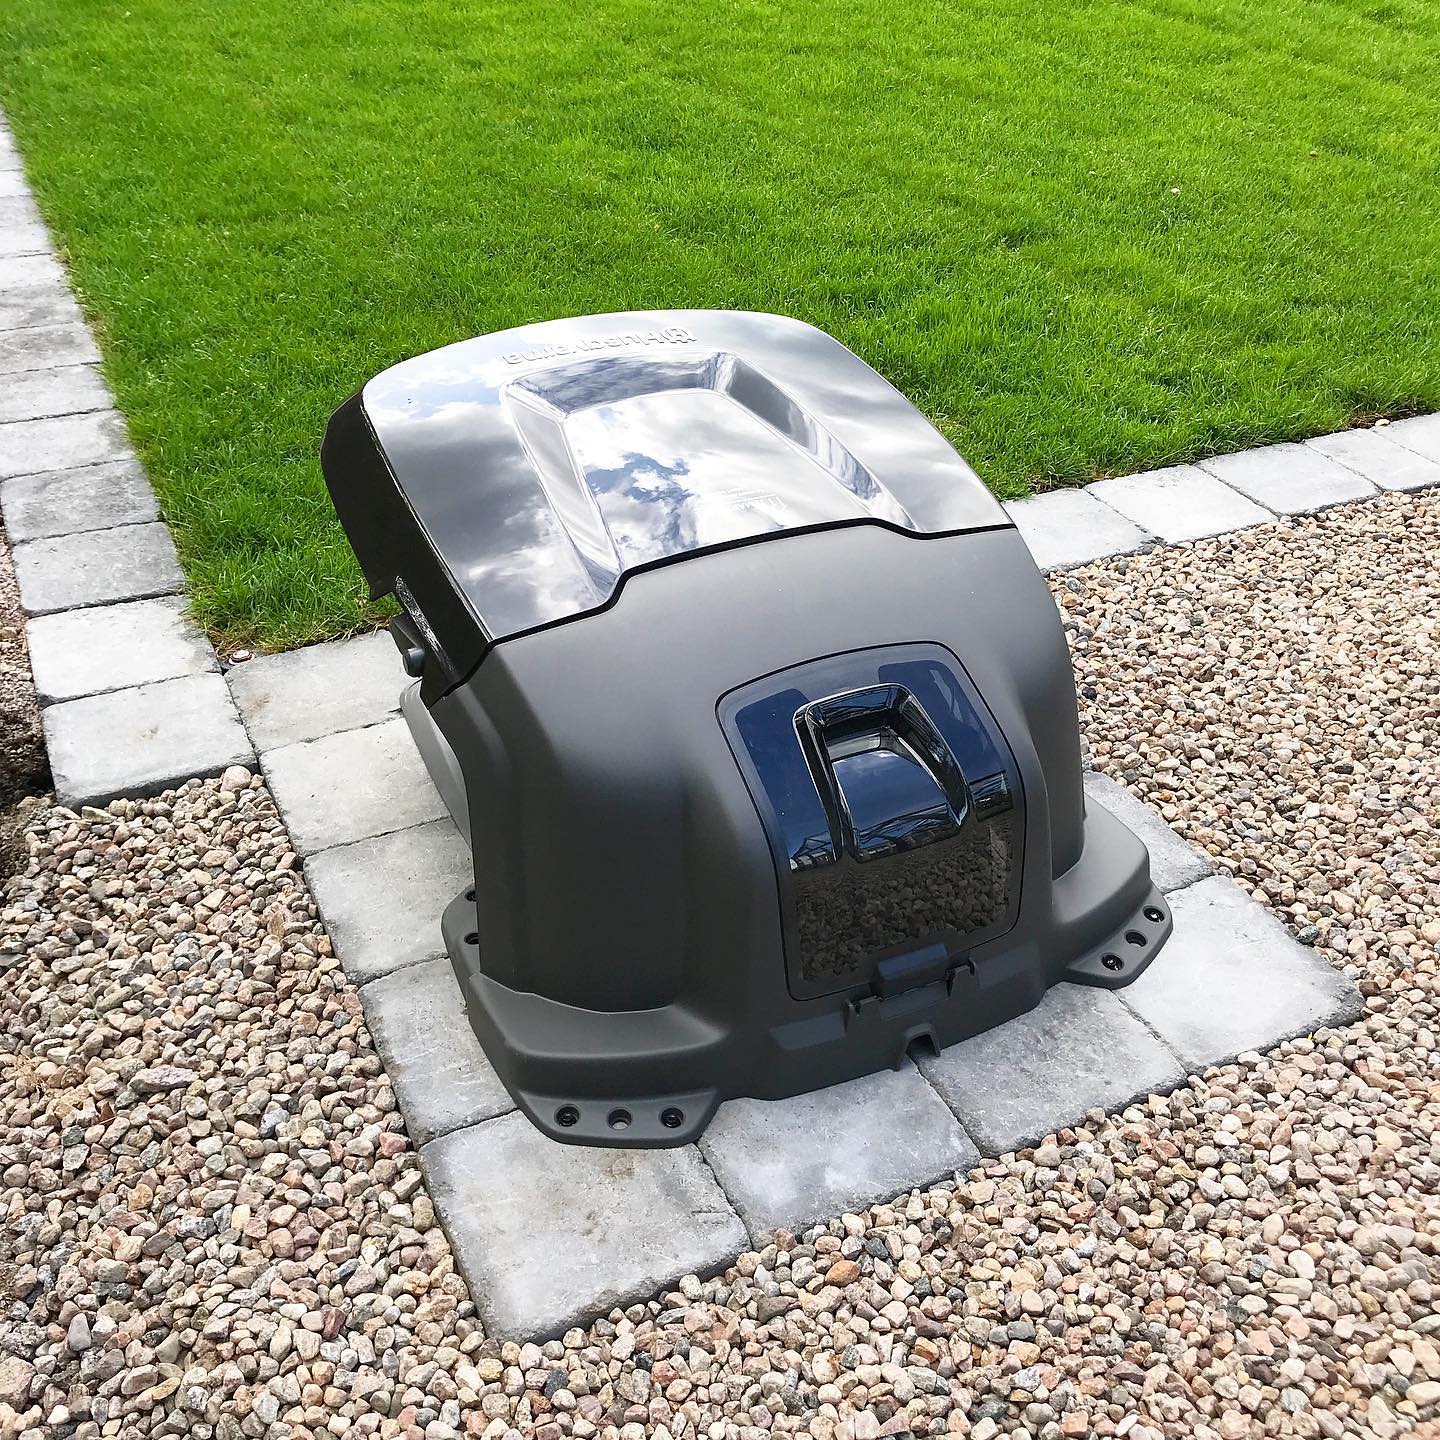
It took it’s sweet time, to say the least, but I finally got around to move the garage into the garden. Nice to clear out some space in the garage for new projects. A huge thanks to everyone that’s followed along for the ride with this neverending project ❤️
Project
Lawn Garage
A robotic mower garage build, imported from the original project posts and kept as a public archive.
FocusRobotic mower garage with custom hardware, fabrication and automation.
SourceImported from Instagram @lawngarage.
MediaImages and videos preserved in original order per post.
StatusPublic archive.
Lawn Garage
Timeline
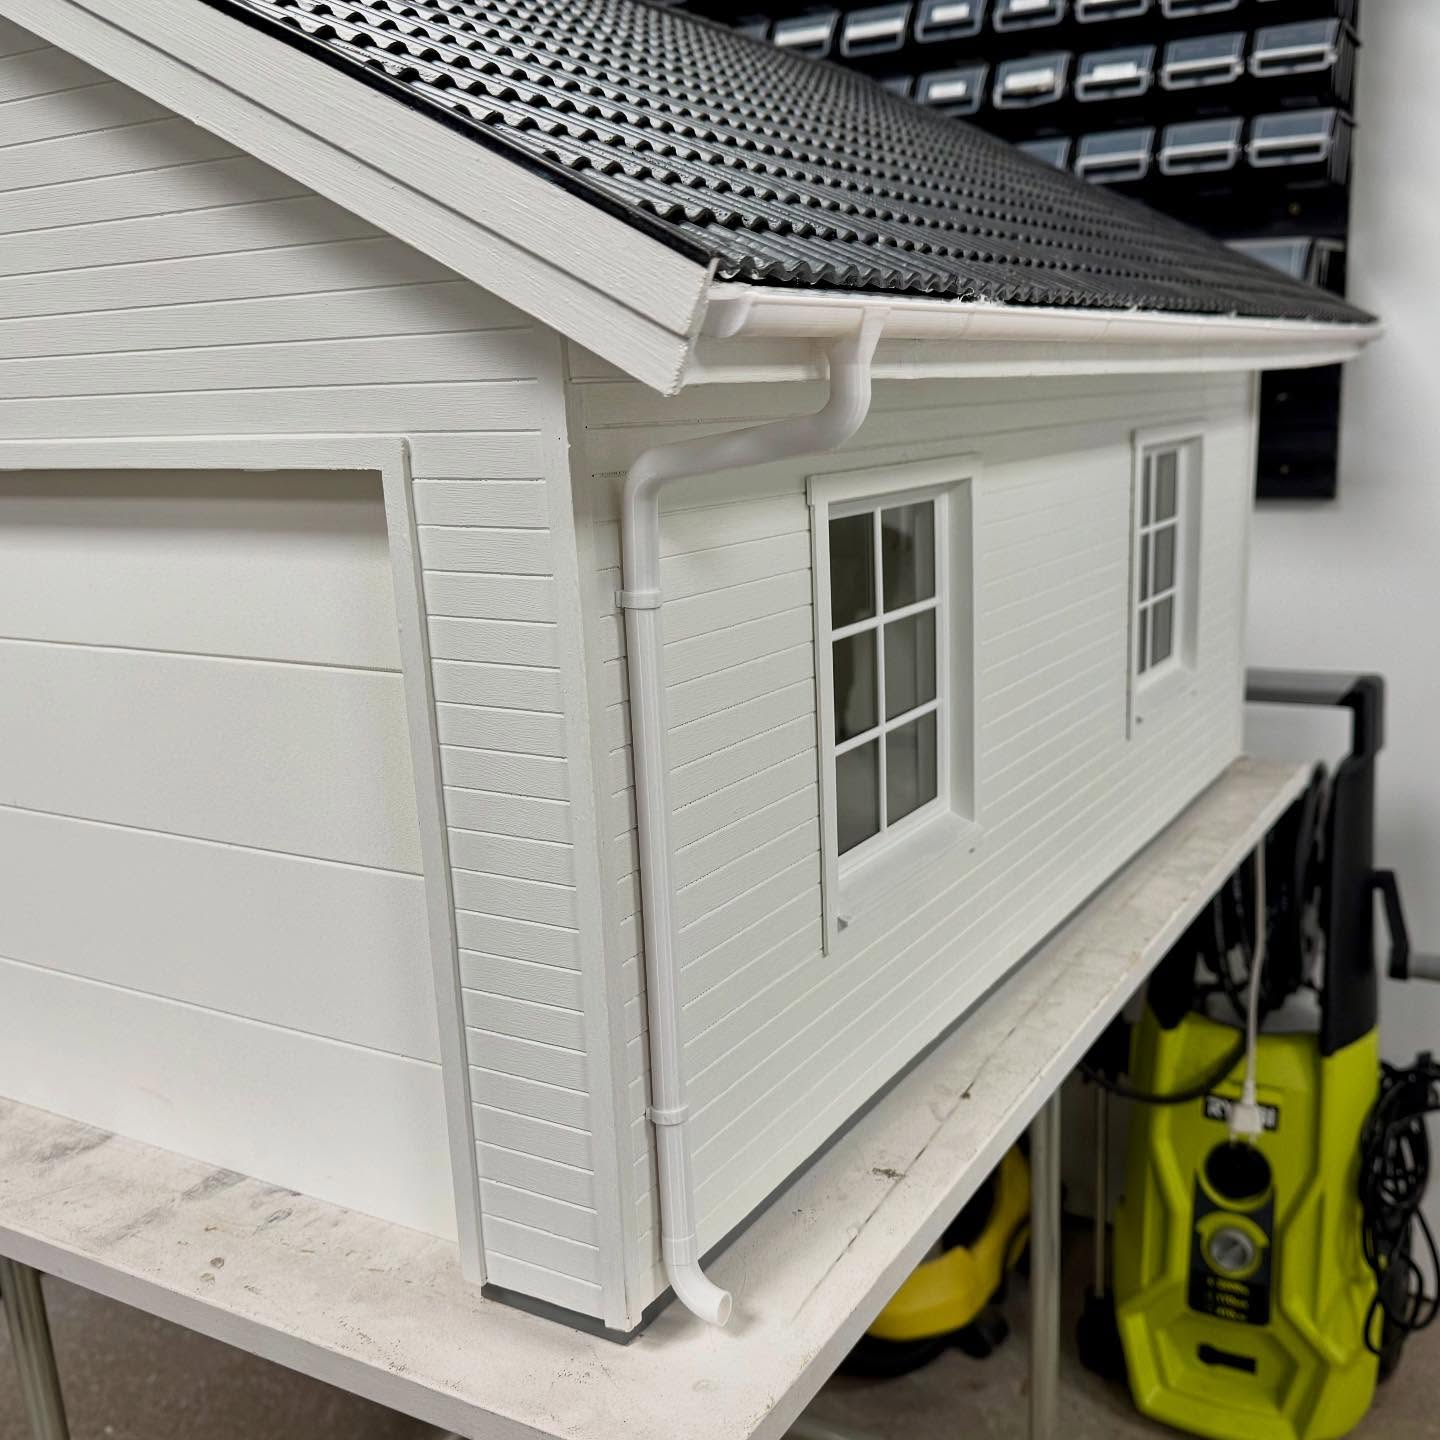
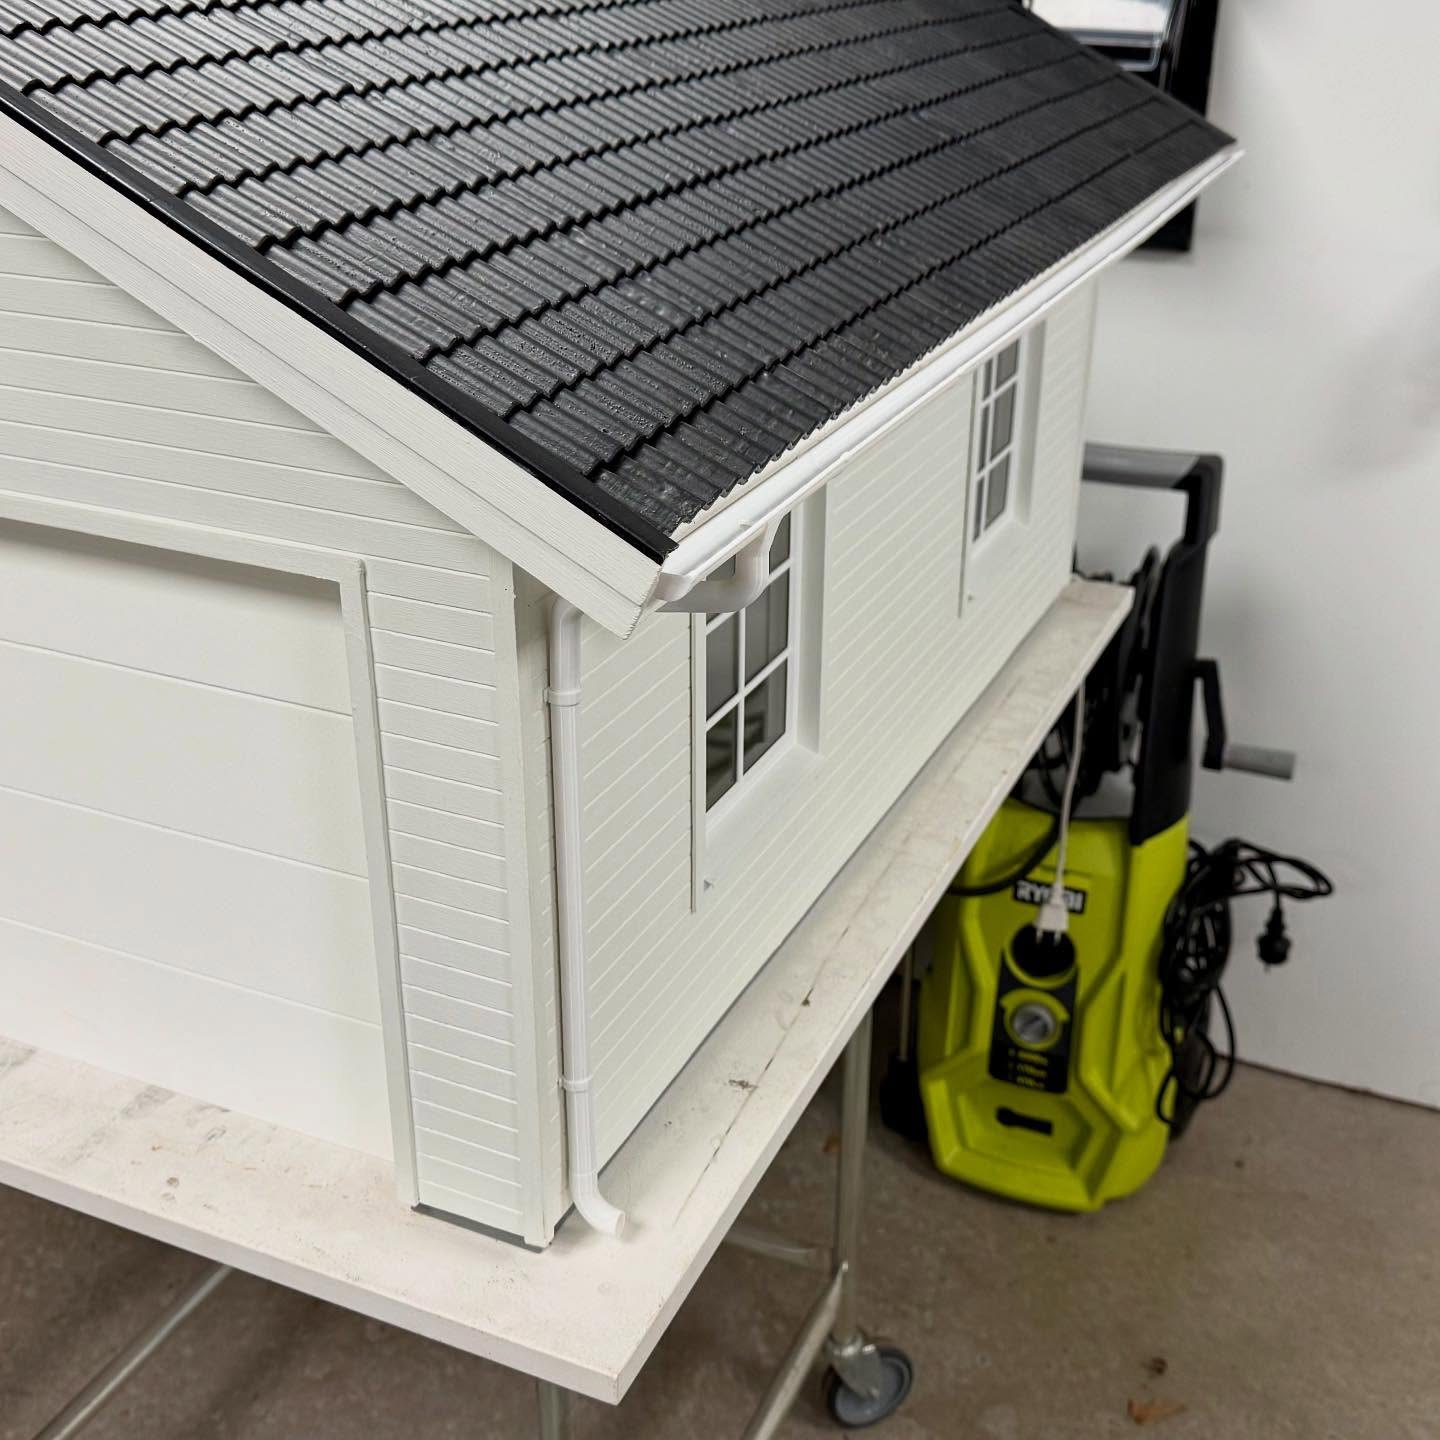
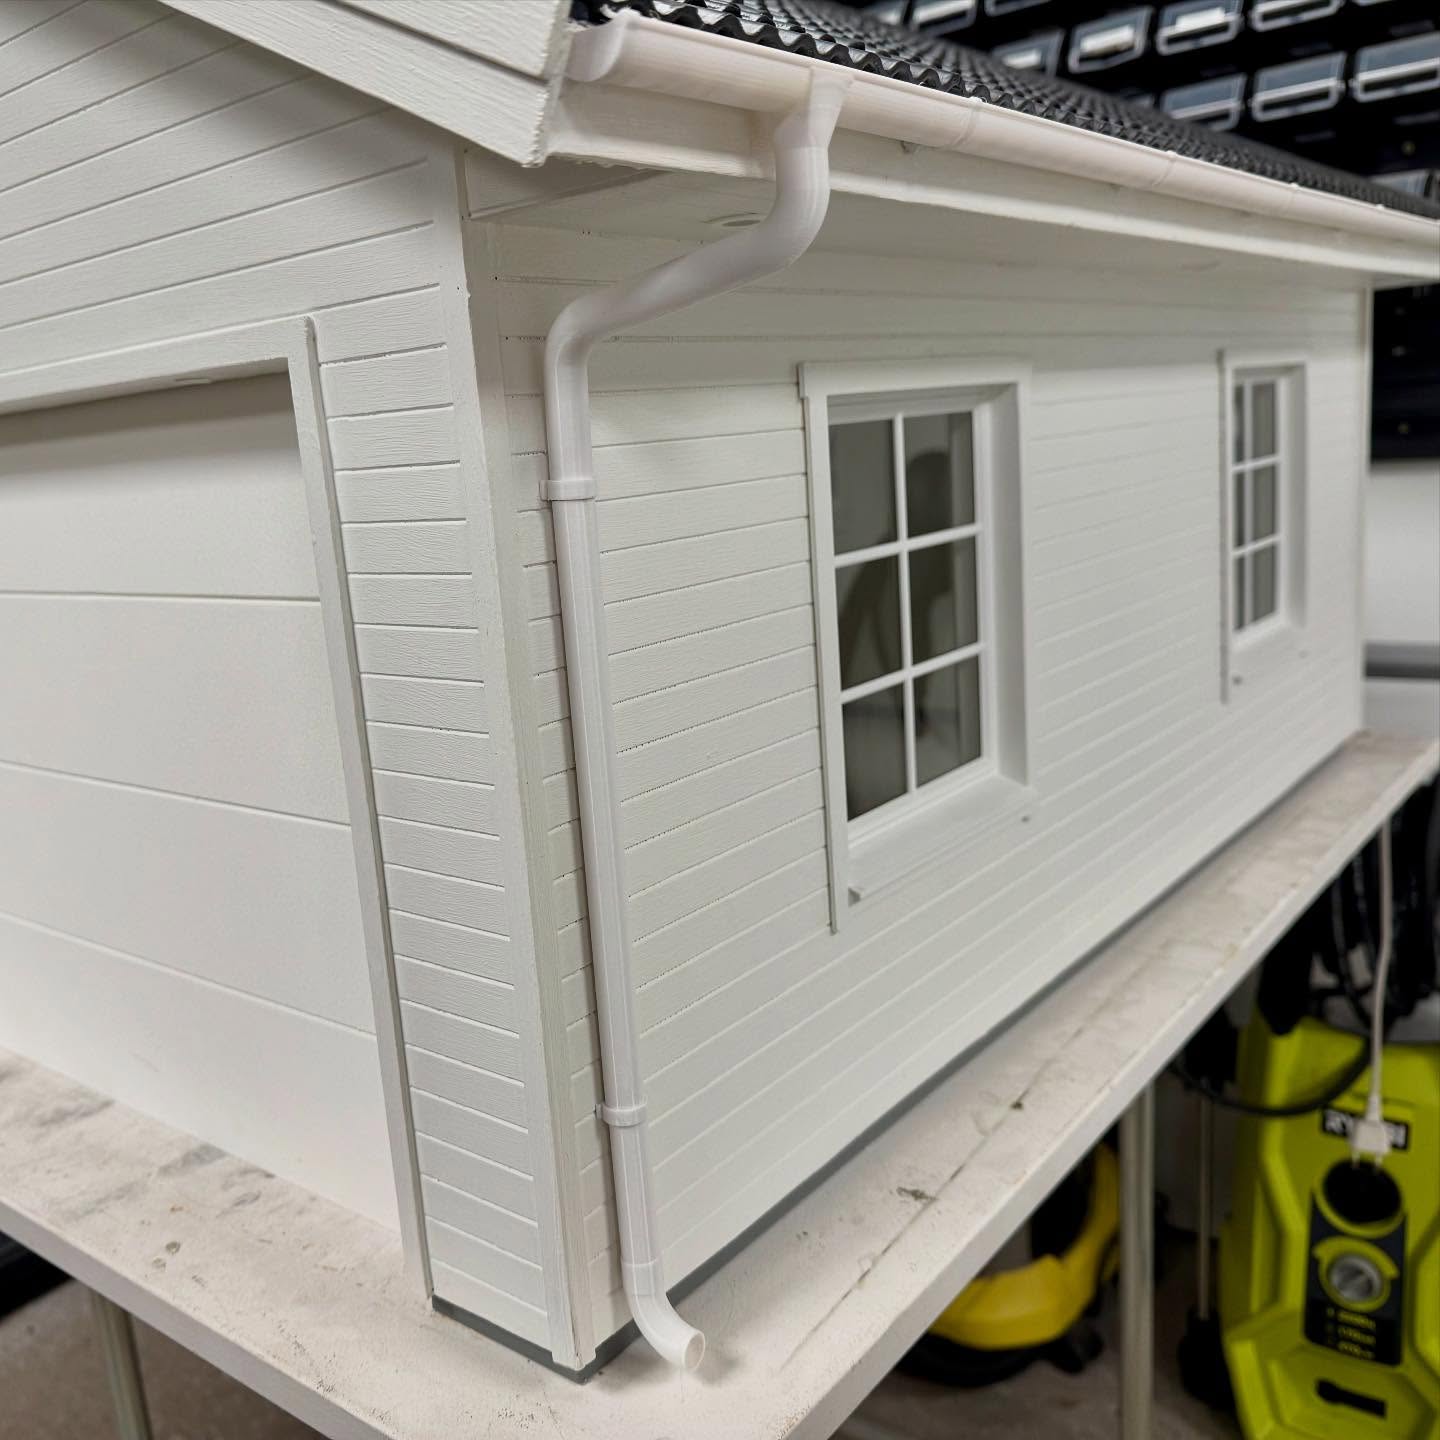
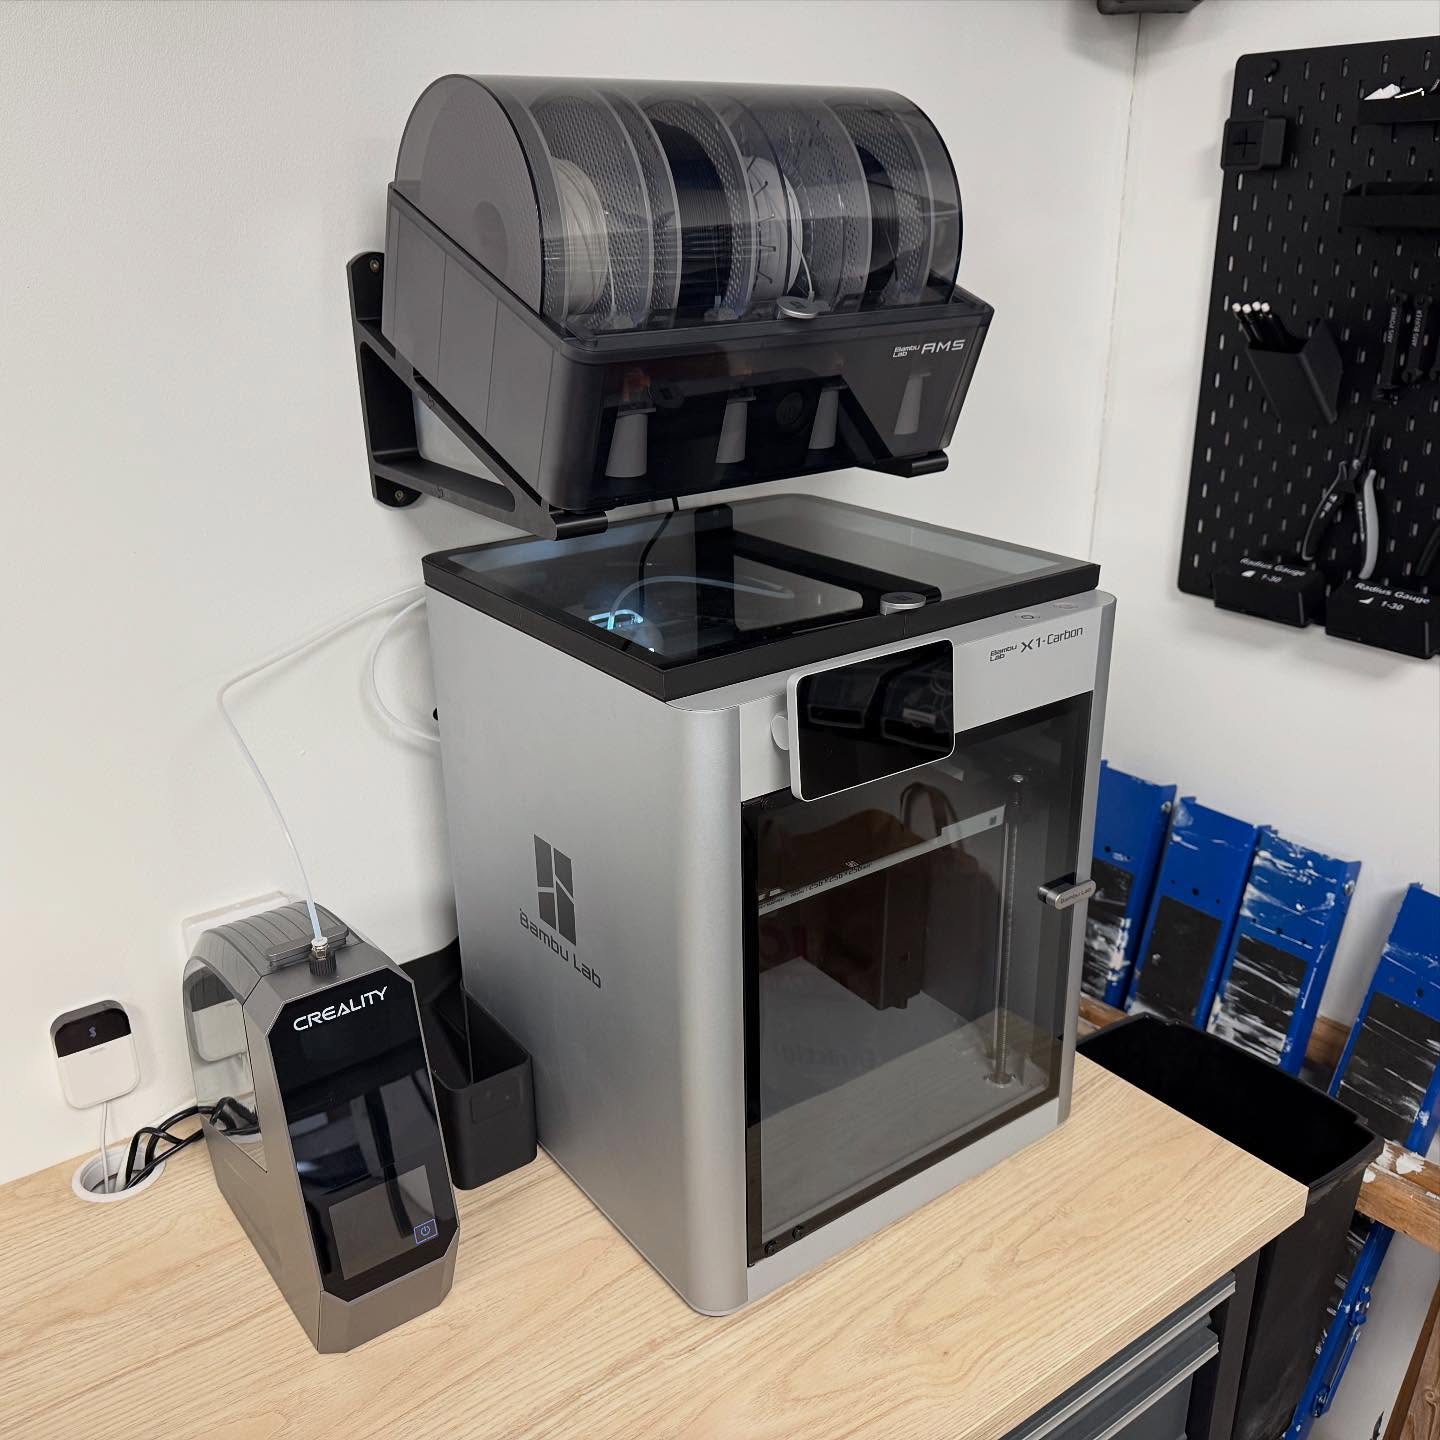
Four years and two kids later I finally managed to stop procrastinating and get the rain gutters and downpipes done 😅 Some small adjustments and some programming left and the garage is ready for summer. I treated myself to a new 3D-printer as well. I’ve been very happy with my old work horse, the Creality CR6-SE, but wow! A lot has happened over the last years 😳
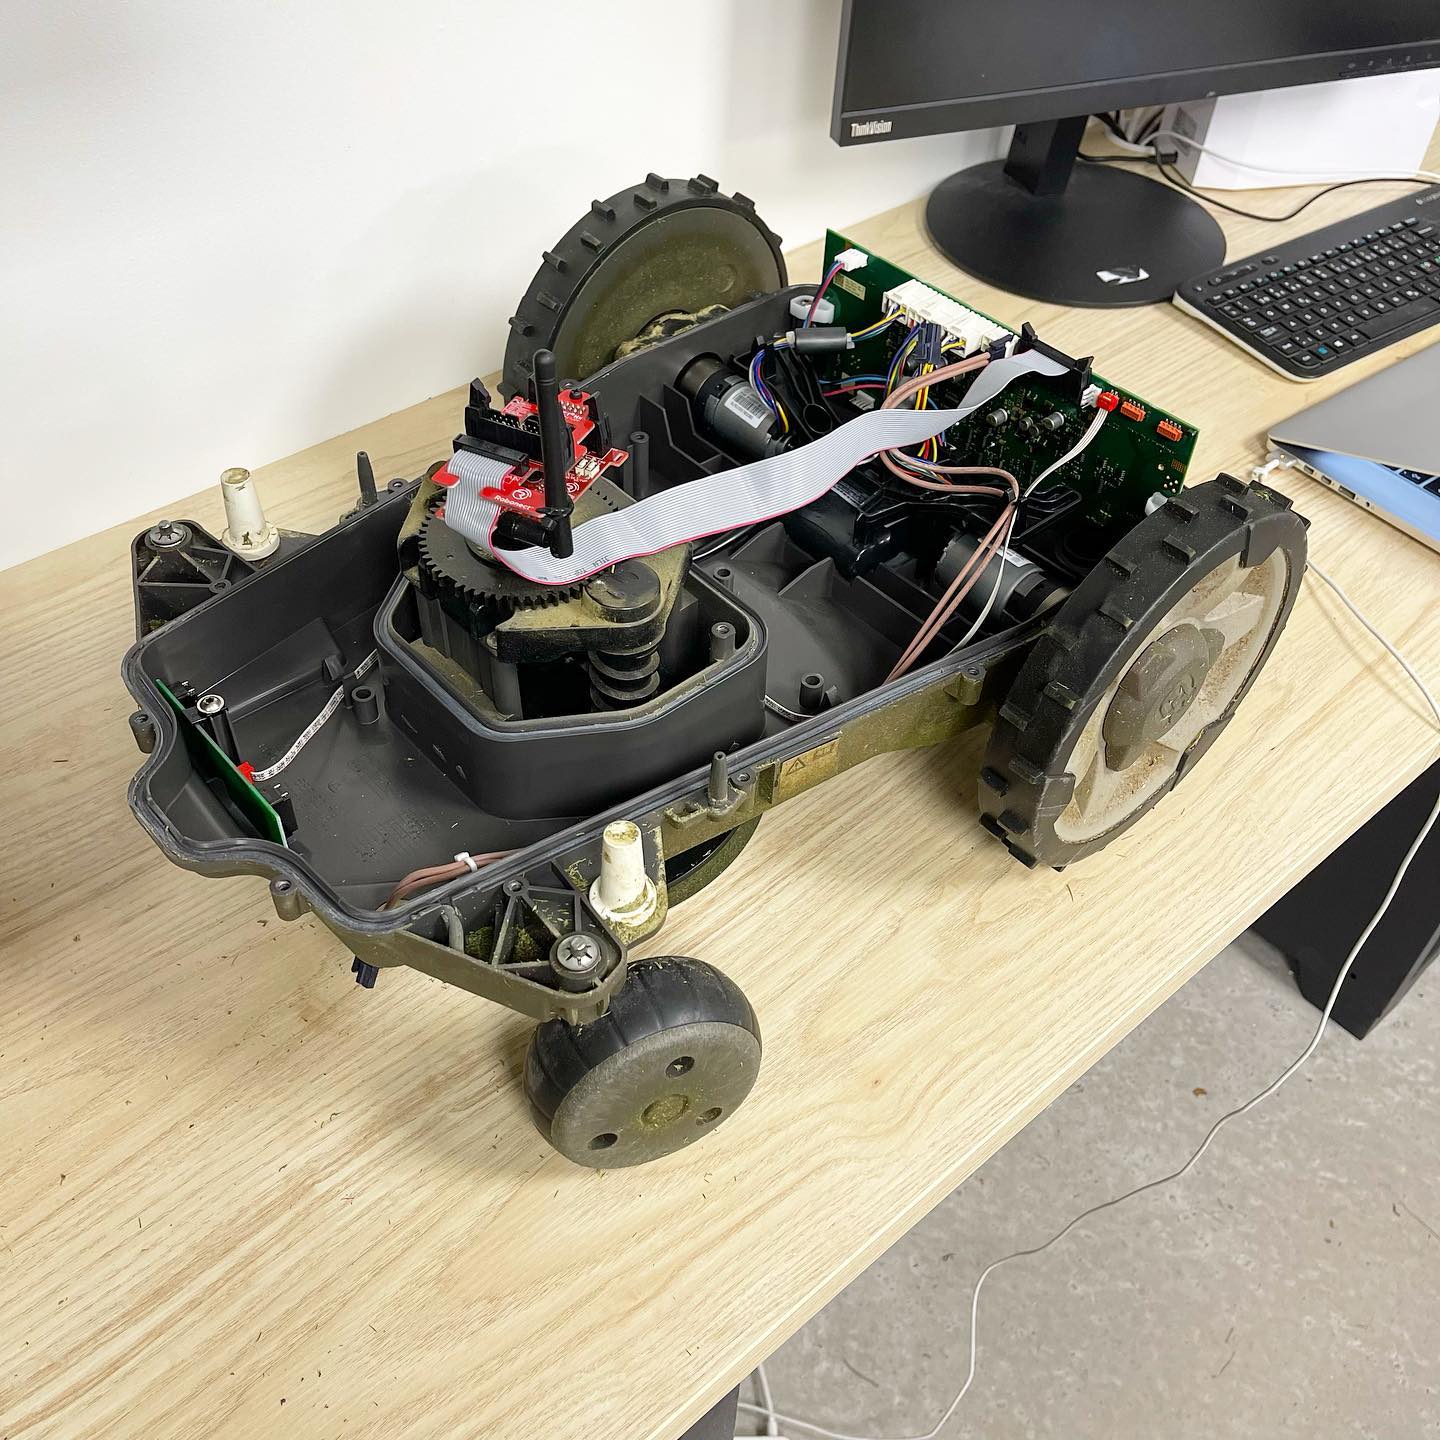
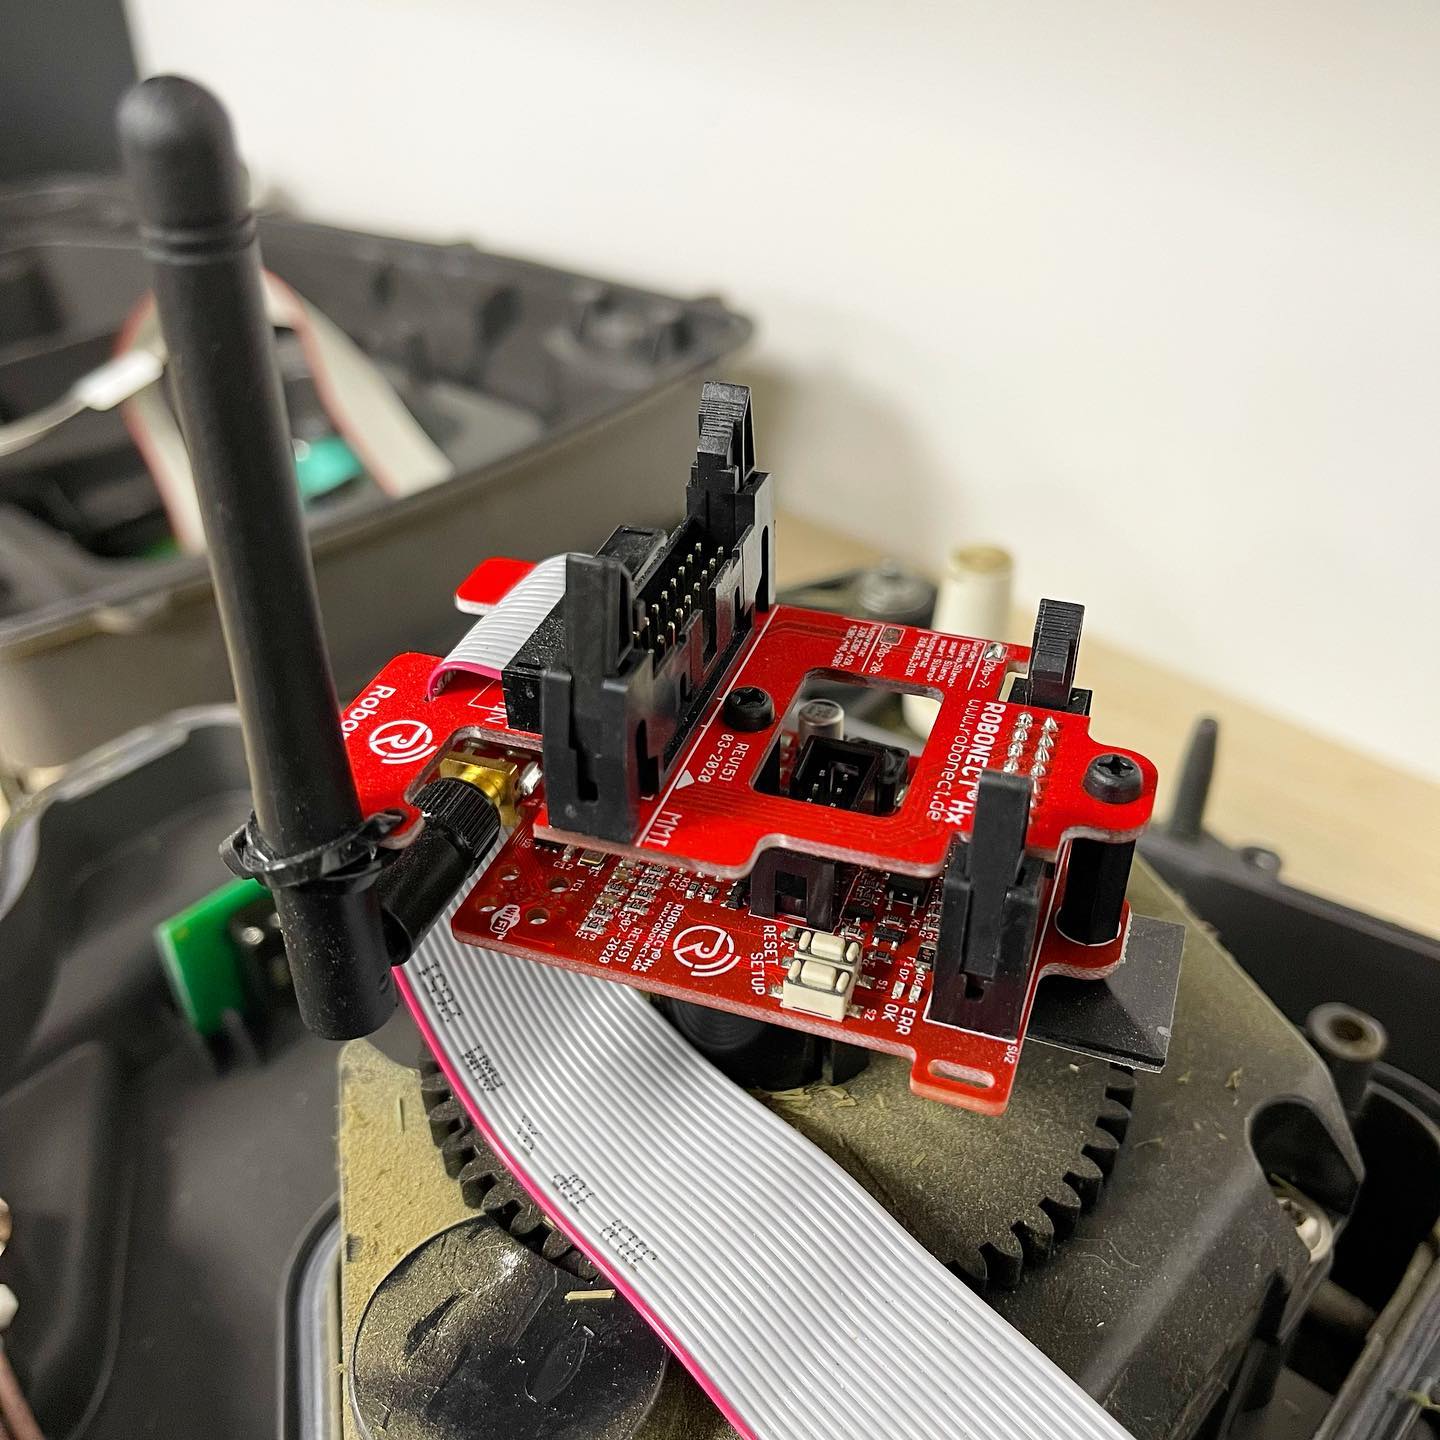
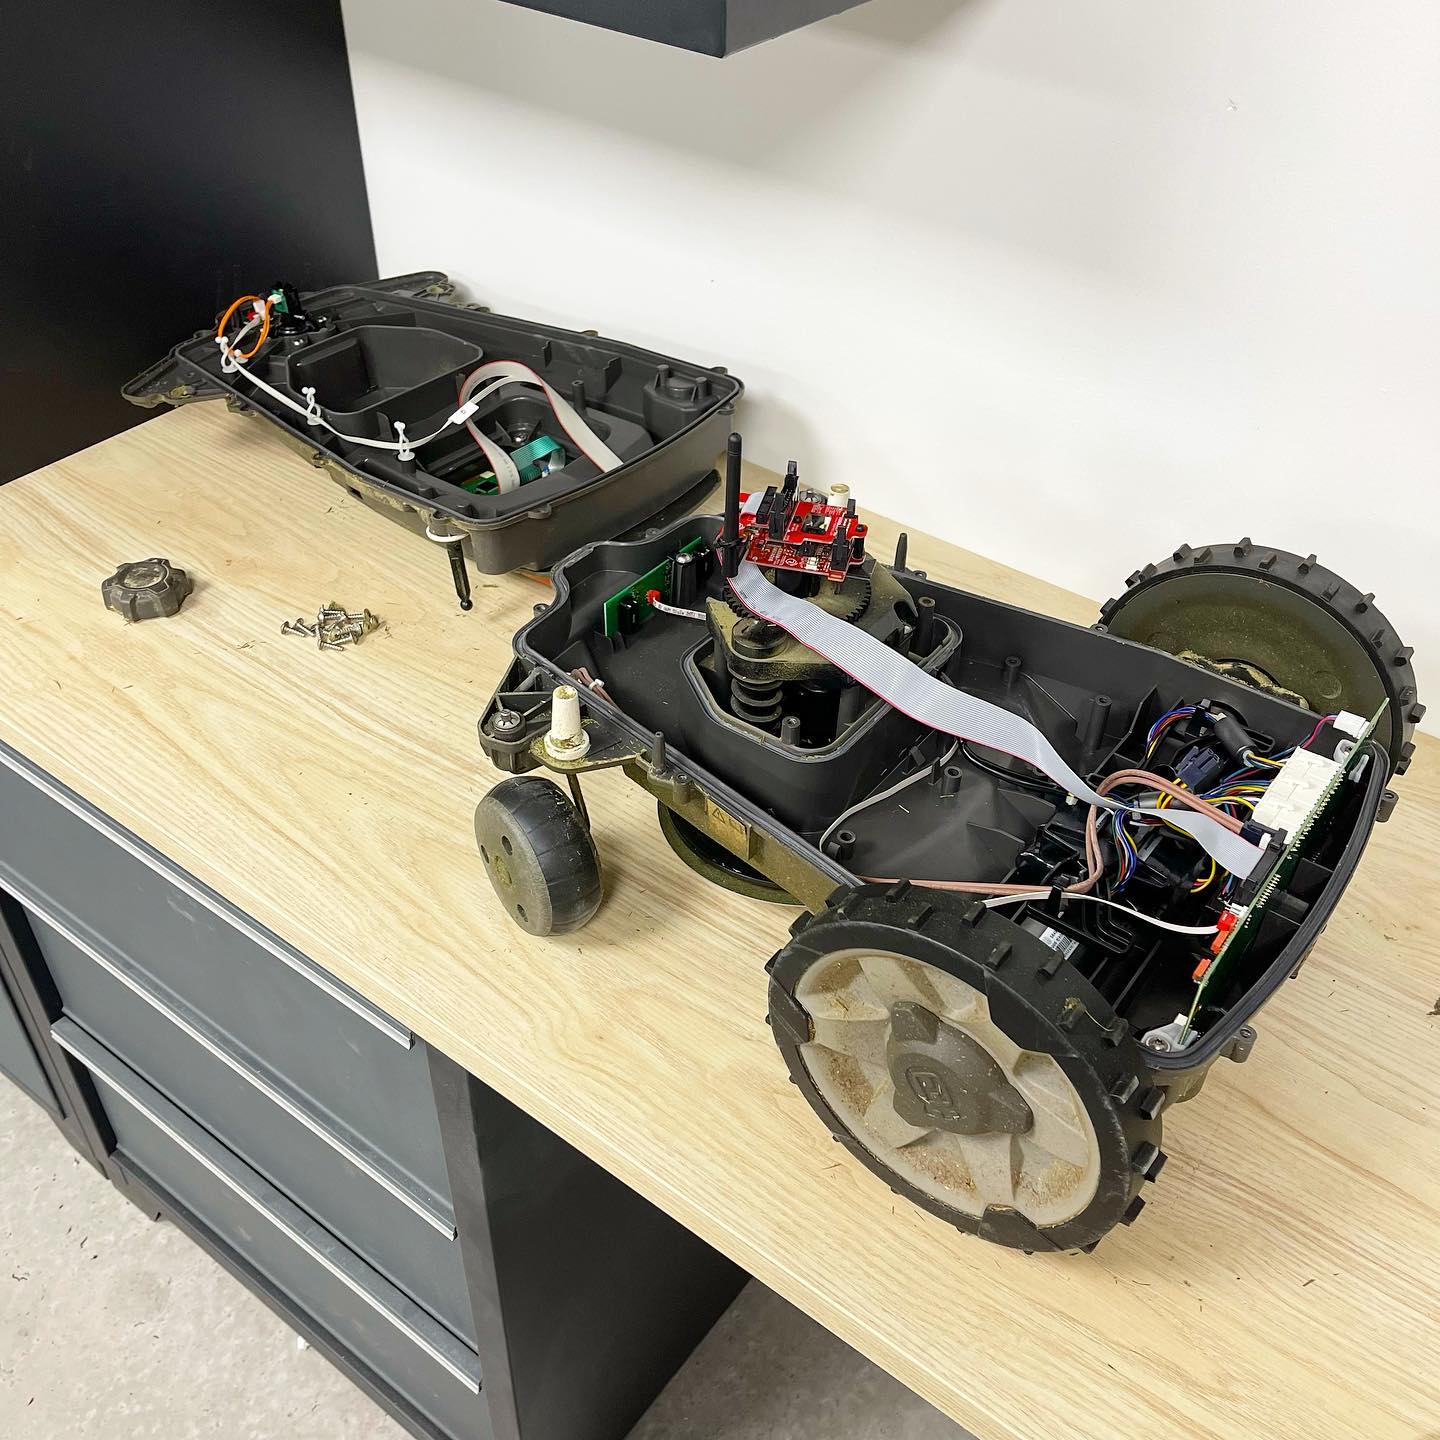
A bit of brain surgery 👨🏻⚕️ Installing a new control system, from Robonect, which lets me pick up a lot more info from the mower. Hopefully the key to having the garage door open just before starting/parking. We’ll see 😃
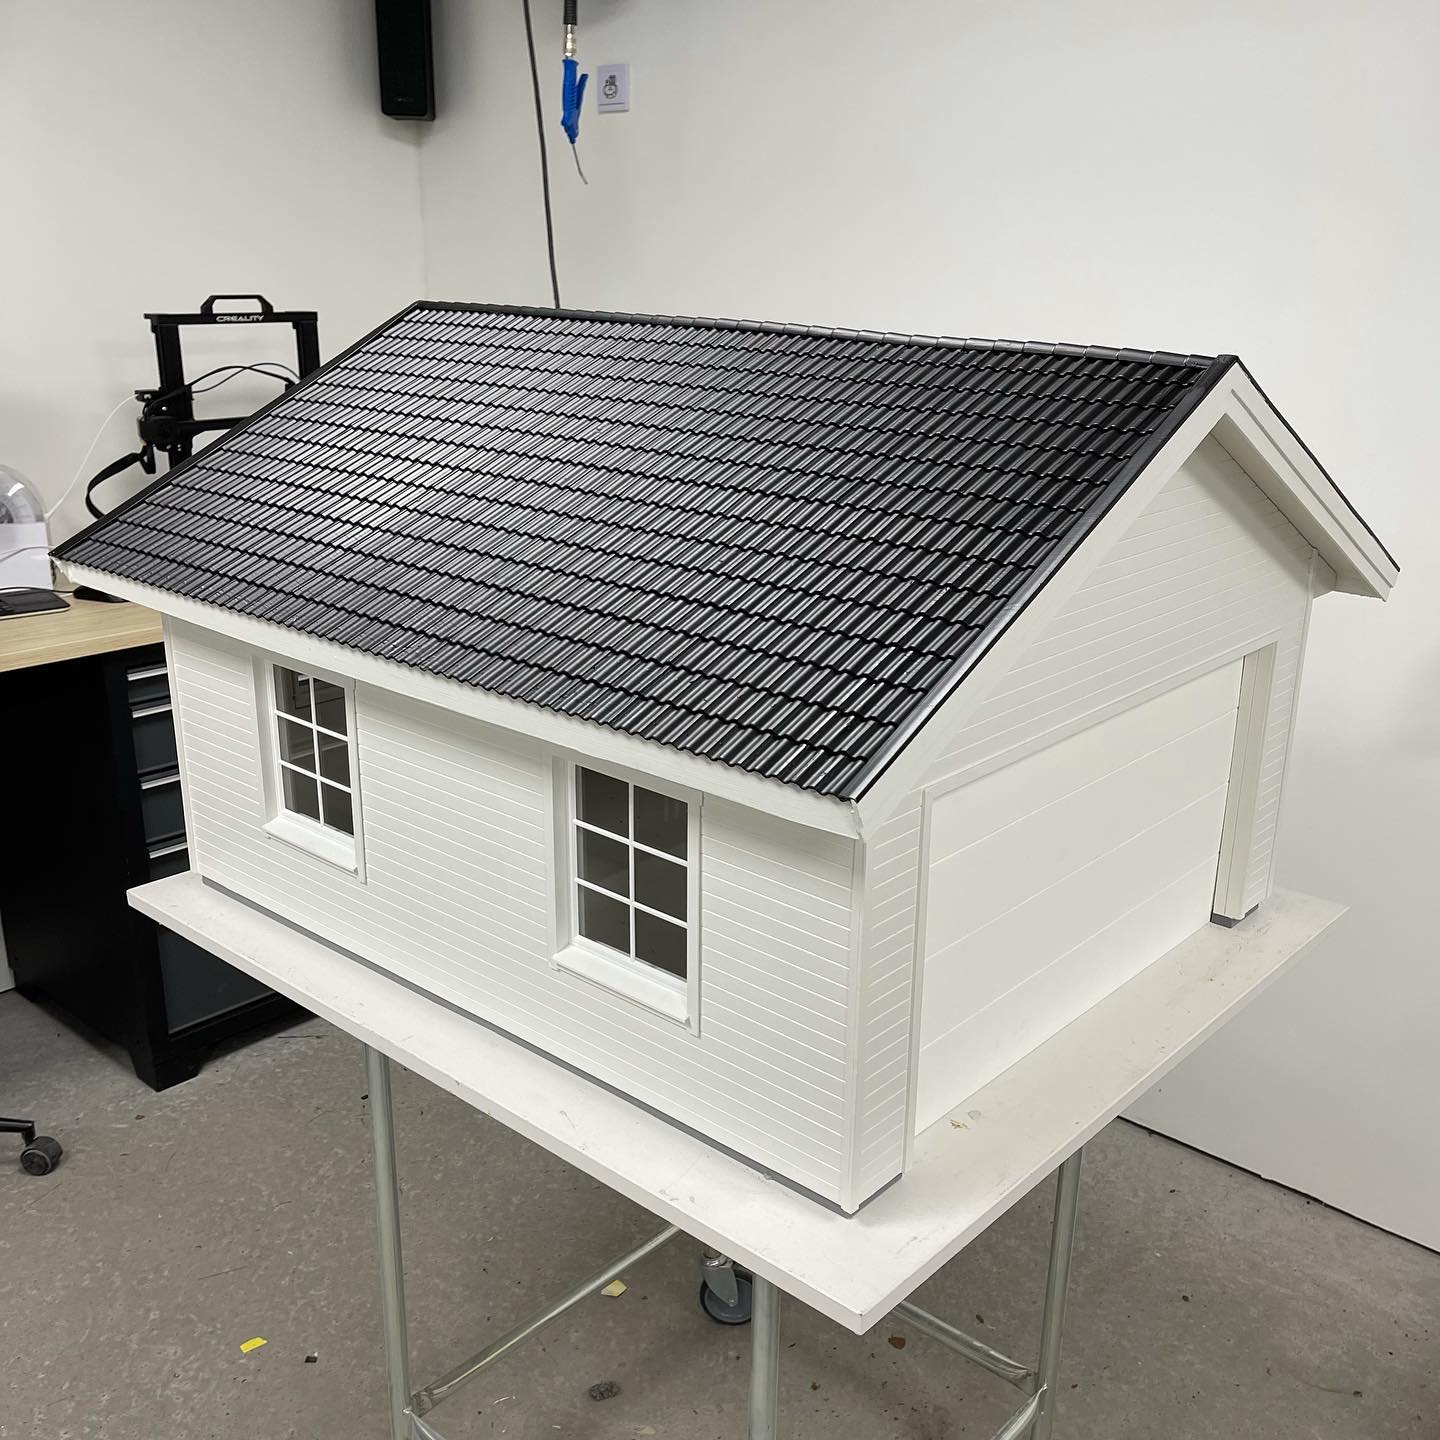
Missed me? 😉 I haven’t really had much time/energy for the project lately, but look at this… the roof’s finally done! 🍾
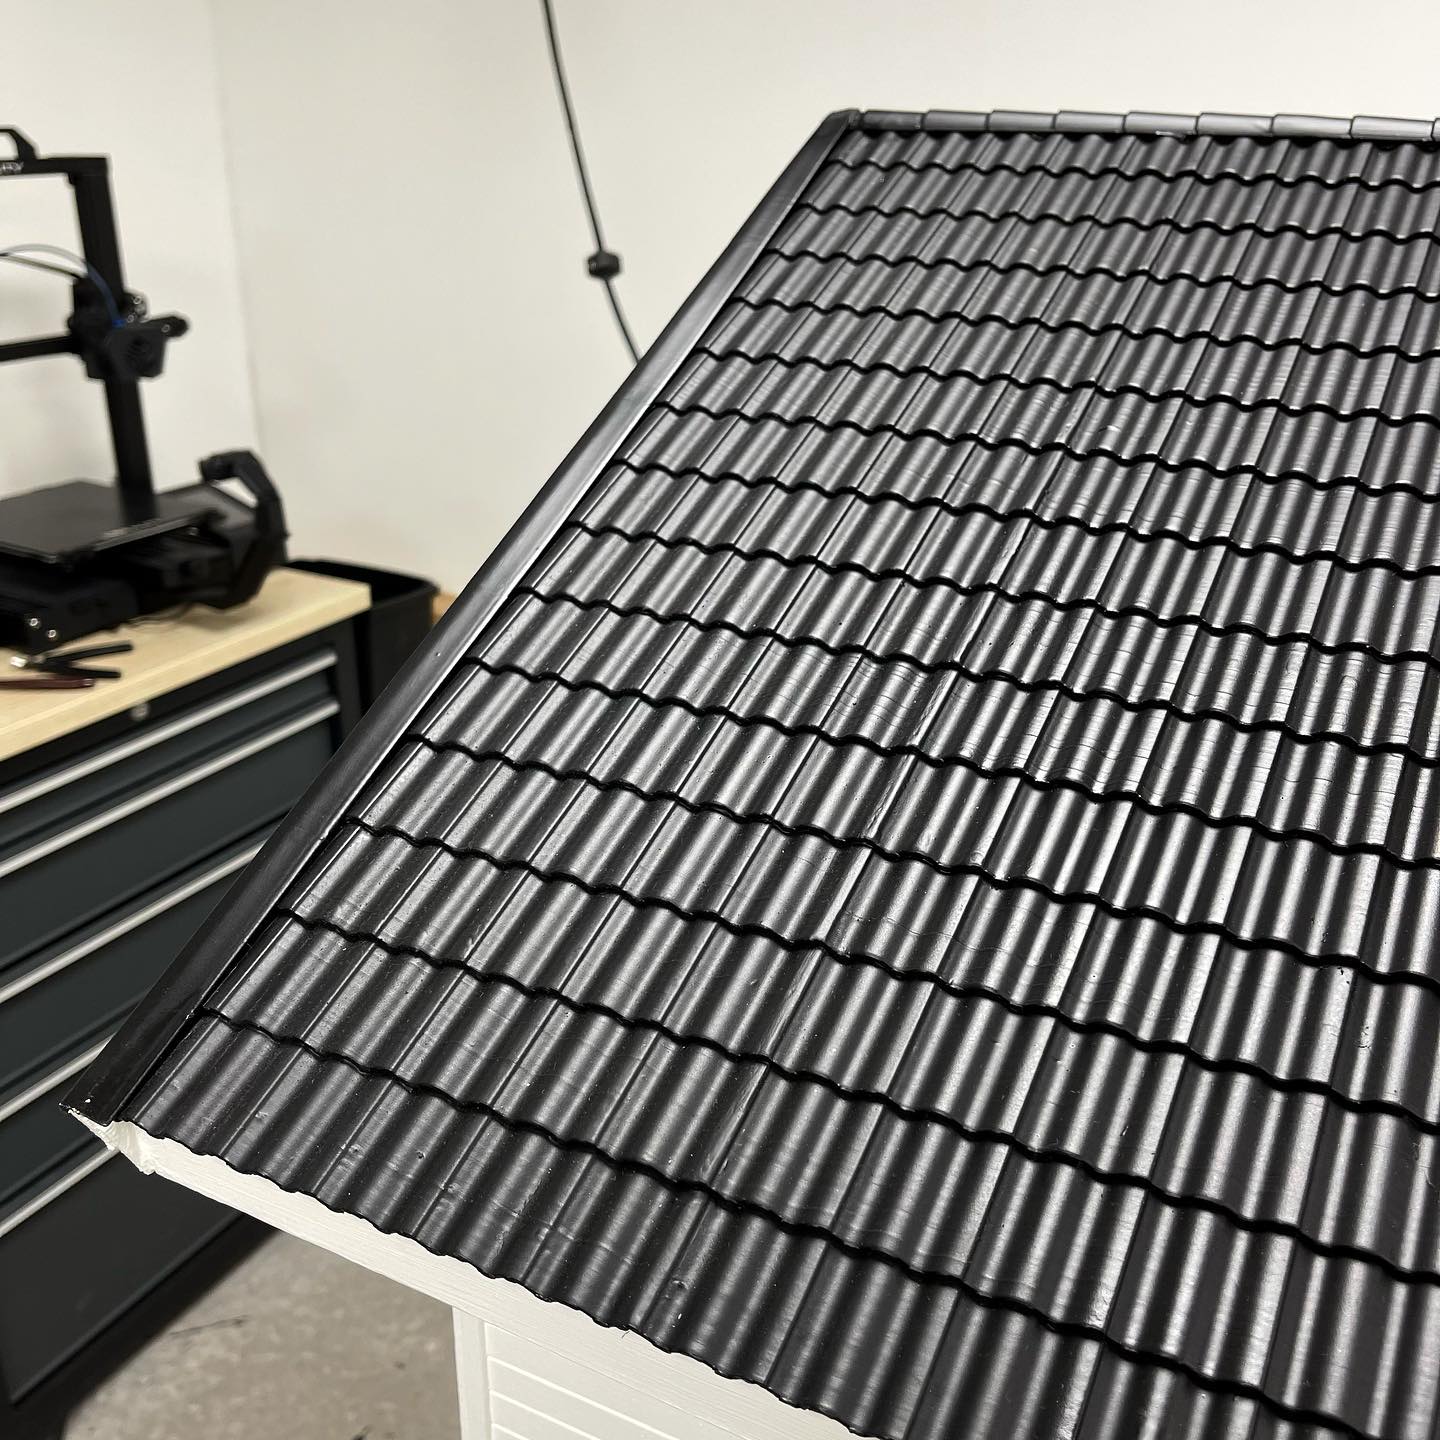
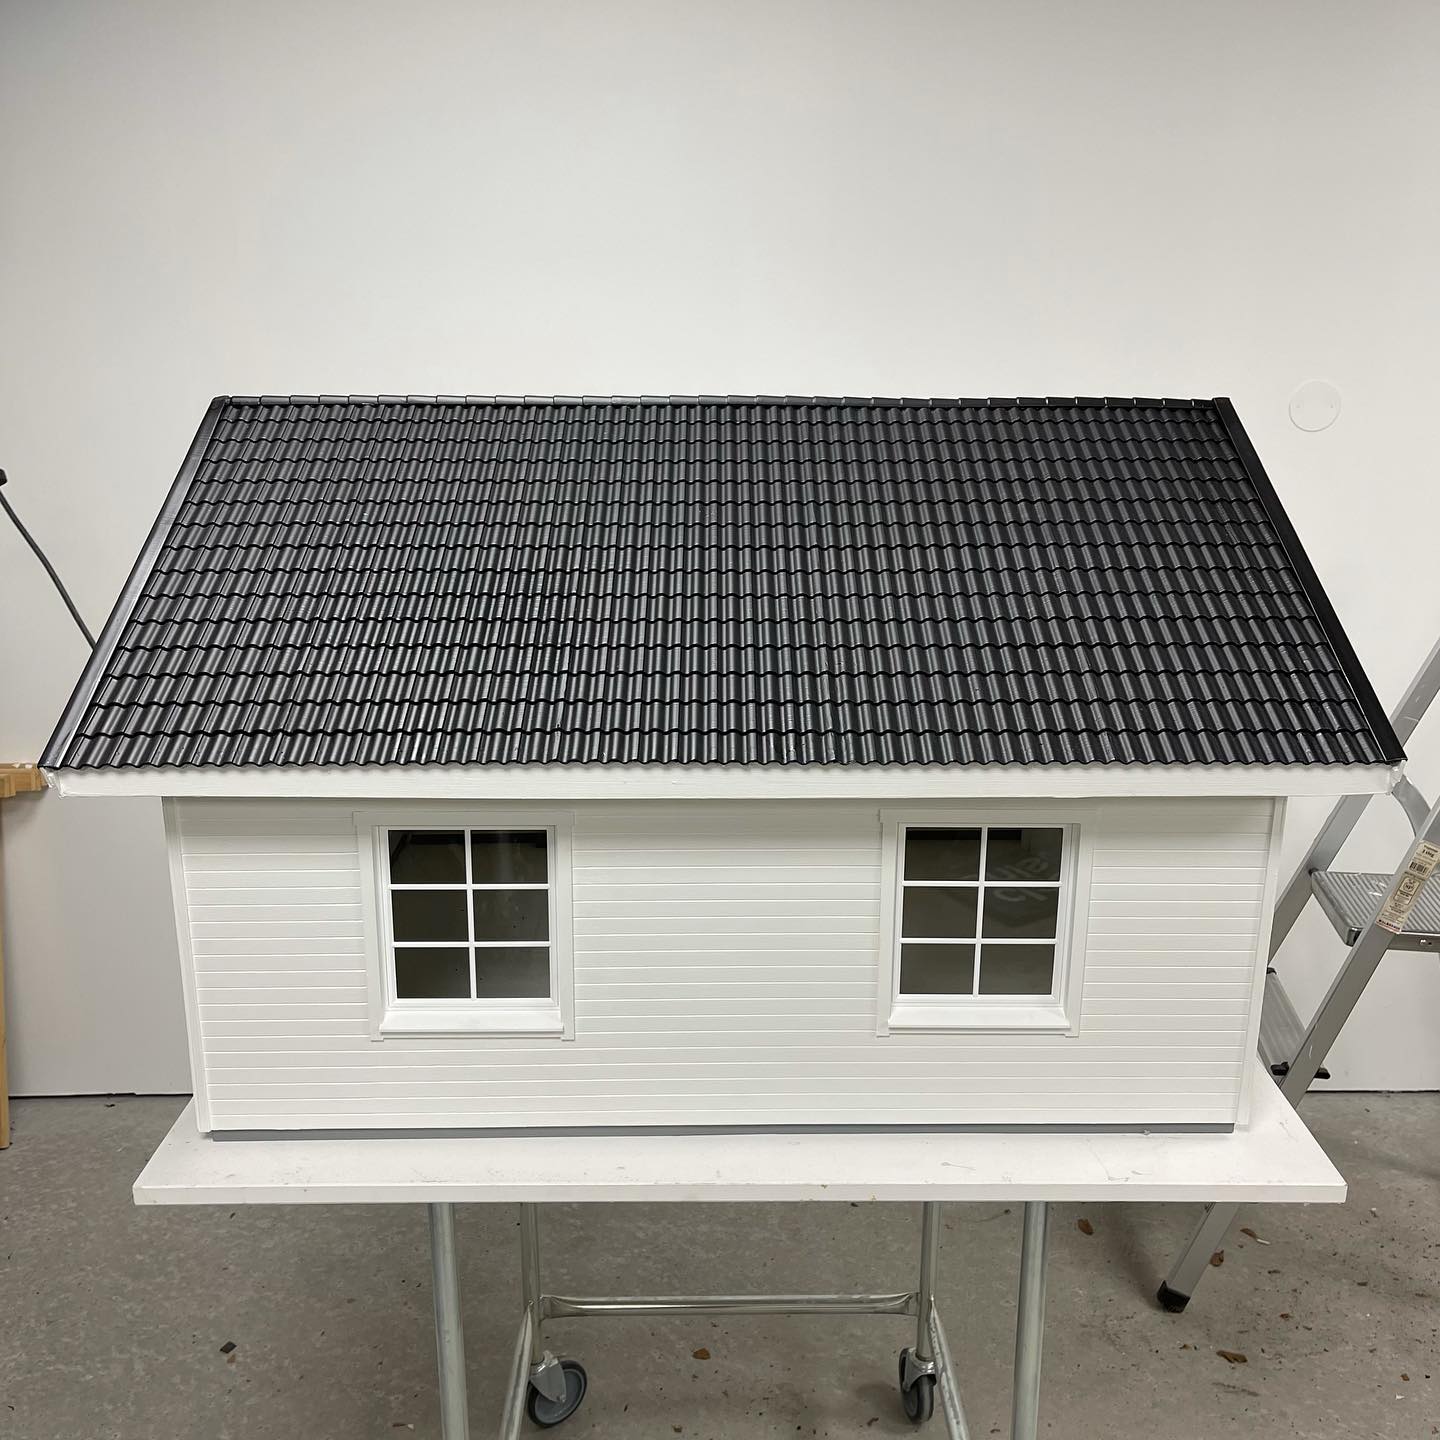
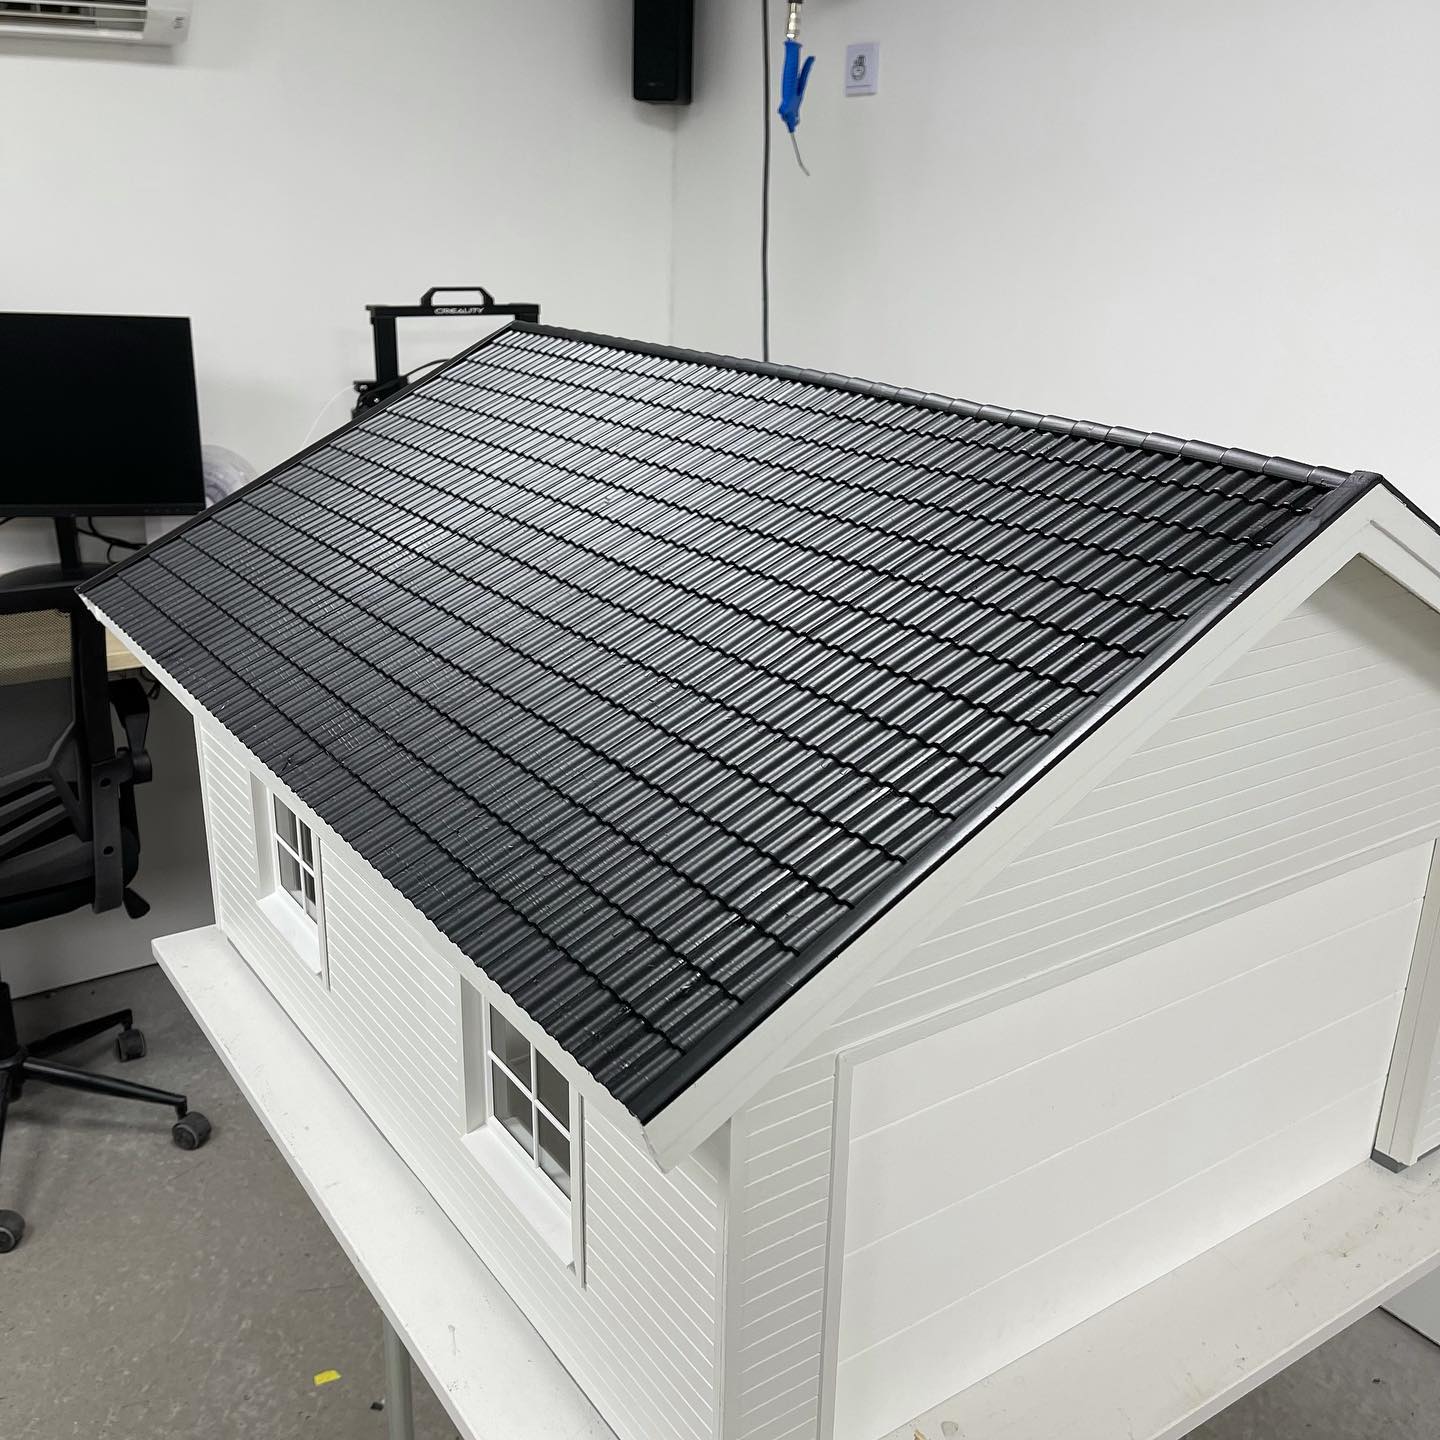
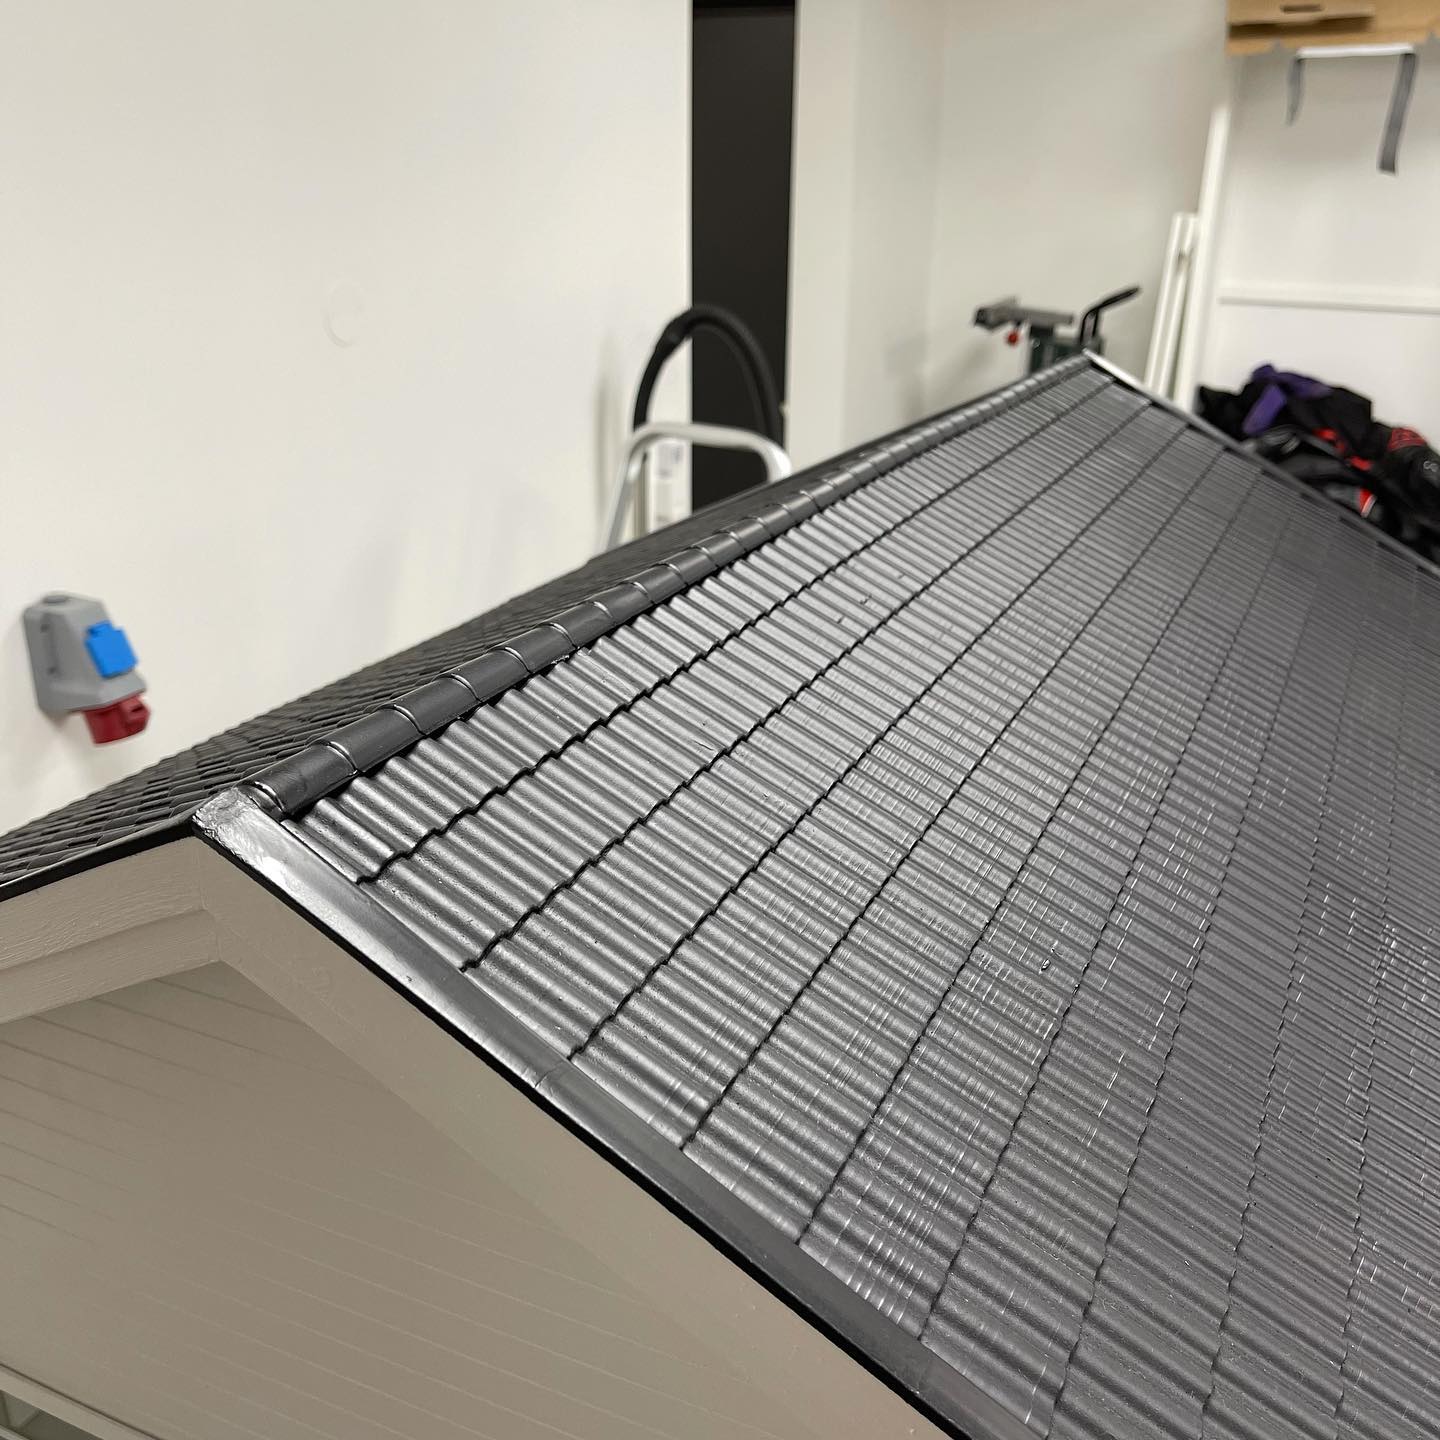
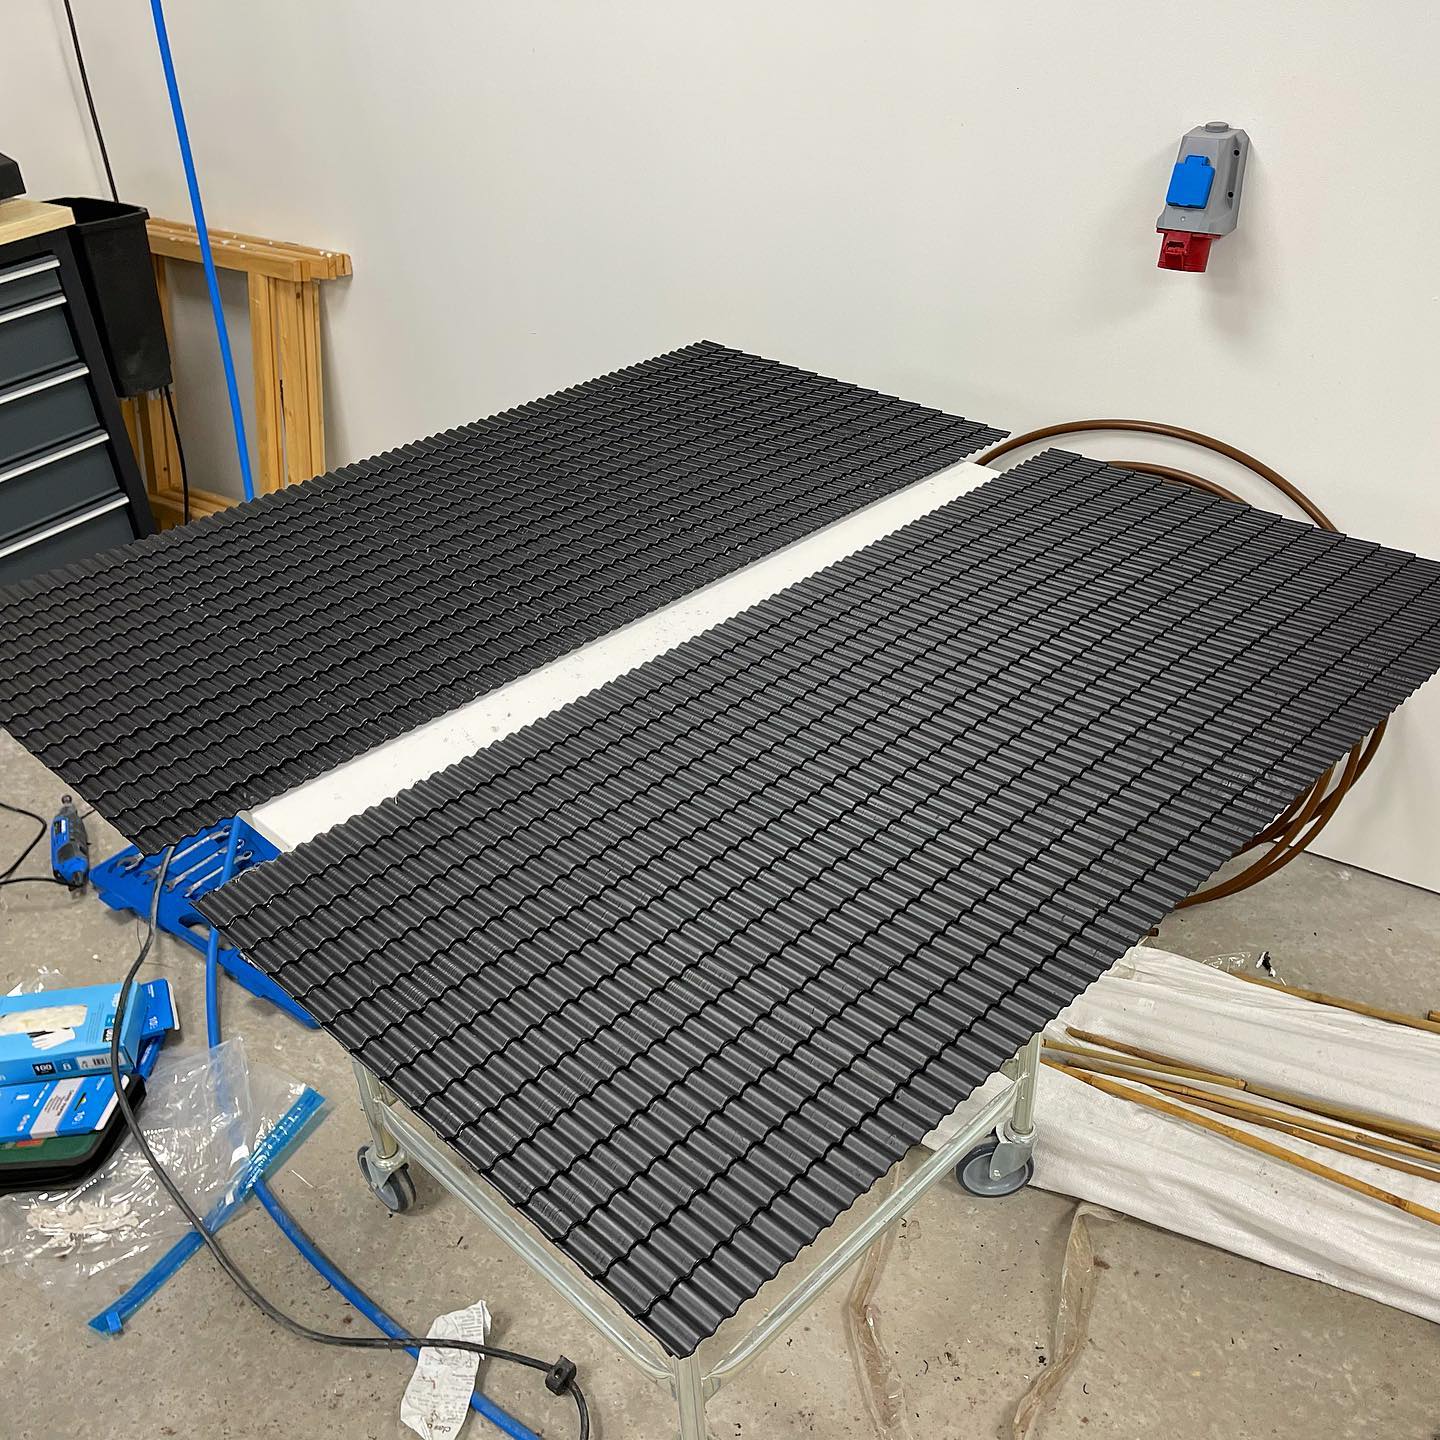
Joints filled and sanded, and a couple of coats with spray filler on that 😃 Some paintwork left, then I can finally put this dreadful roof tile-project behind me 😅
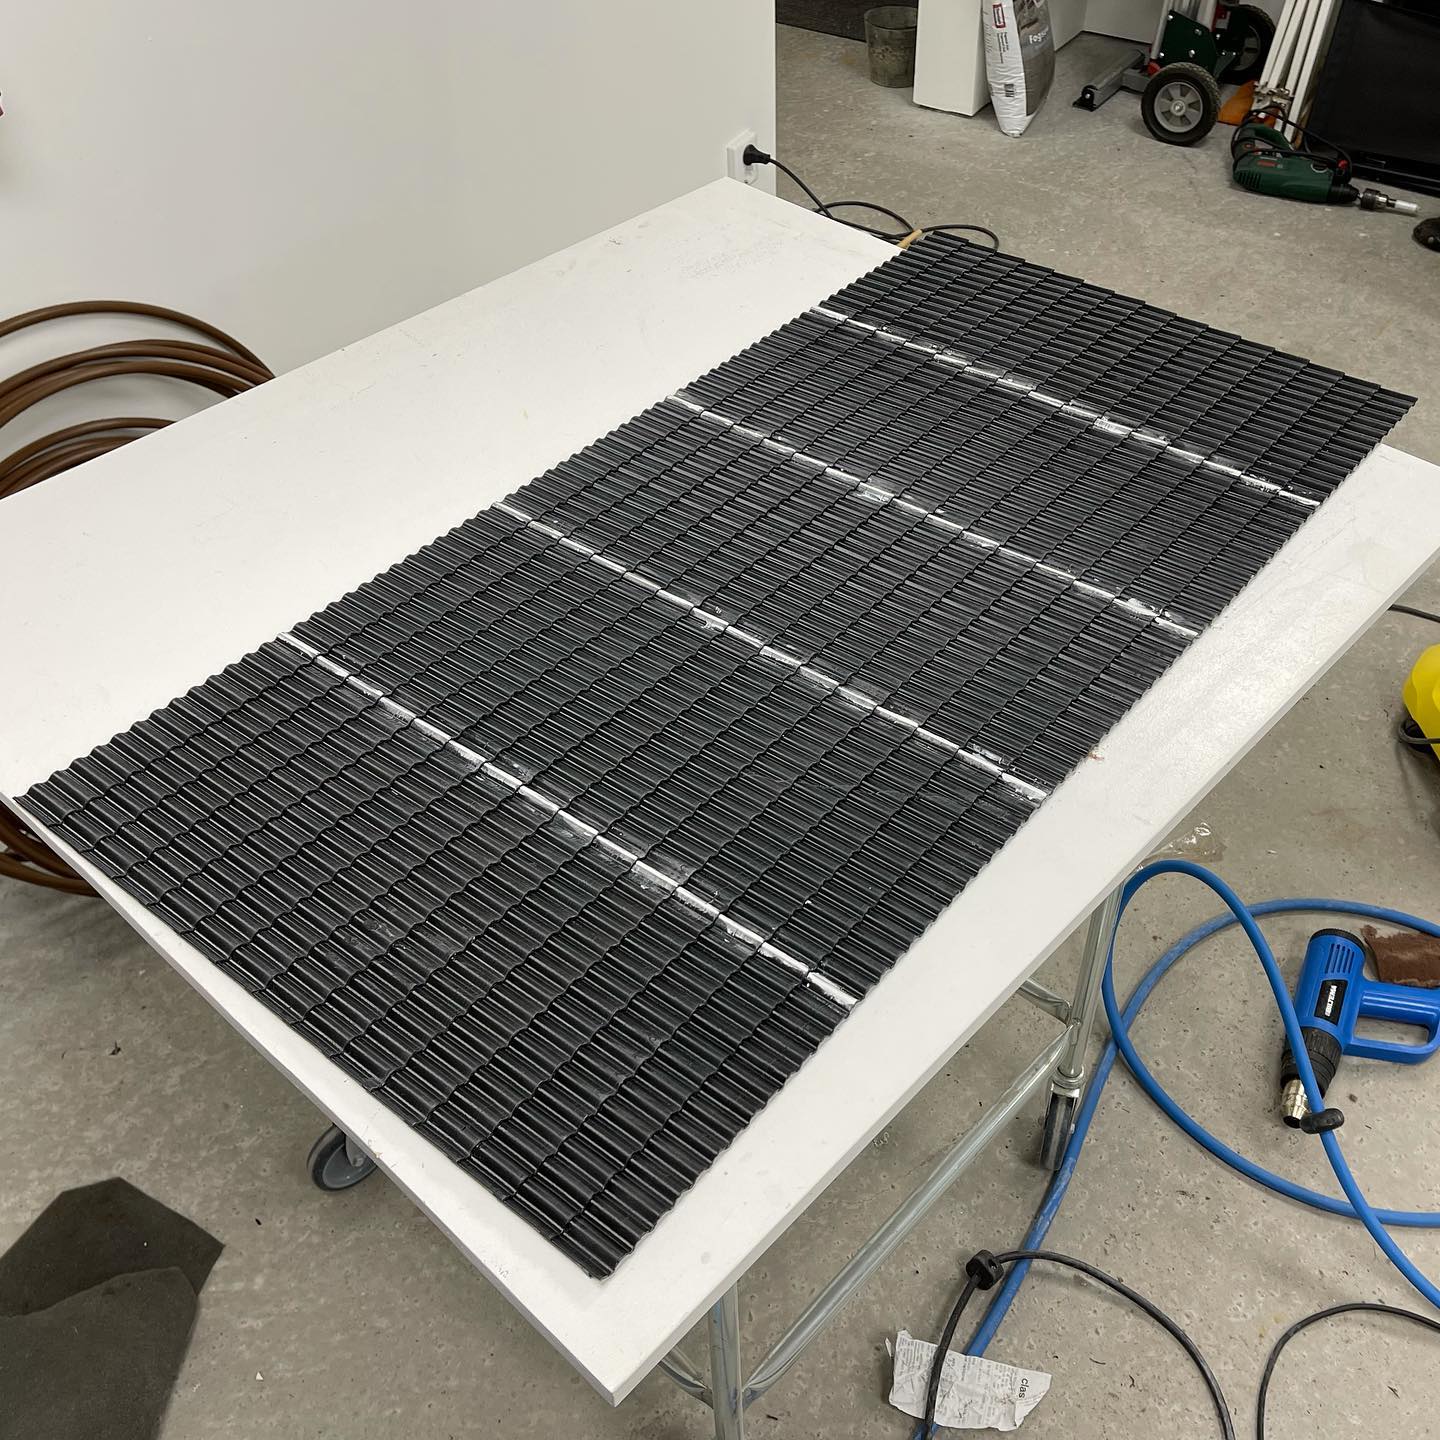
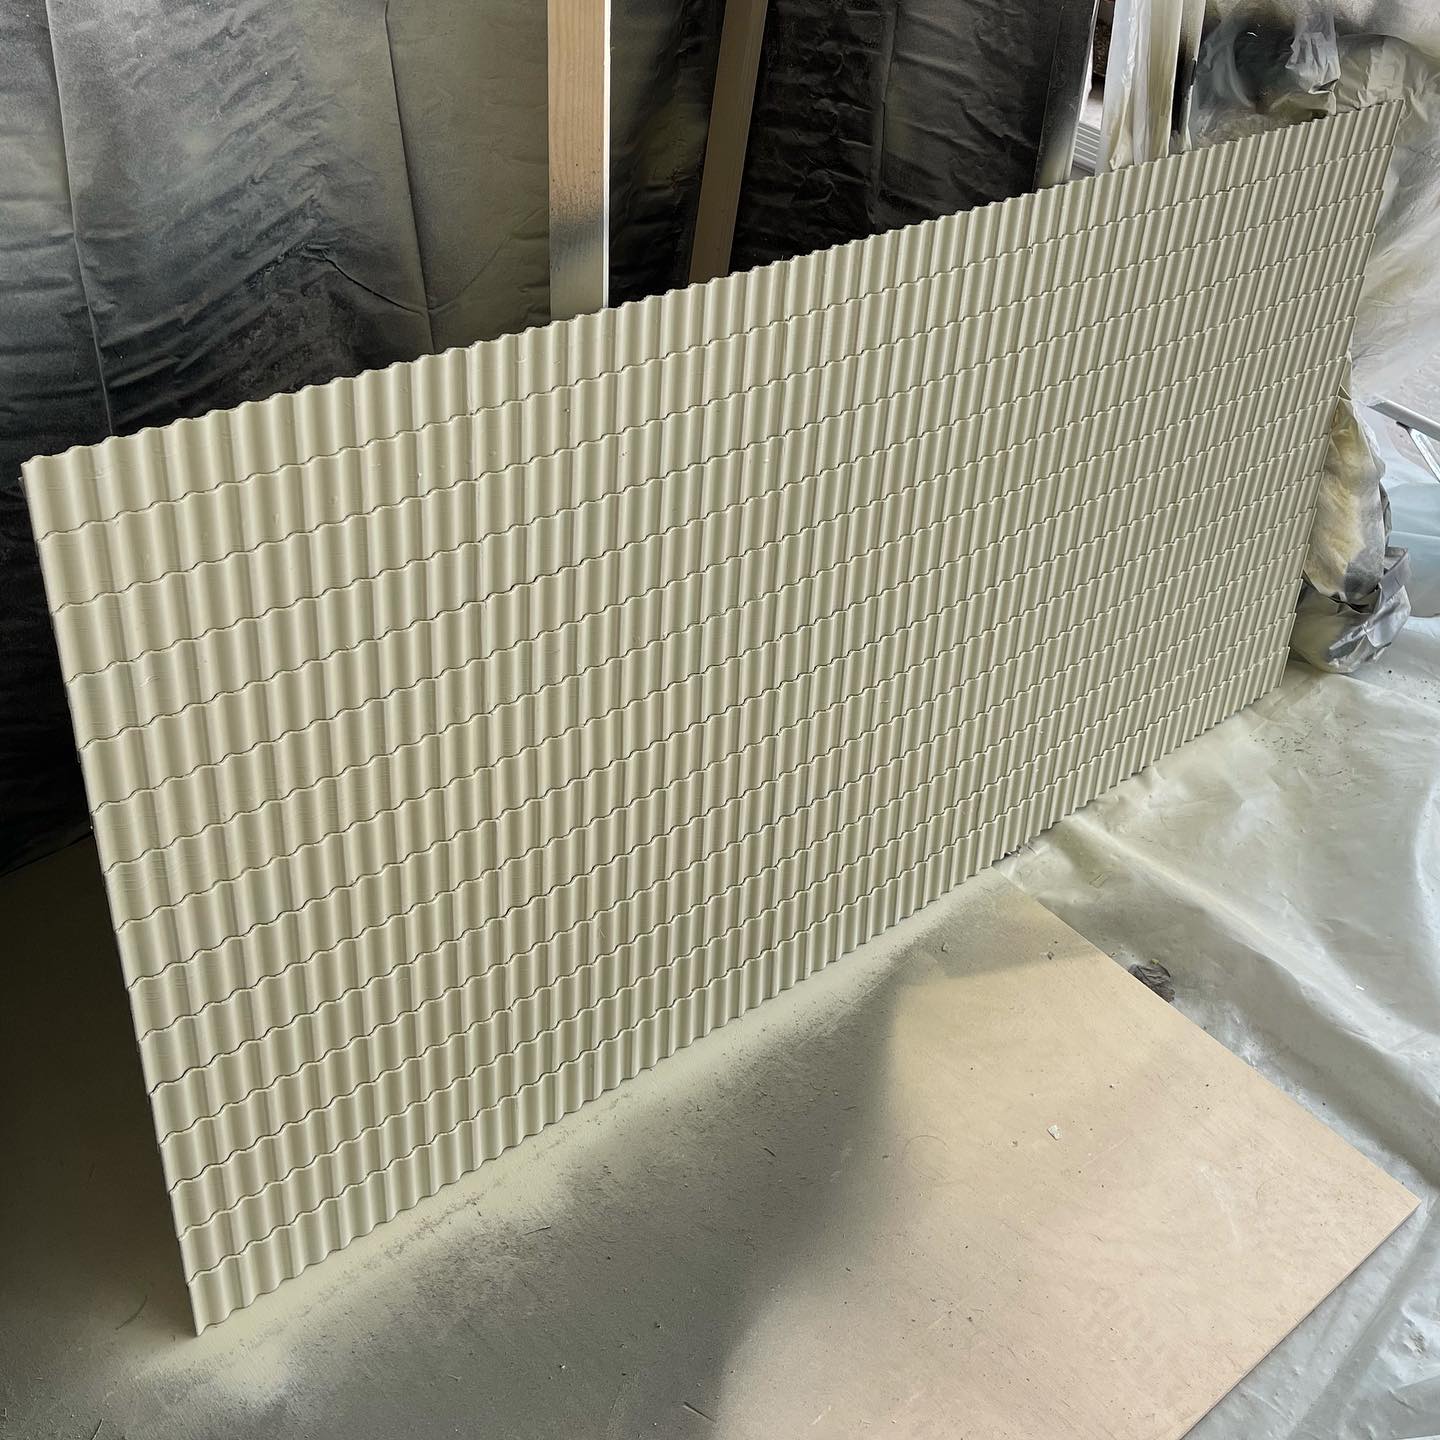
I’m using PETG-plastic for the roof tiles because it can withstand heat and UV-radiation without shrinking or deforming. It’s almost impossible to glue though, so instead I’m using a 3D-pen to weld together the rows. It works really well and the seams are on the underside of the roof so they won’t show 😃👍🏻

Amazing 😳 It took me a number of hours and a couple of headaches, but I was finally able to opimize the printer settings. As you can see, the difference in quality is huge, but the best part is that printing a complete roof-side goes from 490 hours to 56 hours(!). What a gamechanger! 😃👍🏻
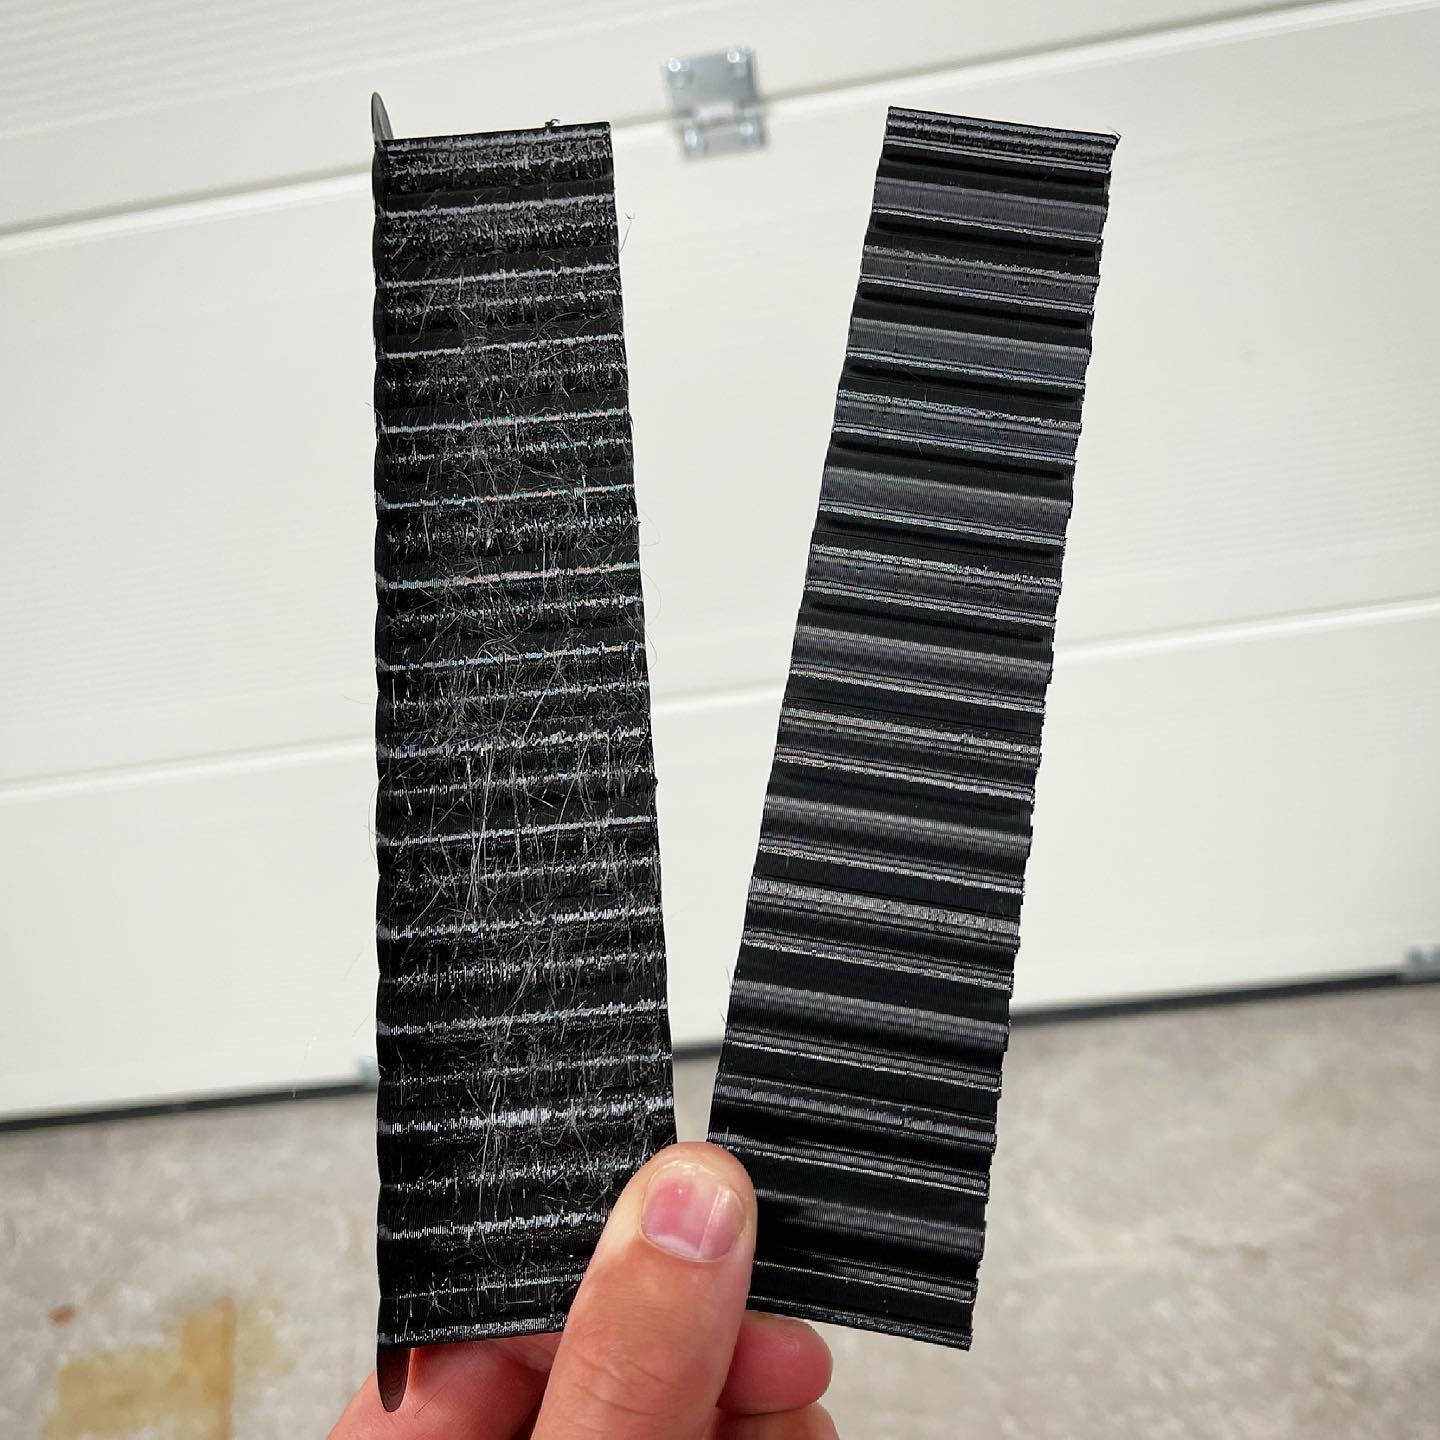
Tip of the day: Spend some time finding the right printer settings, instead of being a lazy bastard and thinking ”meh, I’ll clean that up with the grinder afterwards” 😑 Took around 30 hours to clean up the roof tiles.
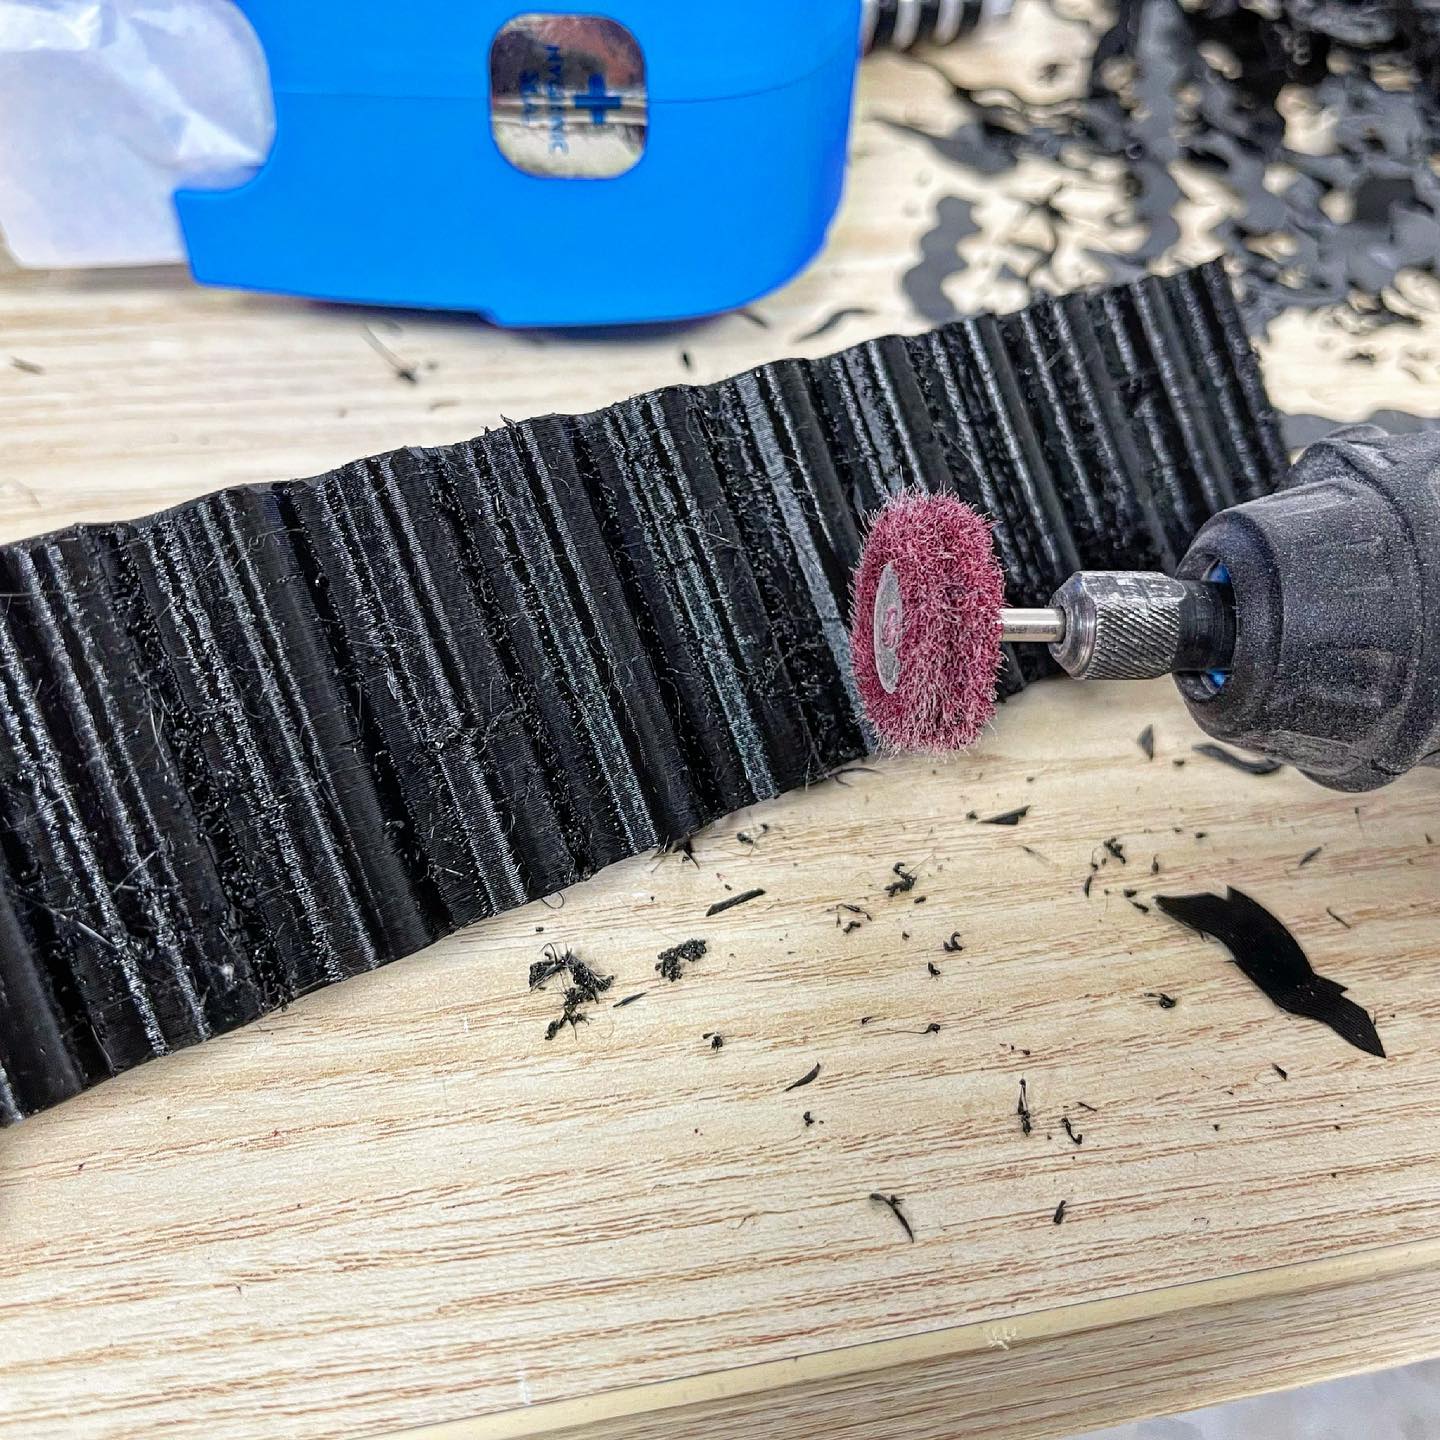
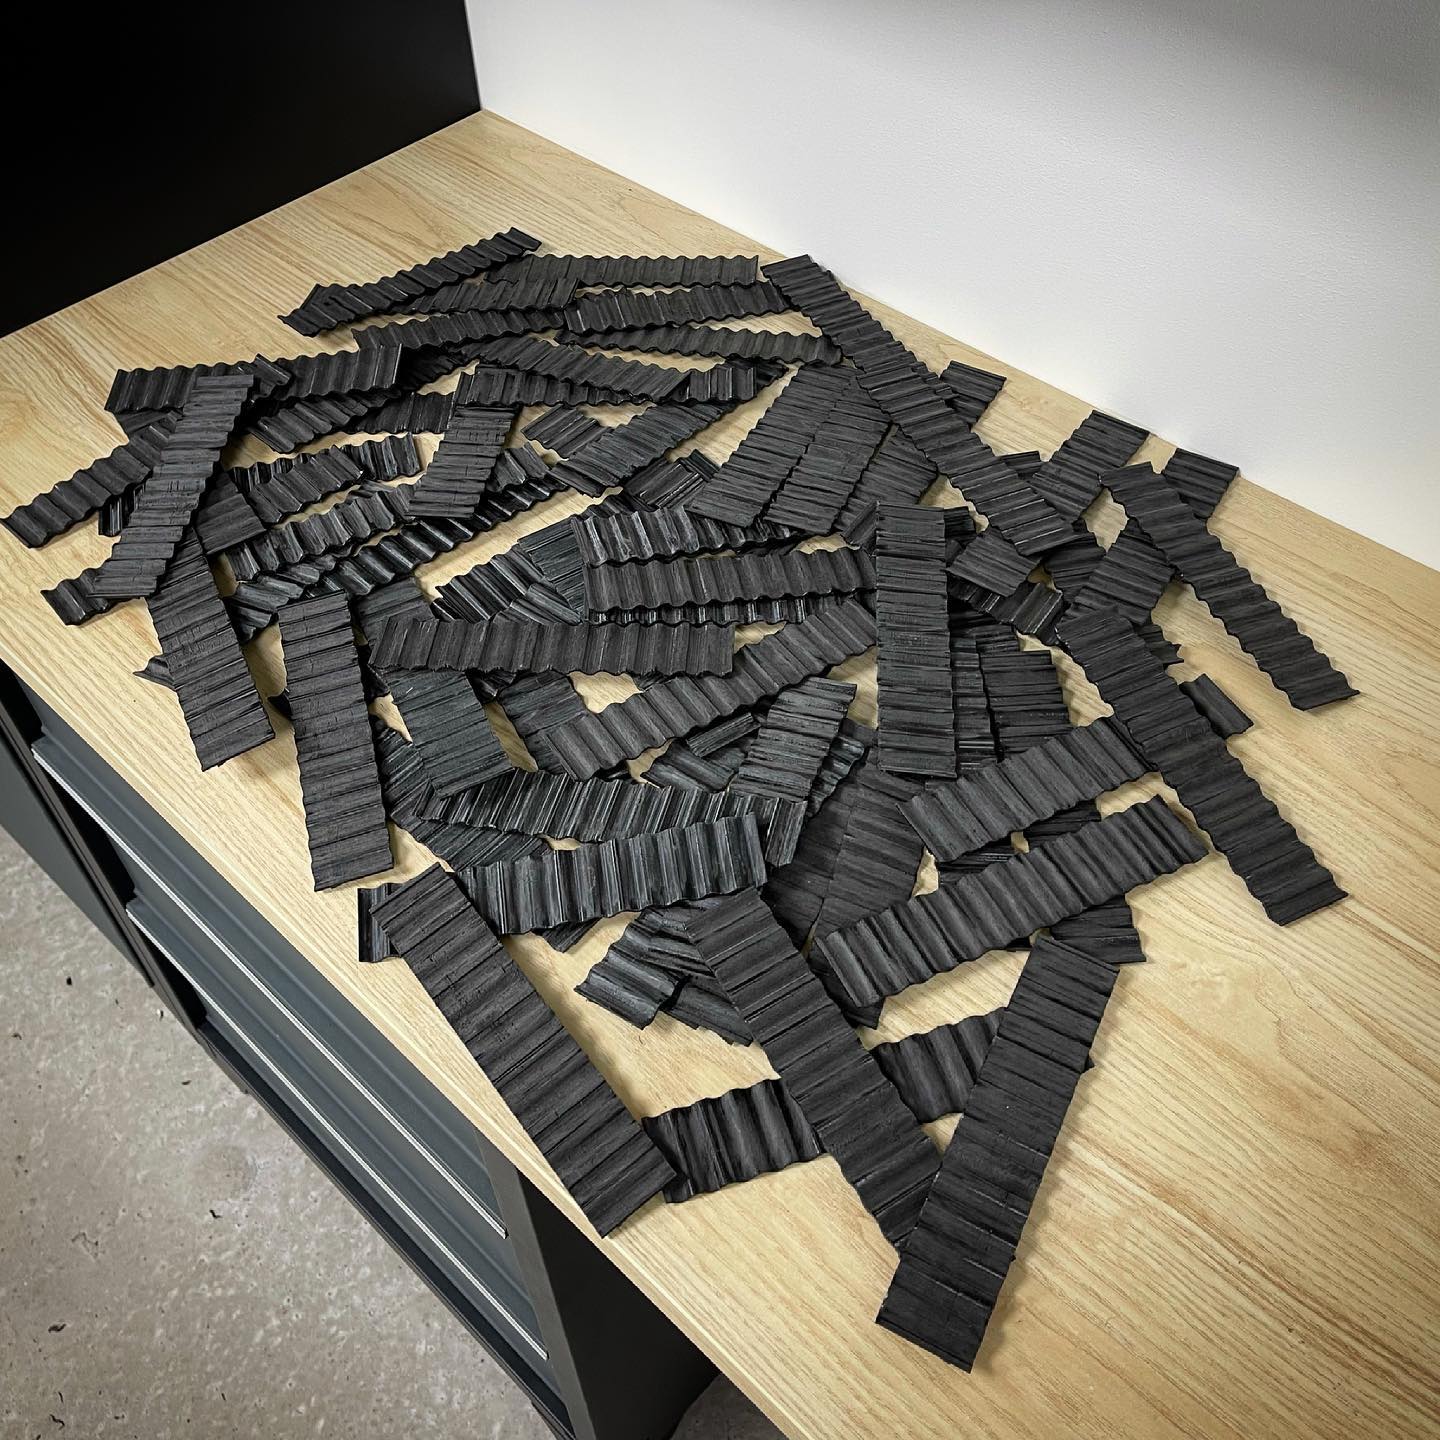
Sorry for the lack of updates lately. I’ve been busy with other stuff. Besides, the garage build is all roof tiles, roof tiles and roof tiles at the moment 😬 450 print hours so far and a shitload of PETG plastic 👍🏻
Windows close to completed ✅
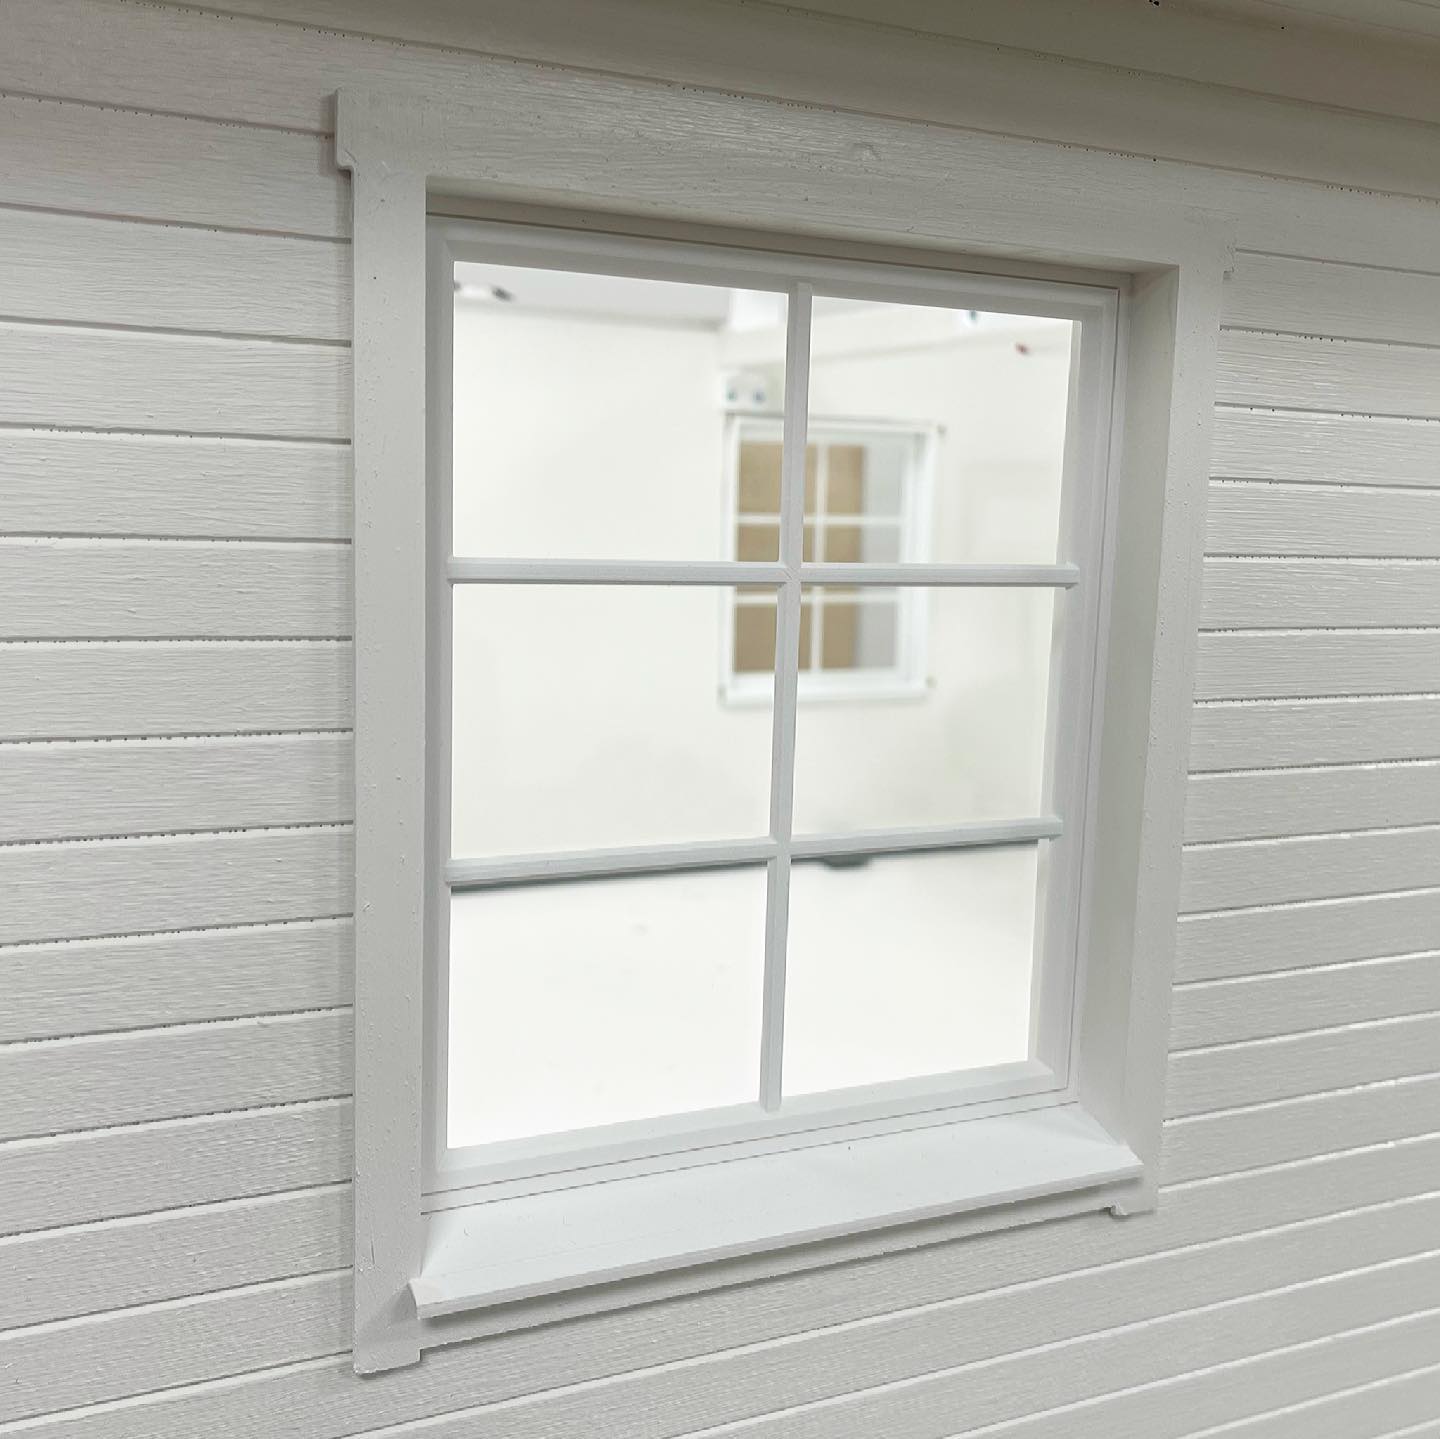
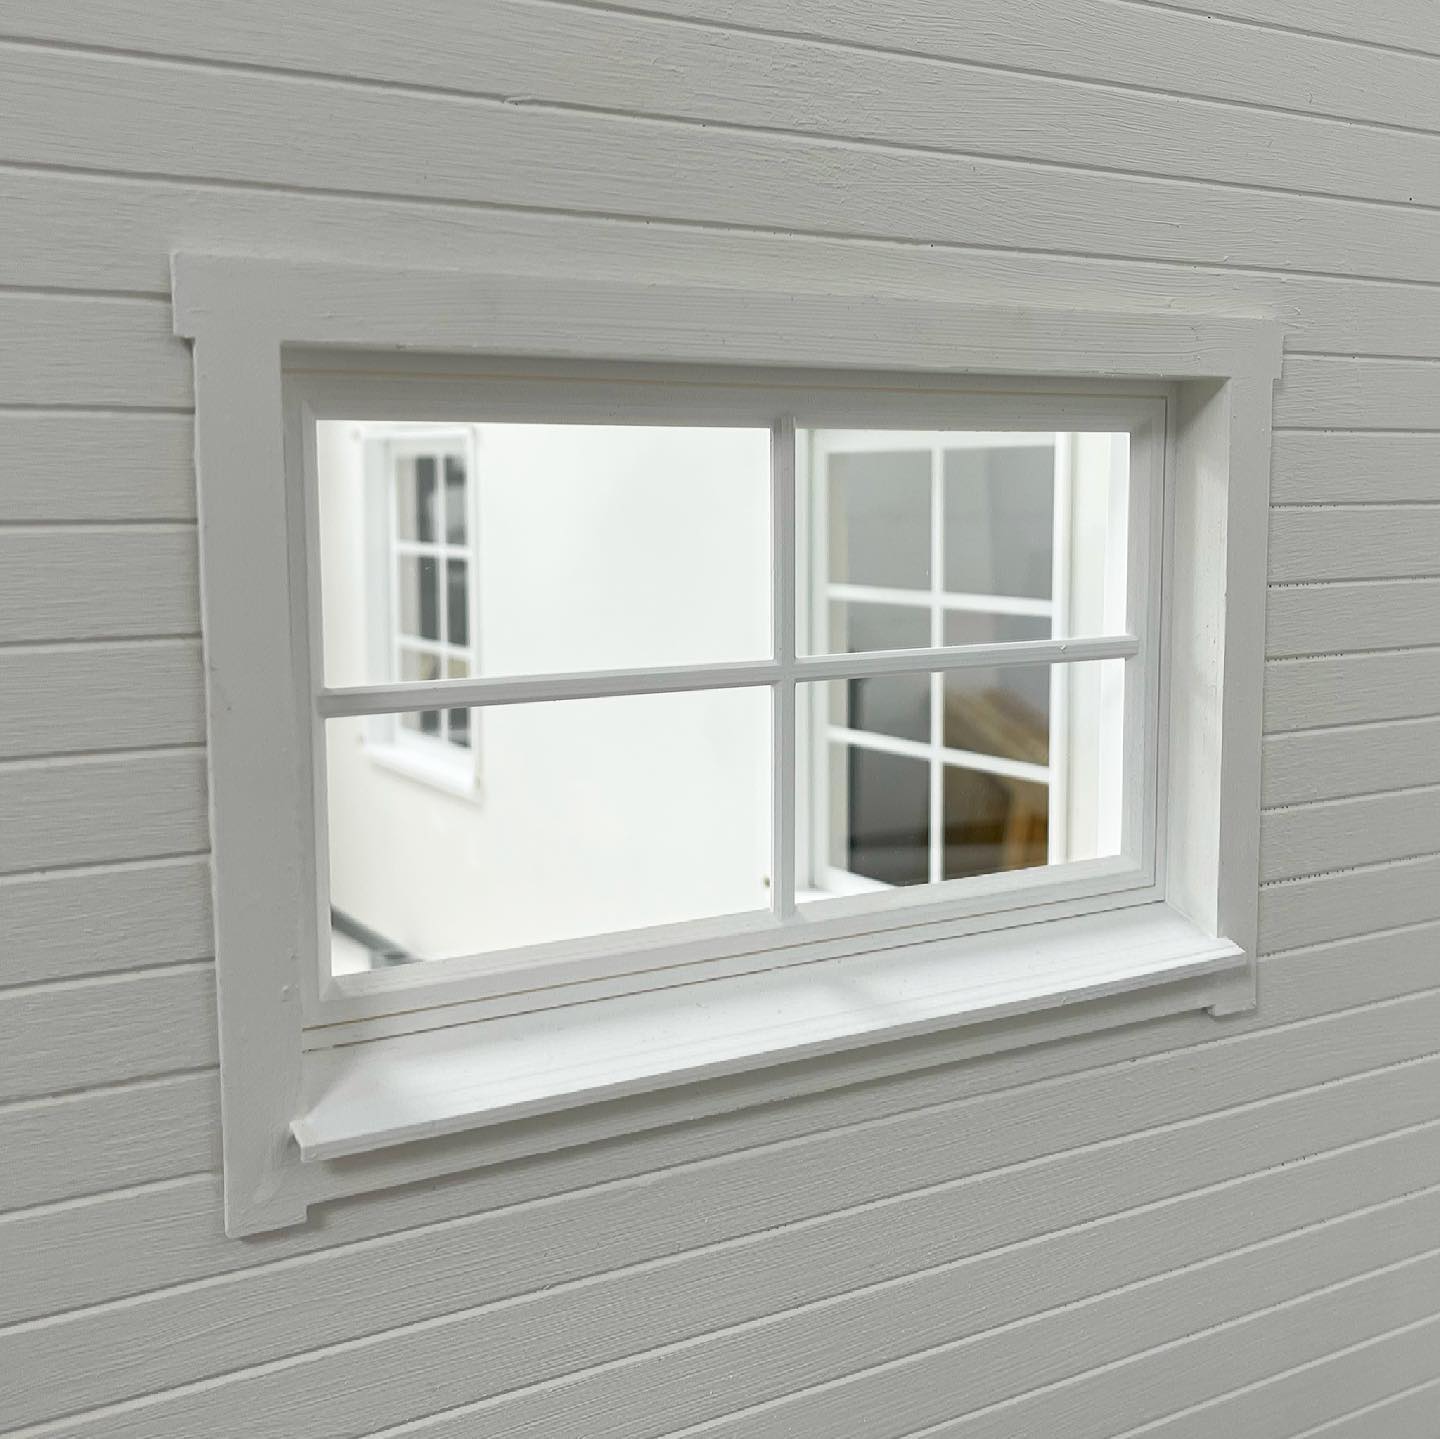
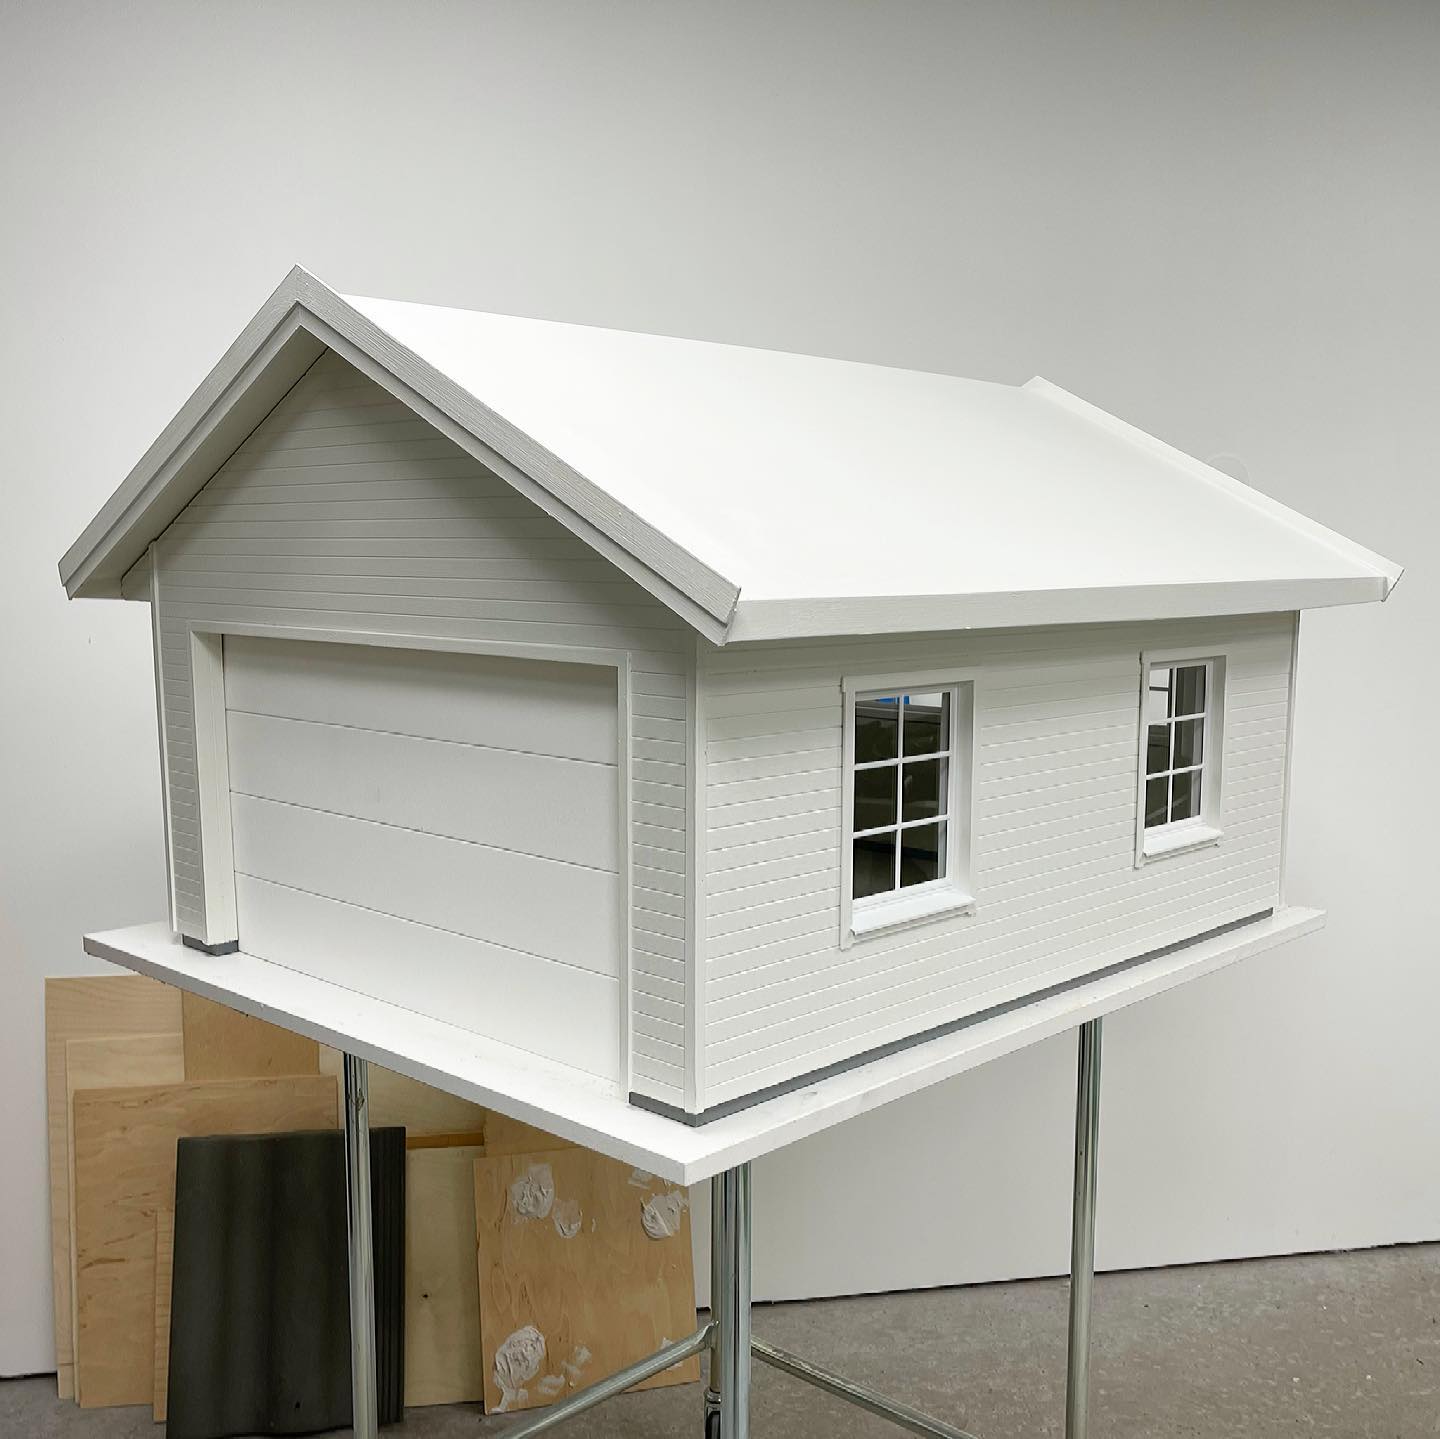
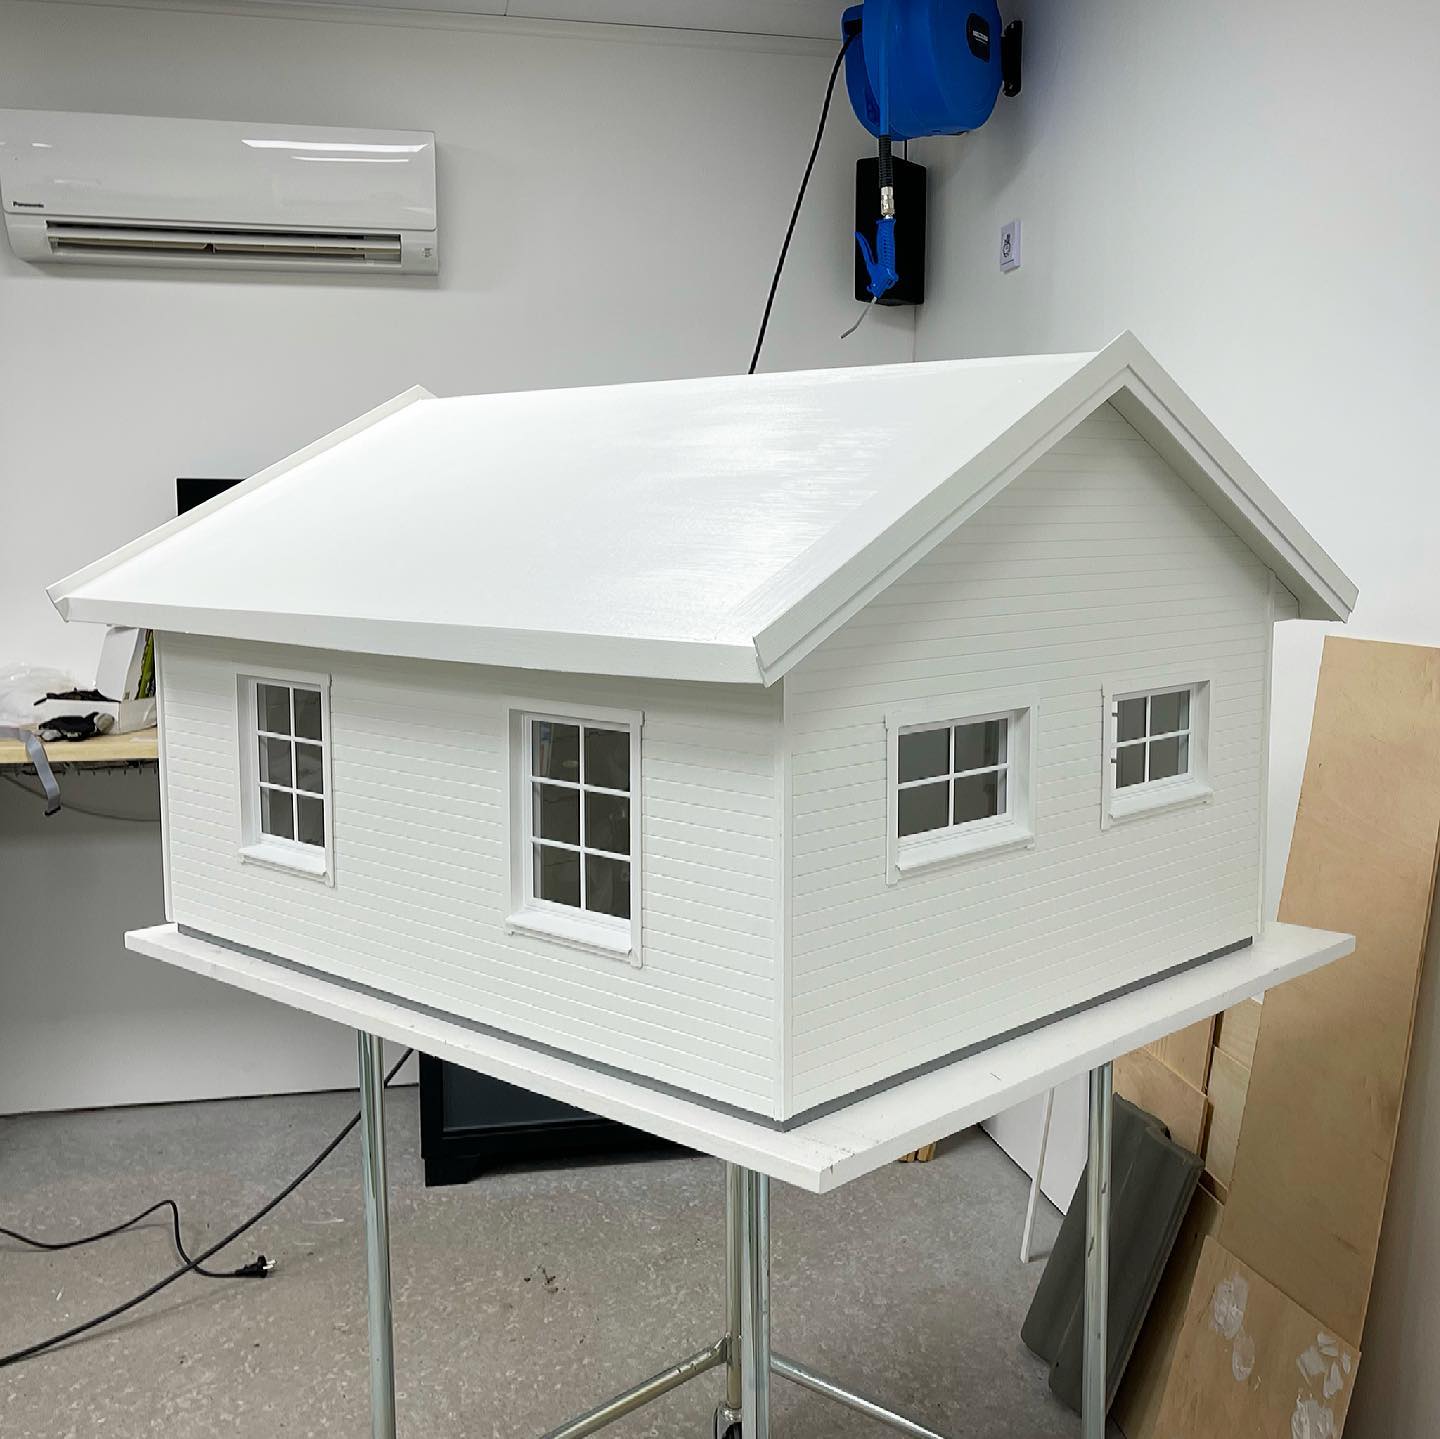
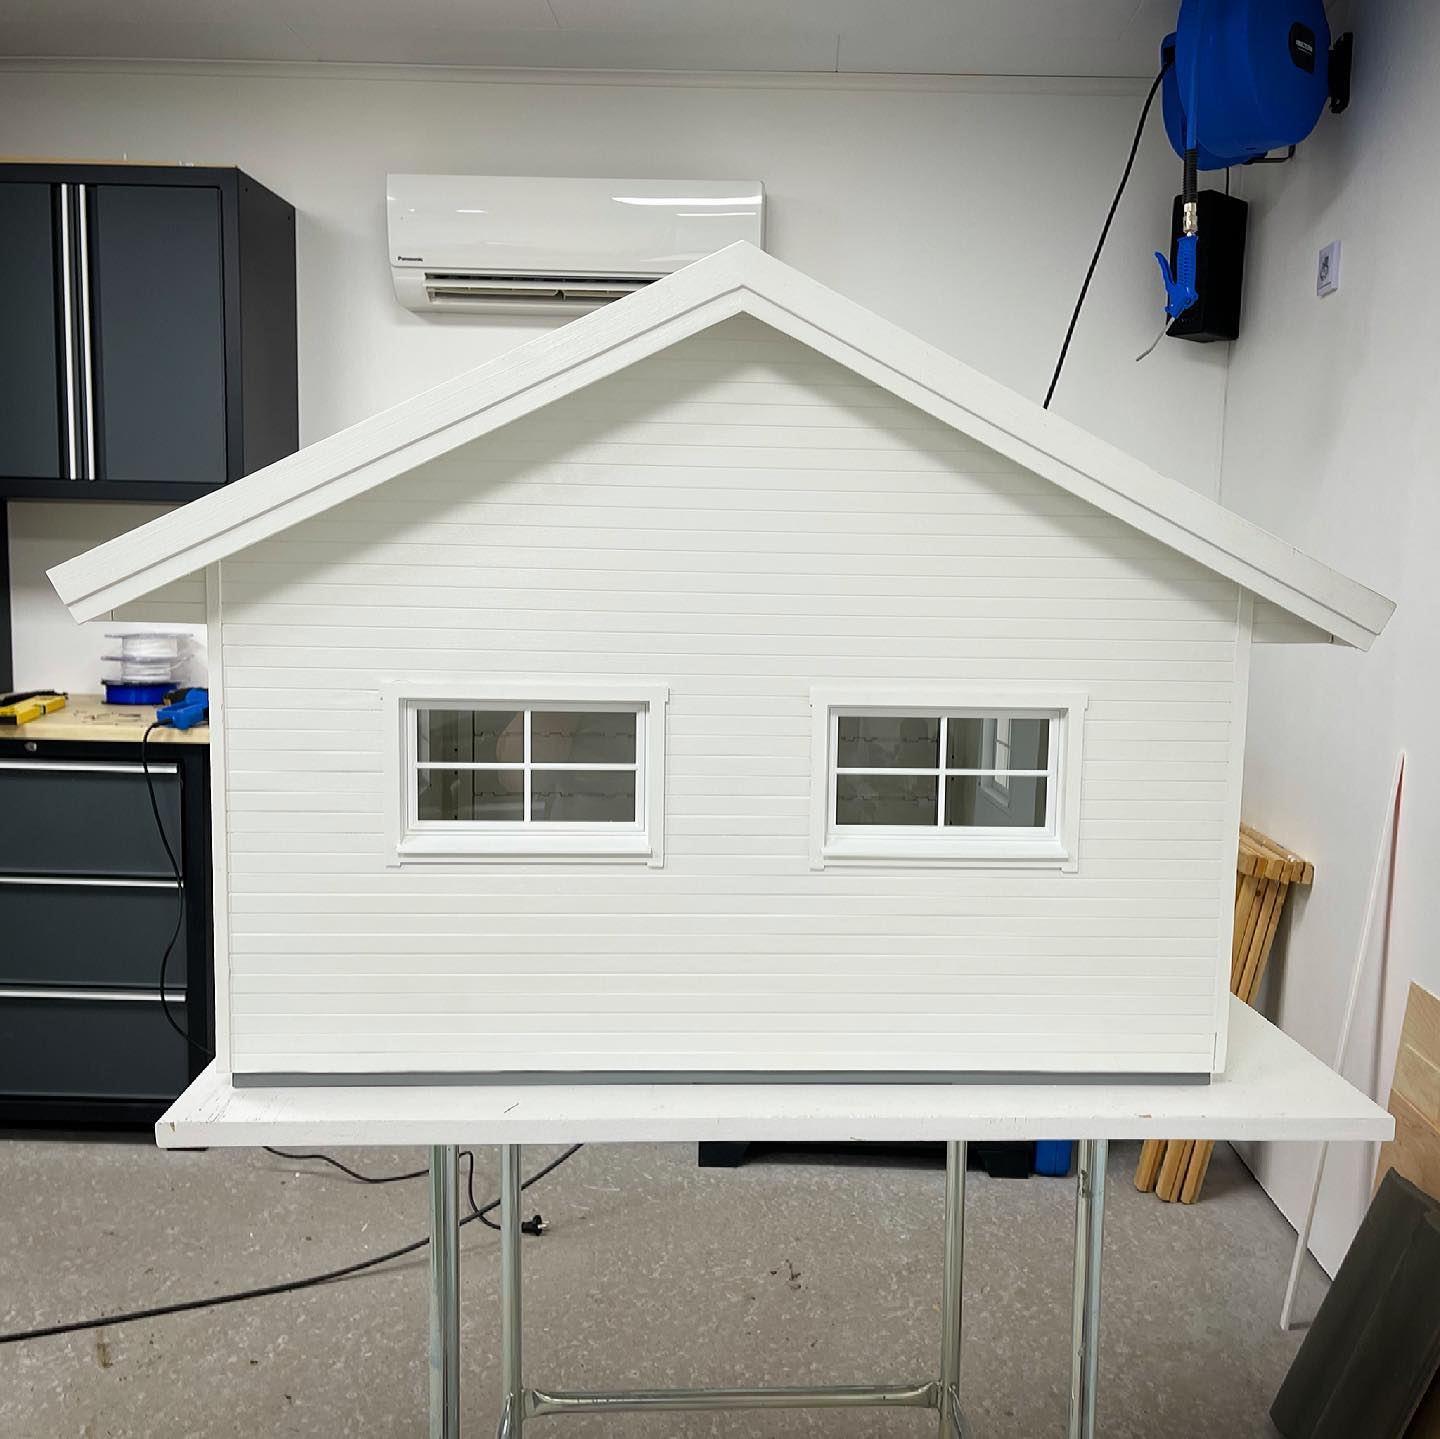
Somewhat better results the old fashioned way 😋
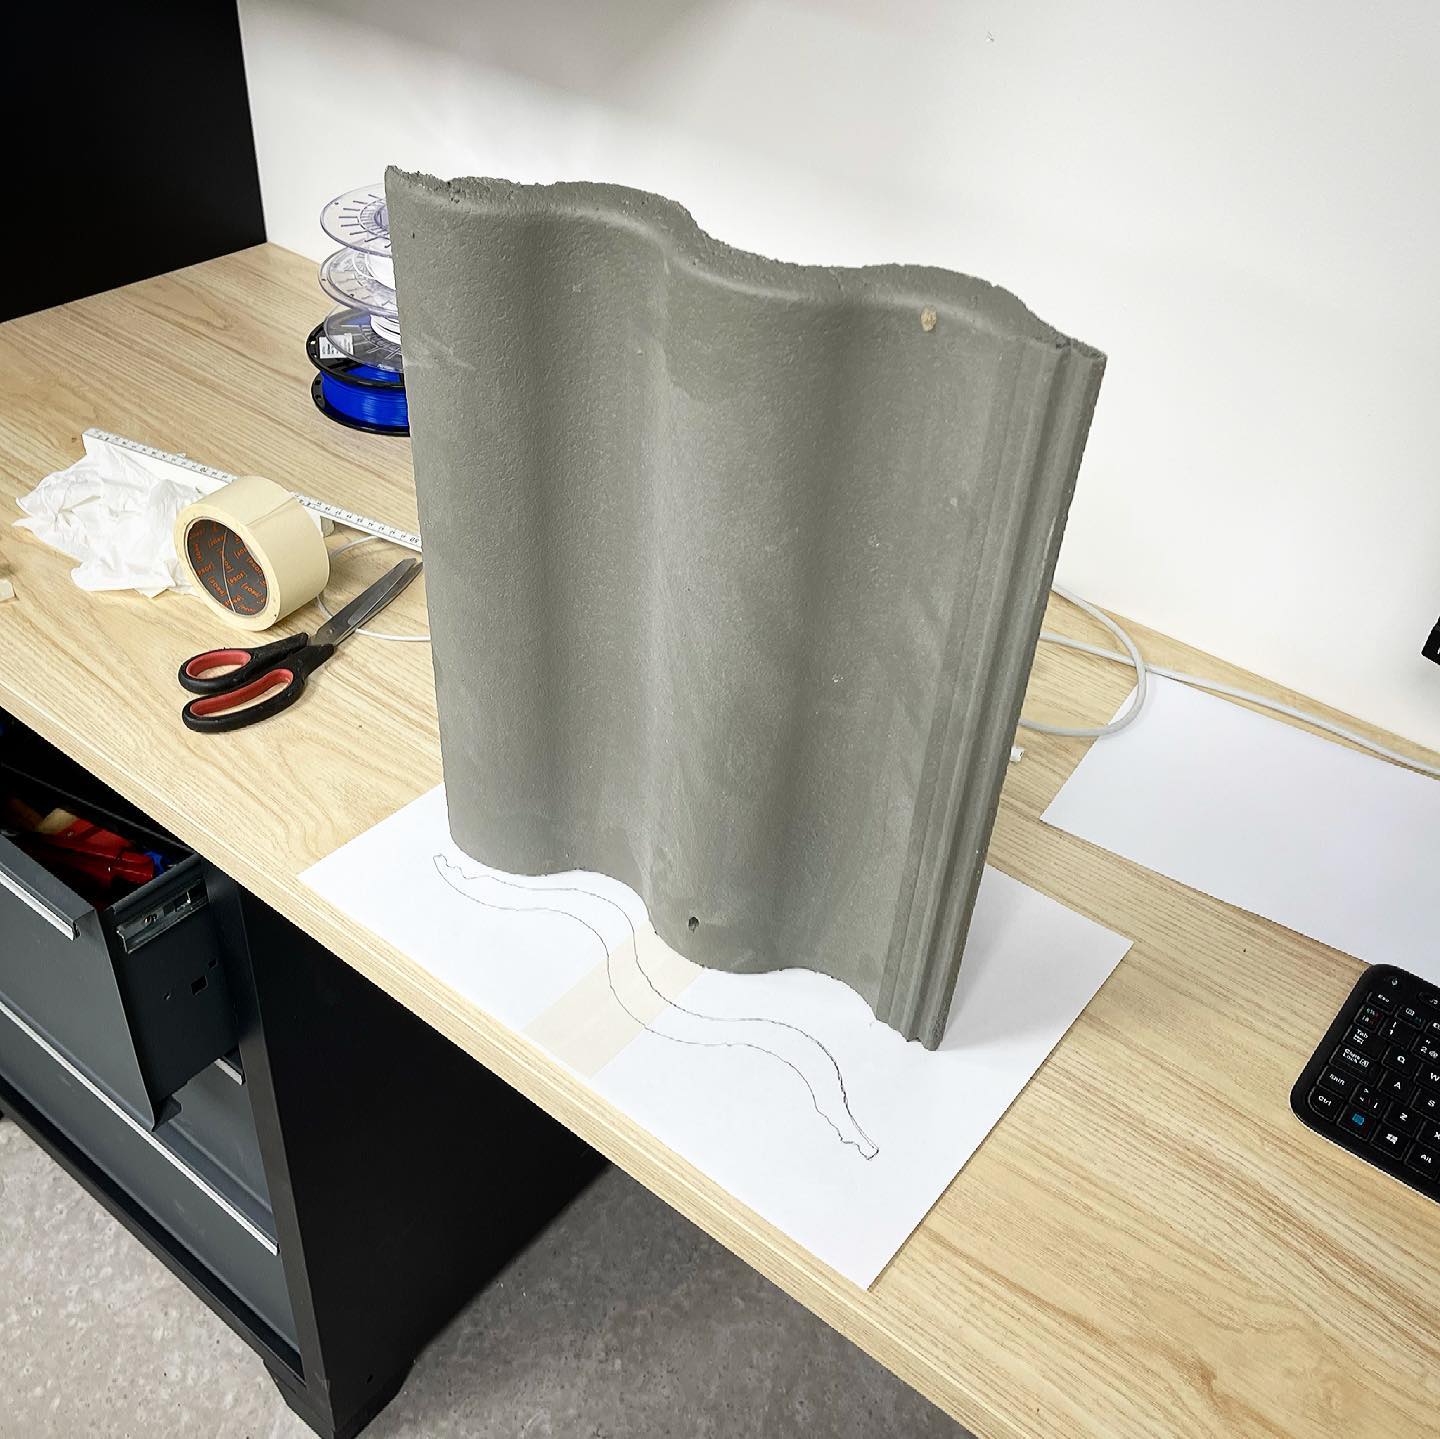
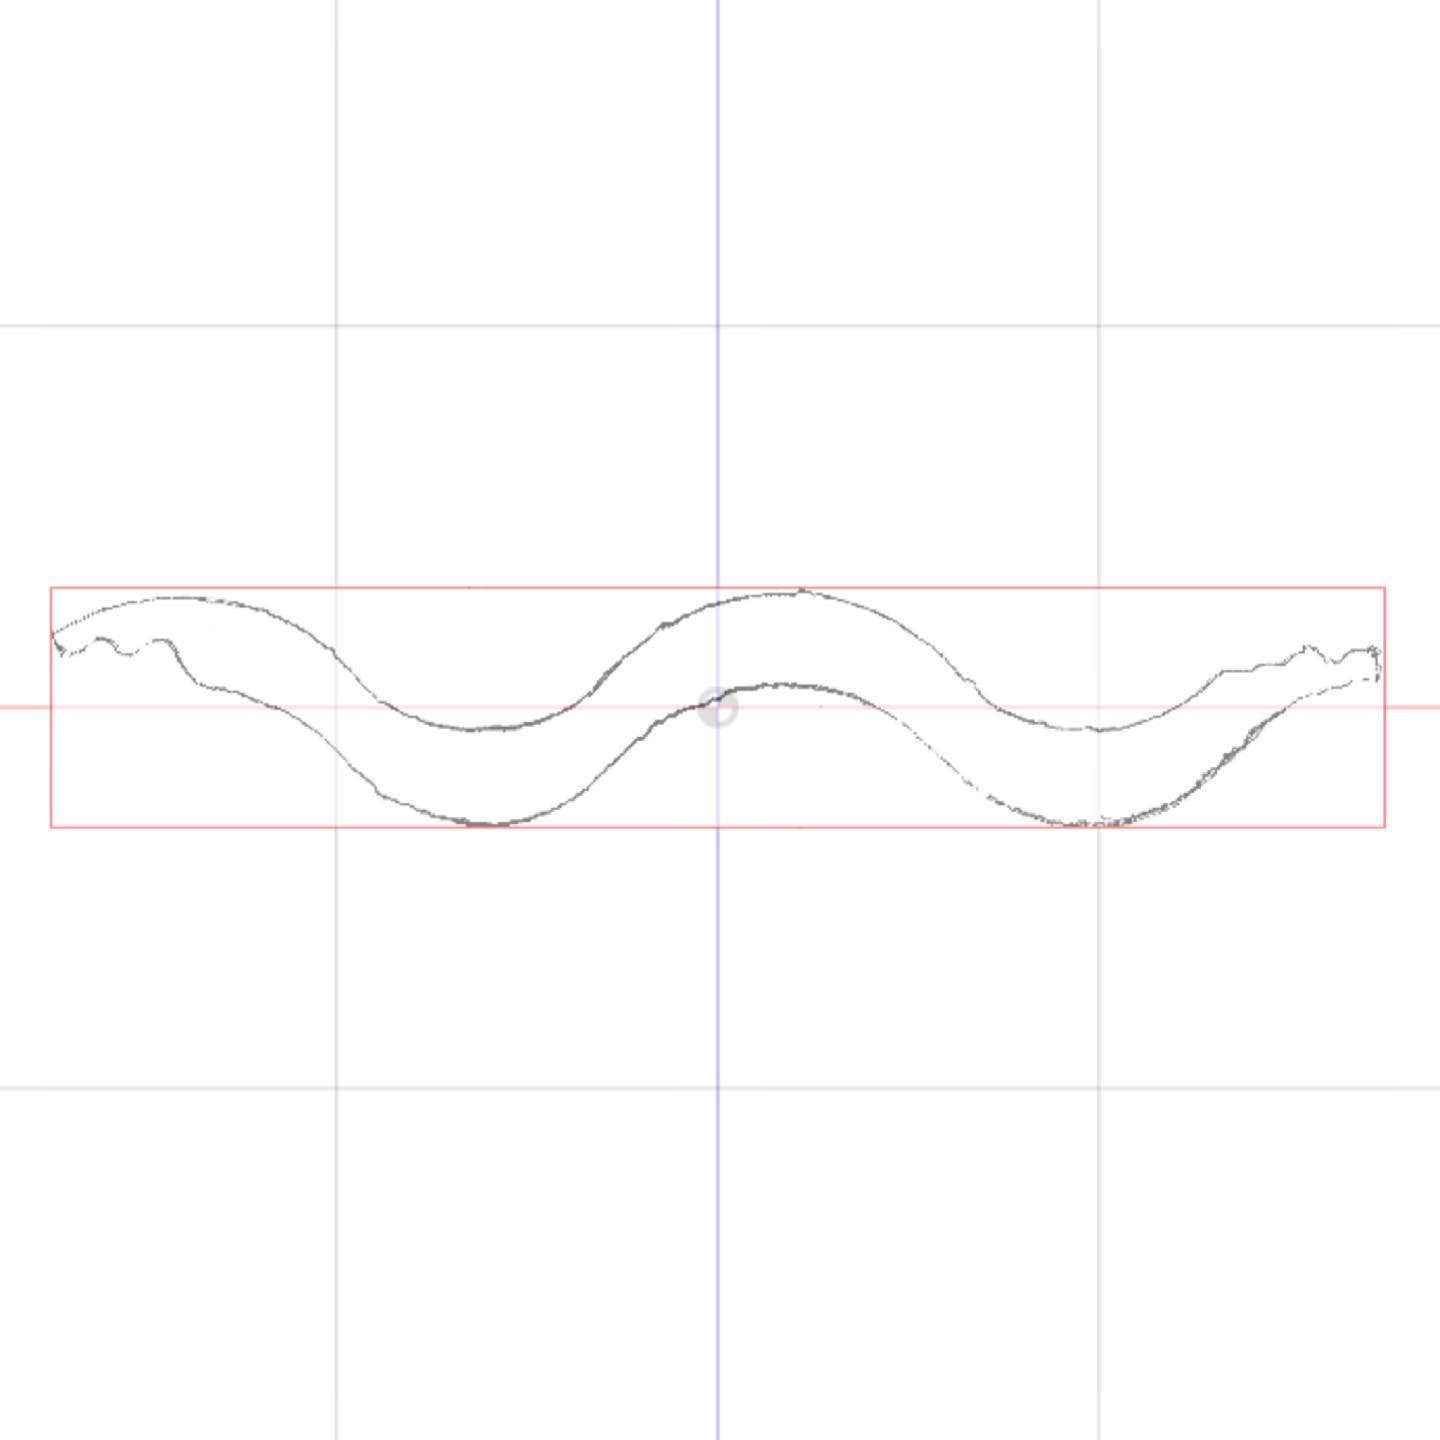
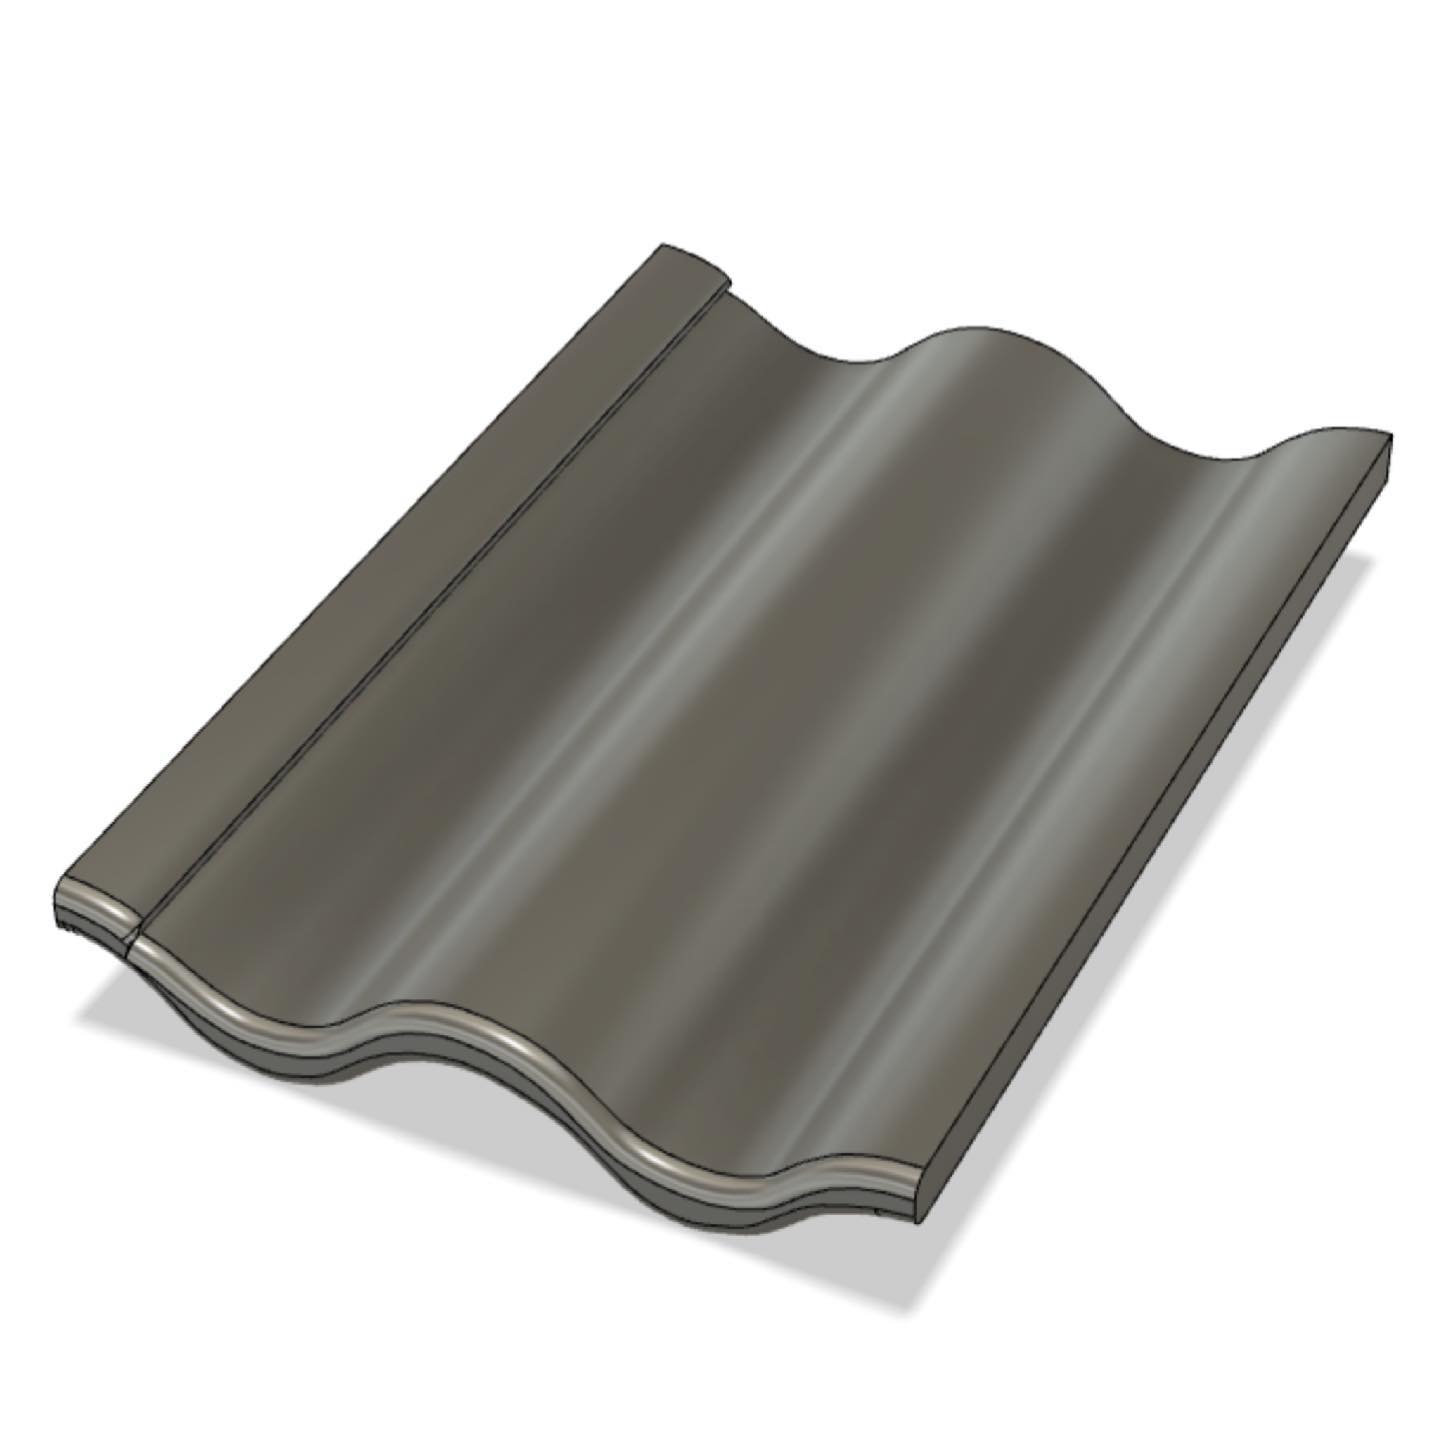
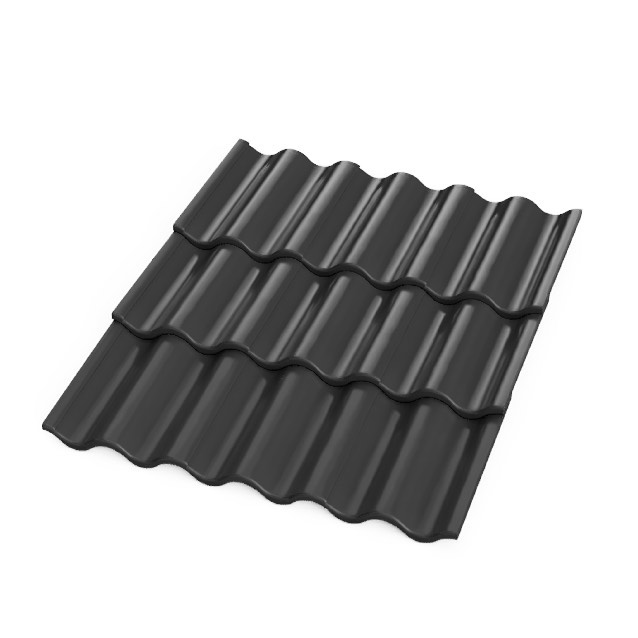
Yeah, using the LIDAR-sensor on the iPhone 12 Pro Max to 3D-scan roof tiles worked perfectly, thanks for asking 😅
Windows painted. I spray painted the dividers and parts that are normally made of metal with titanium white. The parts that are normally made of wood are roughed up with 40-grit sanding paper and then brush painted with Nordsjövit, to give the plastic a wooden look 😃
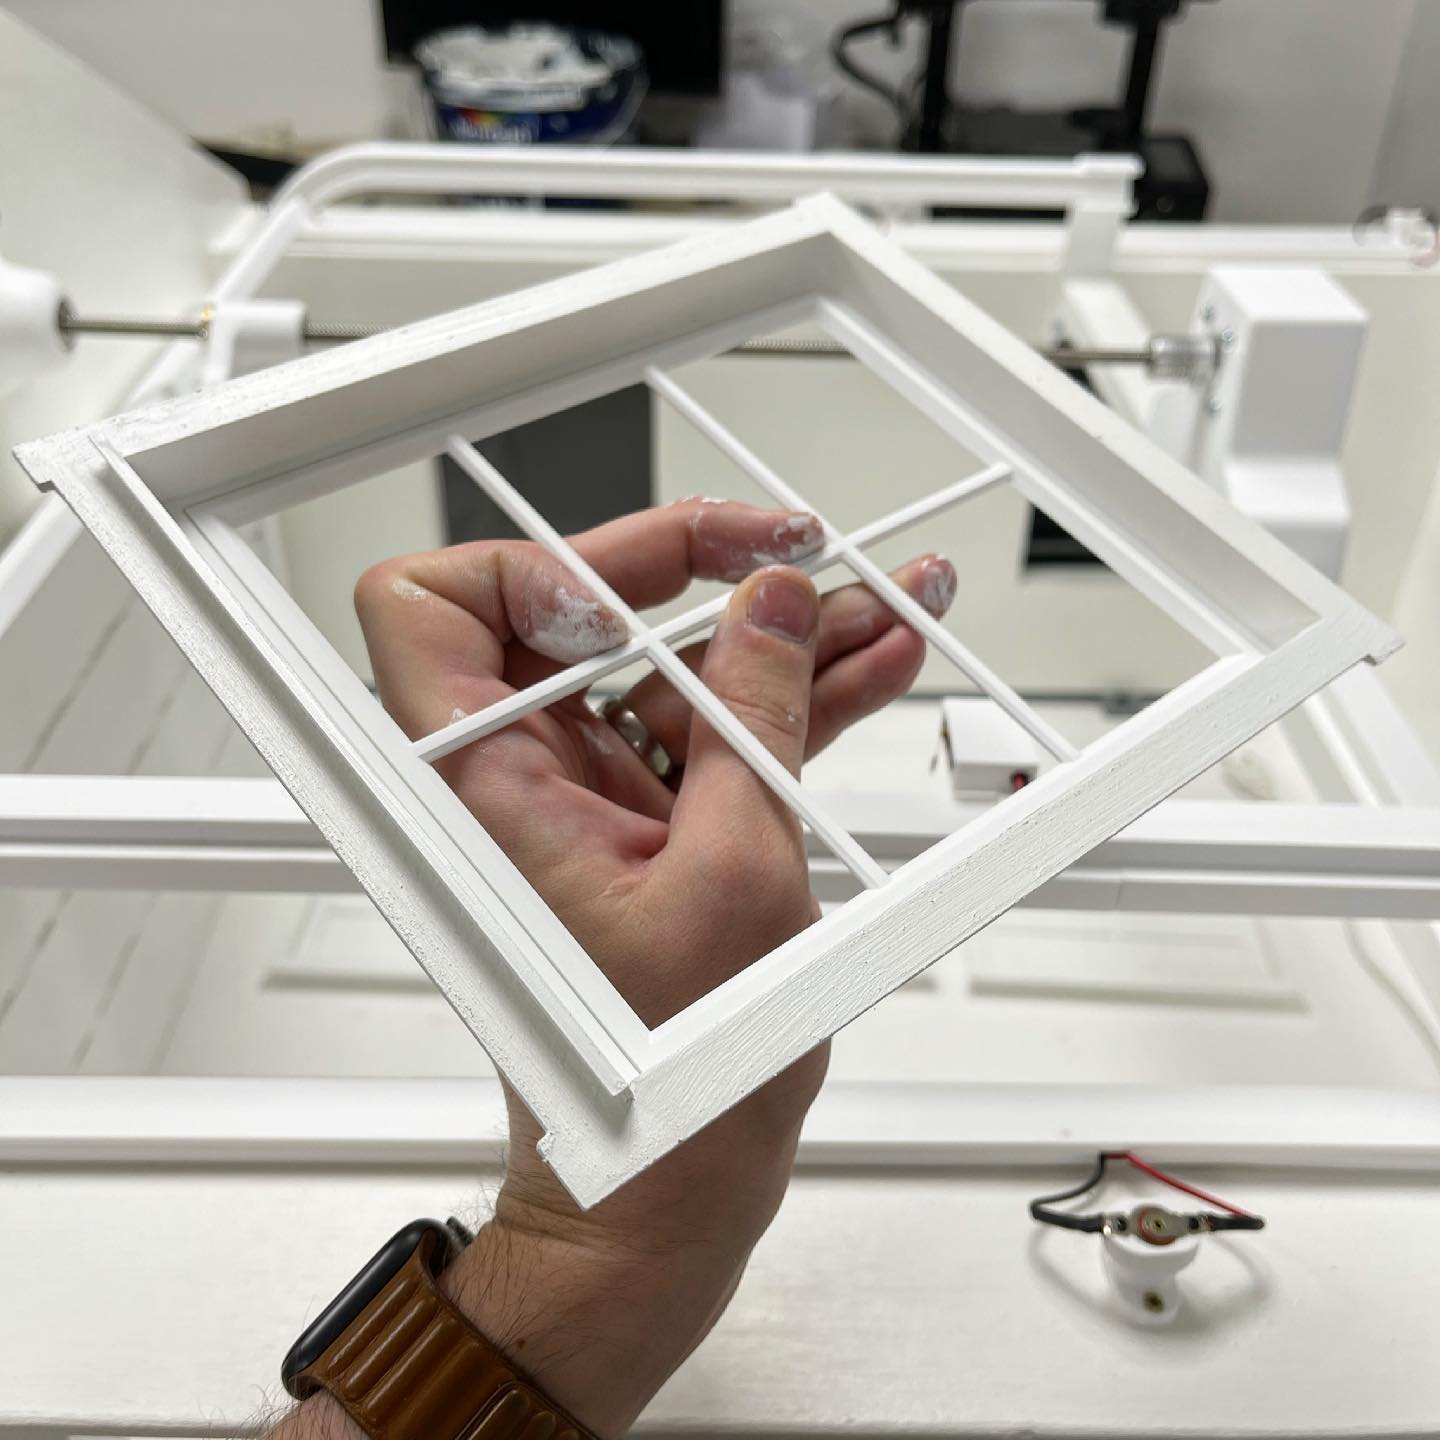
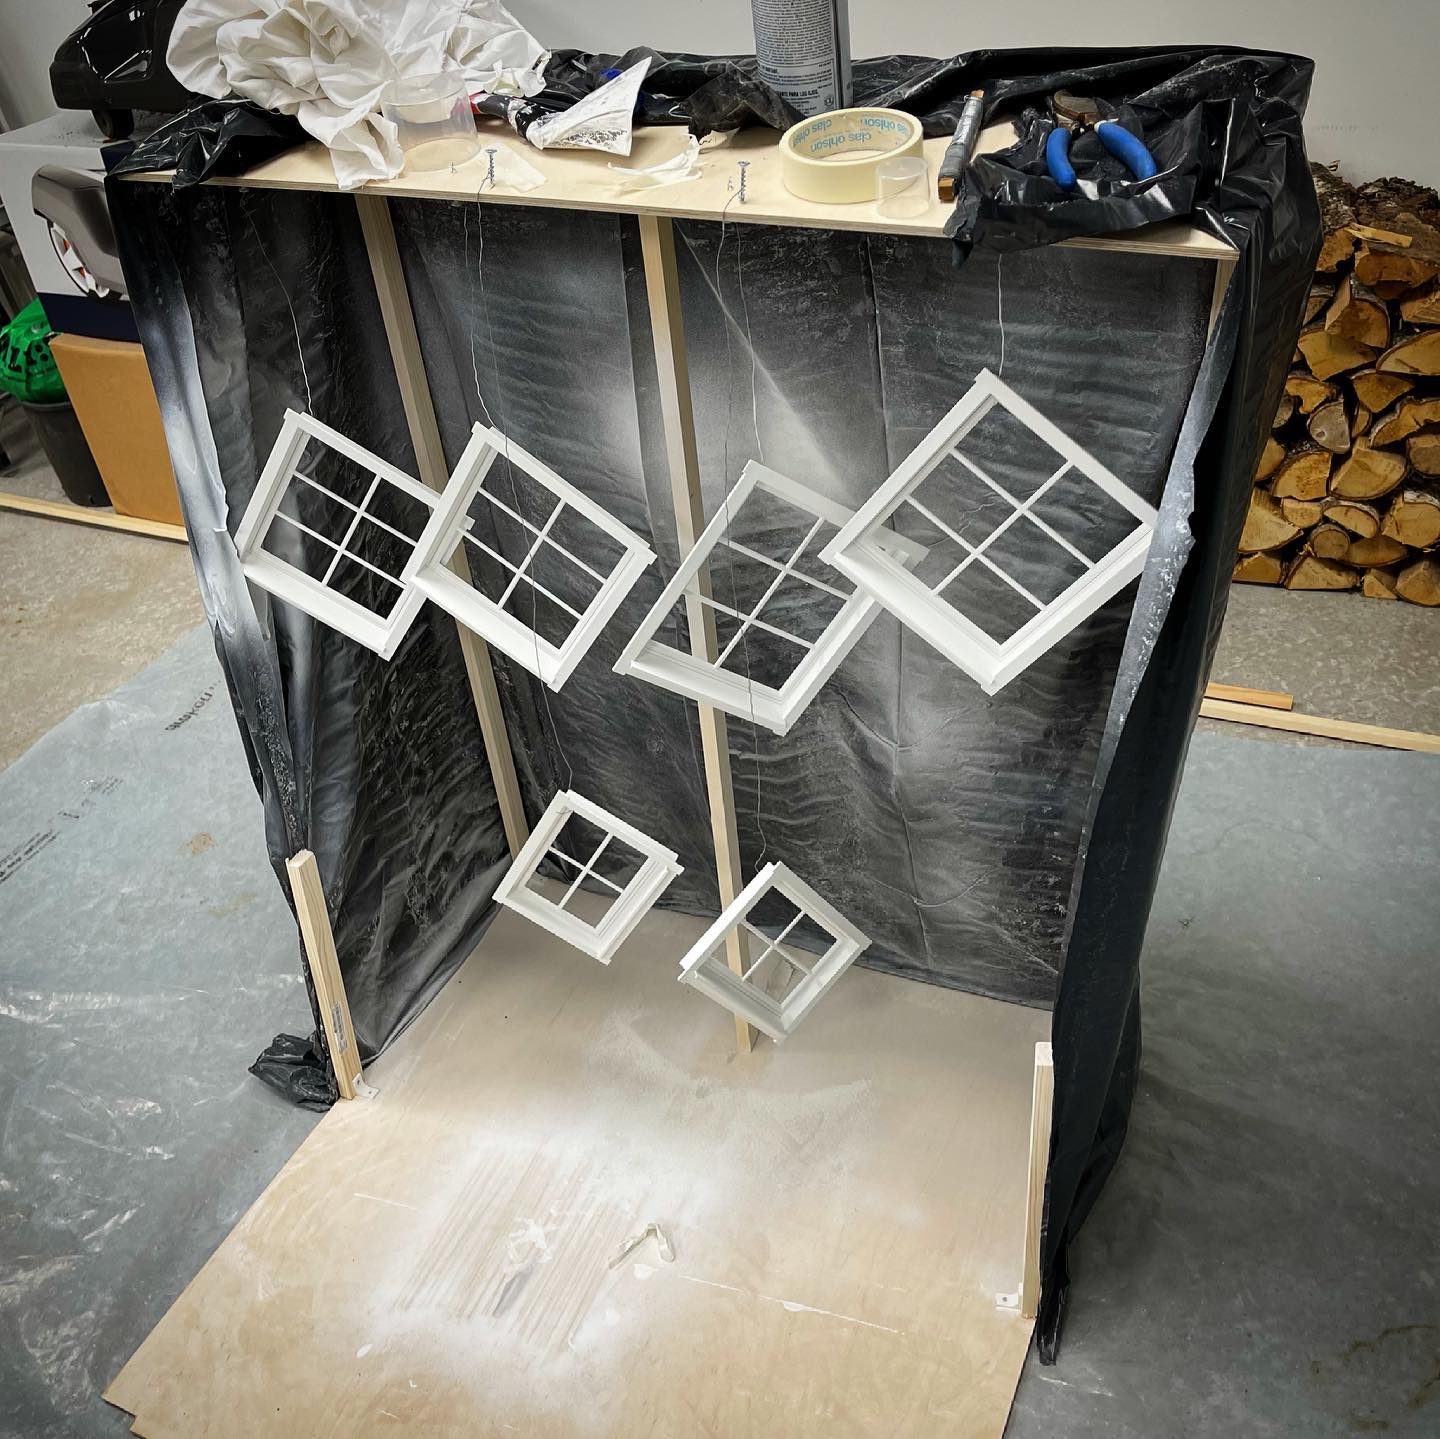
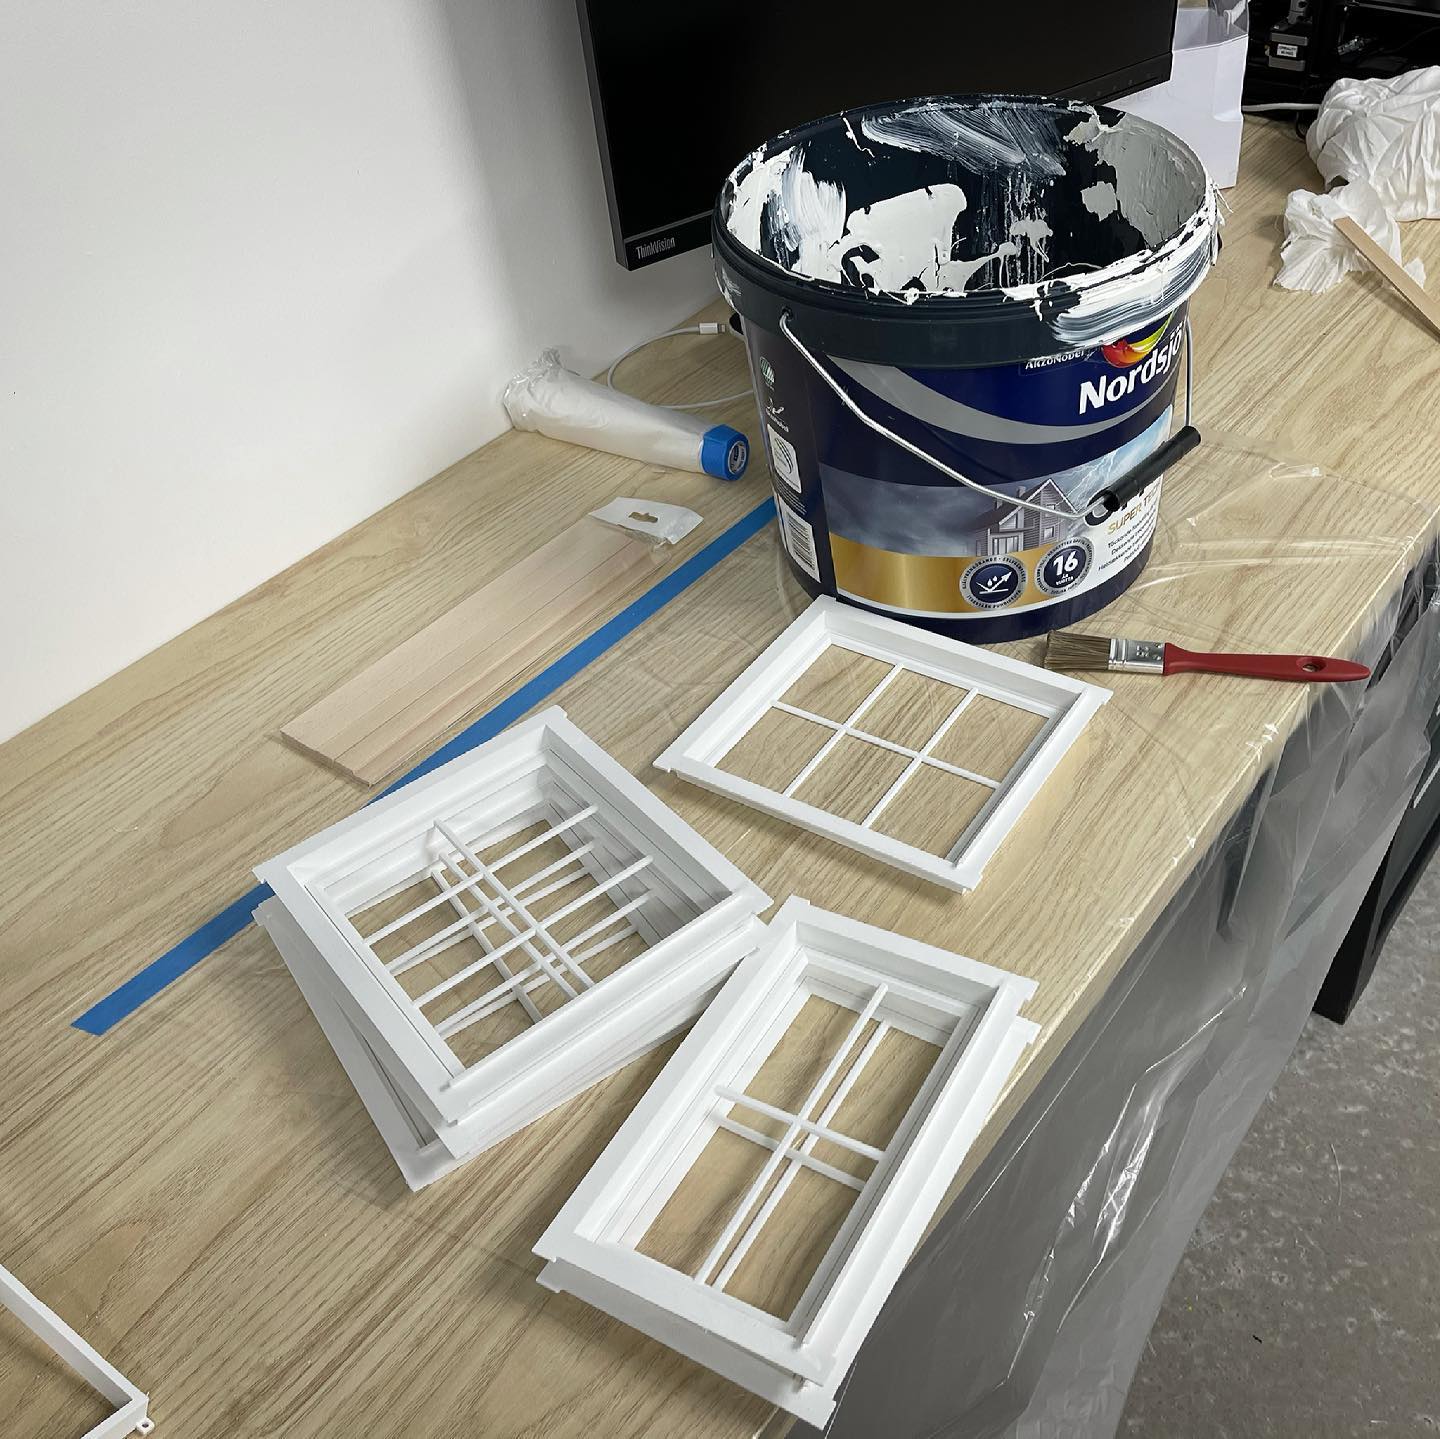
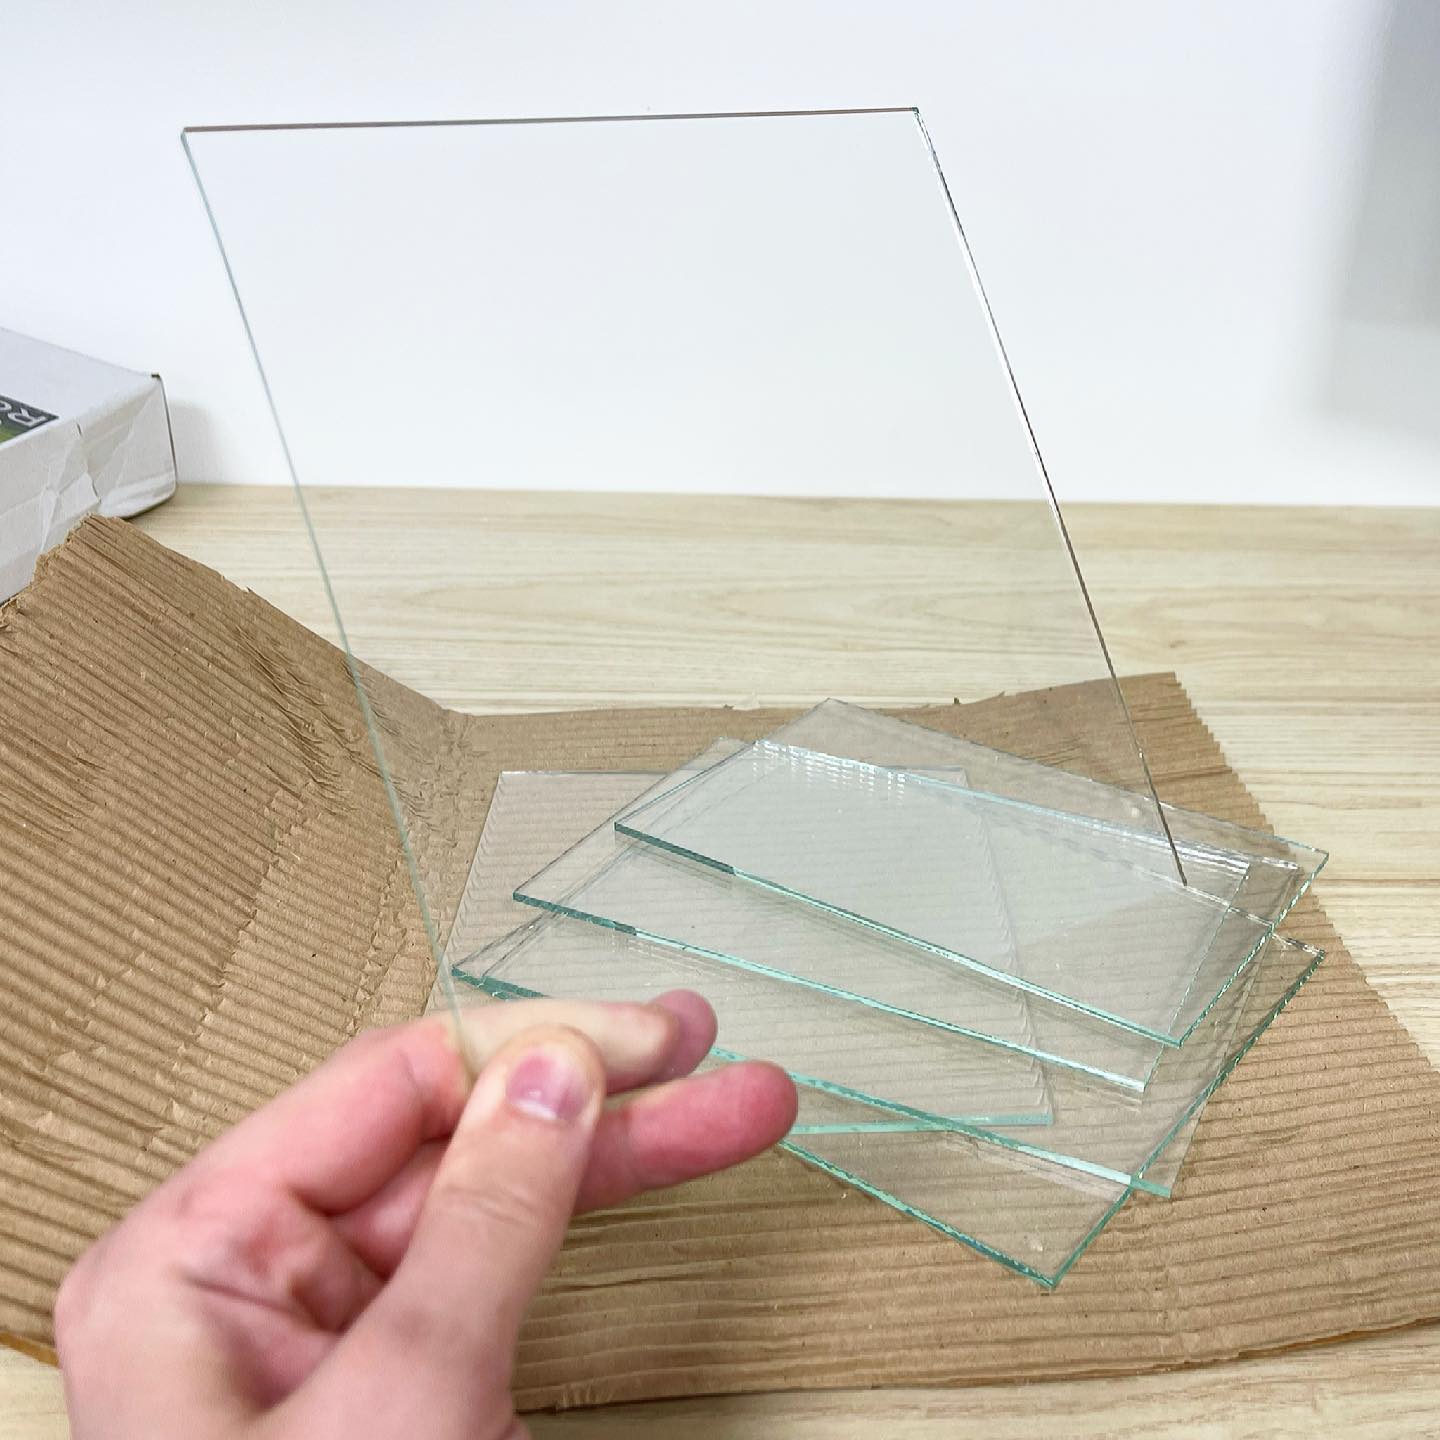
The glass for the windows 😃 Initially I planned to use acrylic glass but it just didn’t look realistic enough, so I went with regular 3 mm glass instead 👍🏻
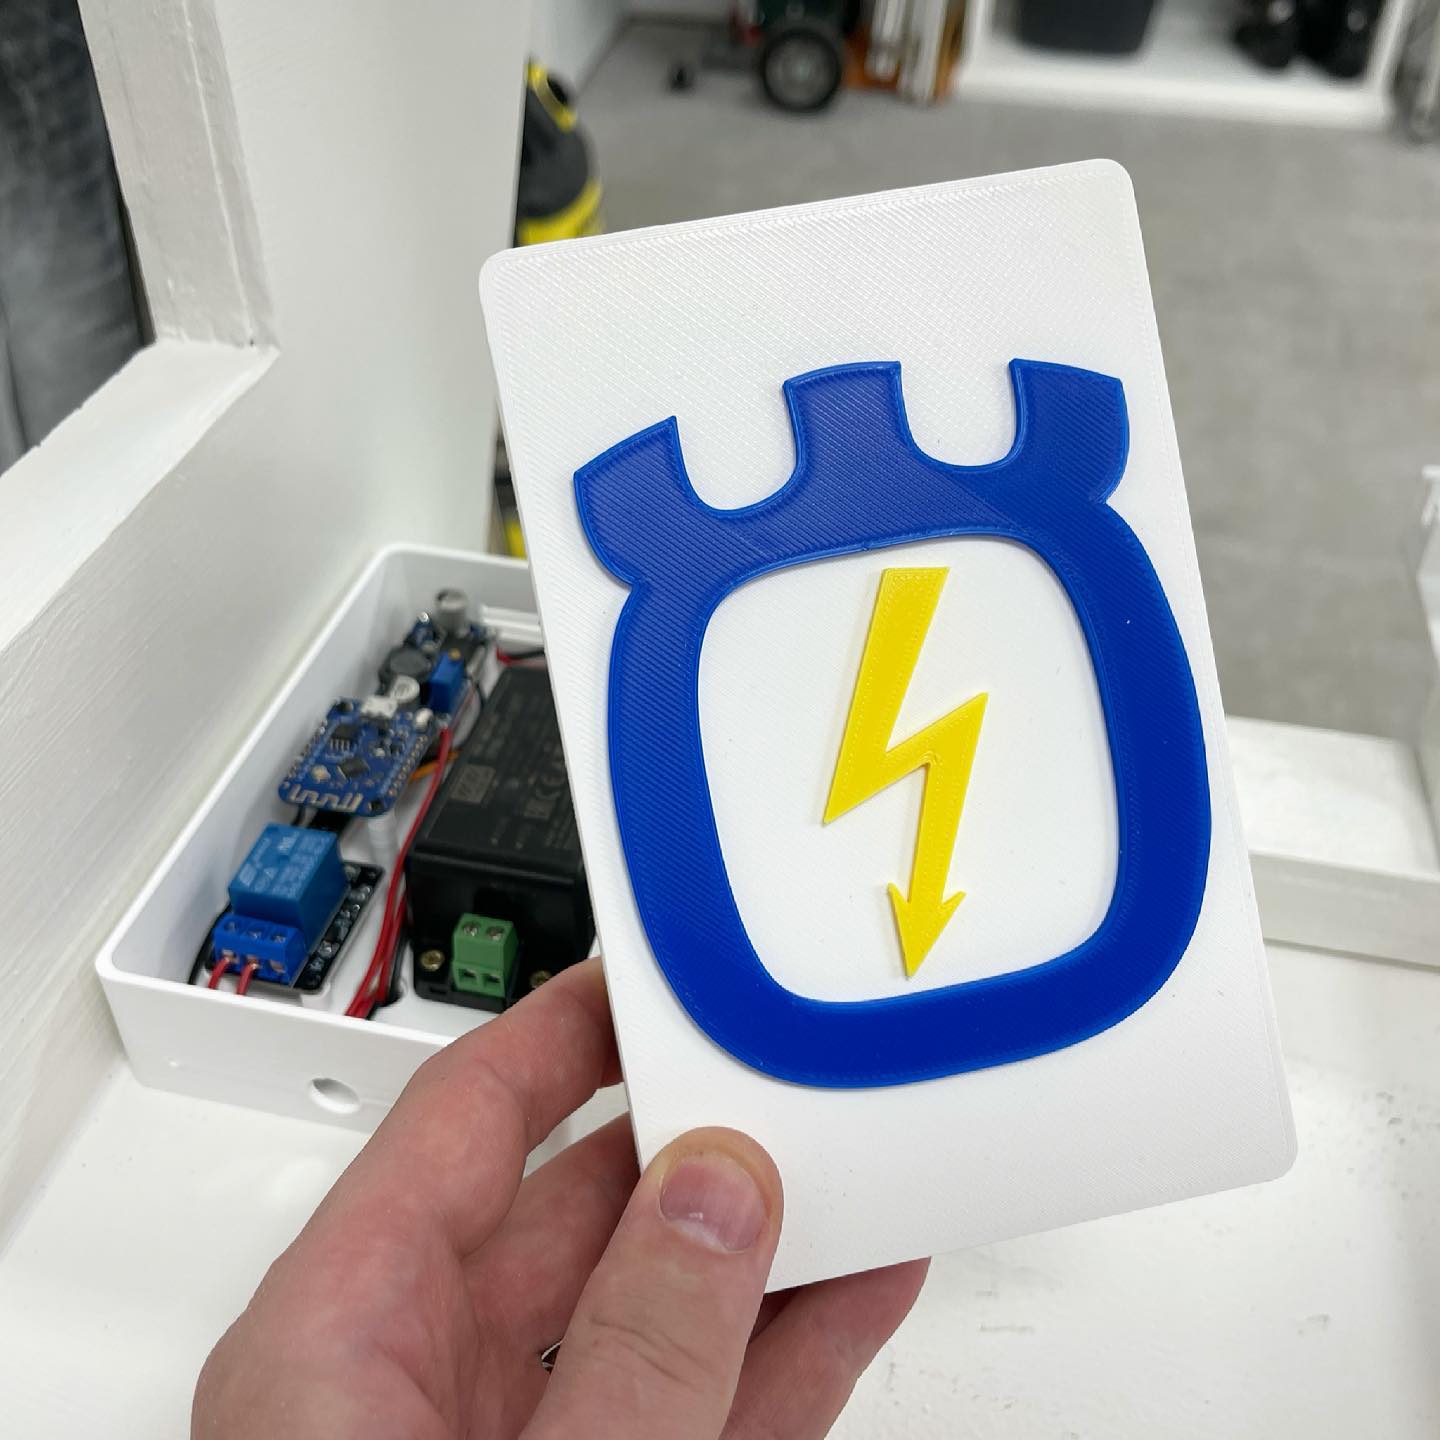
Got a little creative and redesigned the Husqvarna logo for the distribution box lid 😅 . . . . @husqvarnatradgard @husqvarnahage @husqvarnaaustralia @husqvarna_danmark @husqvarnasverige @husqvarnausa @husqvarna_de @husqvarnaworldwide
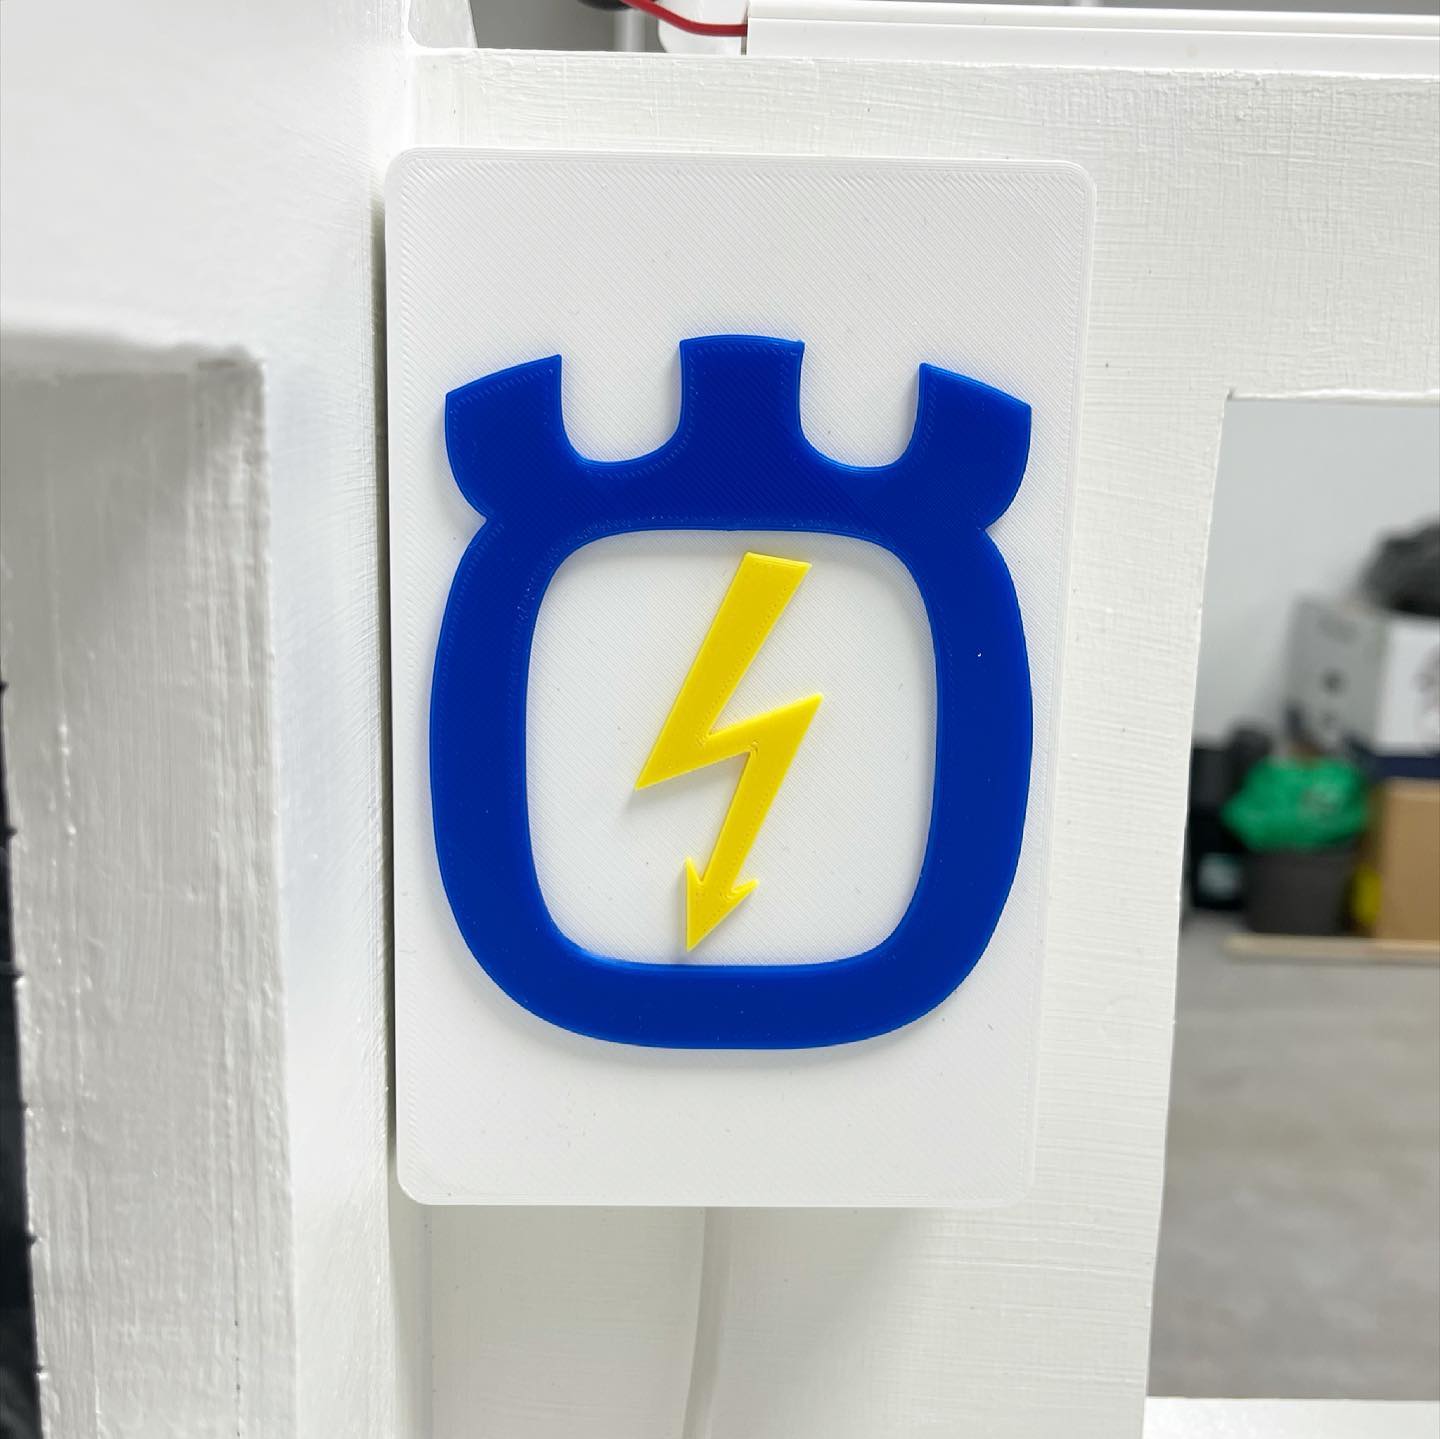
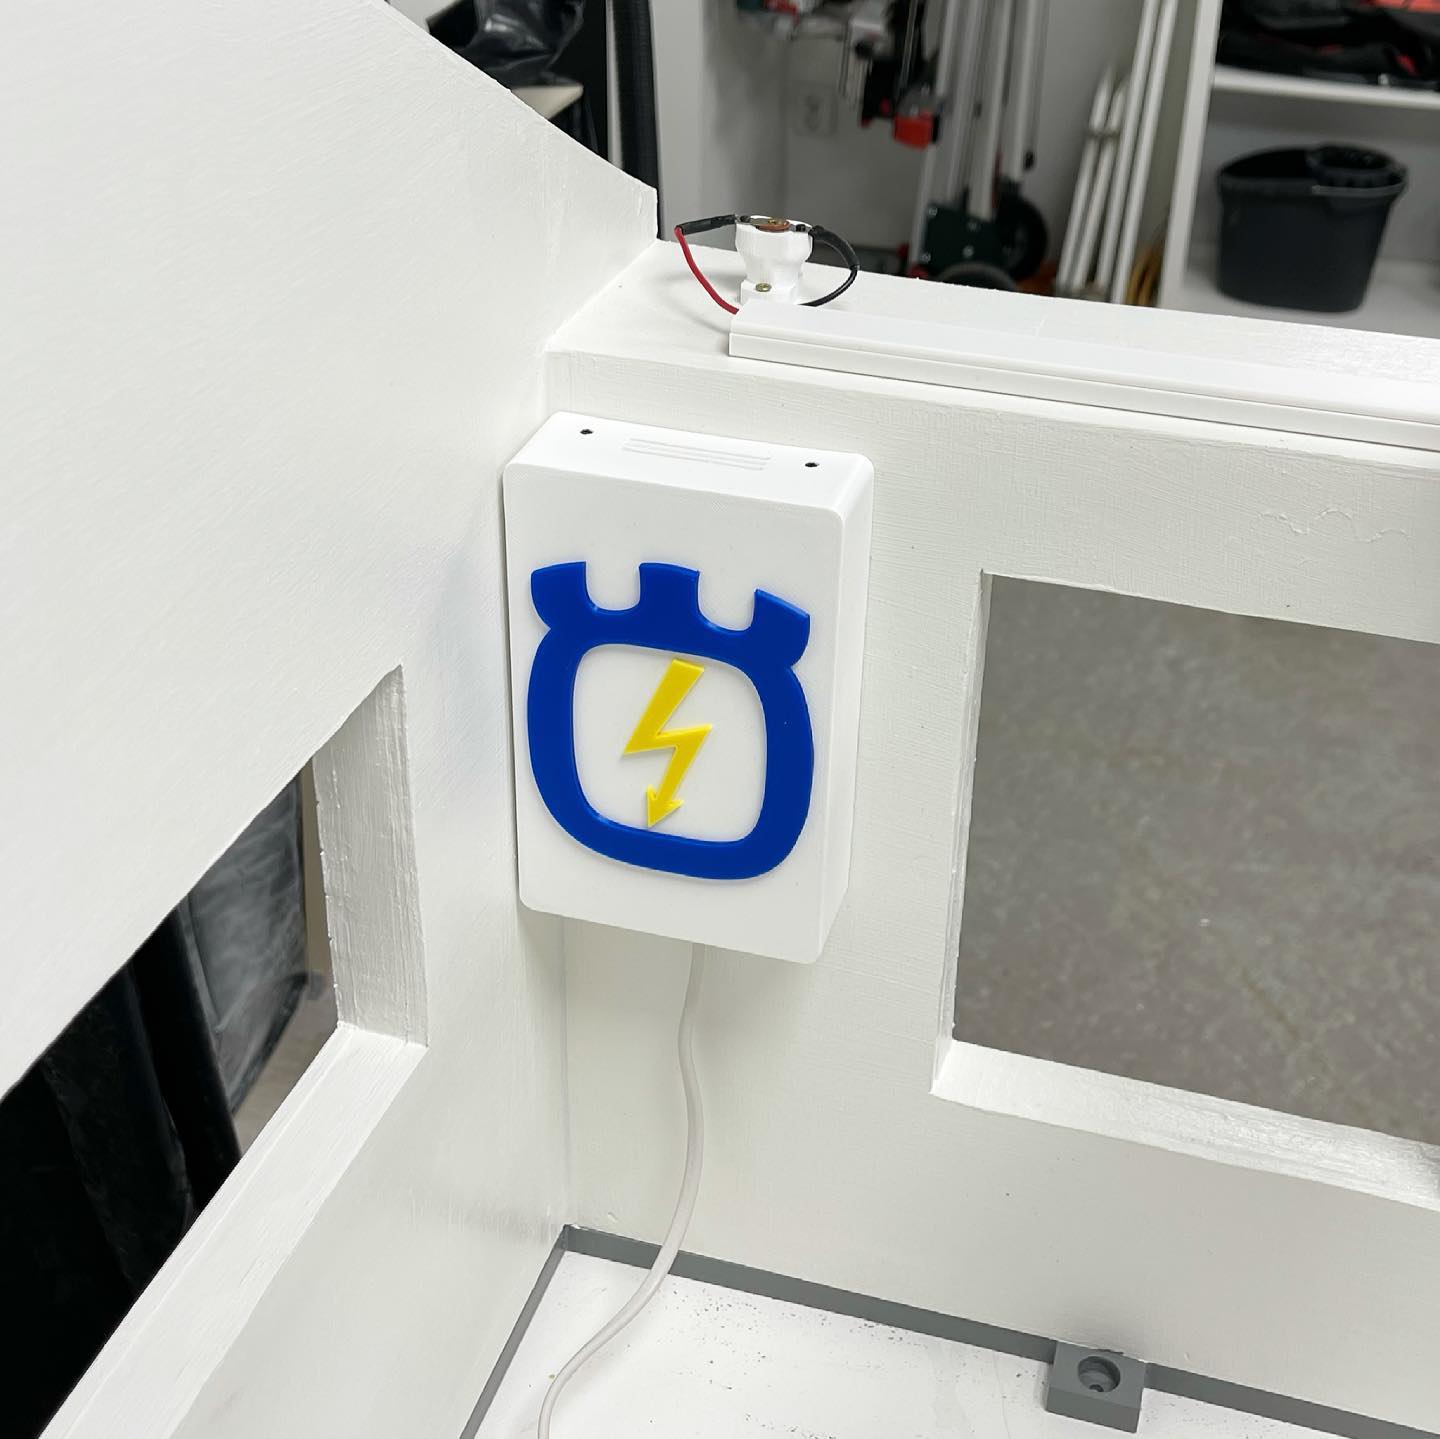
The distribution box with the controller for the floodlights, that also provides power for the door motor 😃 The lights will be synced to sunset/sunrise, of course 😋
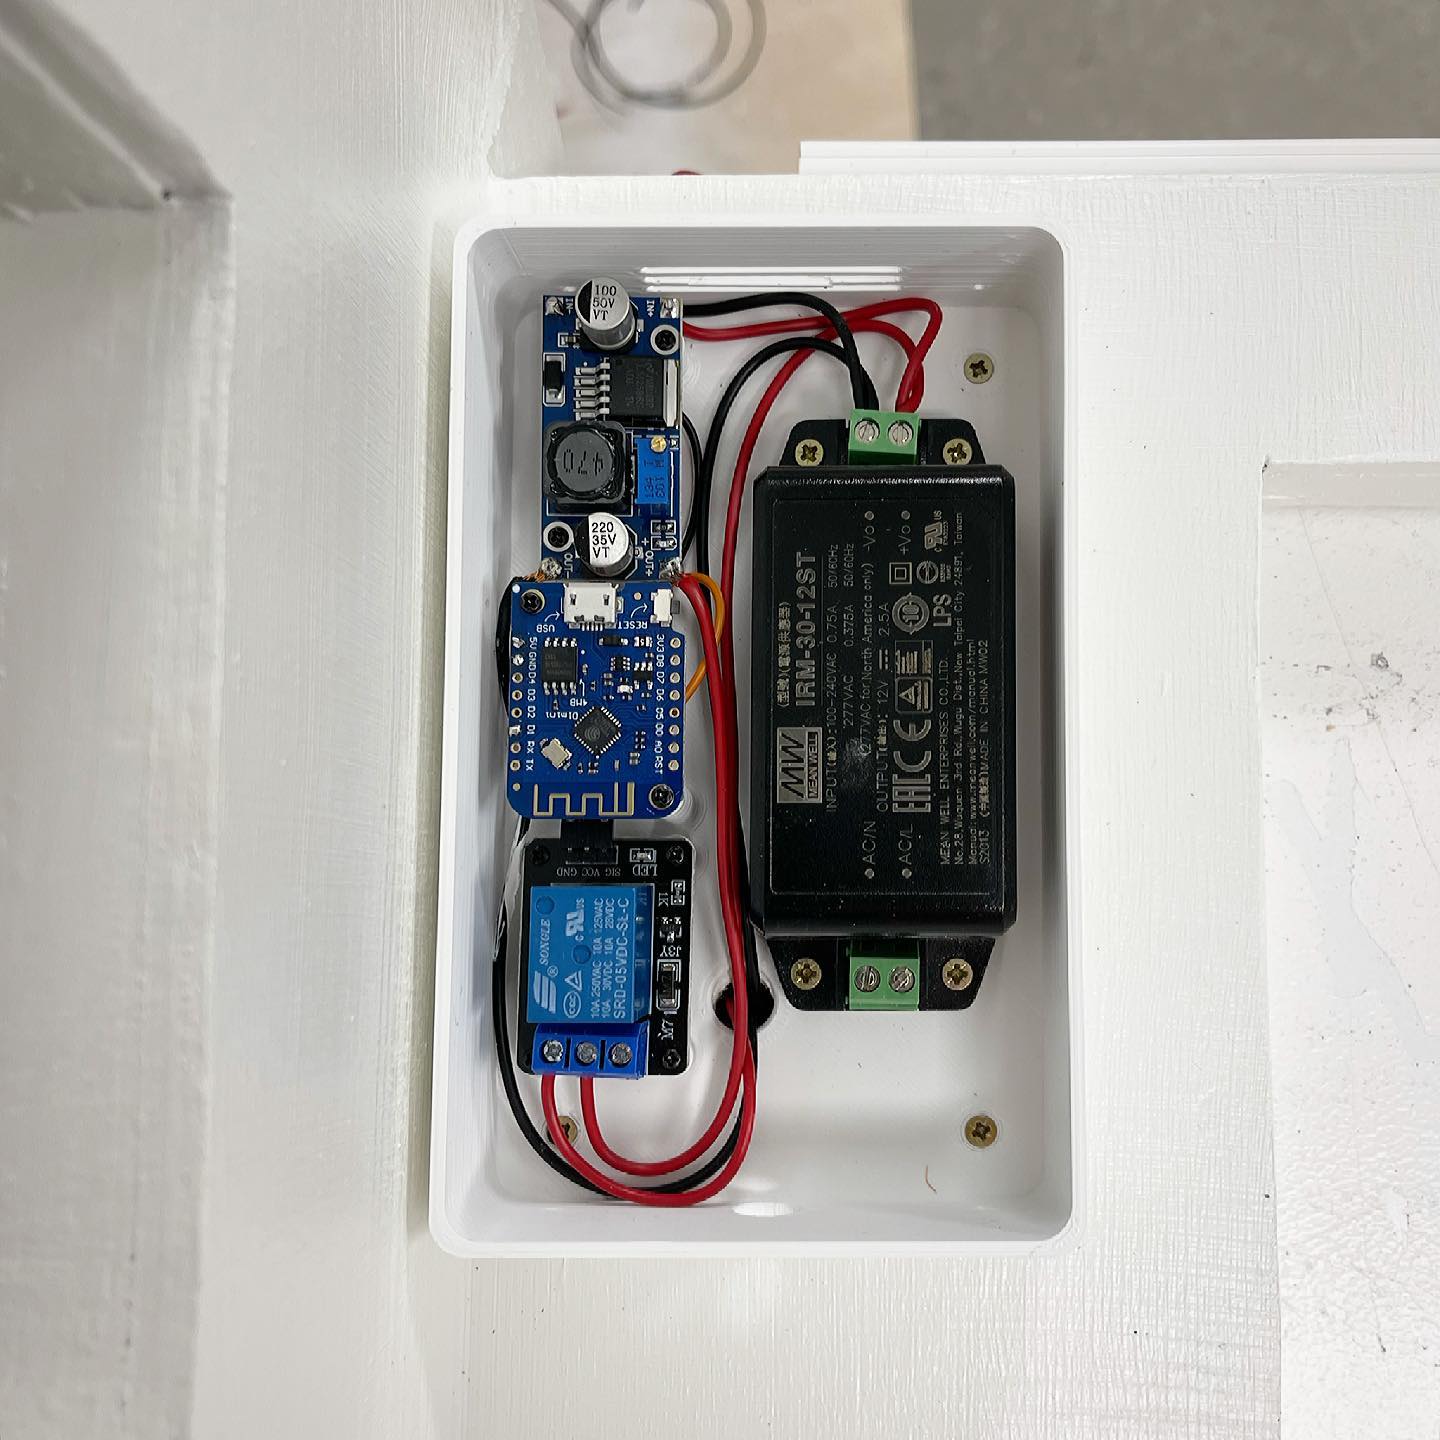
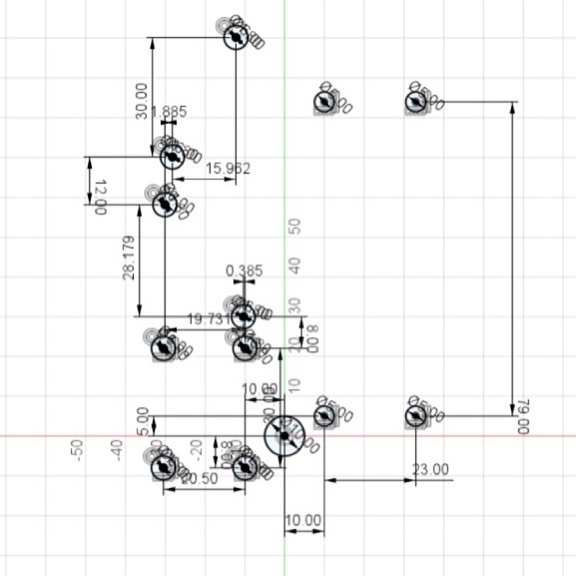
One of the challenges of using very small electronic components in a very limited space. Everything needs to be dimensioned very exactly and after a while you lose track of what you’re doing 🤷🏻♂️
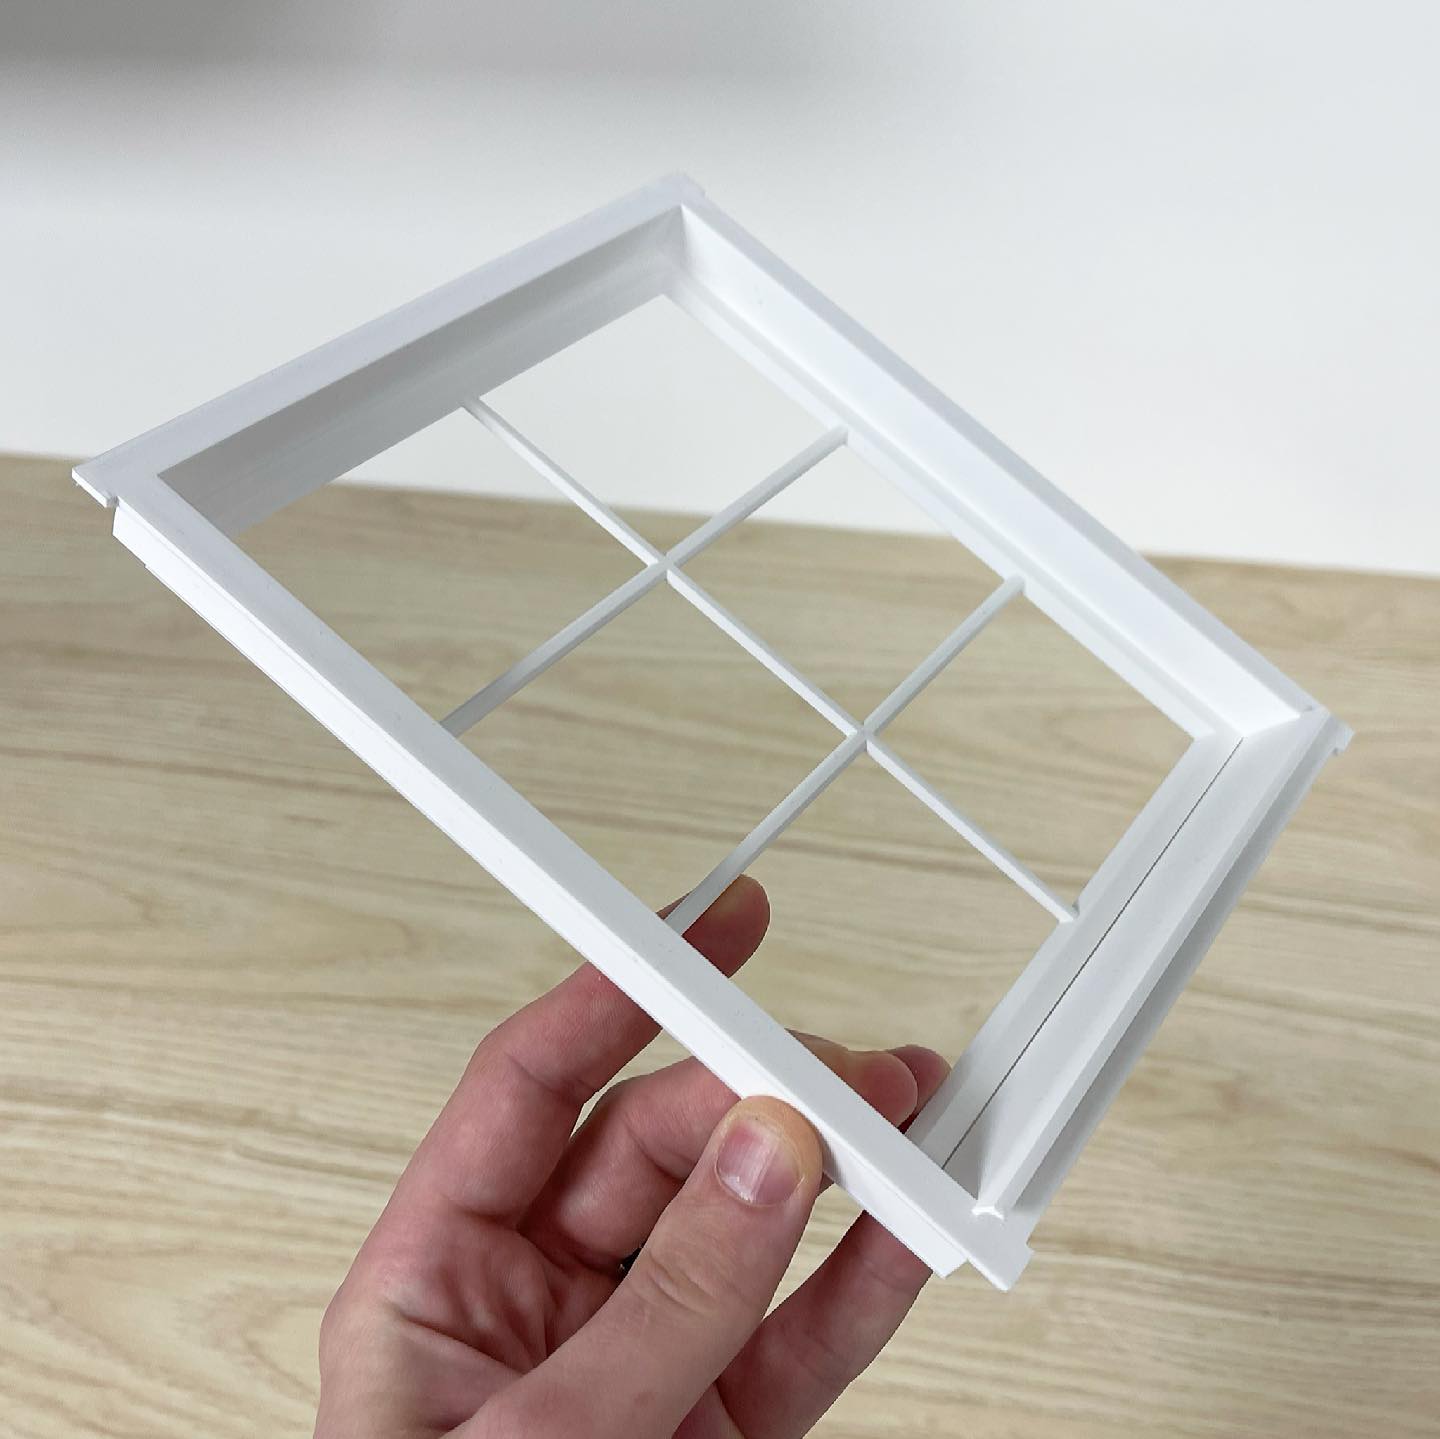
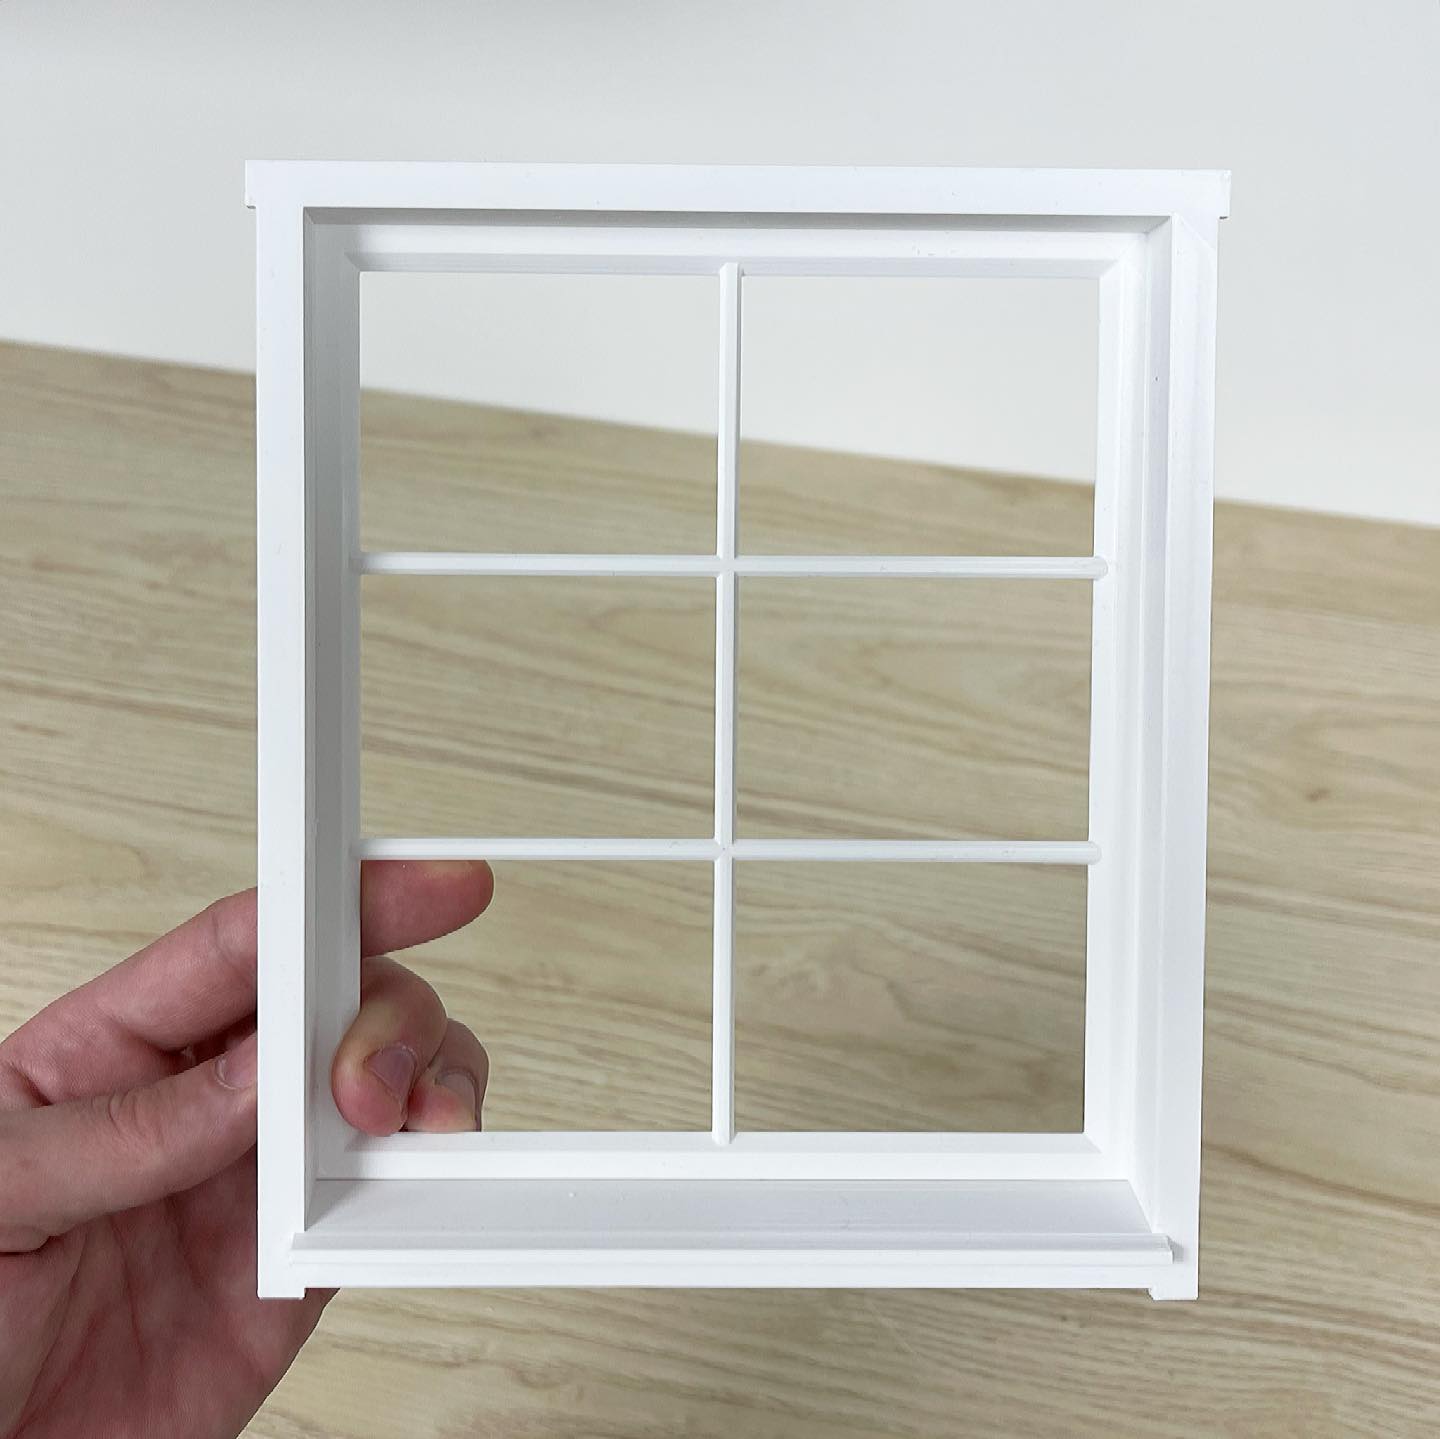
Windows on the to do-list at the moment 😃 A little trickier than expected with all the angles/chamfers, but turned out pretty nice I think 👍🏻

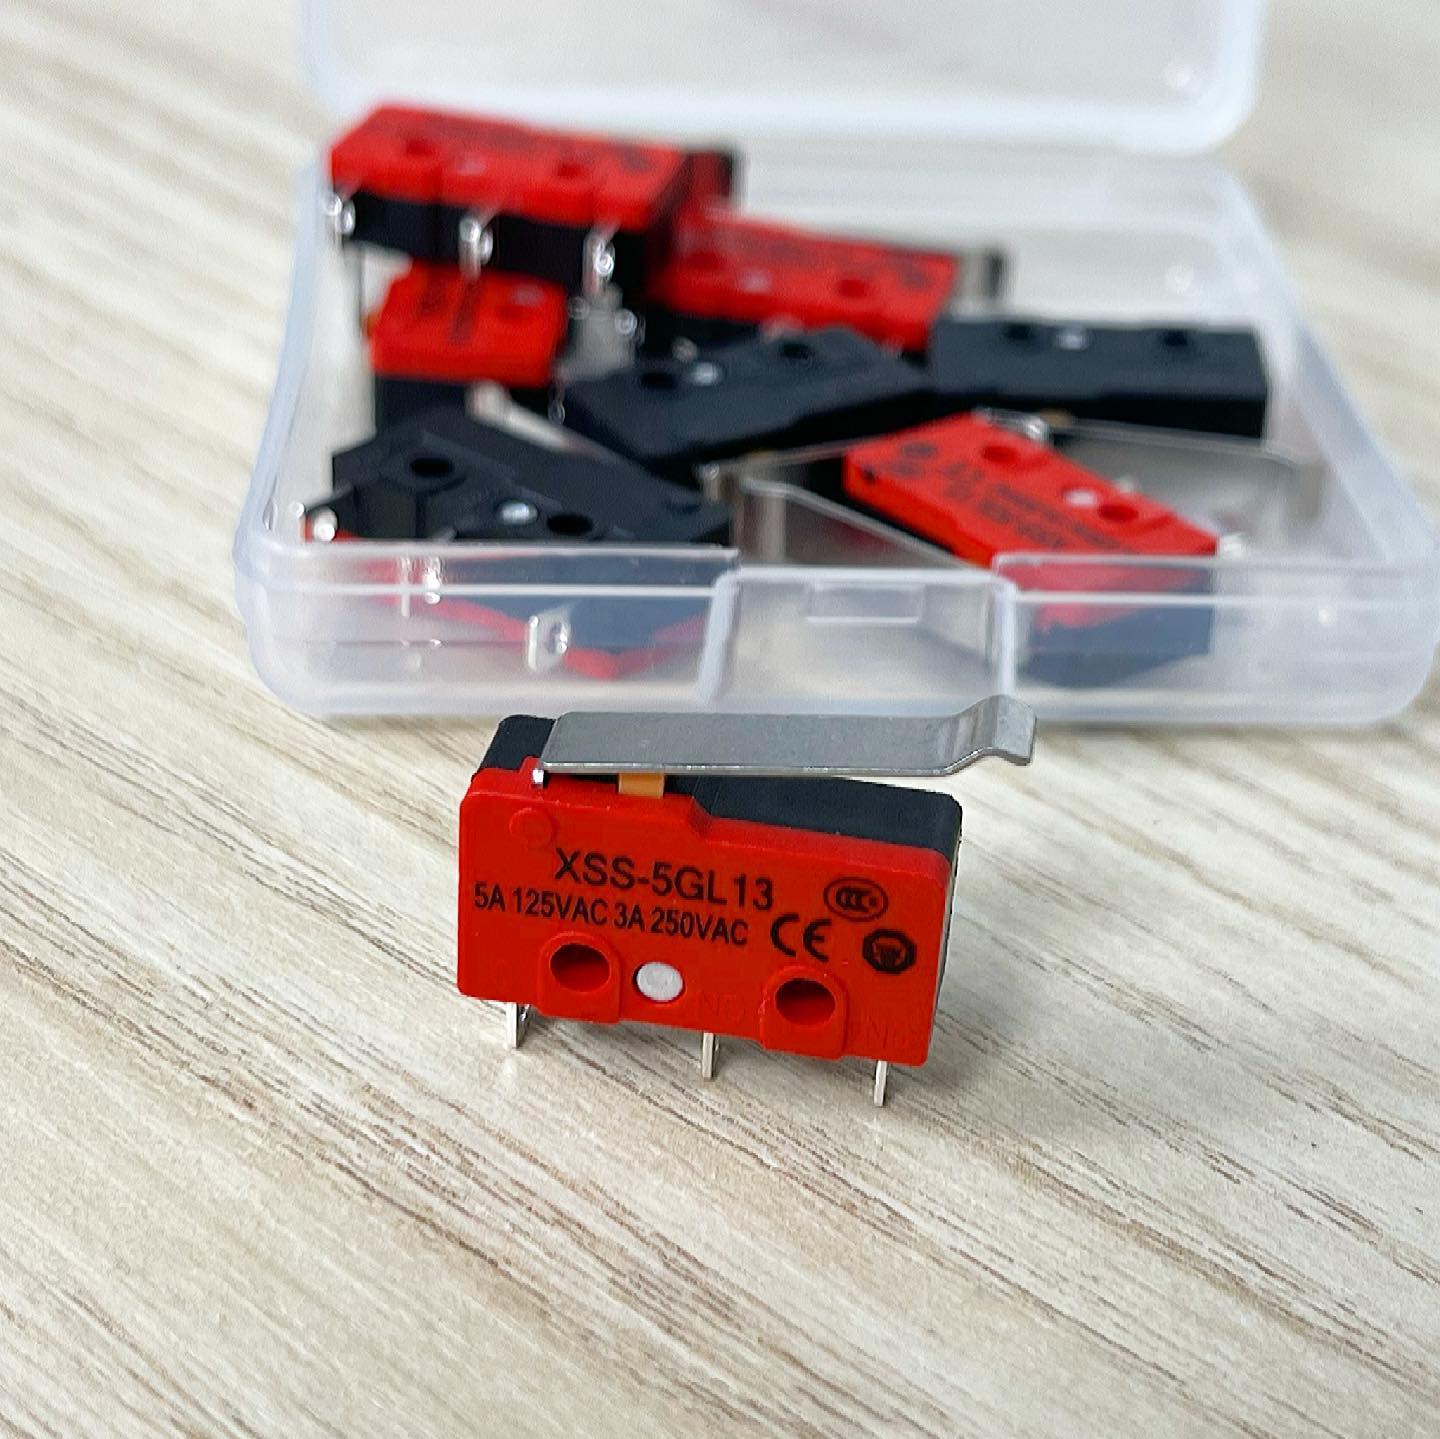
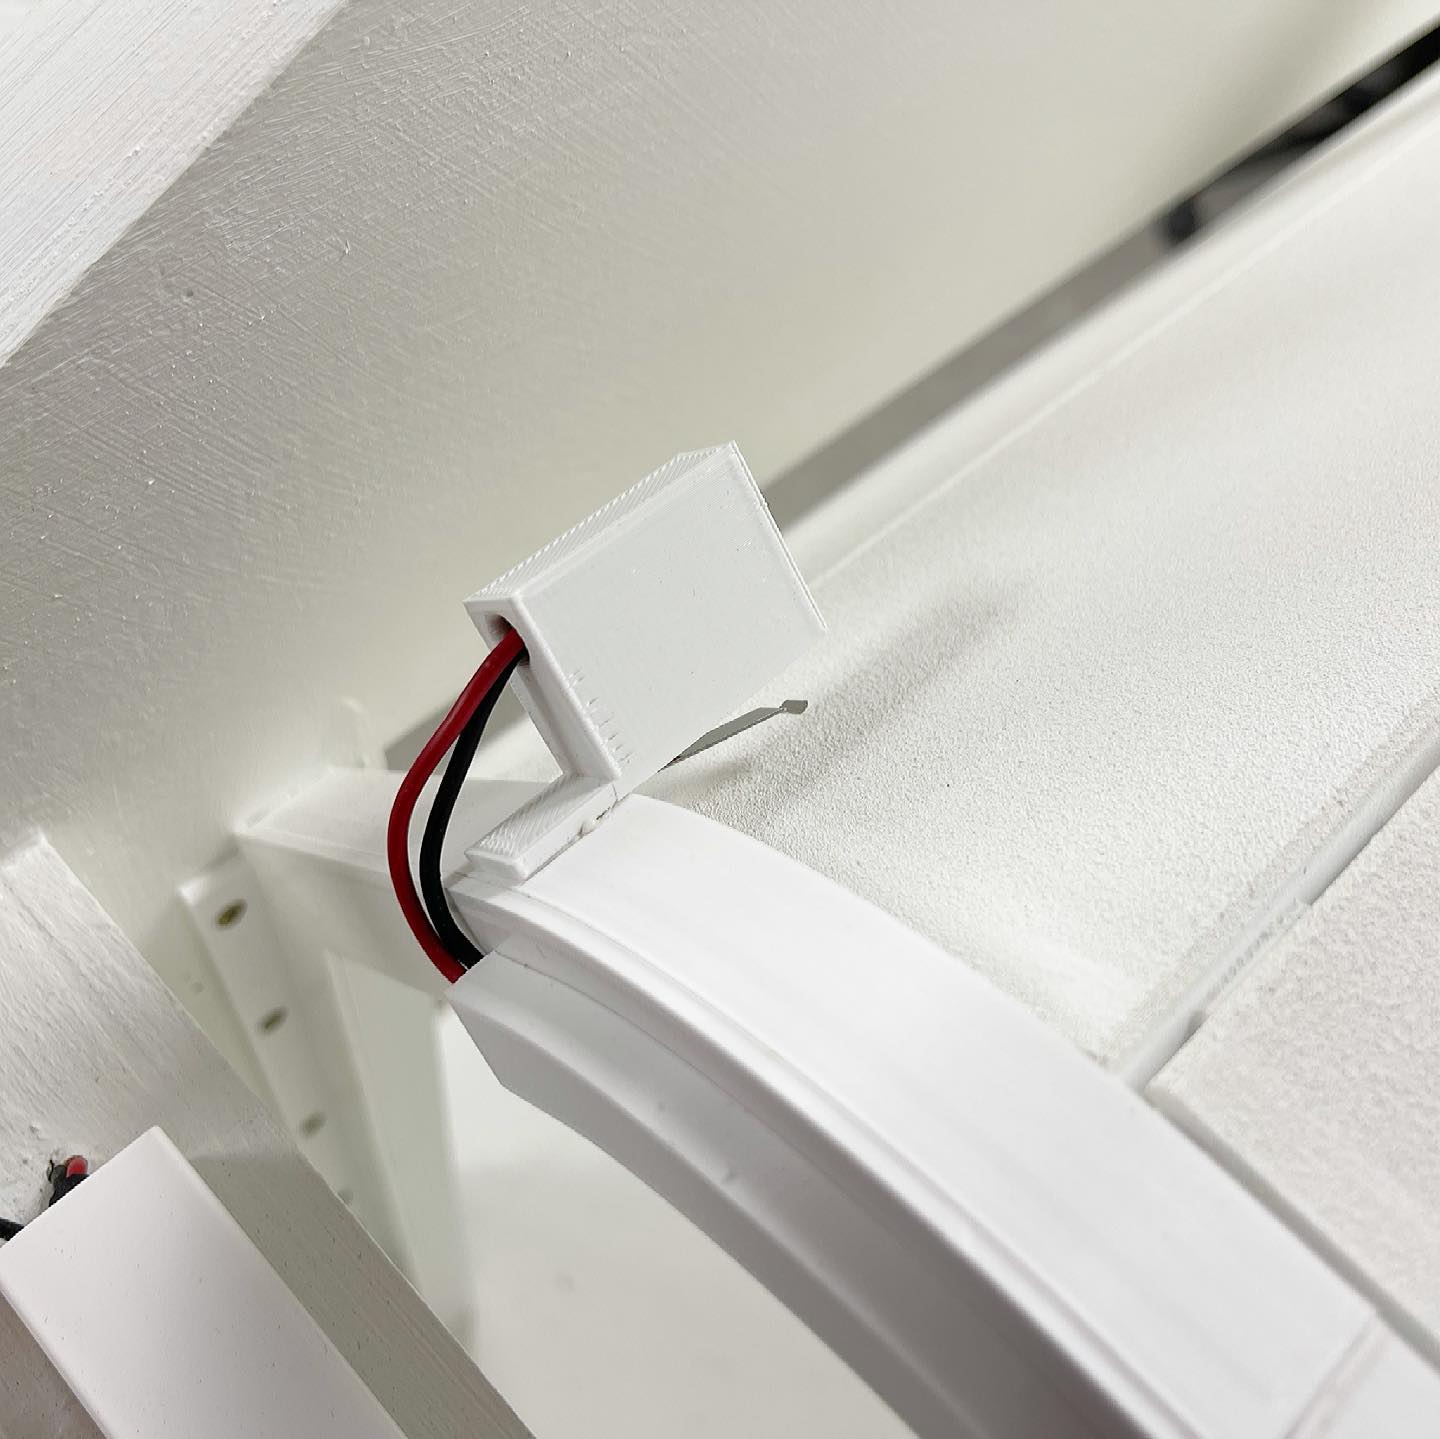
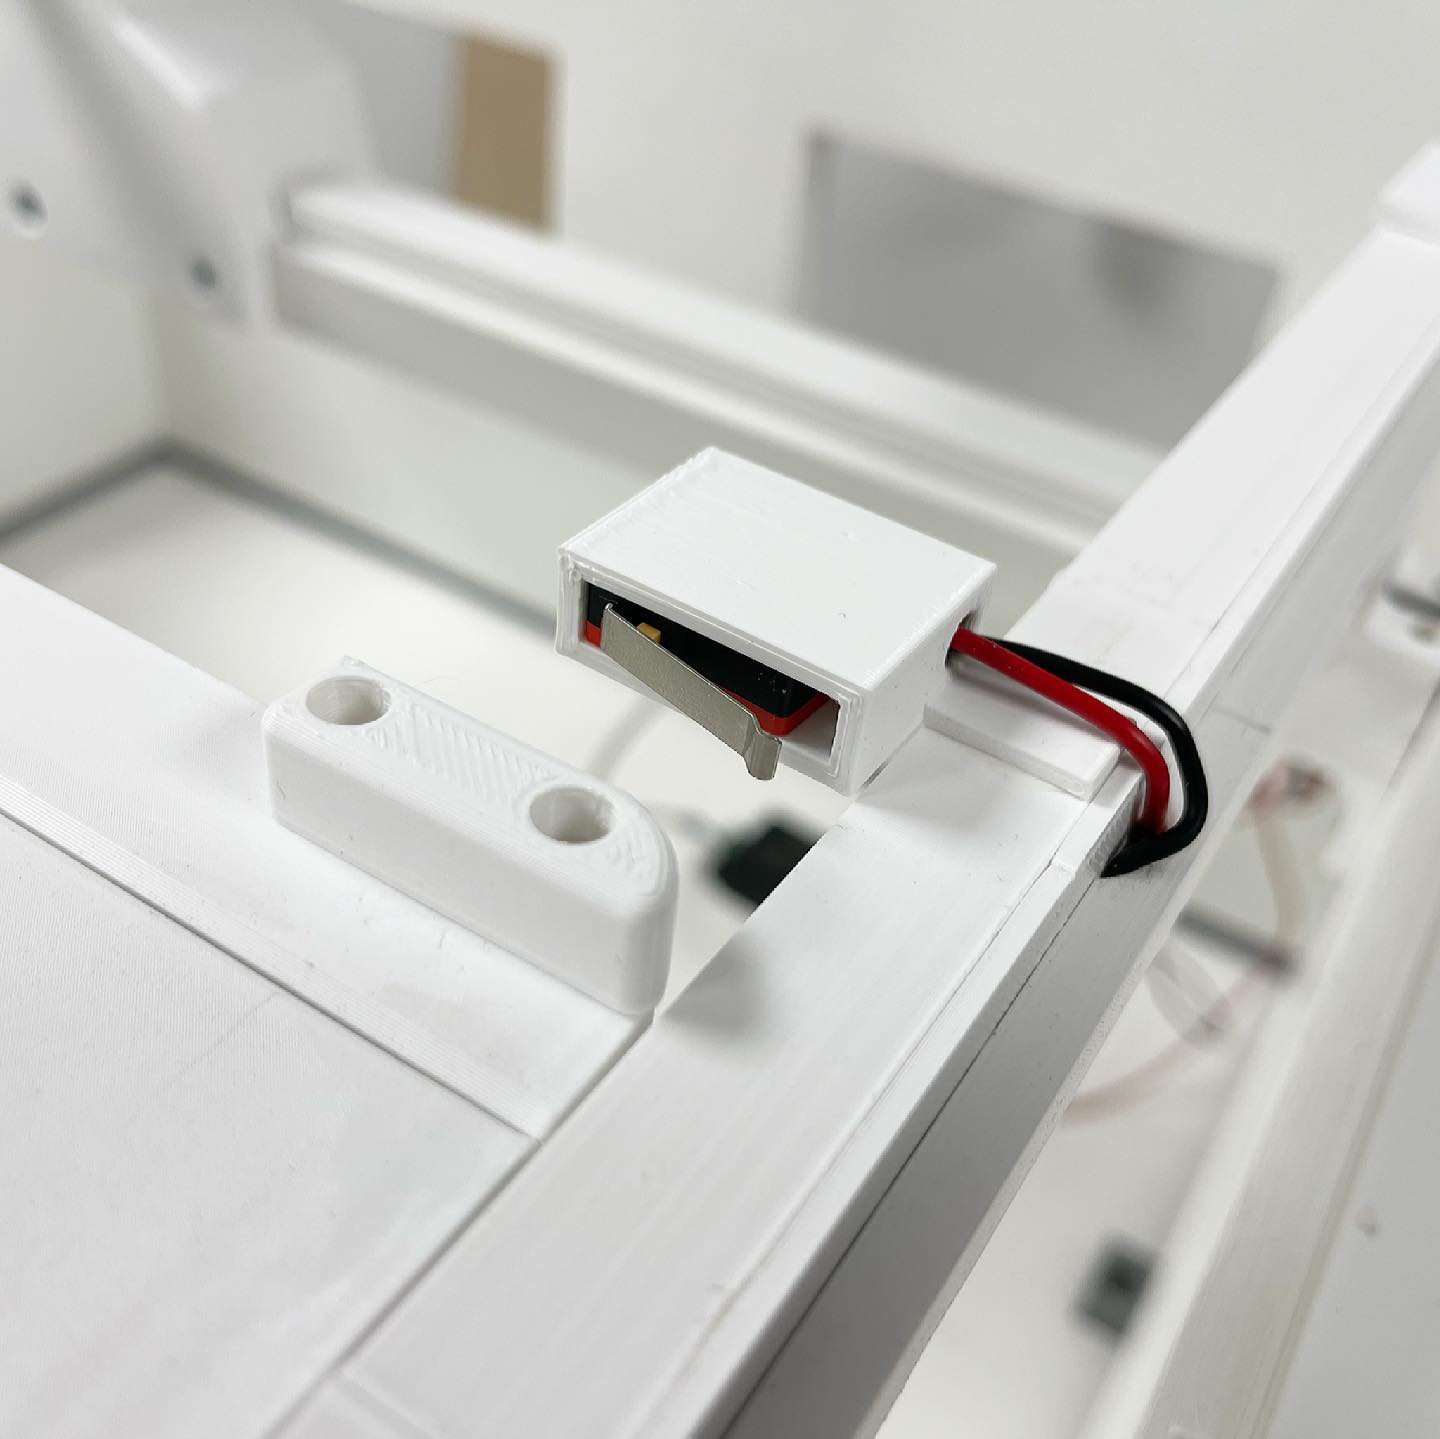
I’ve gotten a lot of question about how end stops are handled, so the motor knows when the door is fully open/closed. Initially I planned to trust that the motor always rotate the exact number of steps, every time, but that would never work reliably. Instead I’ve now mounted small micro switches that trigger when the door is fully opened/closed, telling the micro controller that the door has reached its destination. This stops the motor and reverses the door 5 mm, so the switch releases. I’ve also programmed it so the door opens fully when the controller boots up, so potential power failures won’t be a problem. Everything is hardcoded on the micro controller itself, so it works even if the network or Home Assistant is down ✅👍🏻
What a milestone! 😃 Still a lot of fine tuning and logic left to work on, but still... it works! ✅
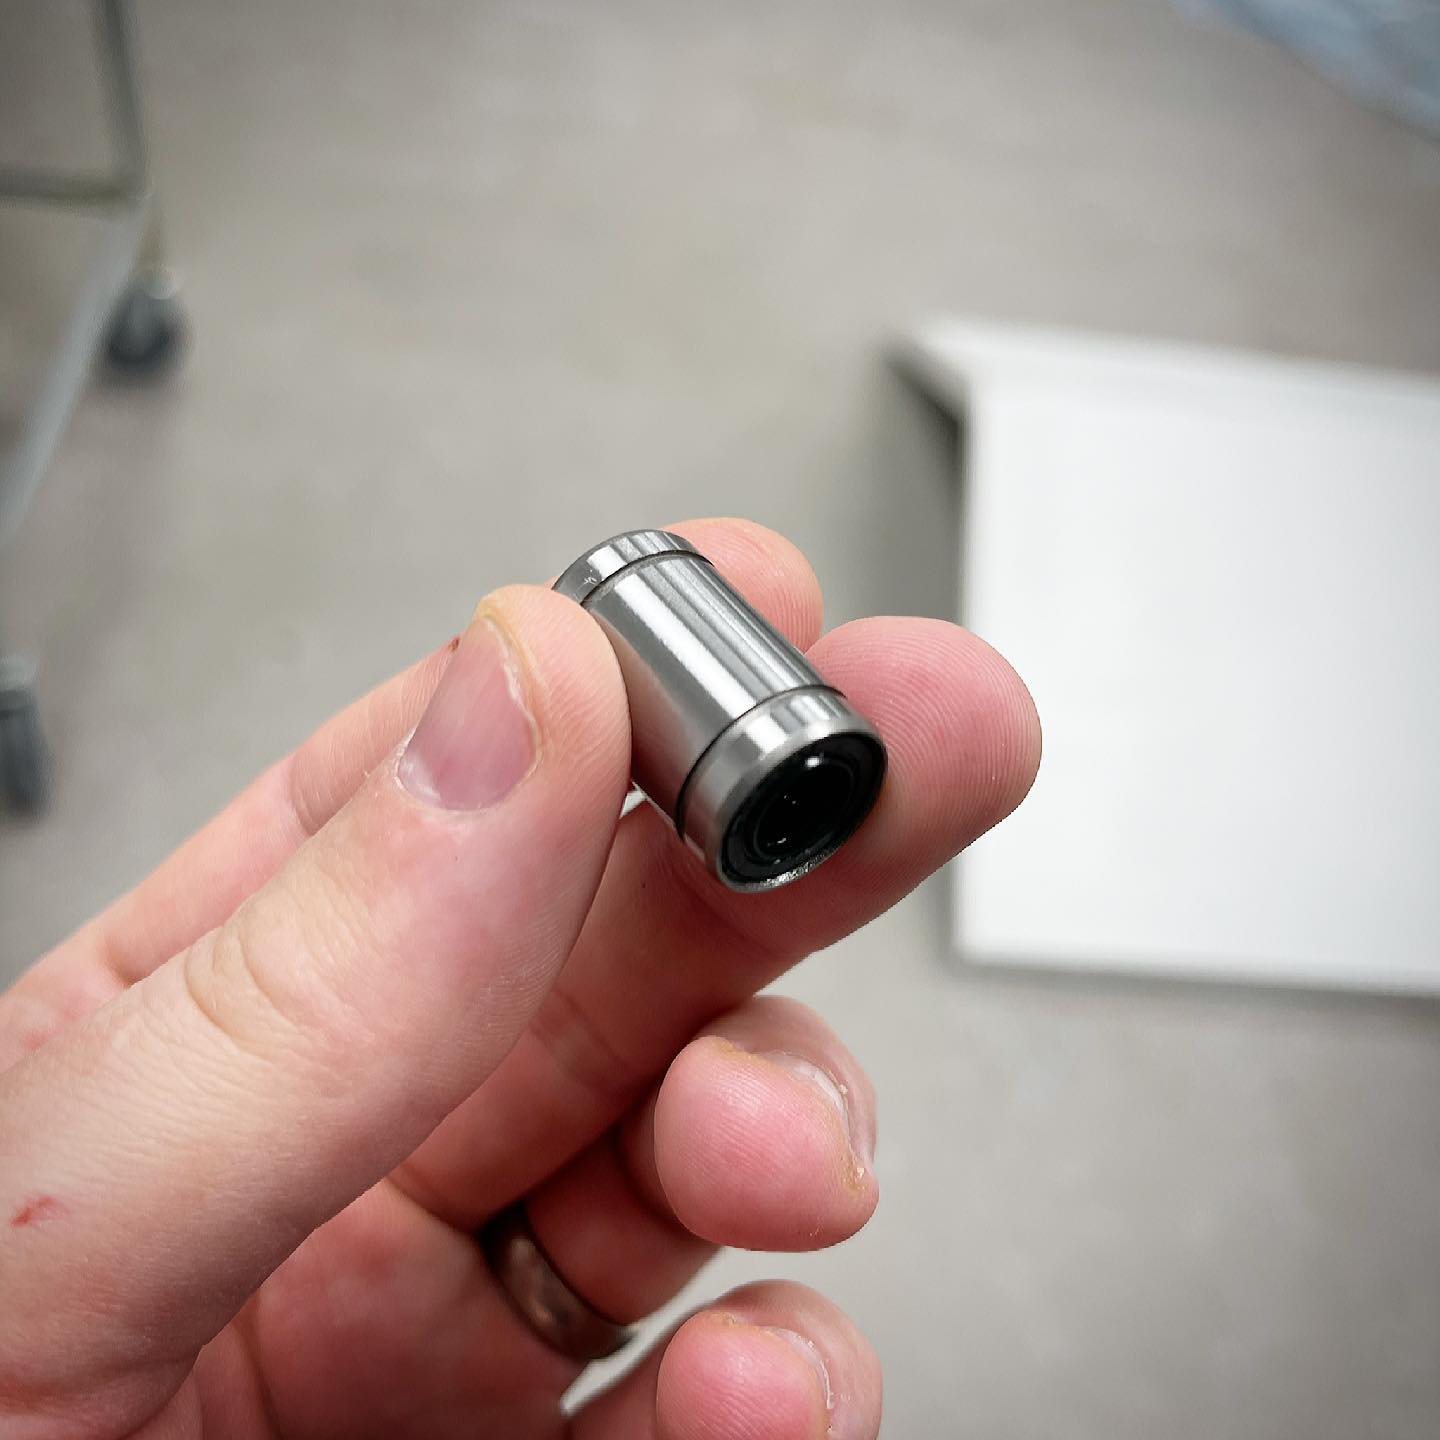
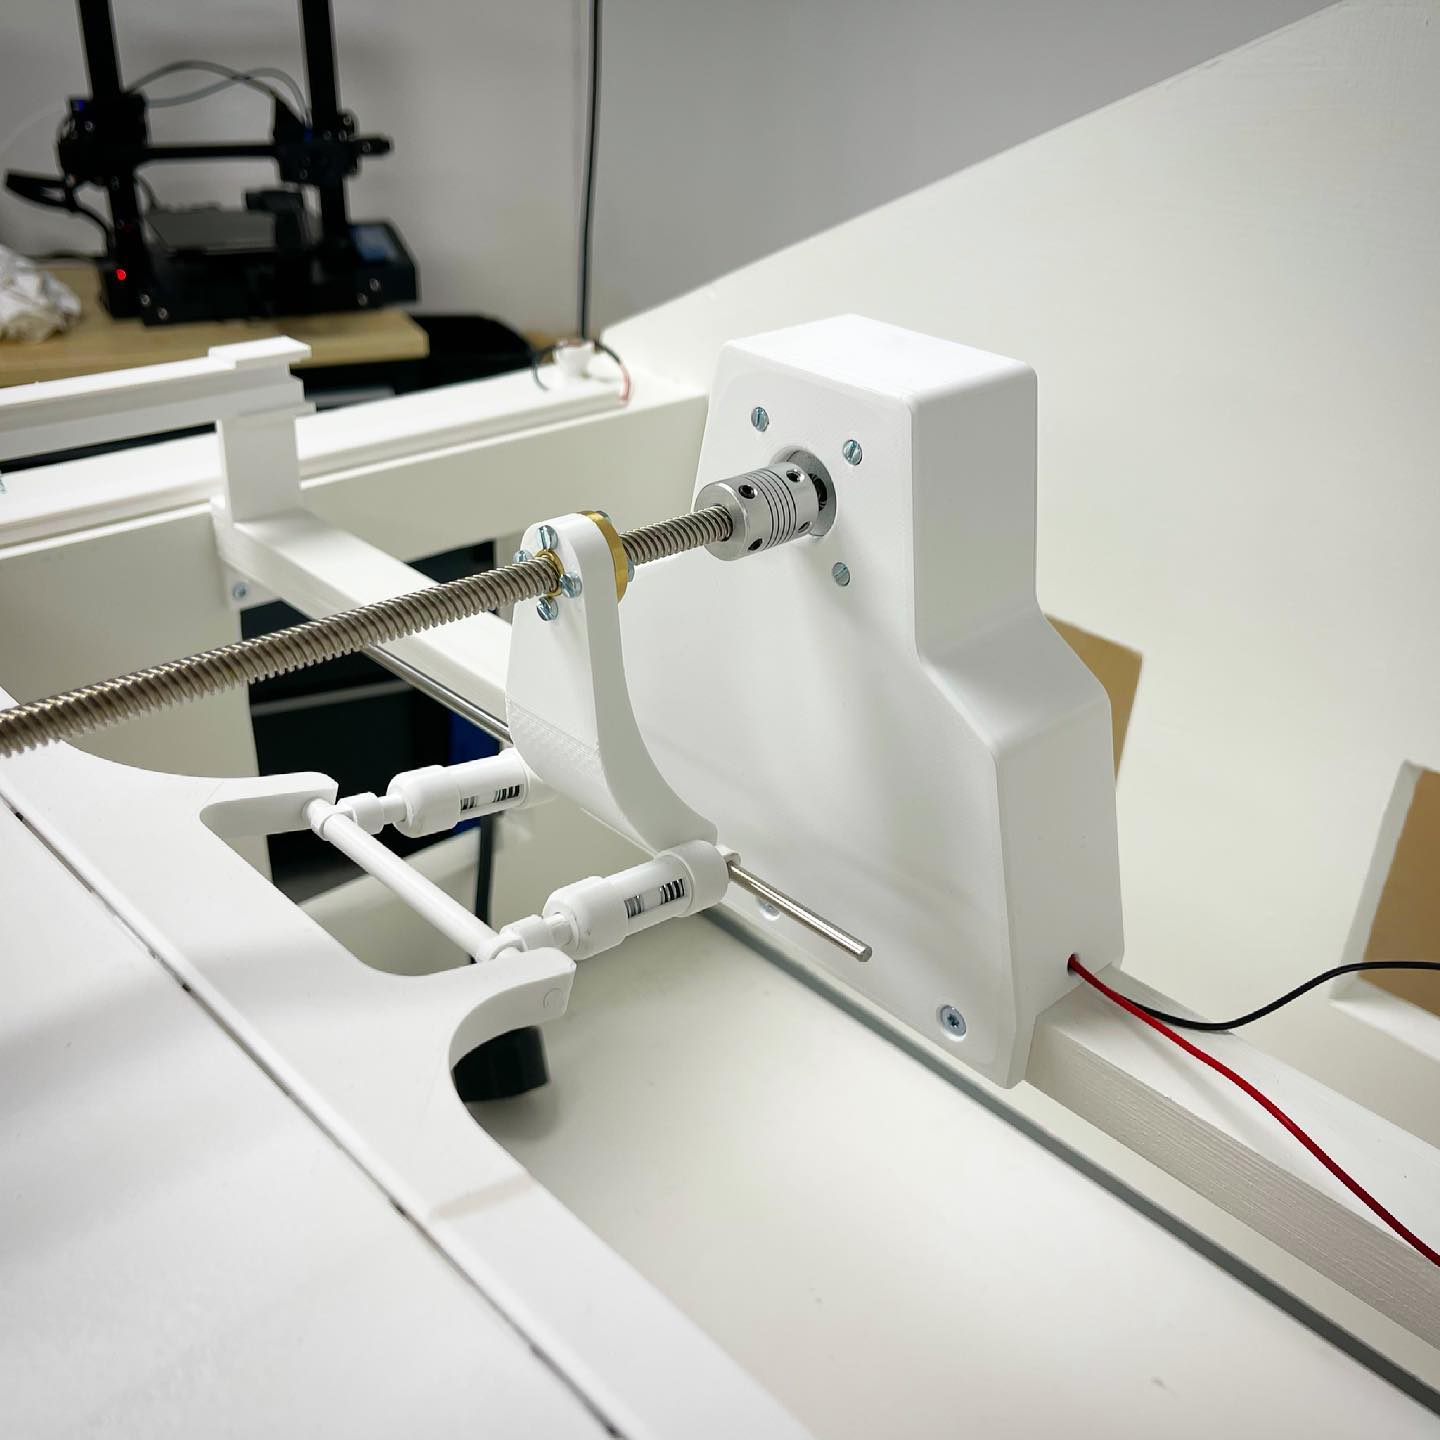
Problem solved, I think 😉 Redesigned the motor compartment completely to be able to lower the ball screw 4 cm, removed the shock absorbers and added a linear bearing to relieve the diagonal force
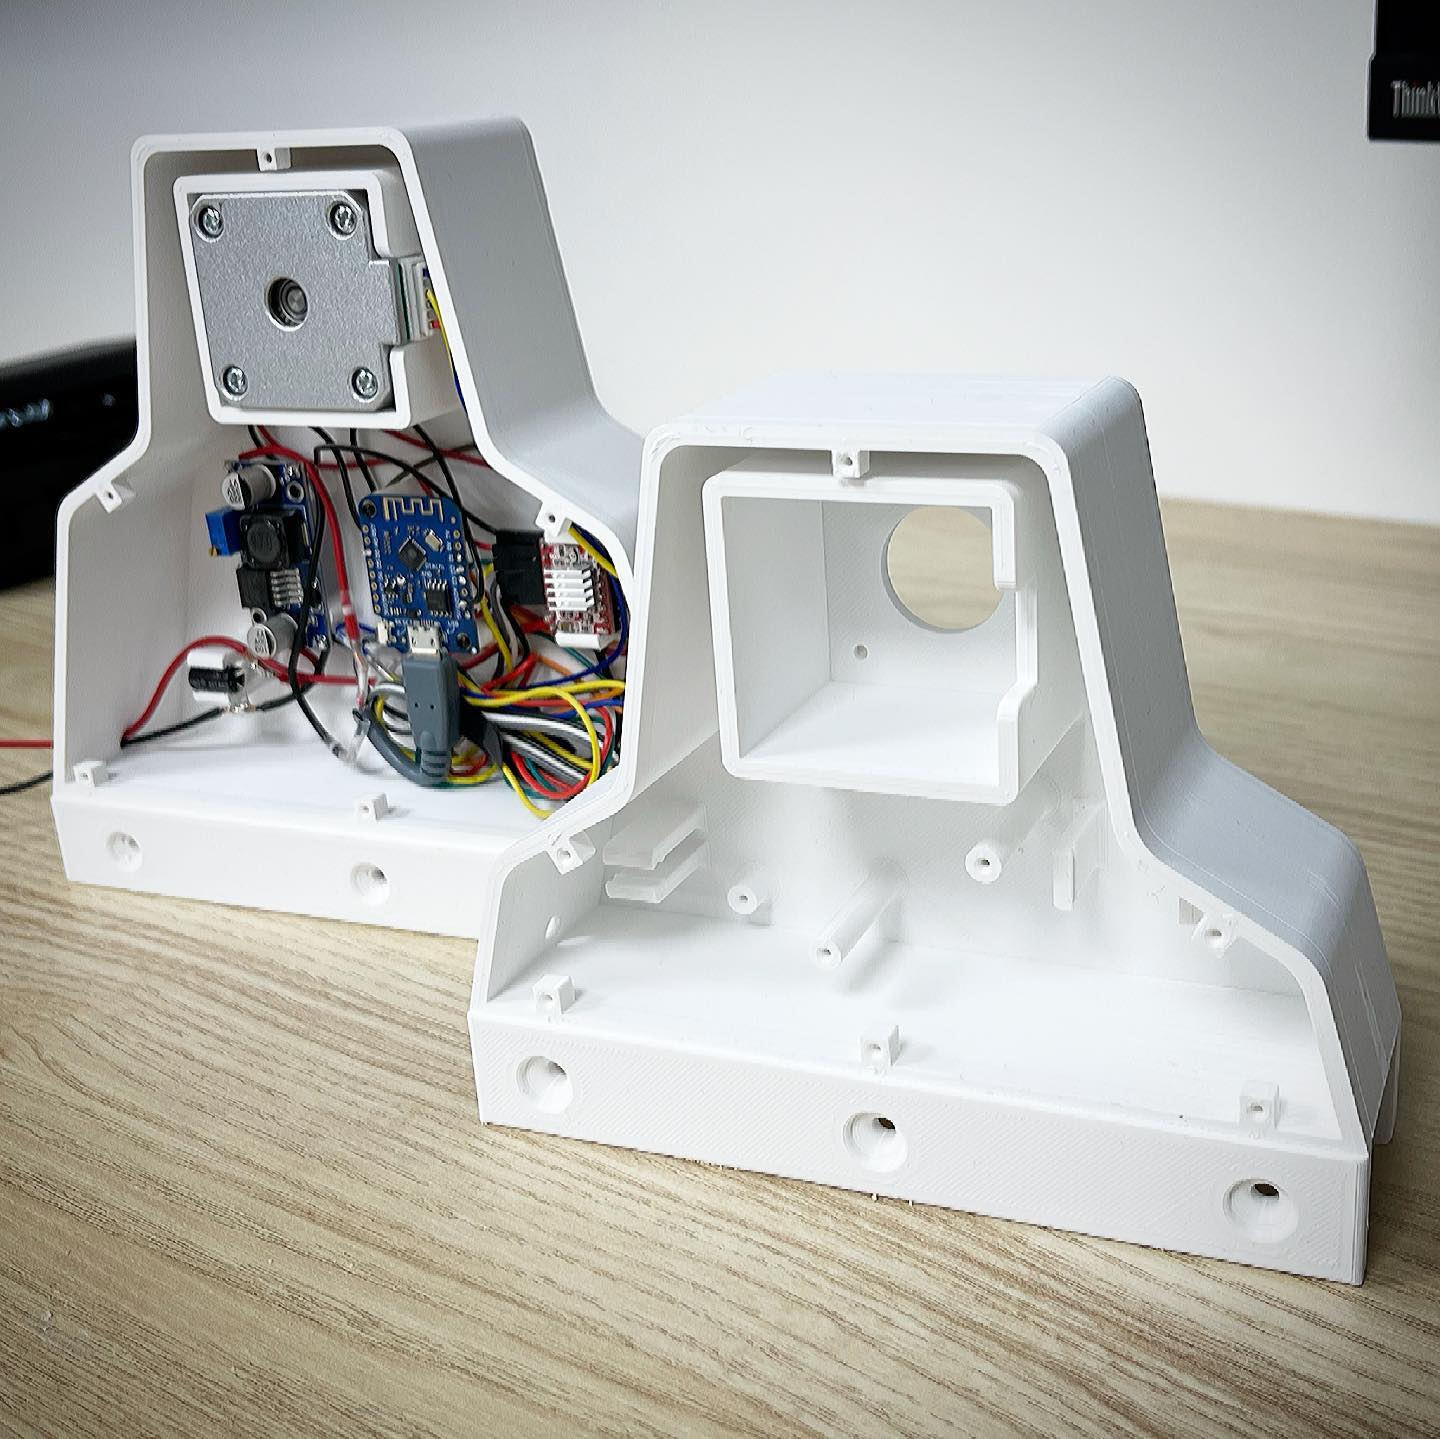
What an anticlimax. Finally got everything mounted but it doesn’t work 😬 The long arm between the ball screw and the garage door, together with the shock absorbers, creates a lever effect too big for the motor to handle. Obvious in retrospect, but nothing I considered during planning. Back to the drawing board 😅
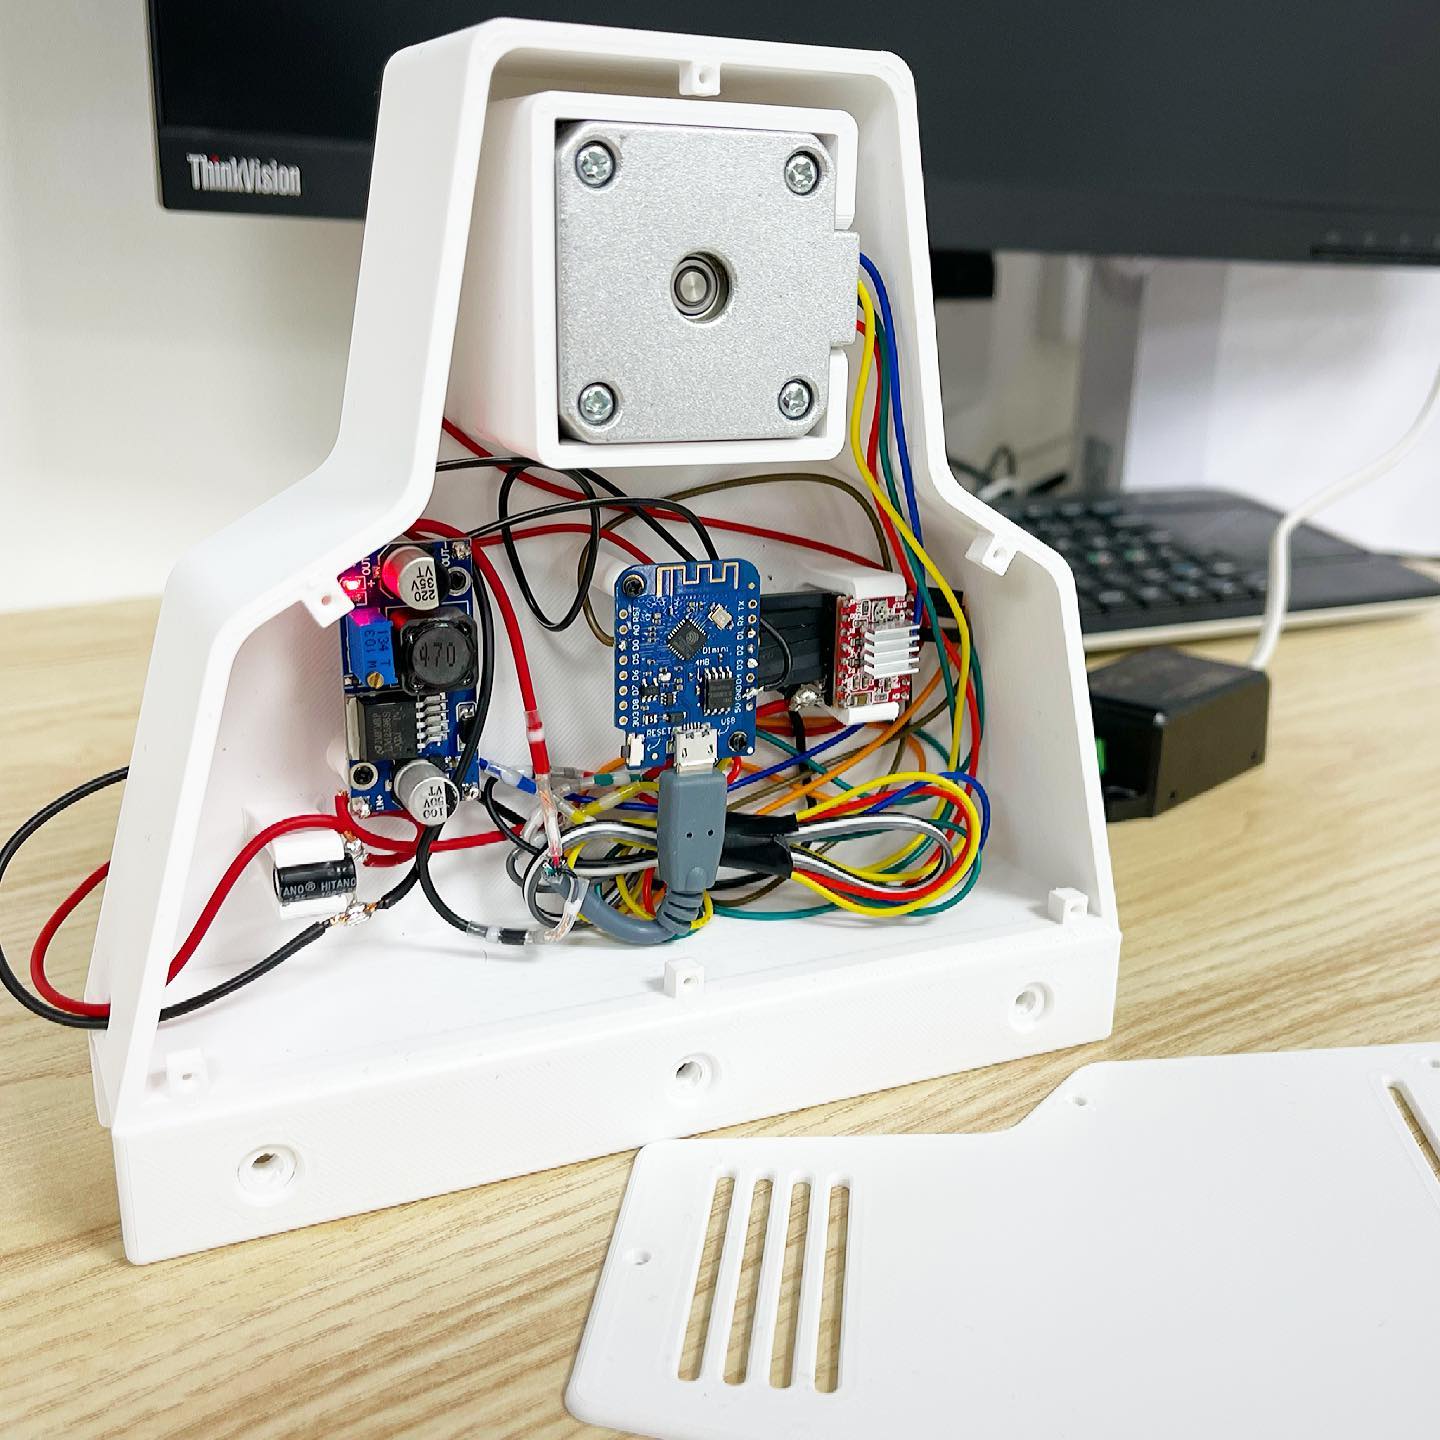
It won’t win any beauty awards, but all componens are finally in place for the garage door motor. Let’s just hope it works as intended 🤷🏻♂️ If anyone’s interested, I’ve used the following: NEMA 17 stepper motor with an A4988 module. LM2596 to step down 12V (motor) to 5V (controller). A 100uF capacitor to ”even out” the current. Wemos D1 Mini (ESP8266) to control everything
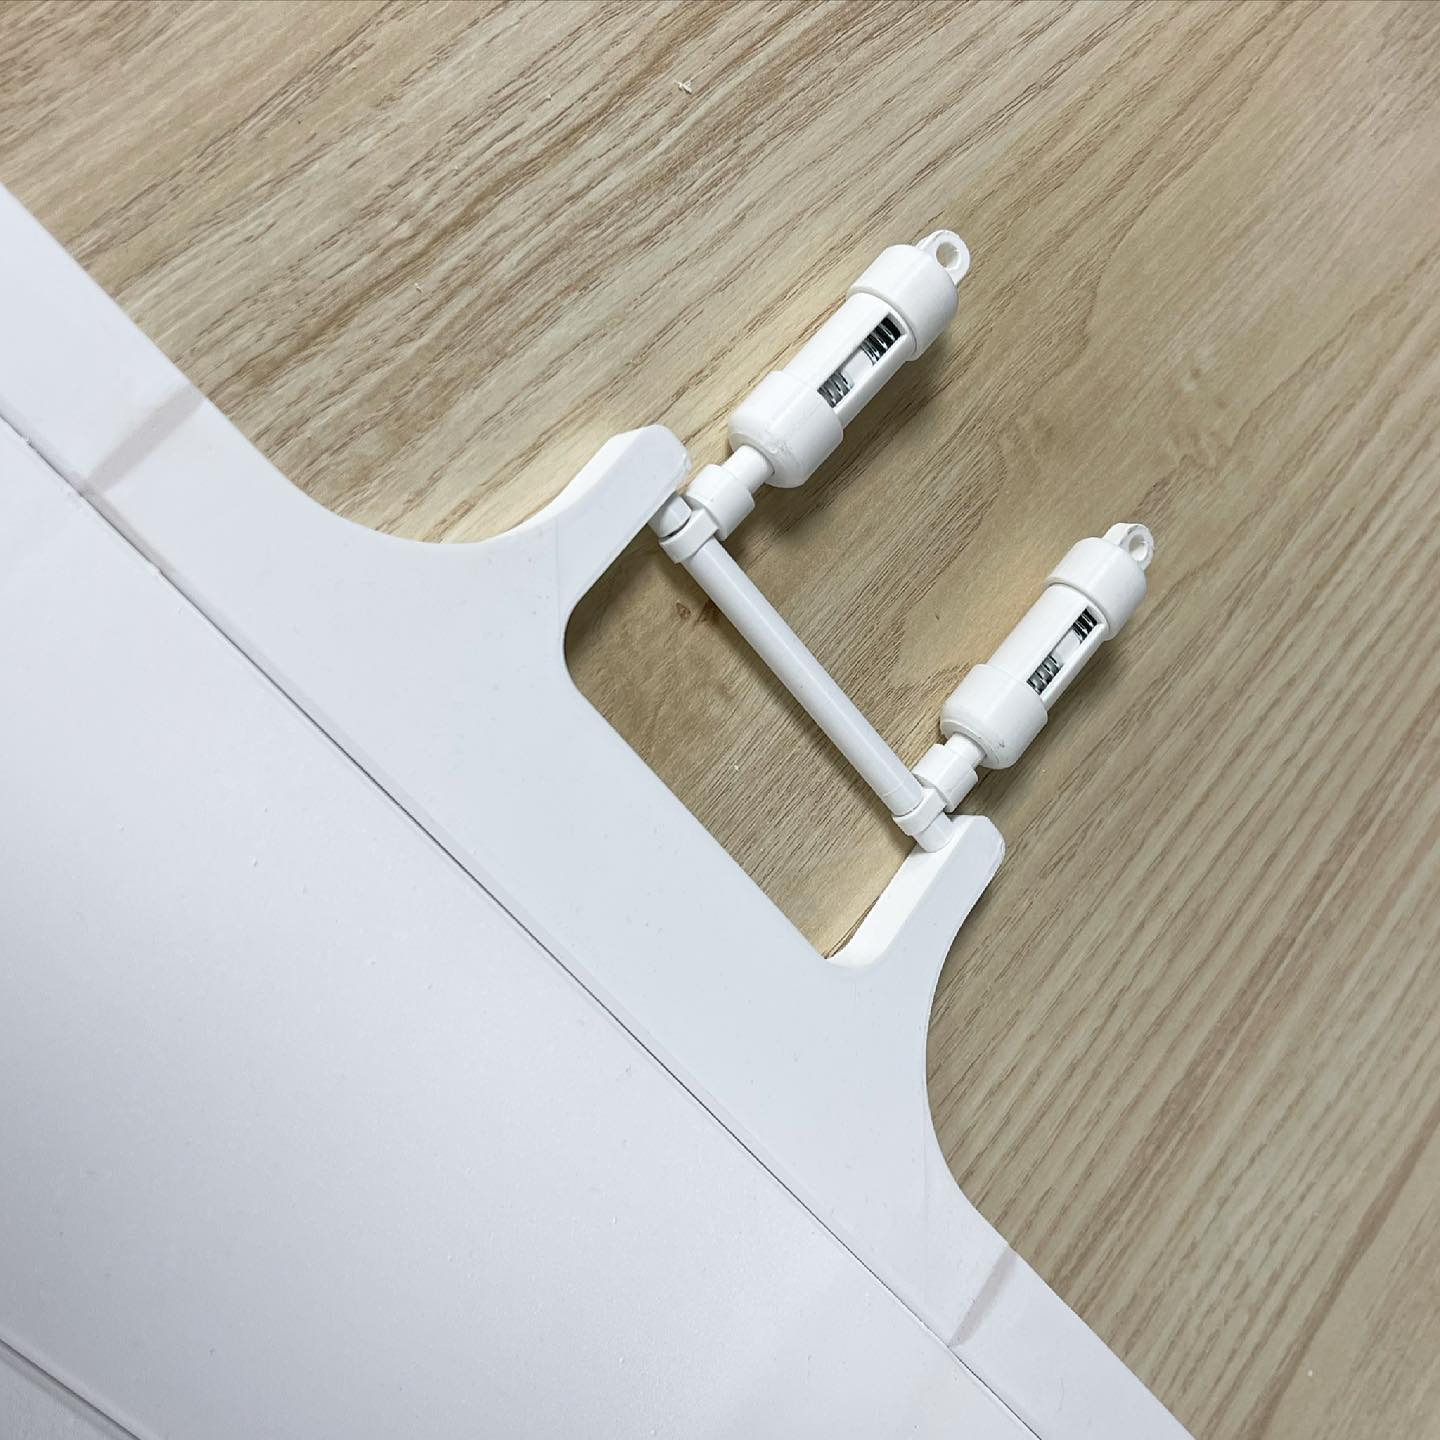
Even though the stepper motor for the garage door is very precise, there’s always a risk that the door moves too much in either direction. Best case the result is a gap between door and ground, worst case something breaks. To create some tolerance in both directions I designed these shock absorbers 😃 And yes, all the parts in the background are failed attempts 🤷🏻♂️
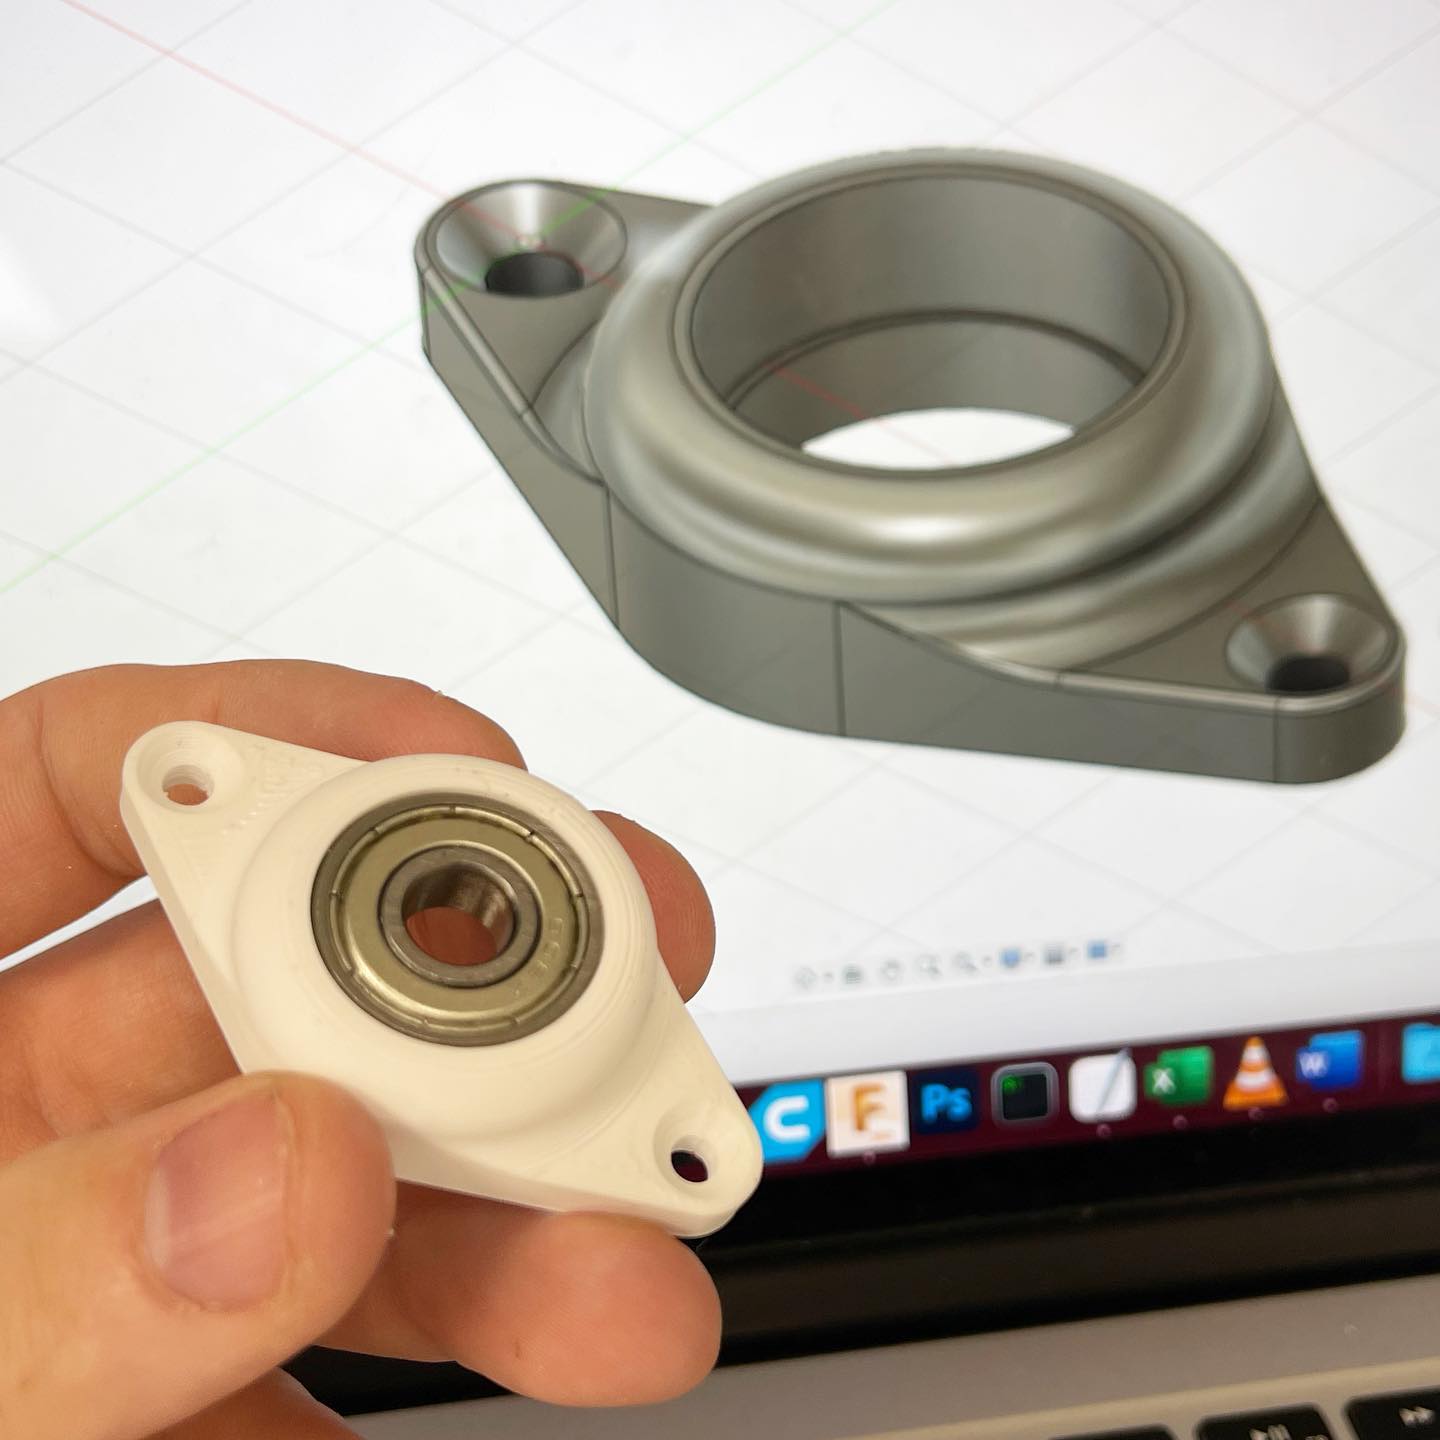
The idea of being able to go from theory to reality with so little time and effort continues to amaze me. Just something as simple as a bearing holder that works and fits exactly as intended.
The motor I was planning on using for the garage door was way too slow, so I’m replacing it with a slightly bigger one 😉 Out with the old, in with the new 👍🏻
Not much progress lately, so today it was nice to finally be able to assemble the garage door 😃 A couple more layers of paint, then I’m ready to get to work on the door motor
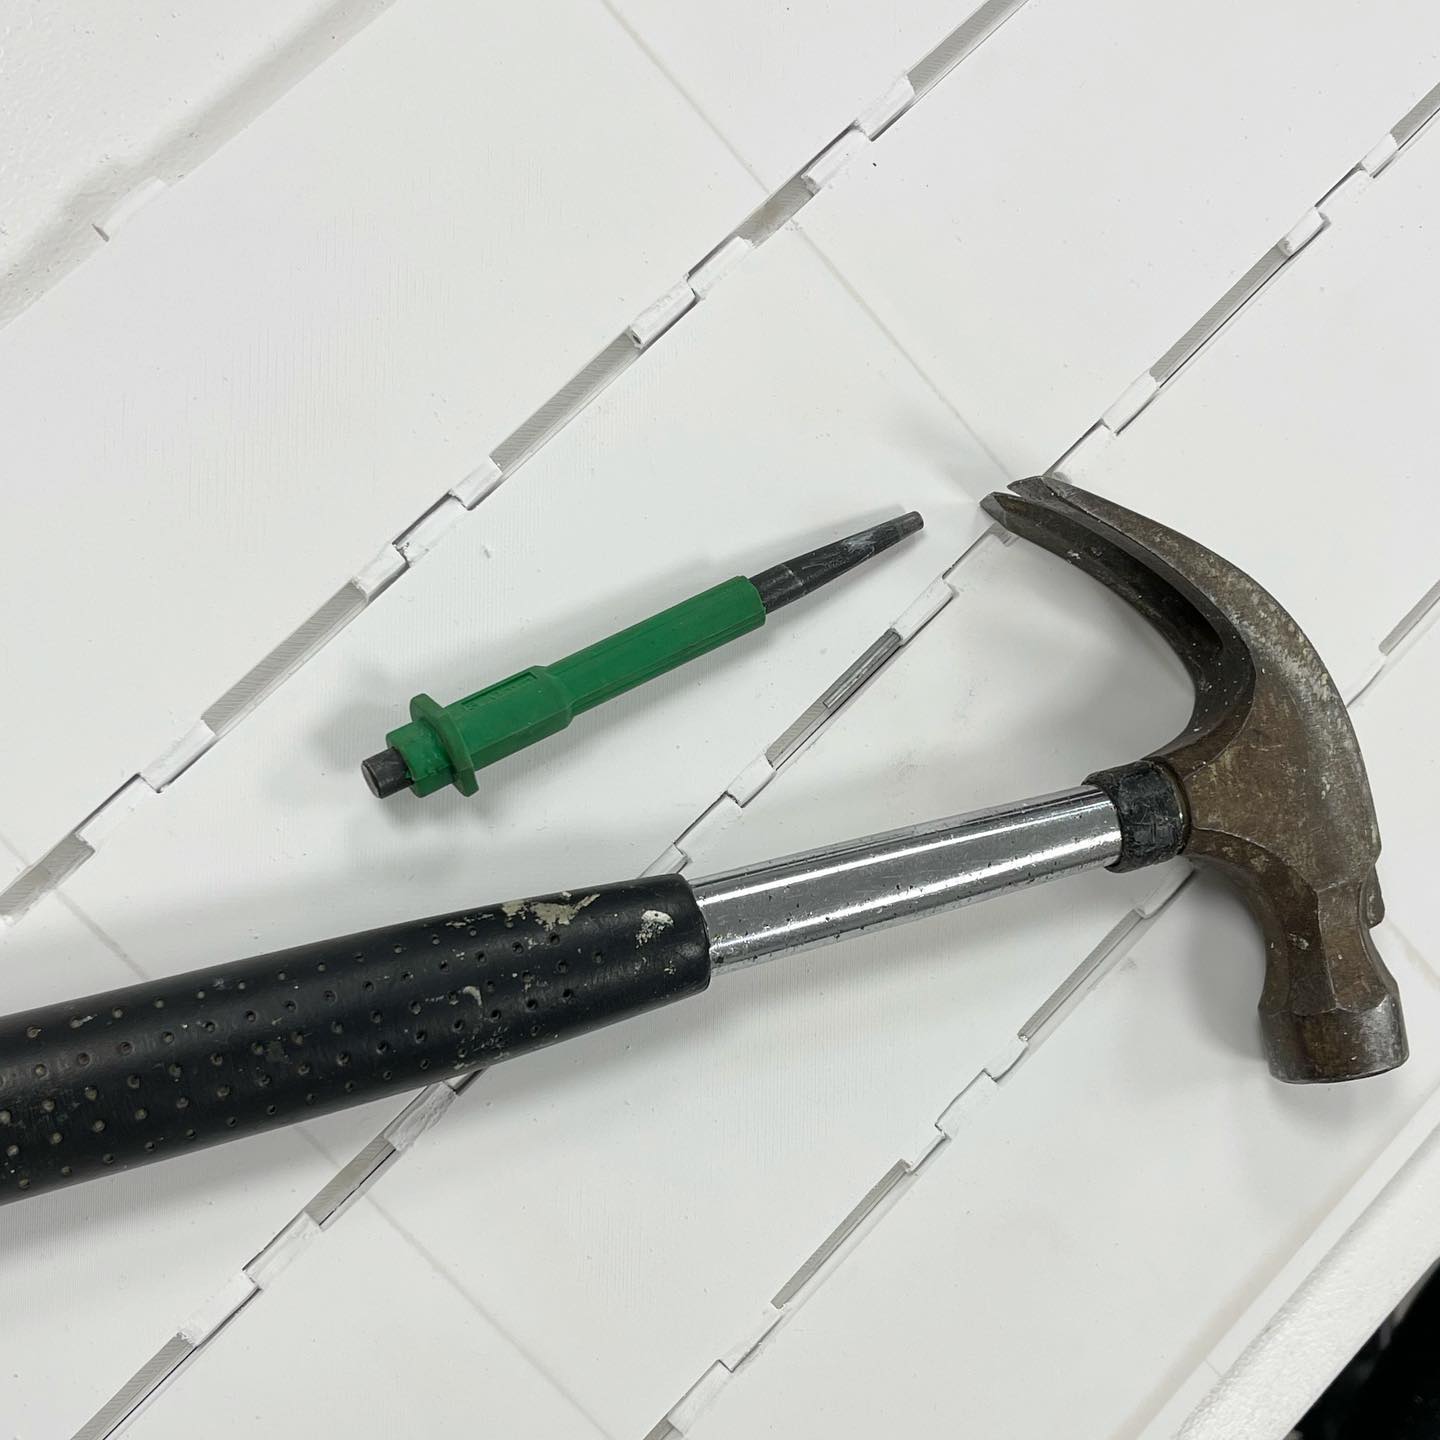
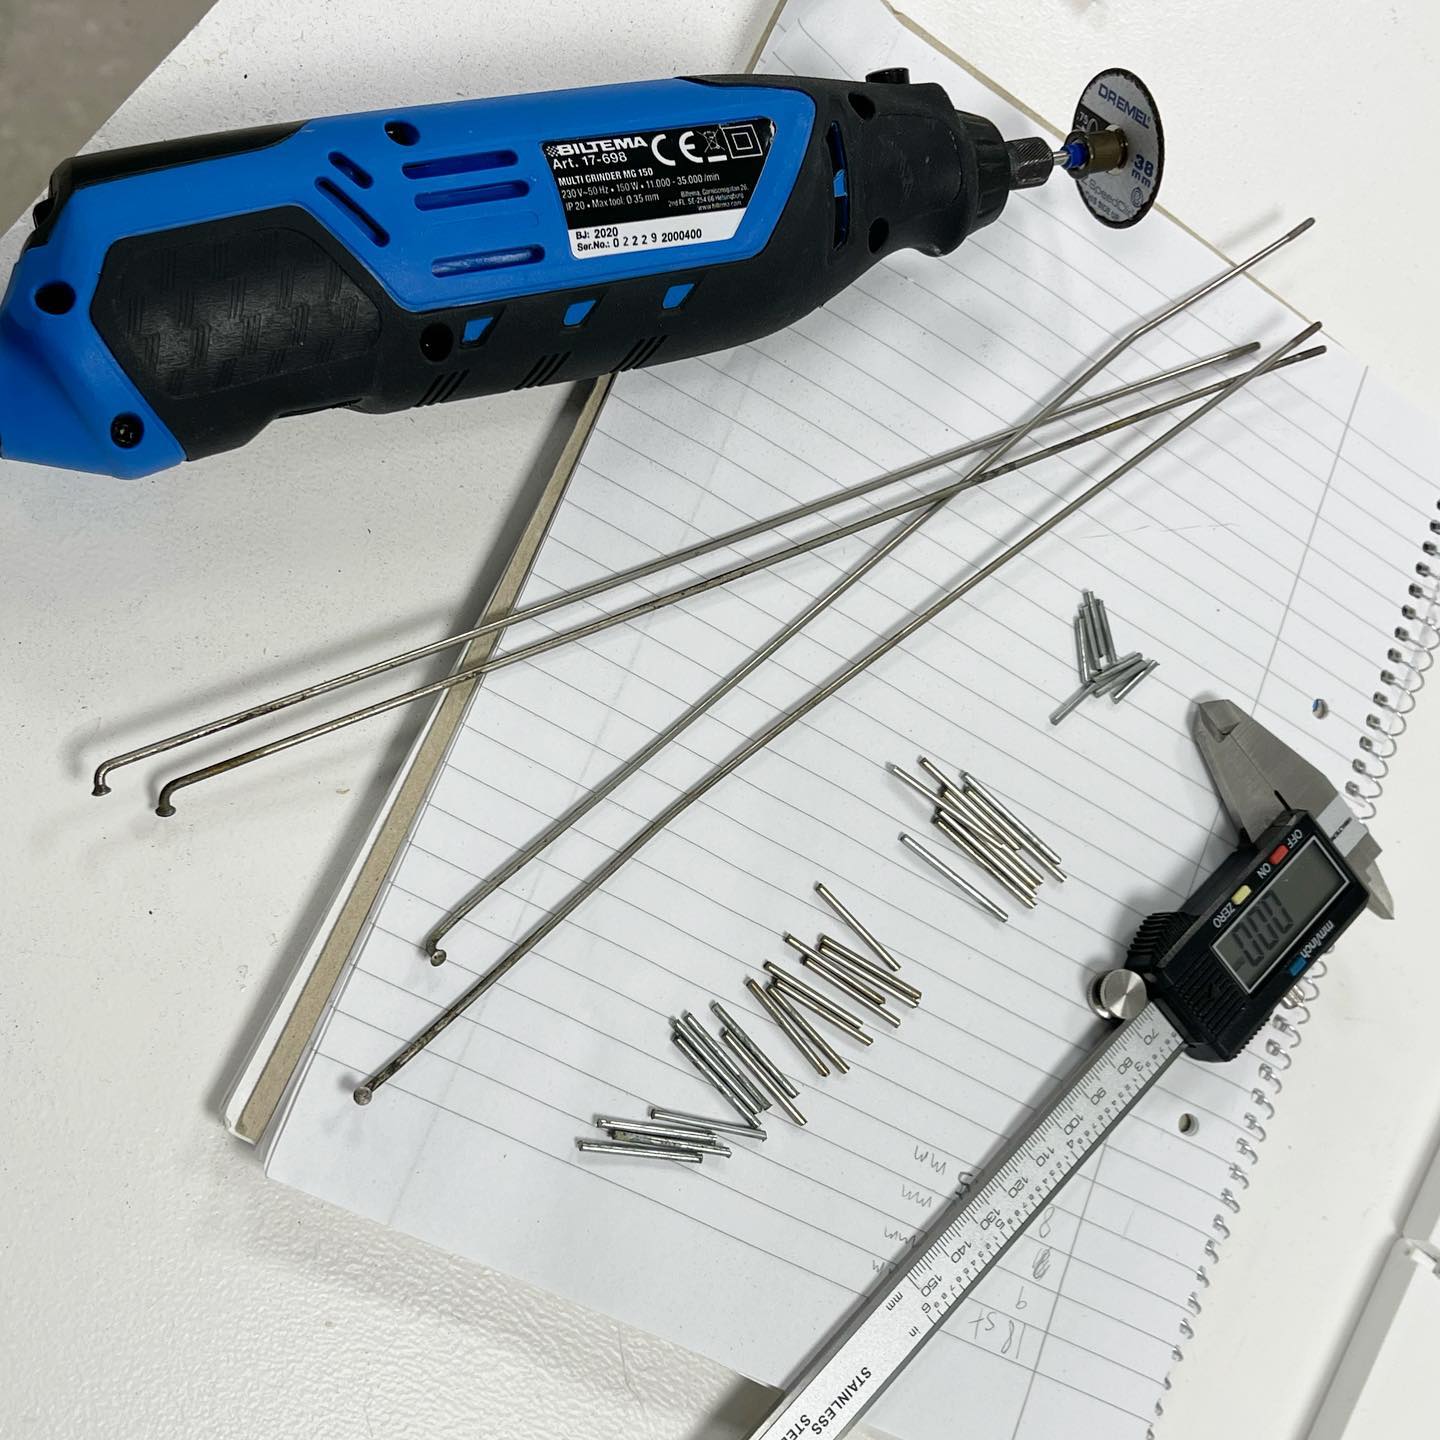
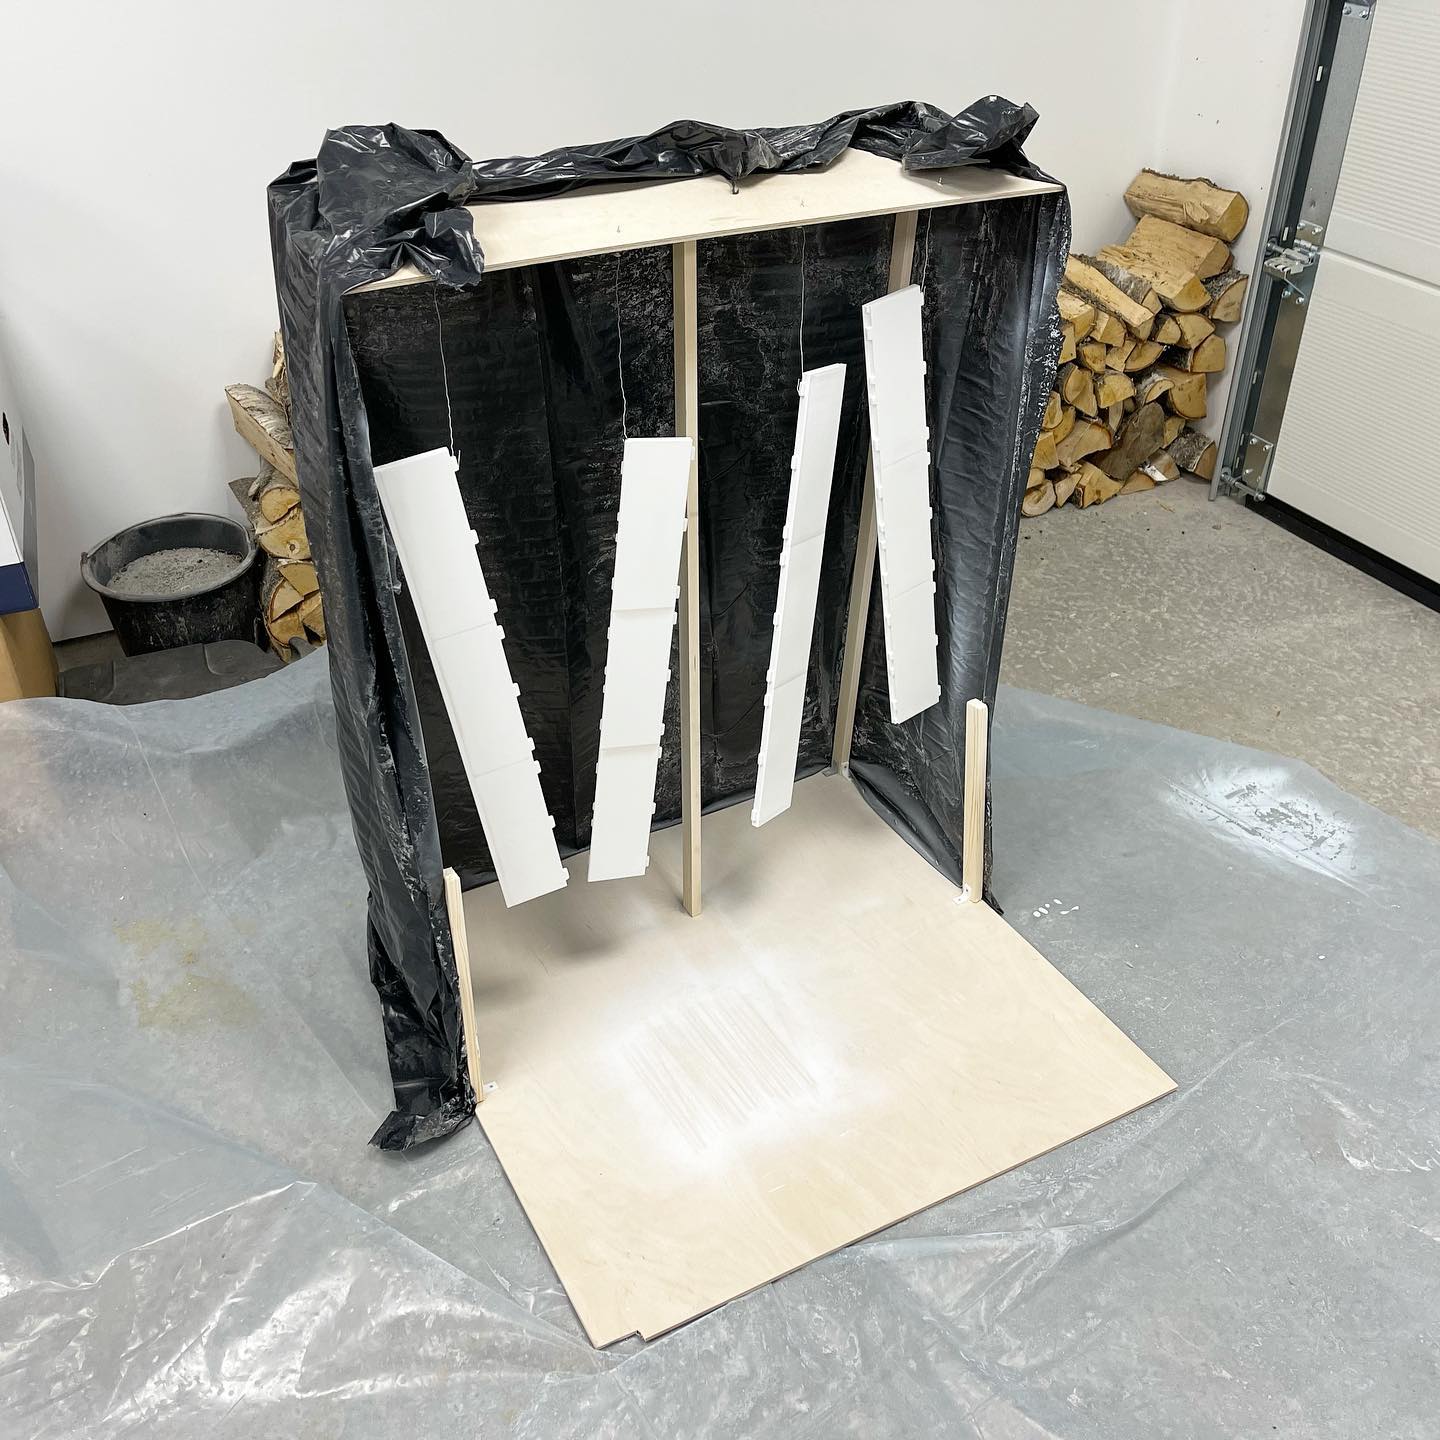
A very provisional spray booth 😅
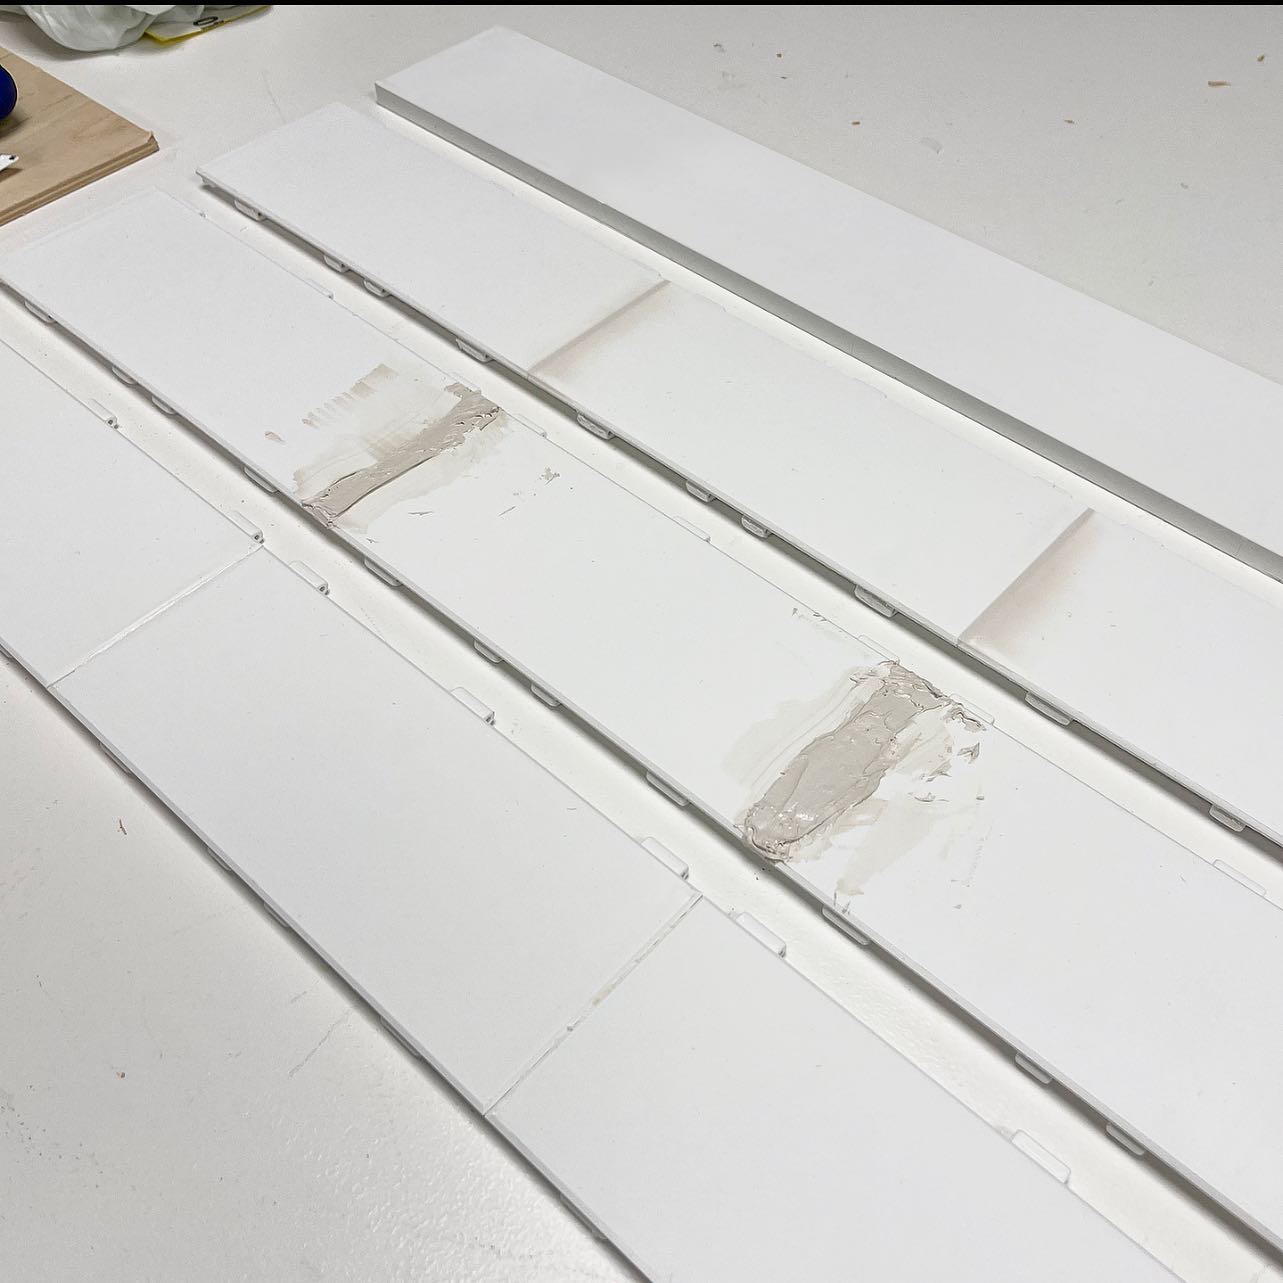
Glue, putty, sand, paint 🤗
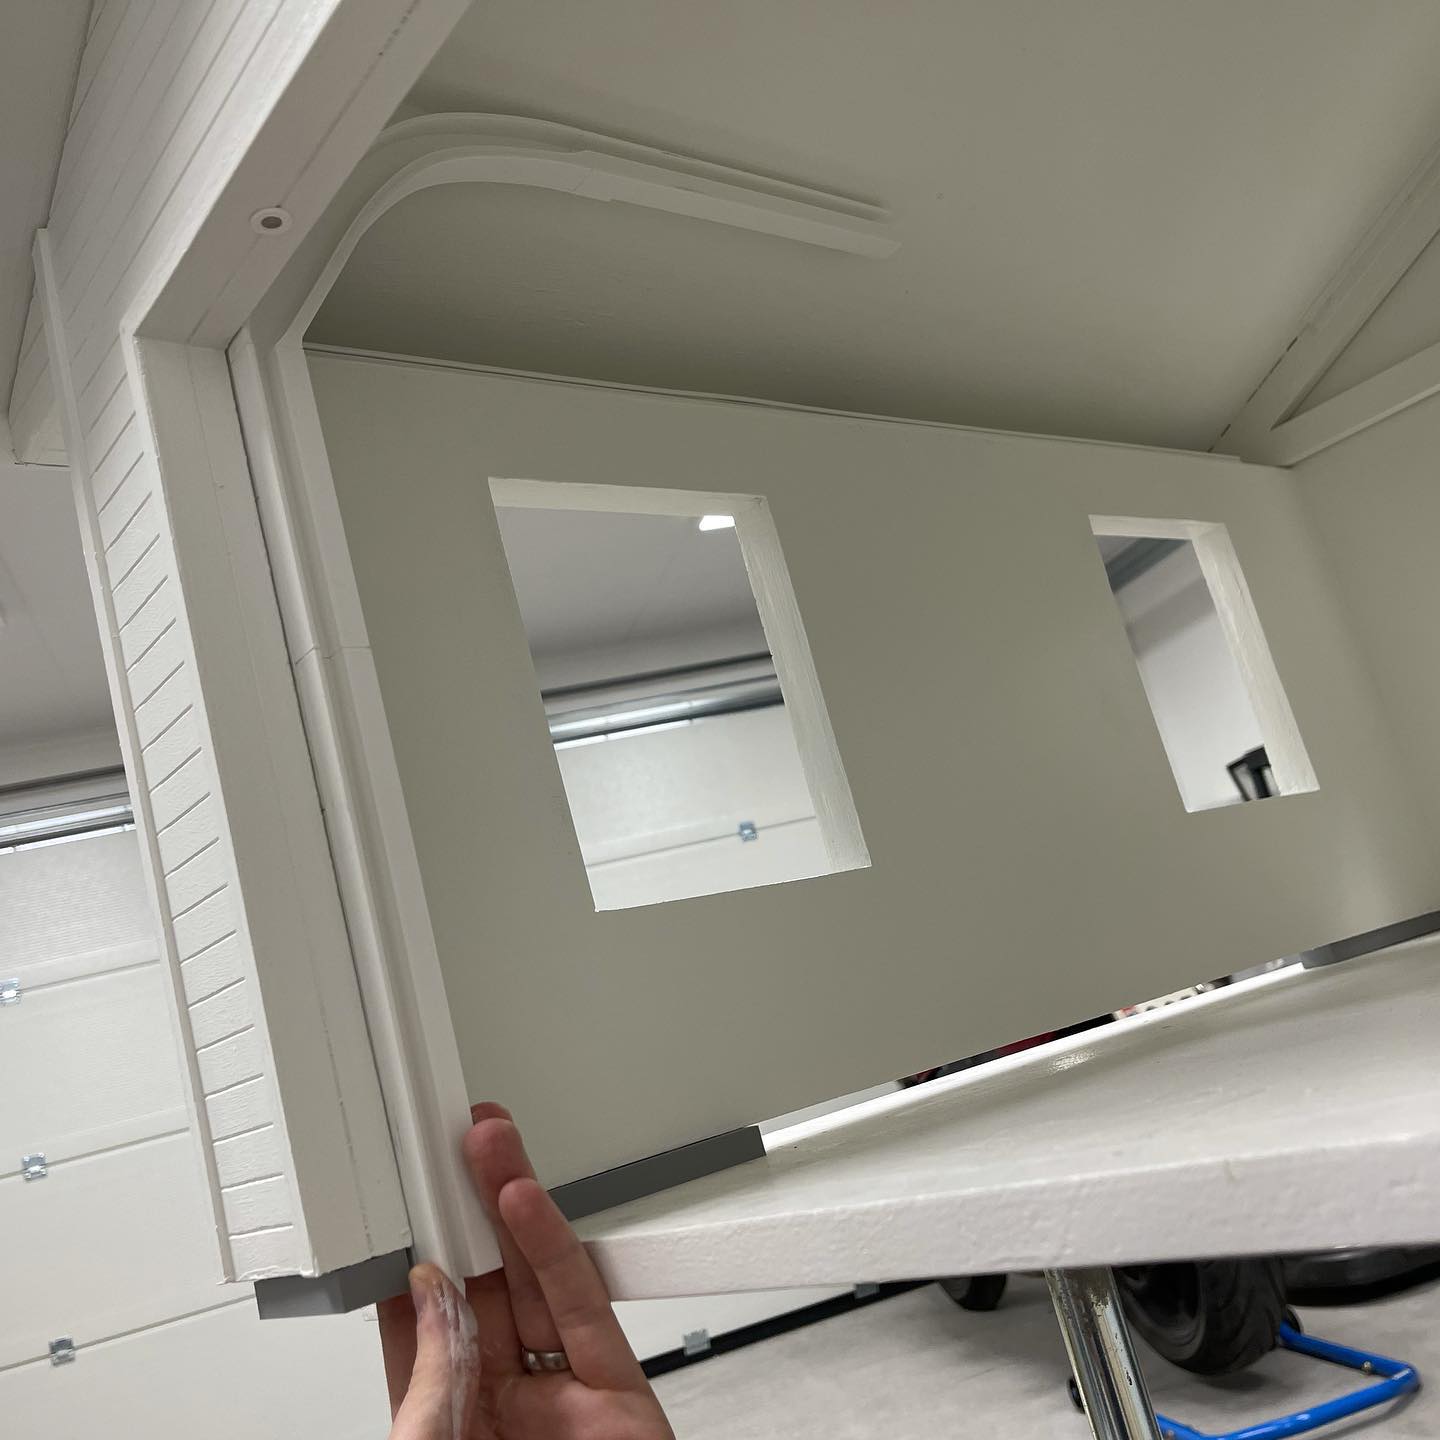
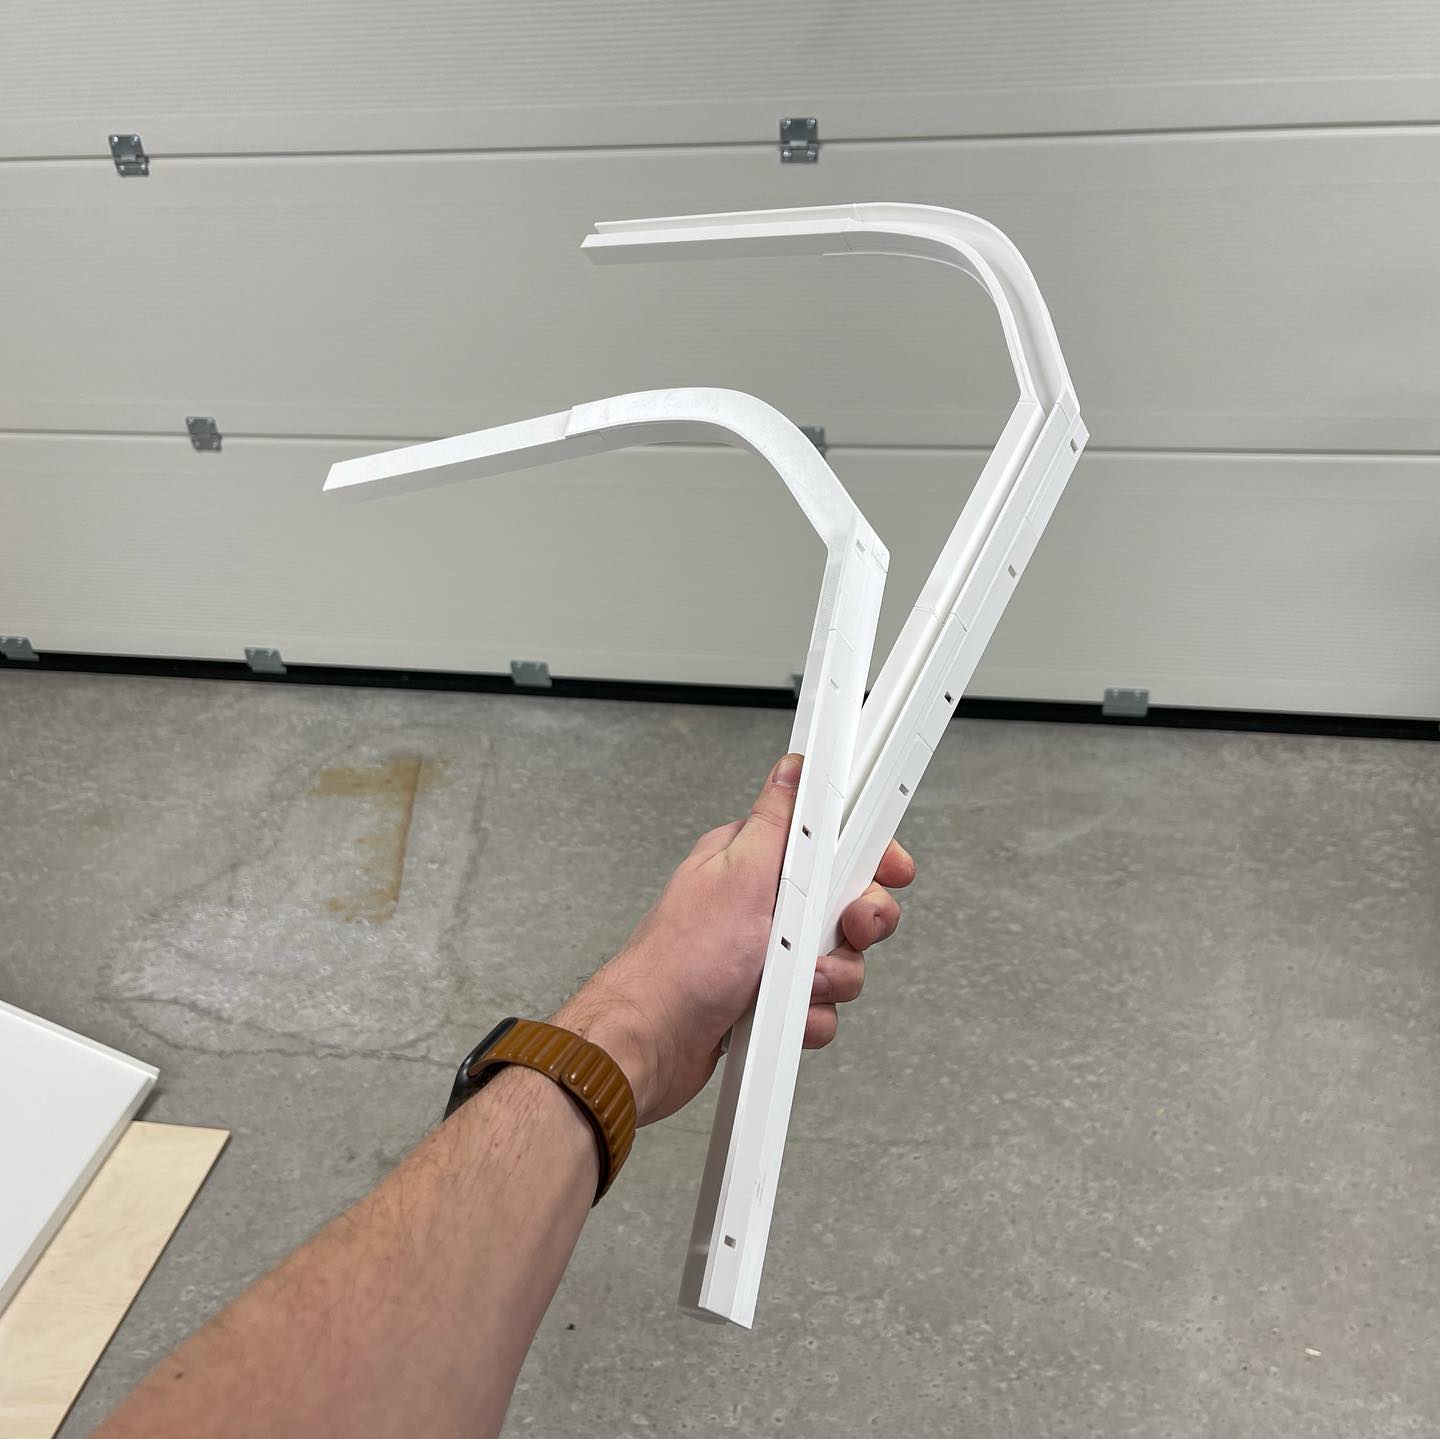
A fantastic idea would be to measure beforehand, so that the rails actually fit and don’t hit the ceiling, before spending 40 hours on design/print 😅
The concrete base turned out pretty good after sanding and paint 😃
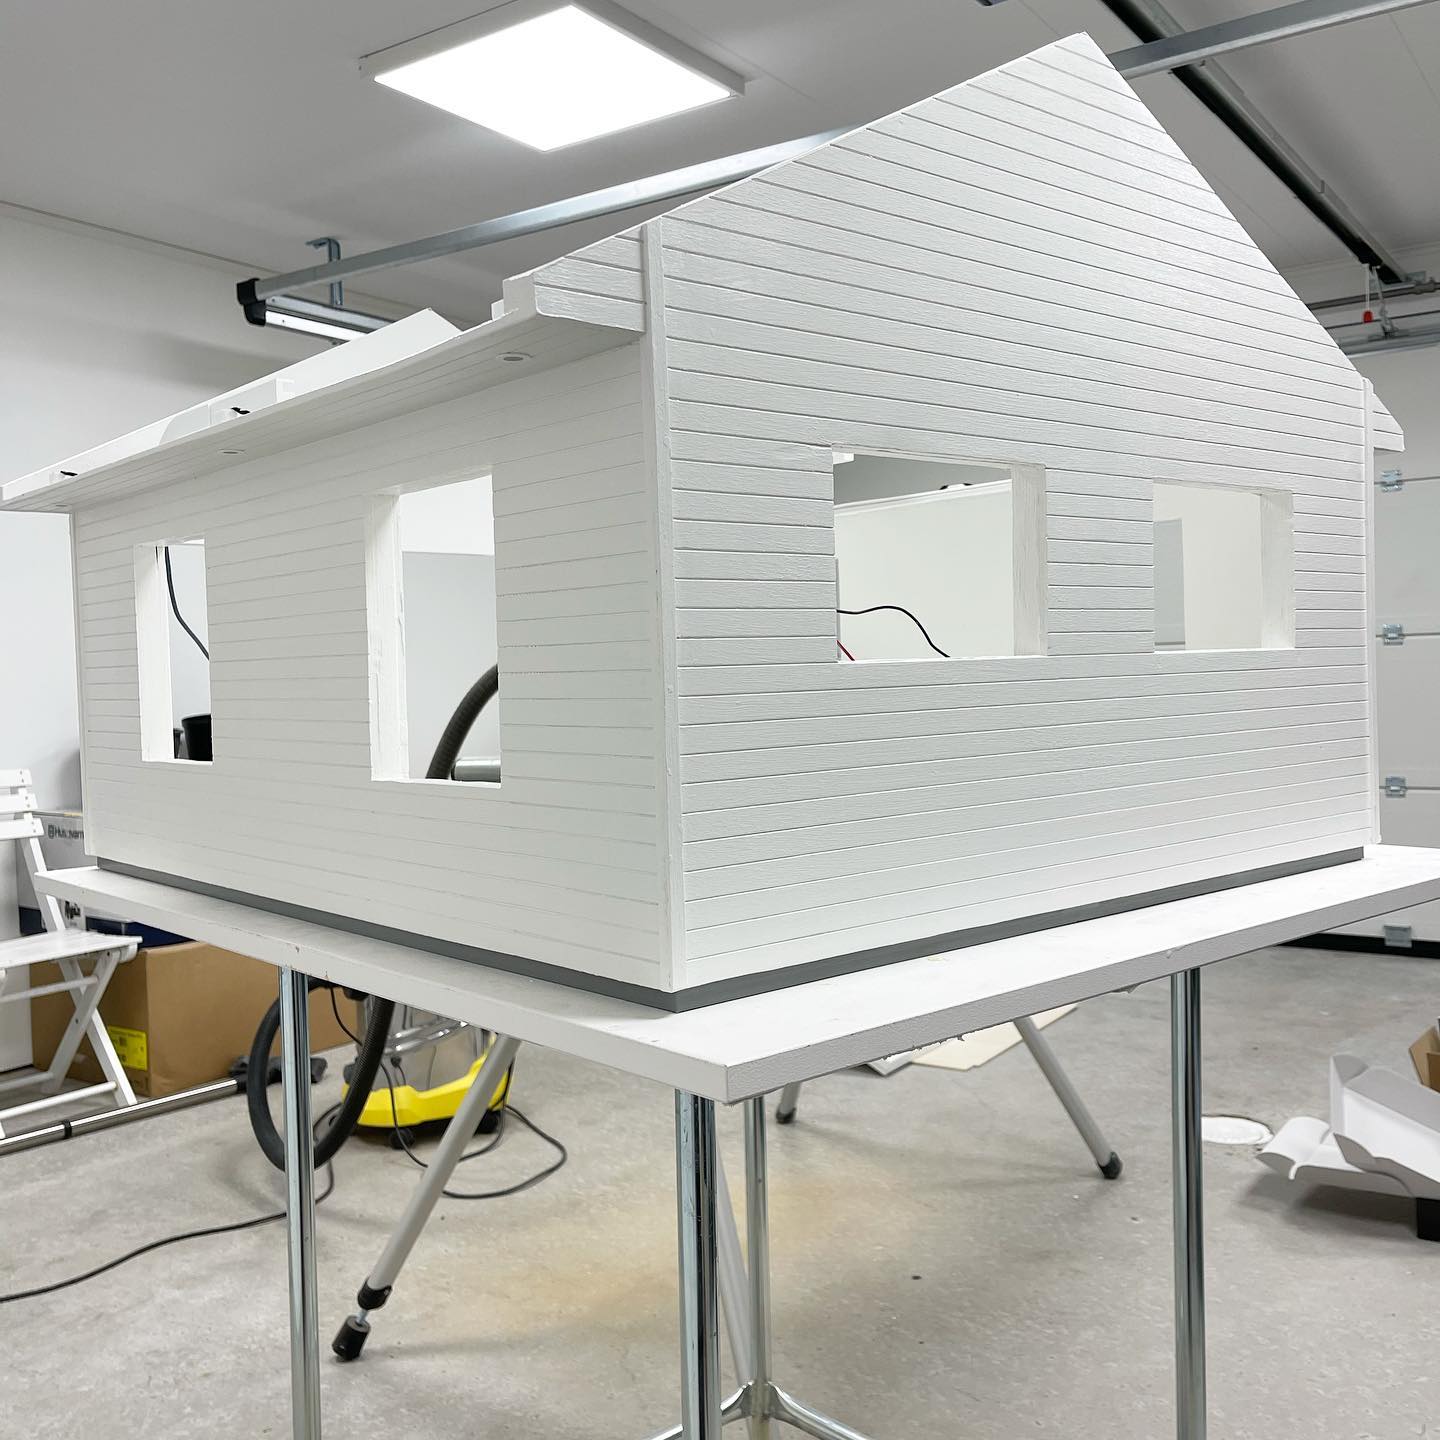
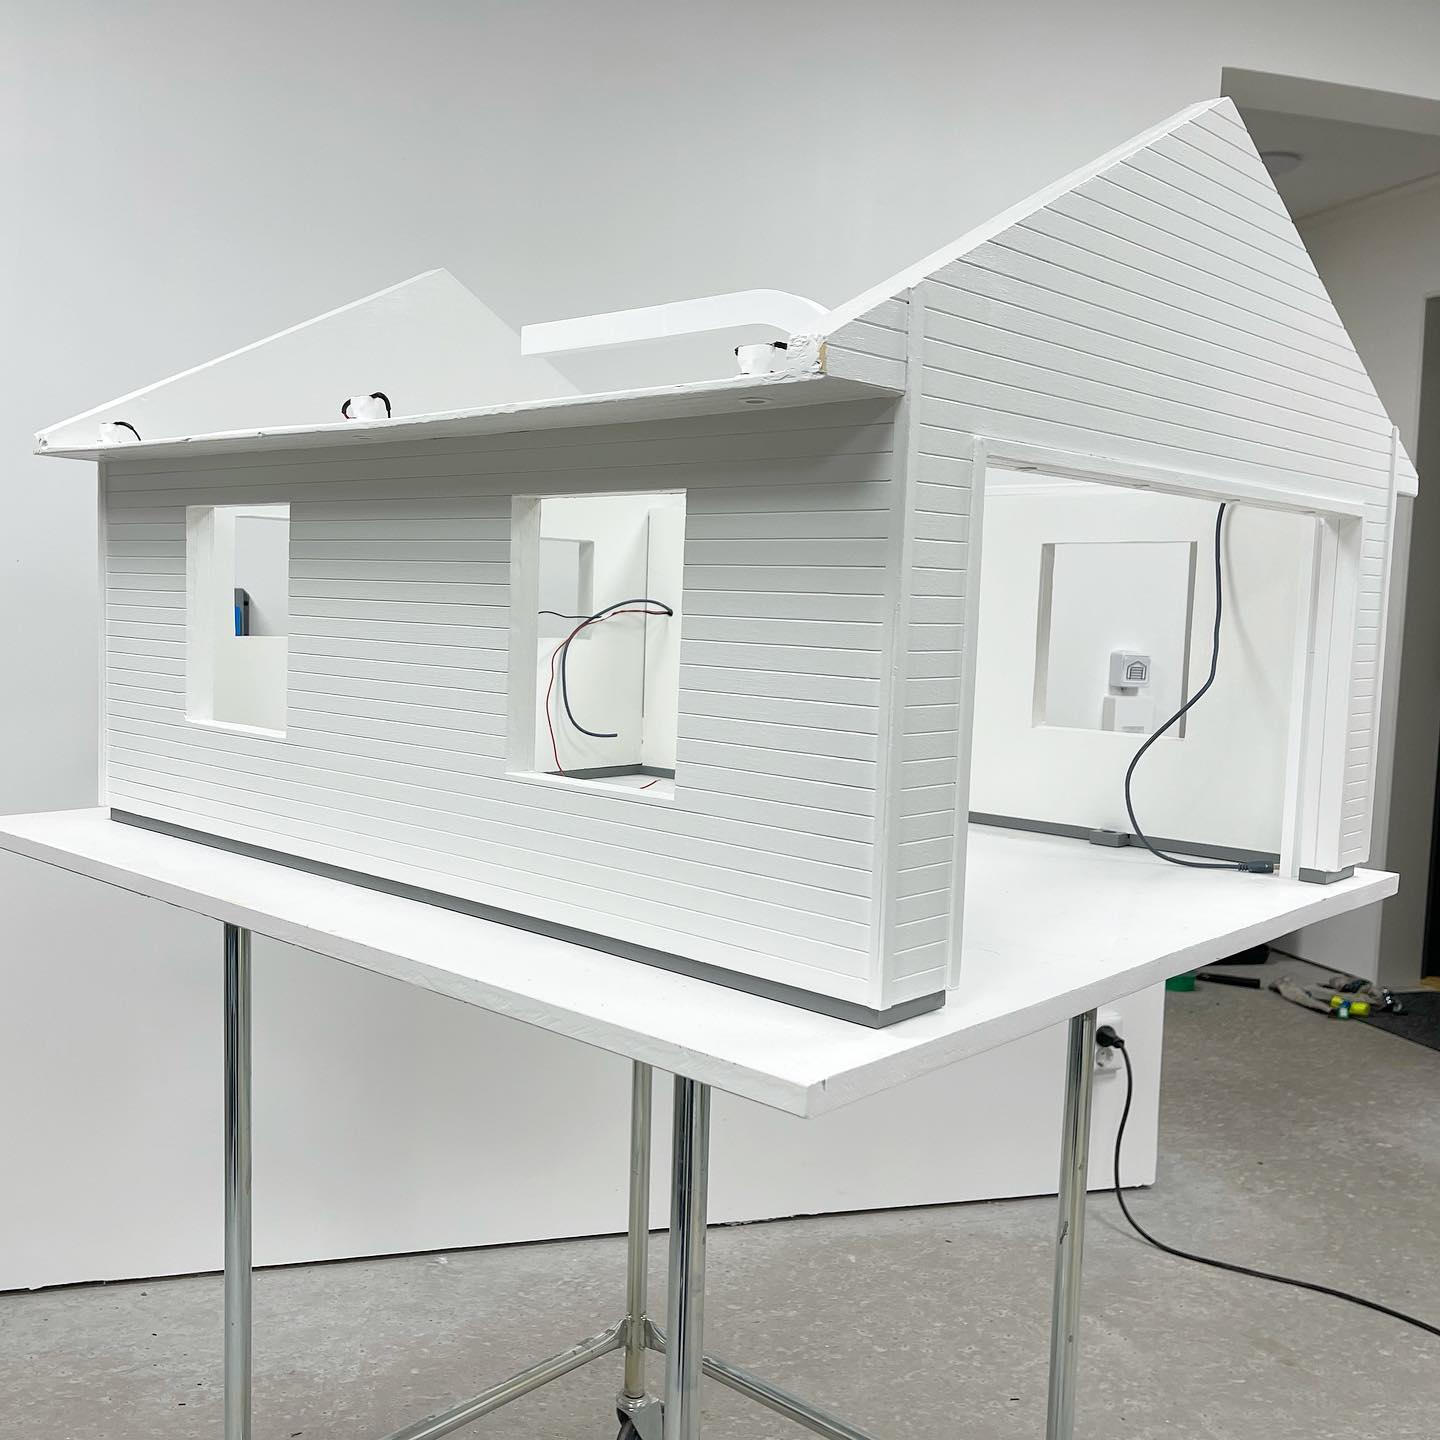
Only 162 hours of total print time left until all of the 12 garage door modules are done 😅
Pro tip. Buy grey plastic, paint it white, then paint it grey 🤷🏻♂️😑
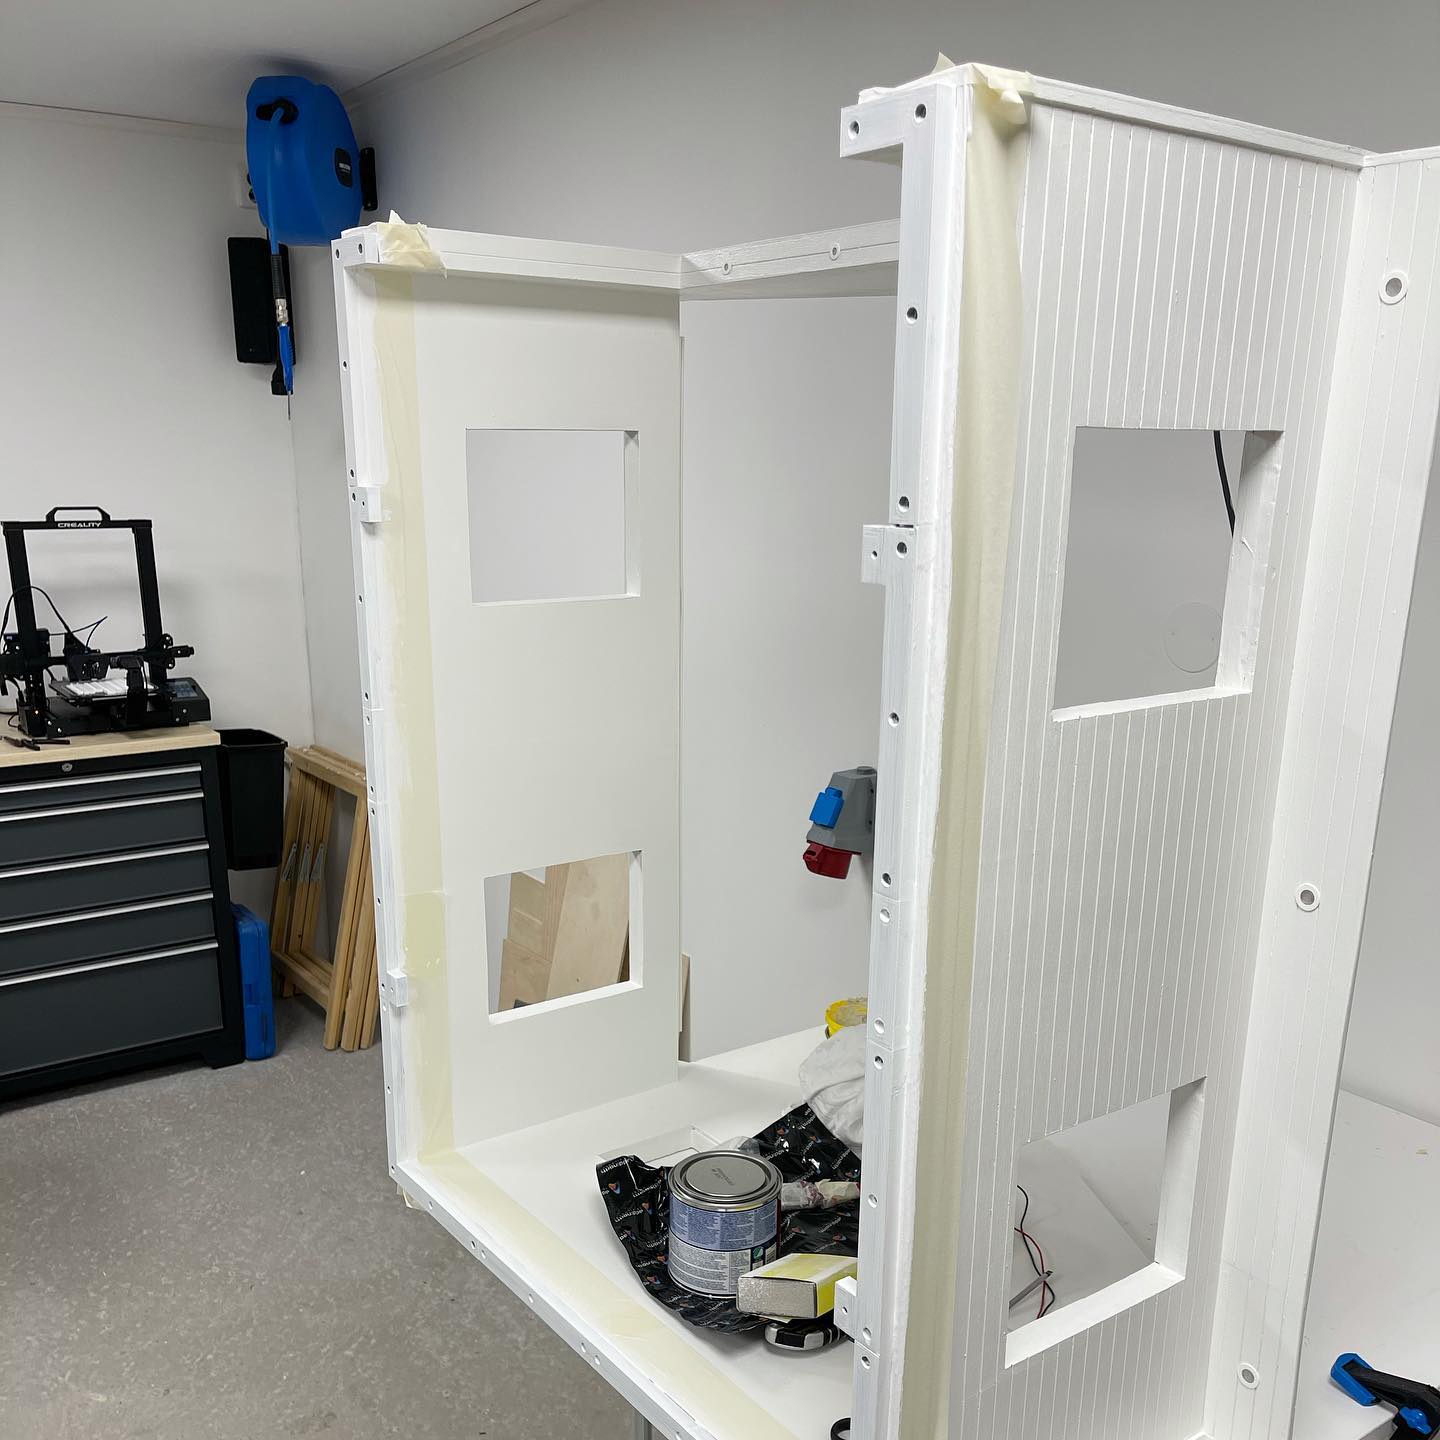
Been working a little on the concrete base. Almost 60 hours of printing 😱 Needs some sanding and paint before I show you the end result 😃
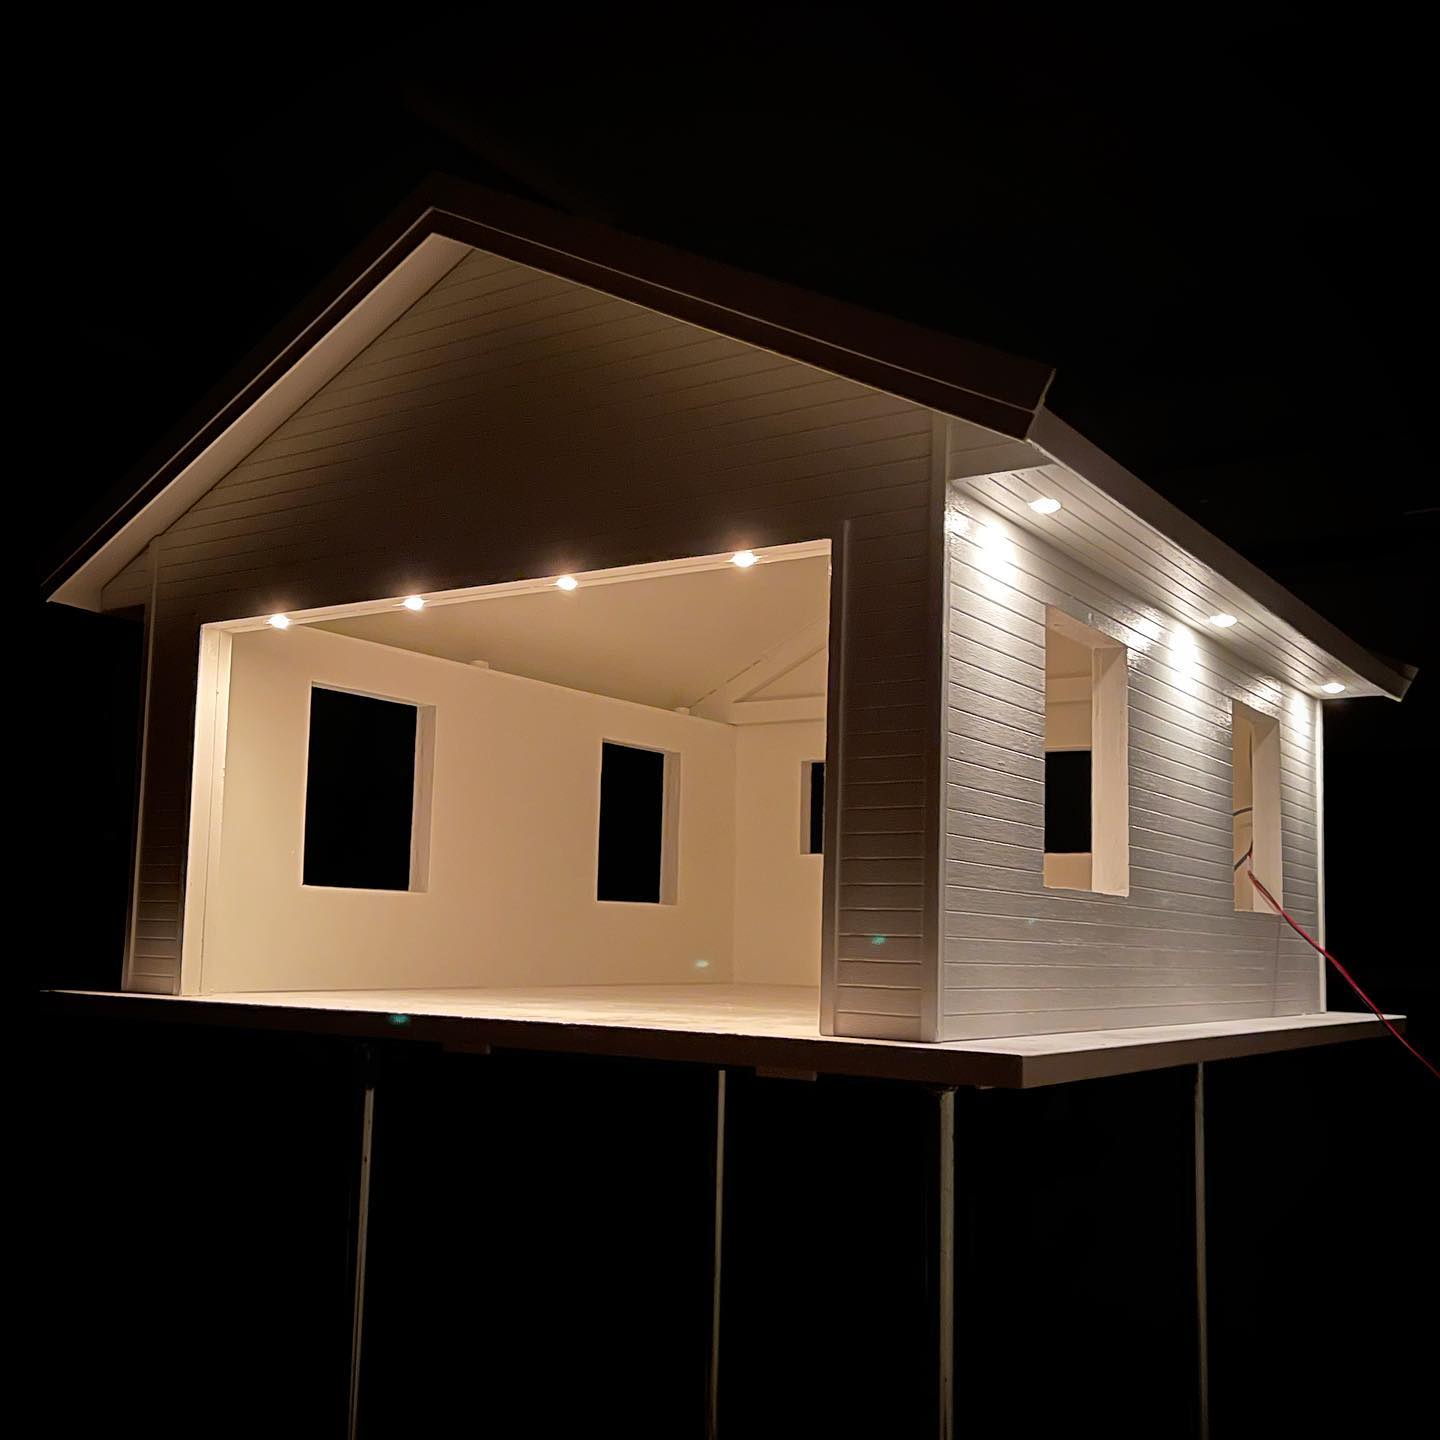
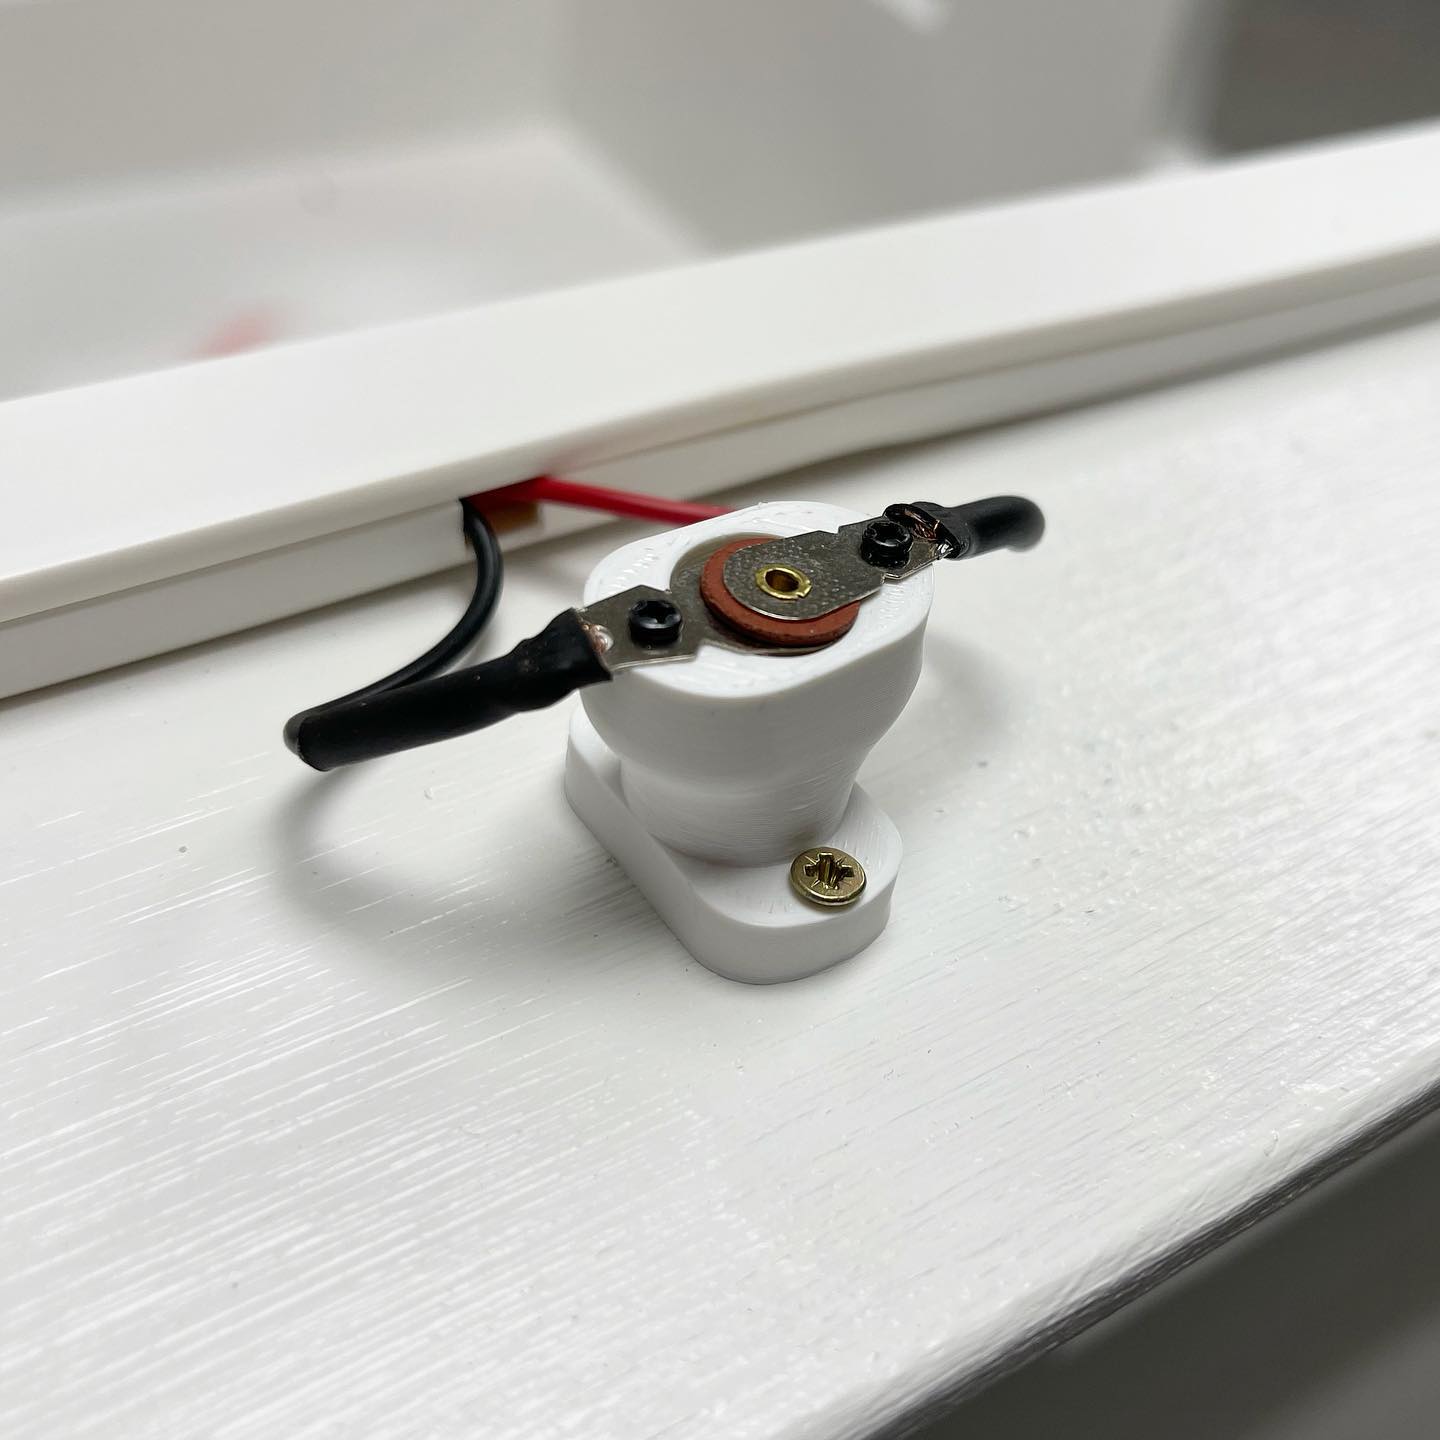
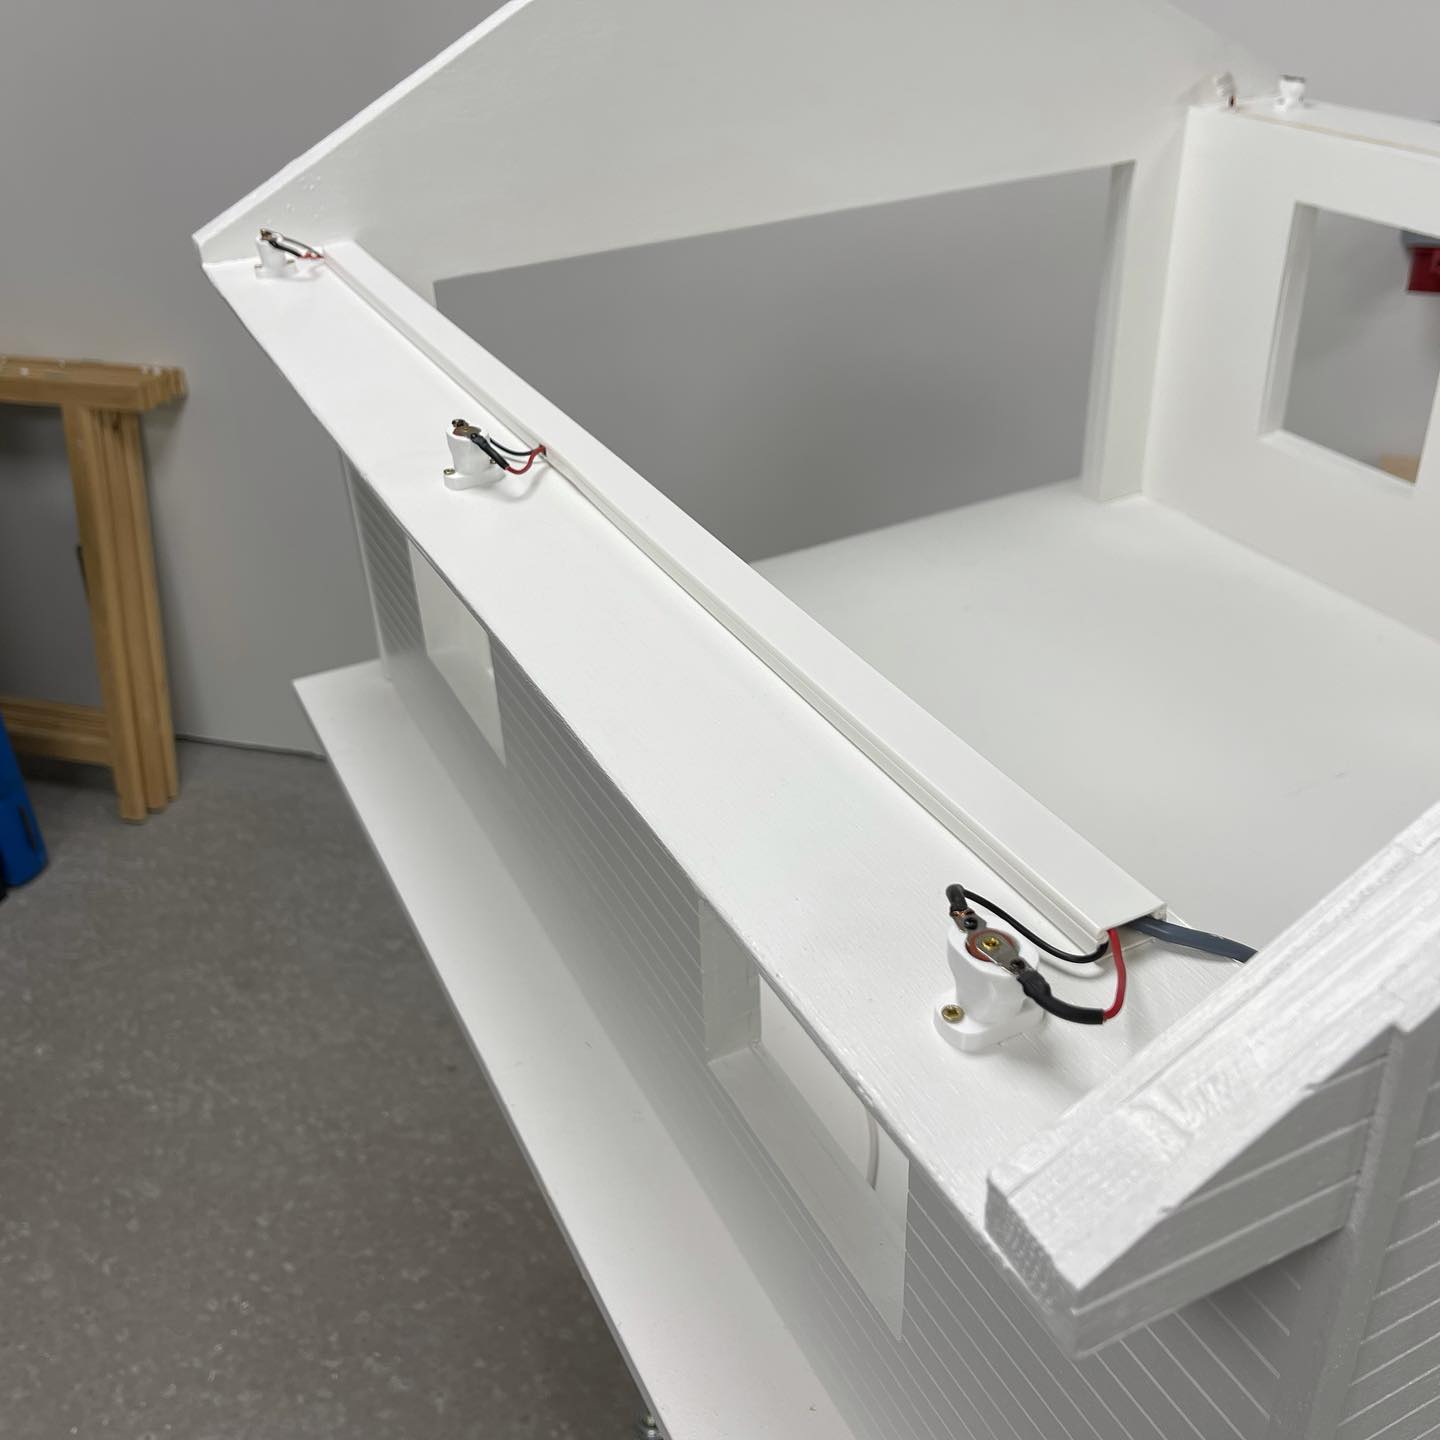
Really happy with how the lamp sockets I designed and printed turned out 😃 A perfect fit and the bulbs are really easy to replace 💡
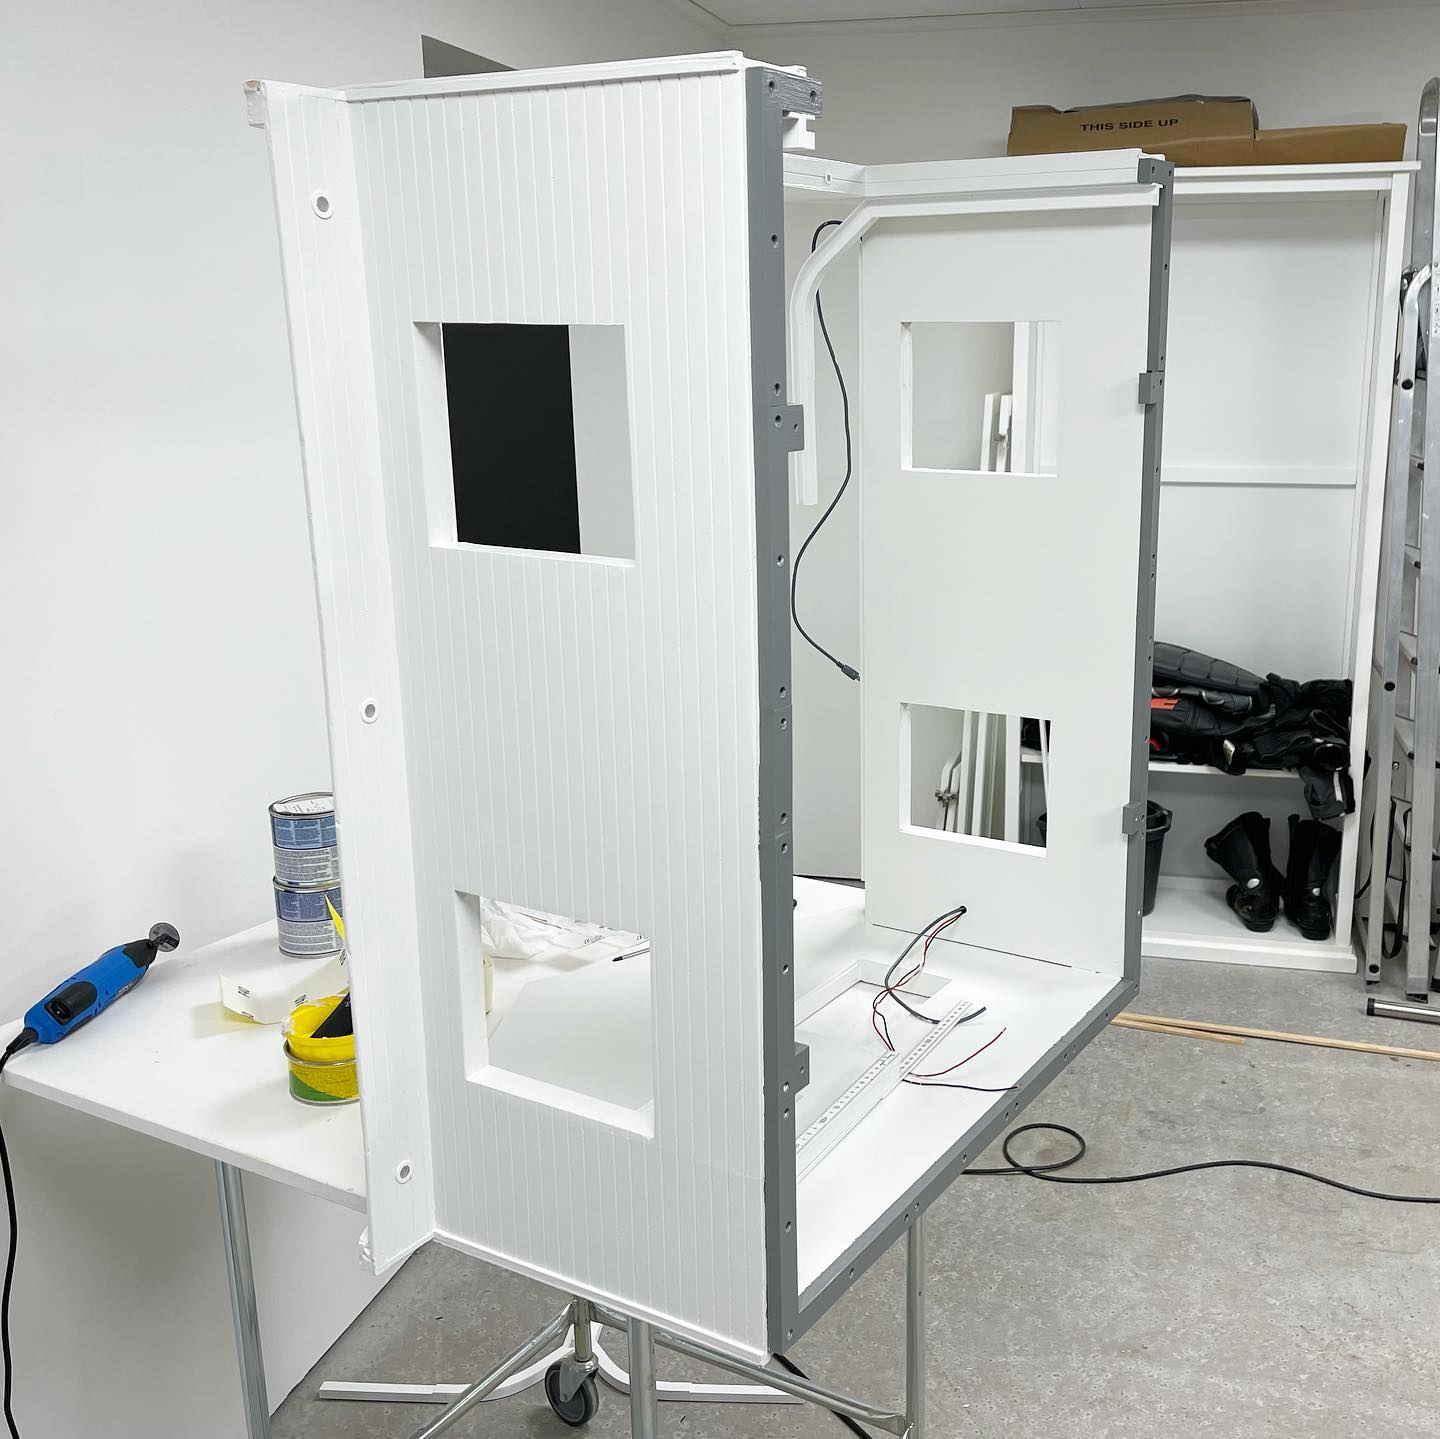
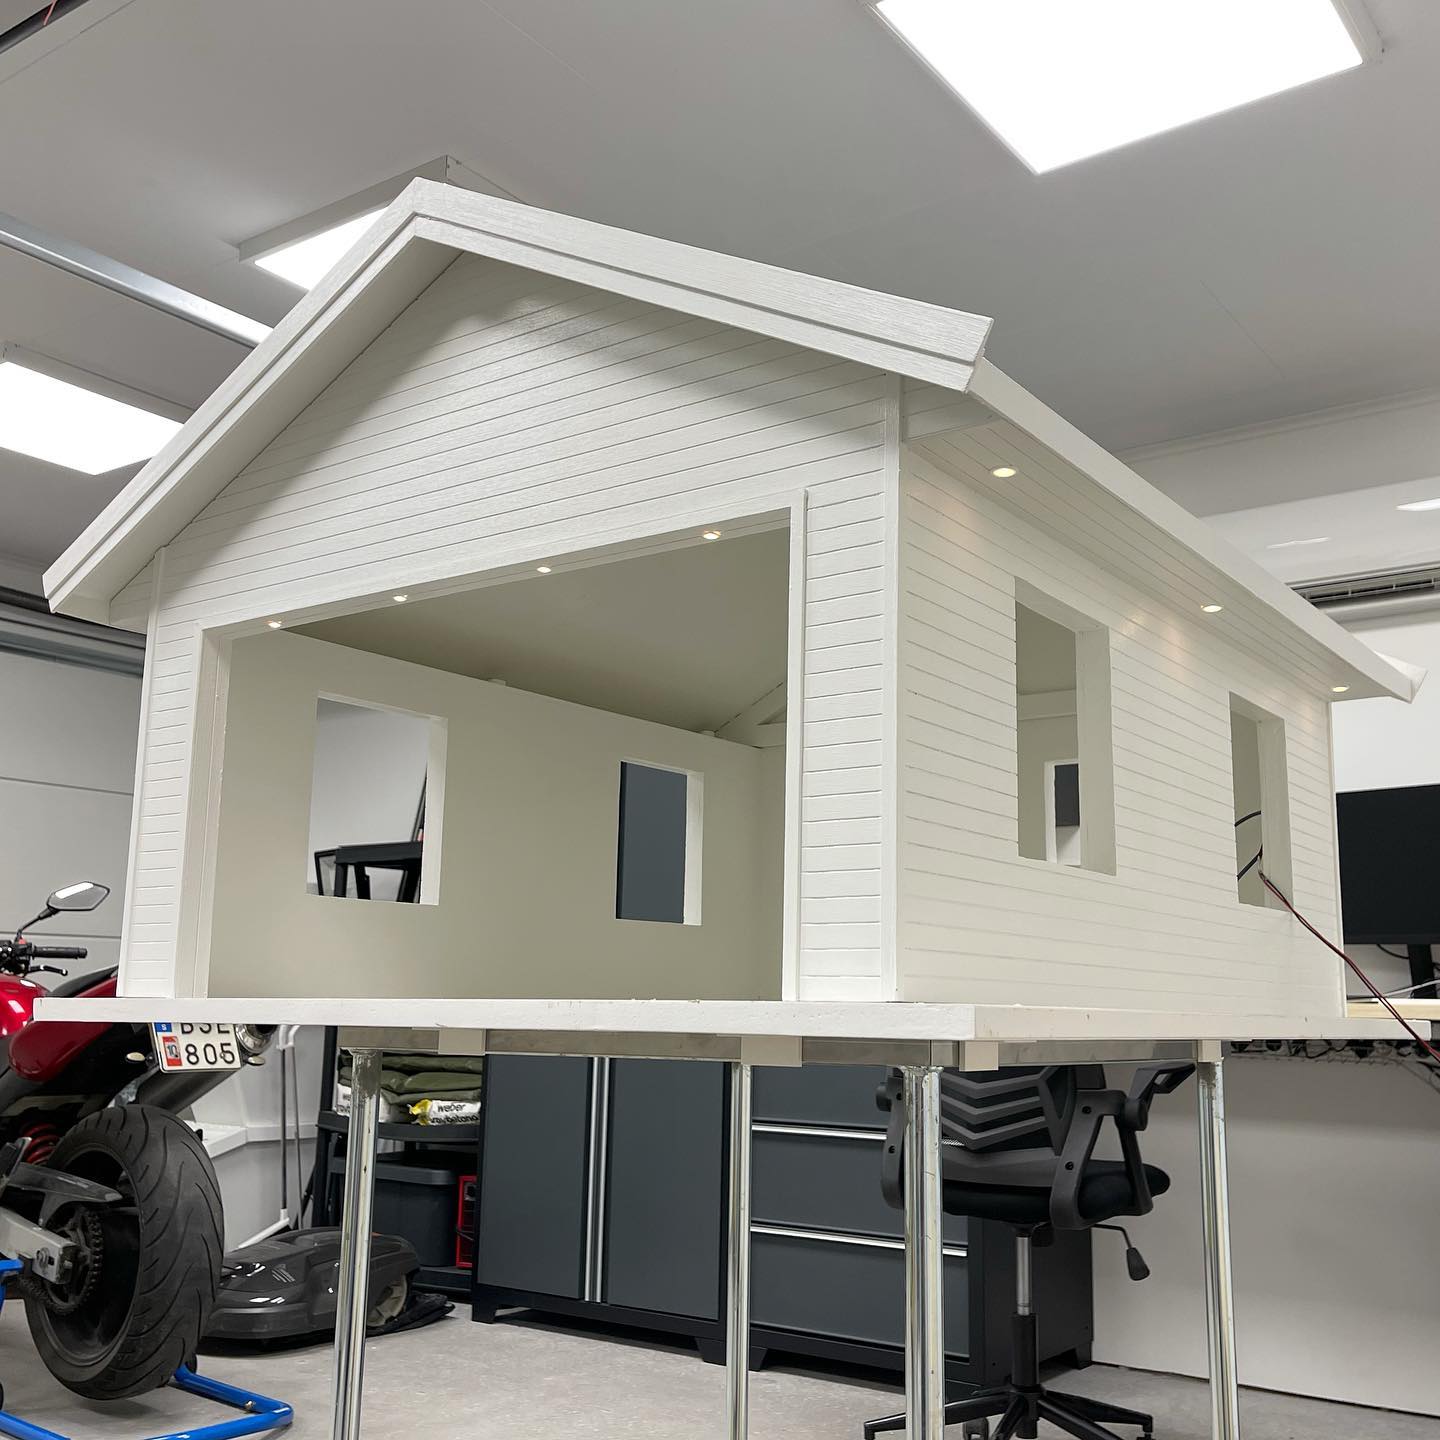
Painting done and ready to move on to hundreds of hours of 3D-printing and electronics. Yay! 😱😅
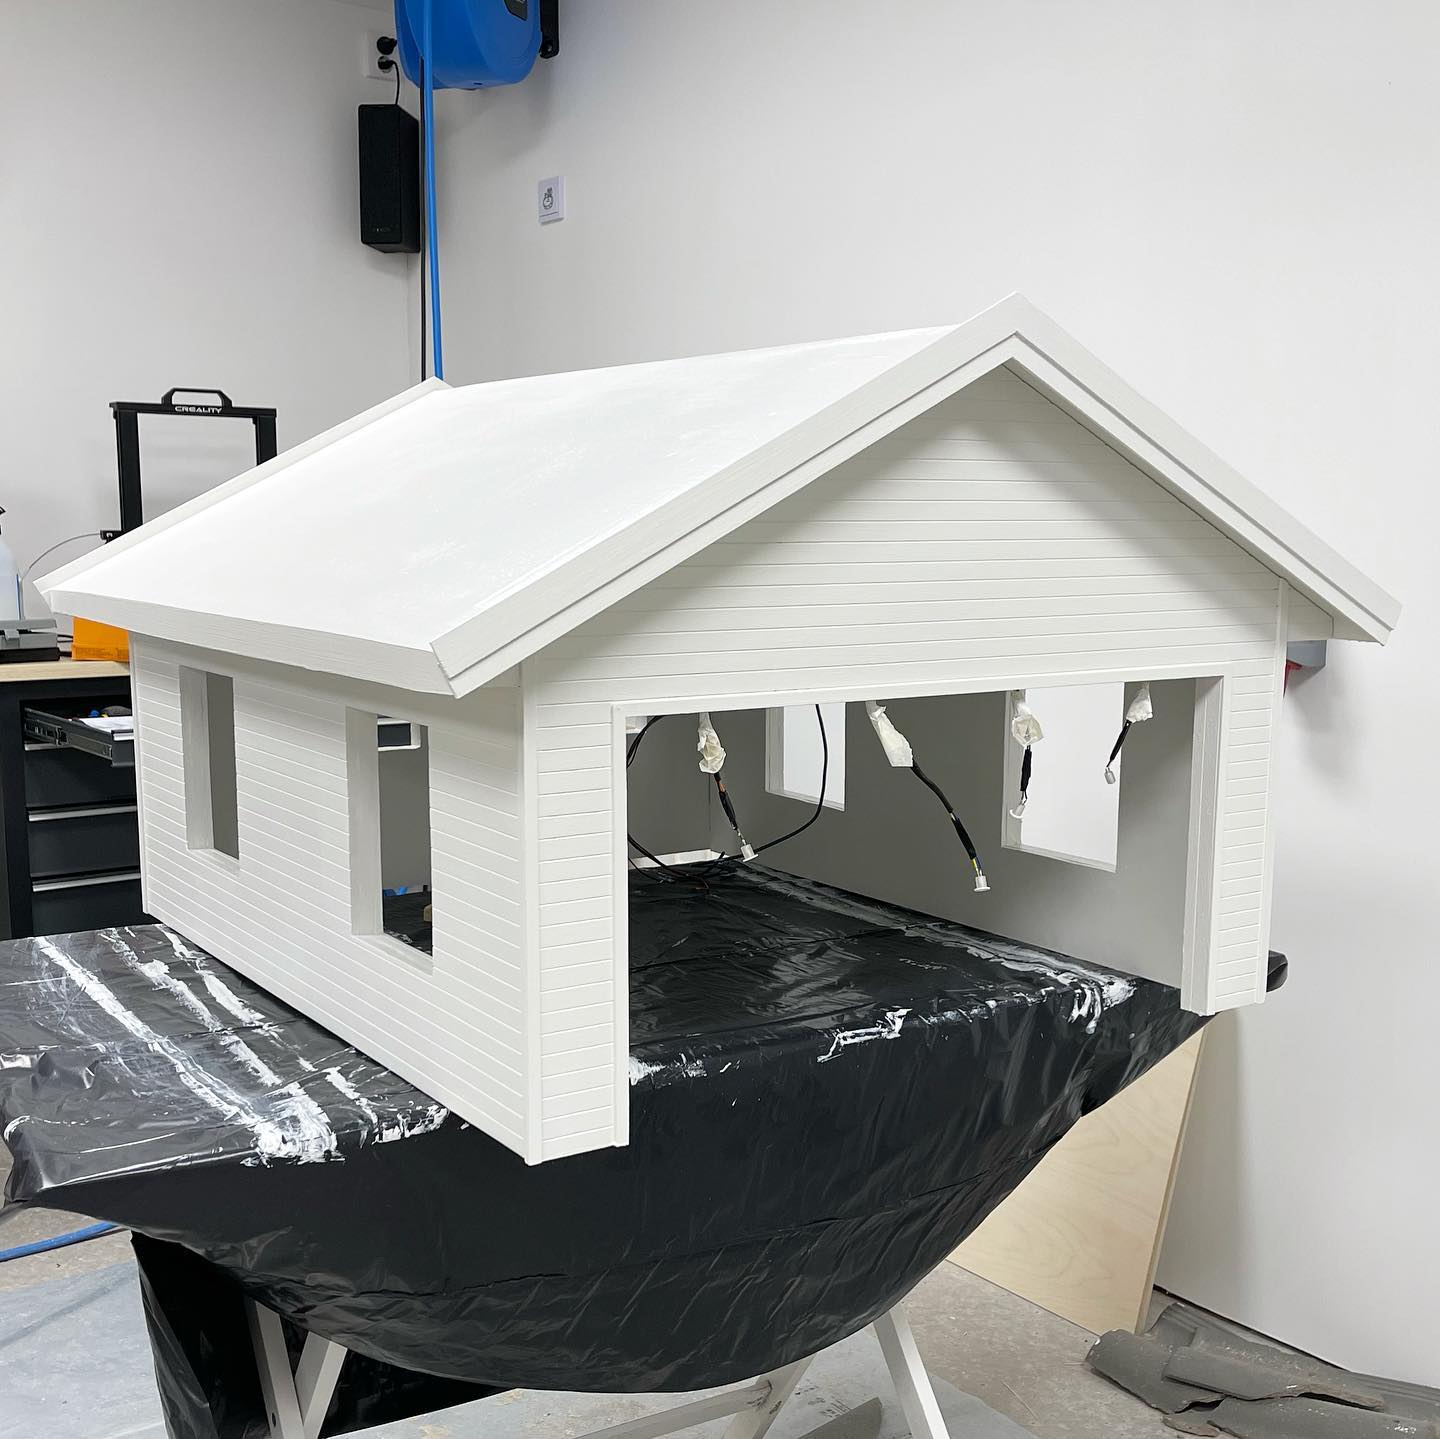
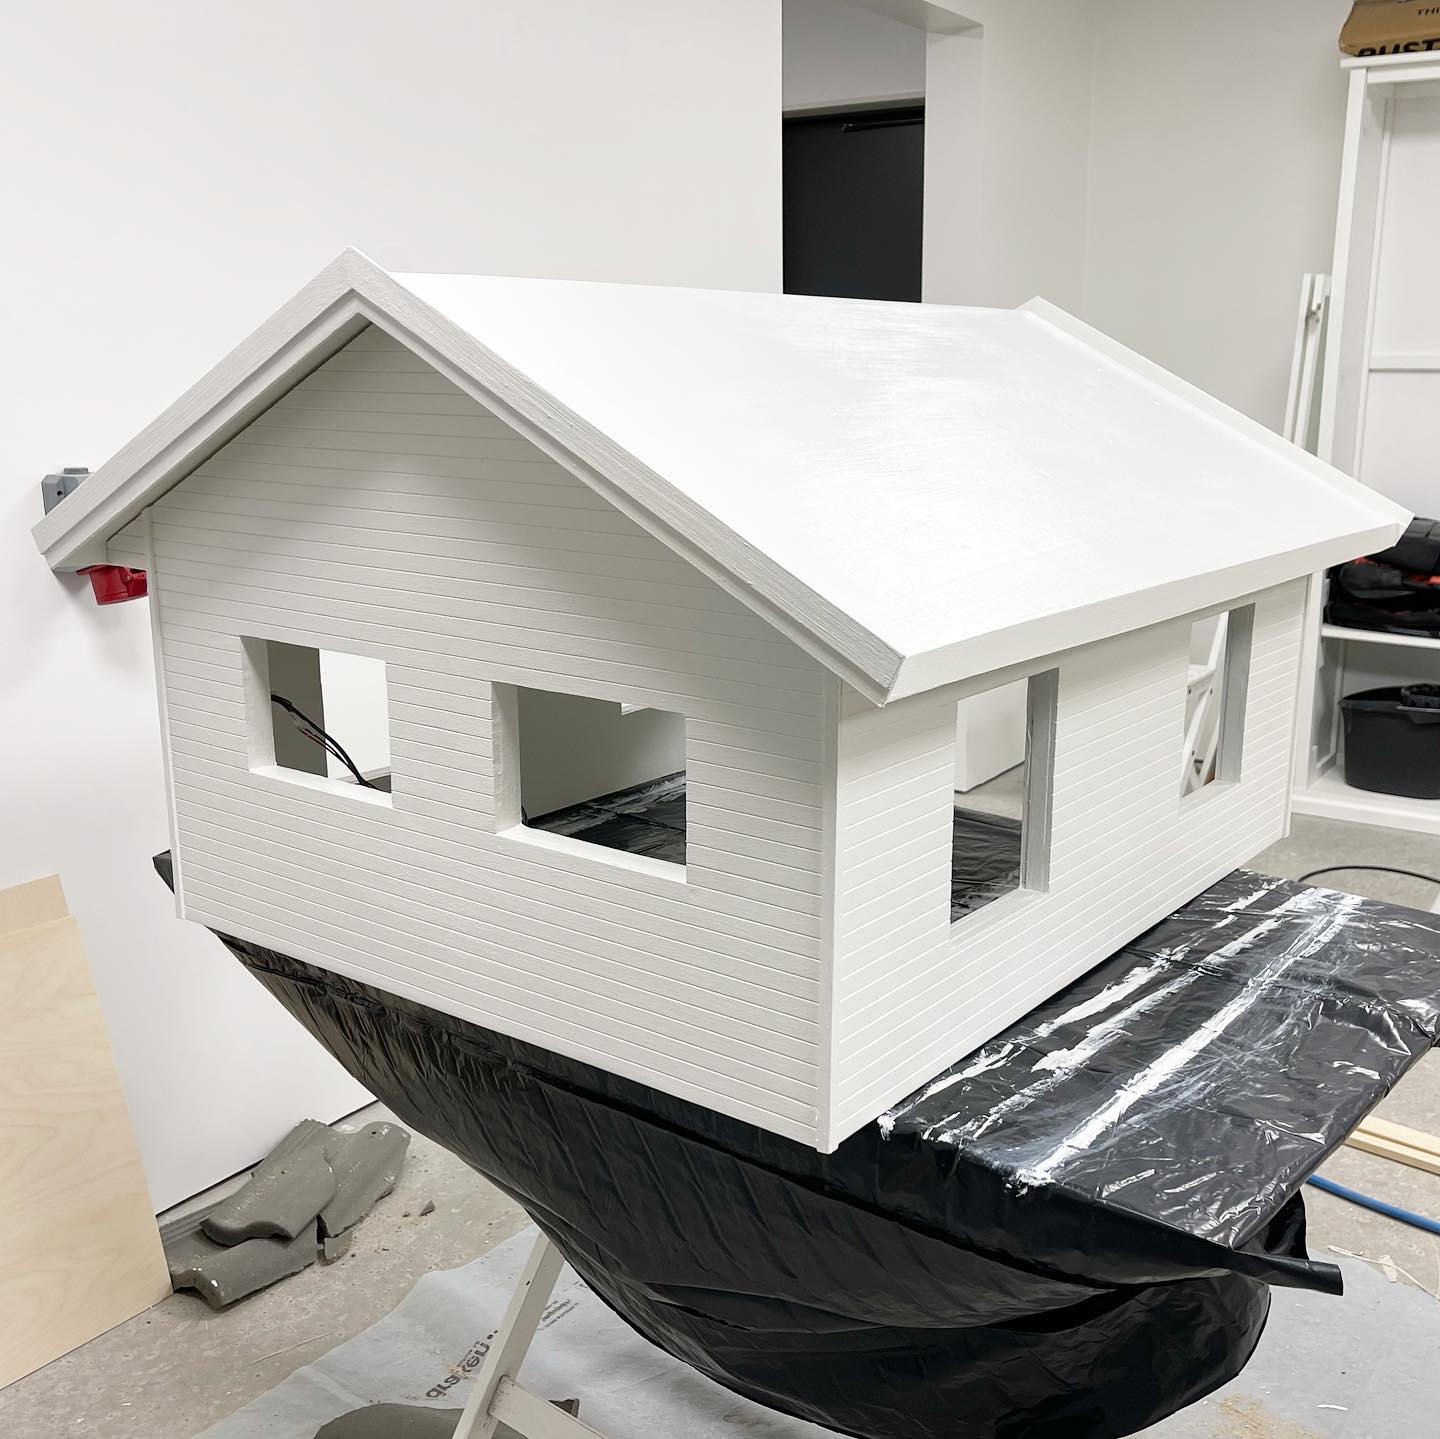
Base coat done! This reminds me of how much I hate painting. Painting our house (@malmqvistsvag) was probably the worst thing I’ve ever had to do 😅
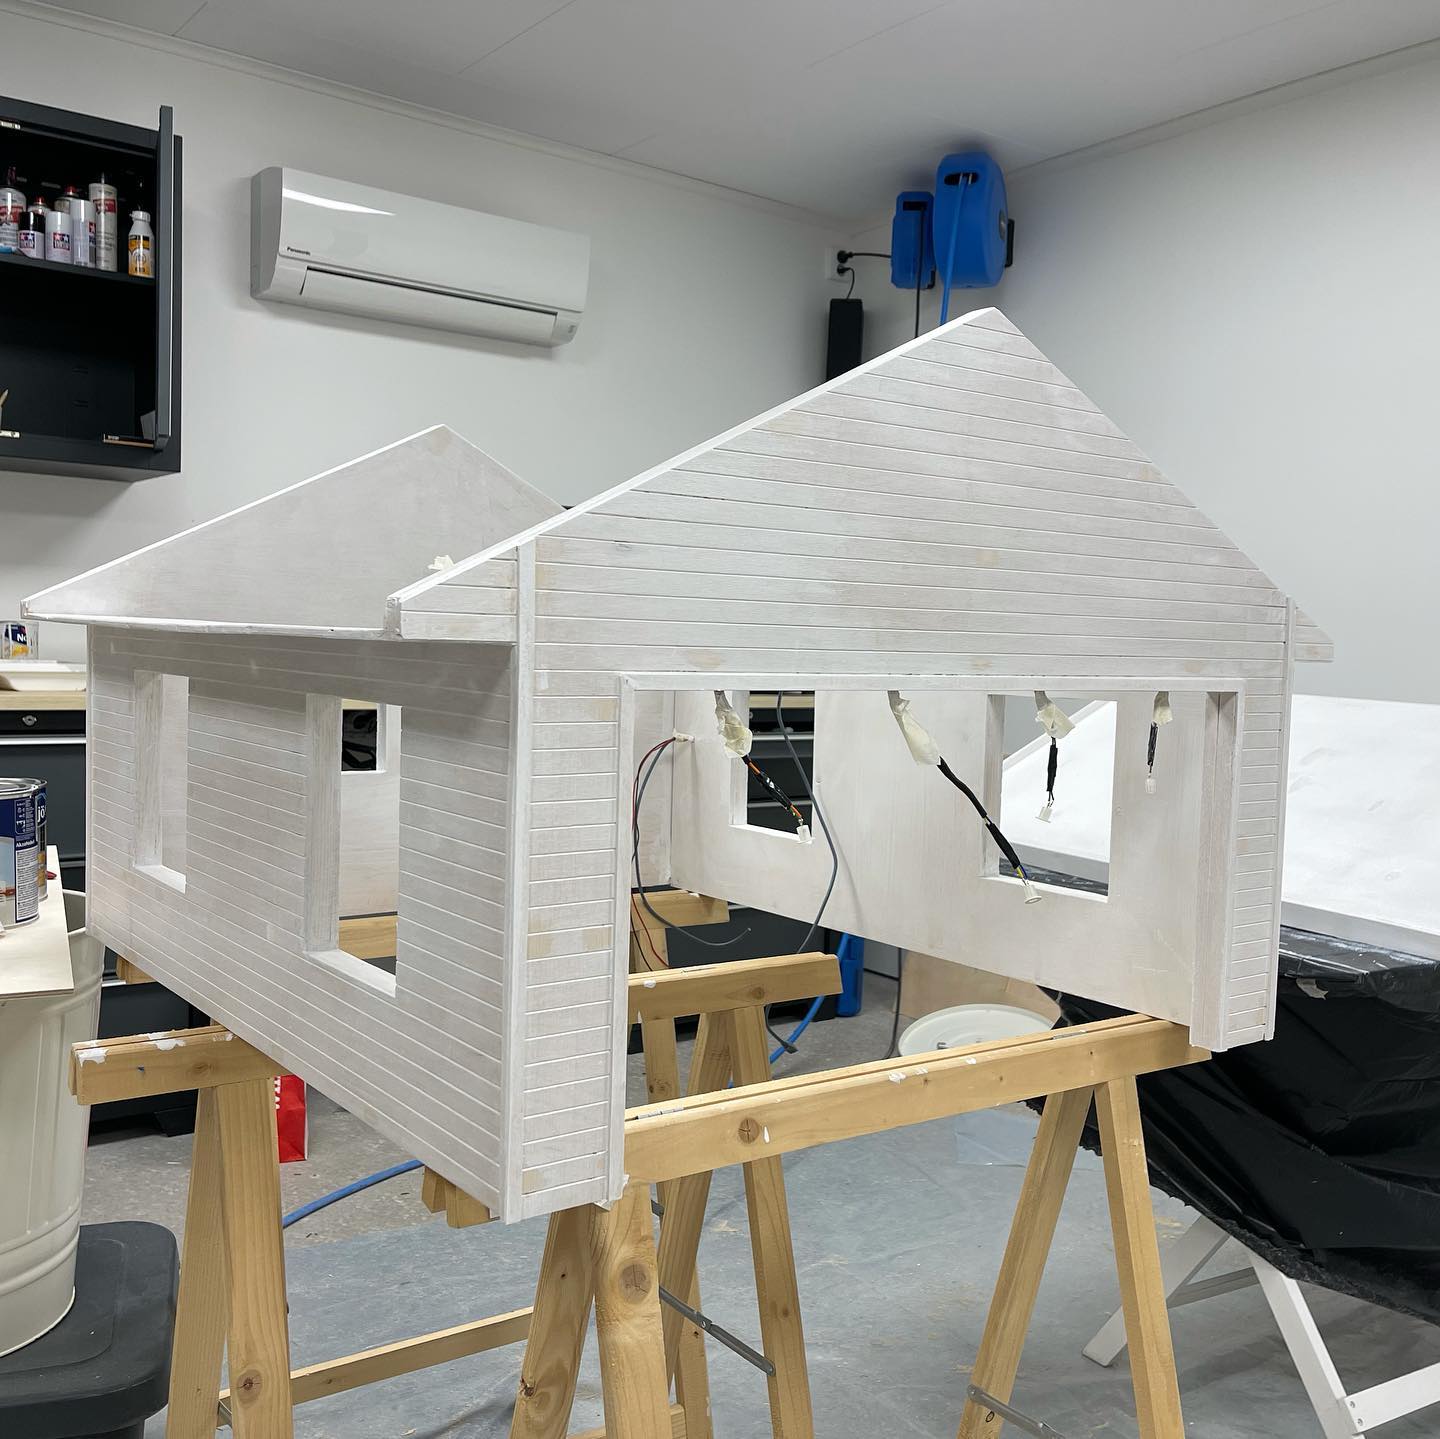
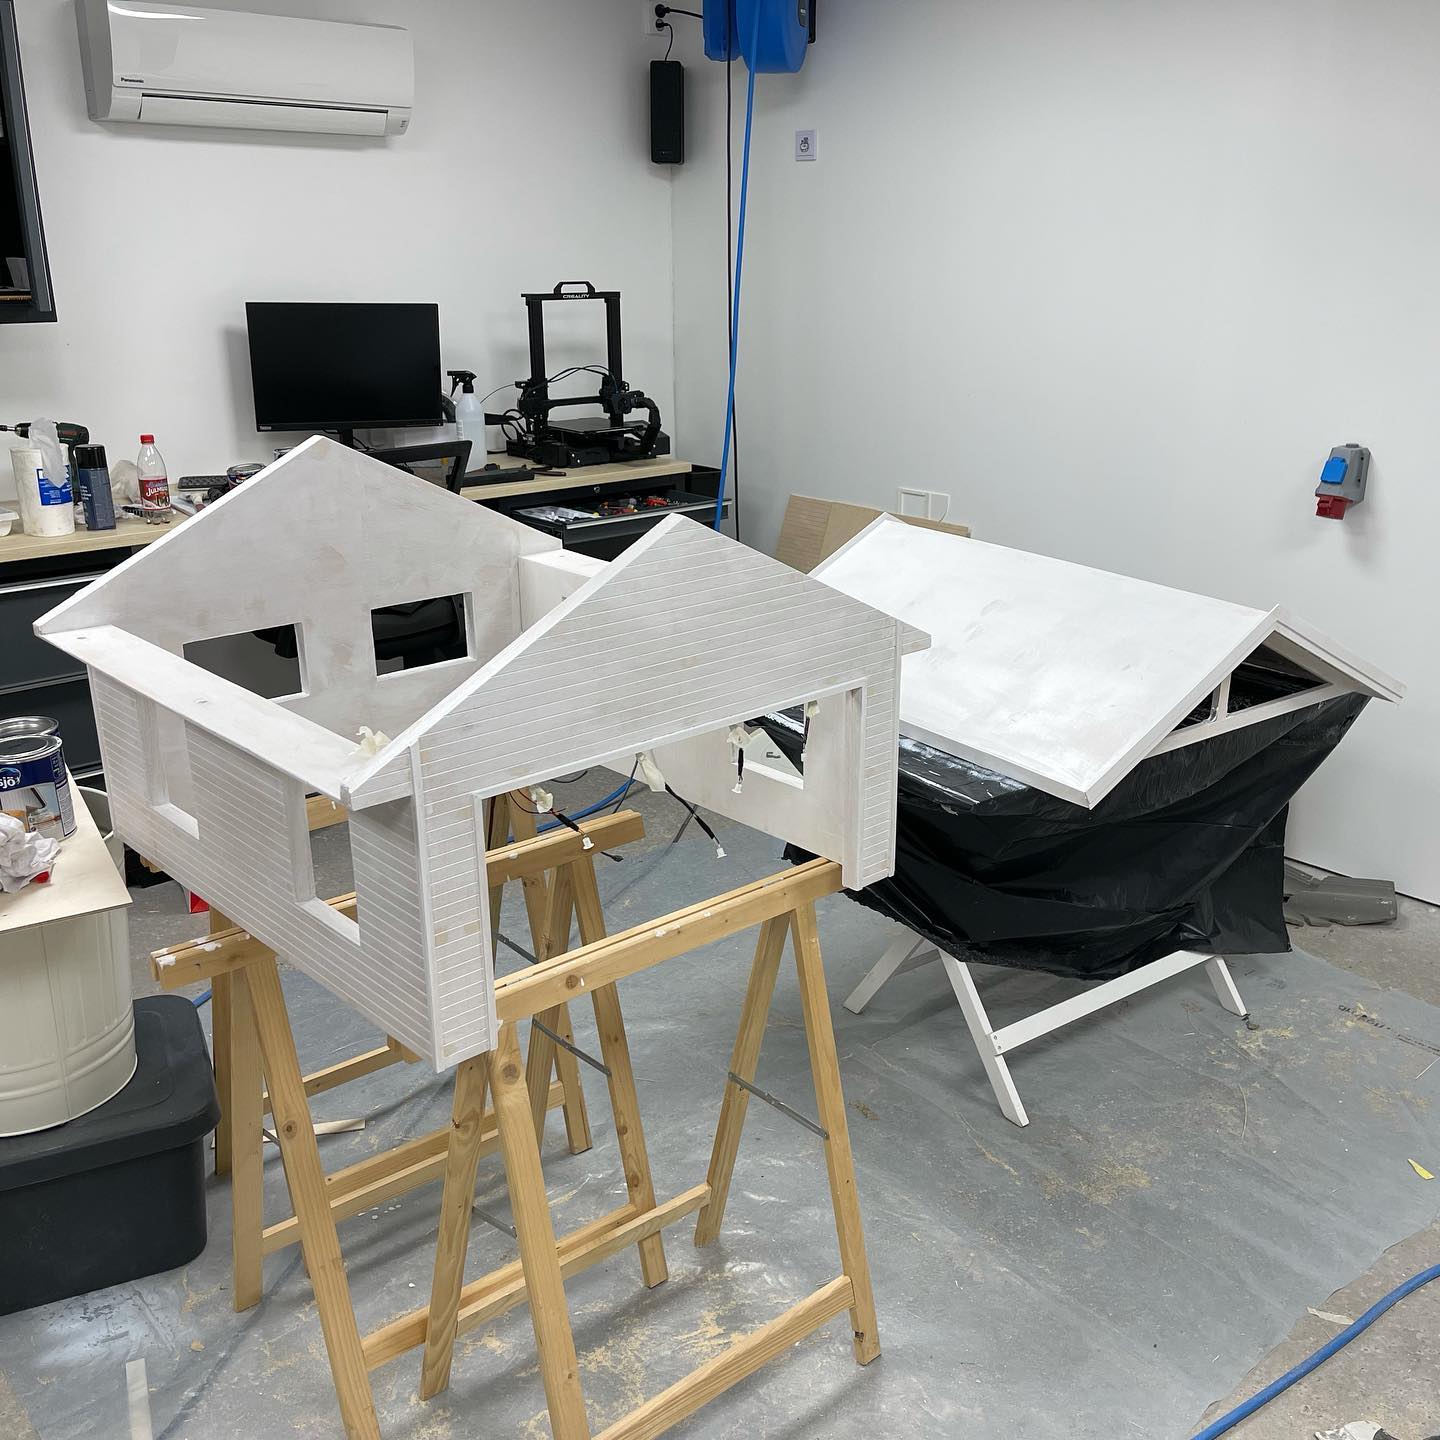
Oiled up and soon ready to be coated with a layer of base paint. I used a full 1L-can of wood base oil. Hopefully it won’t affect the paints ability to adhere 😅 Maybe unnecessary, but I live in a rainy part of Sweden, so I figured better safe than sorry 😃
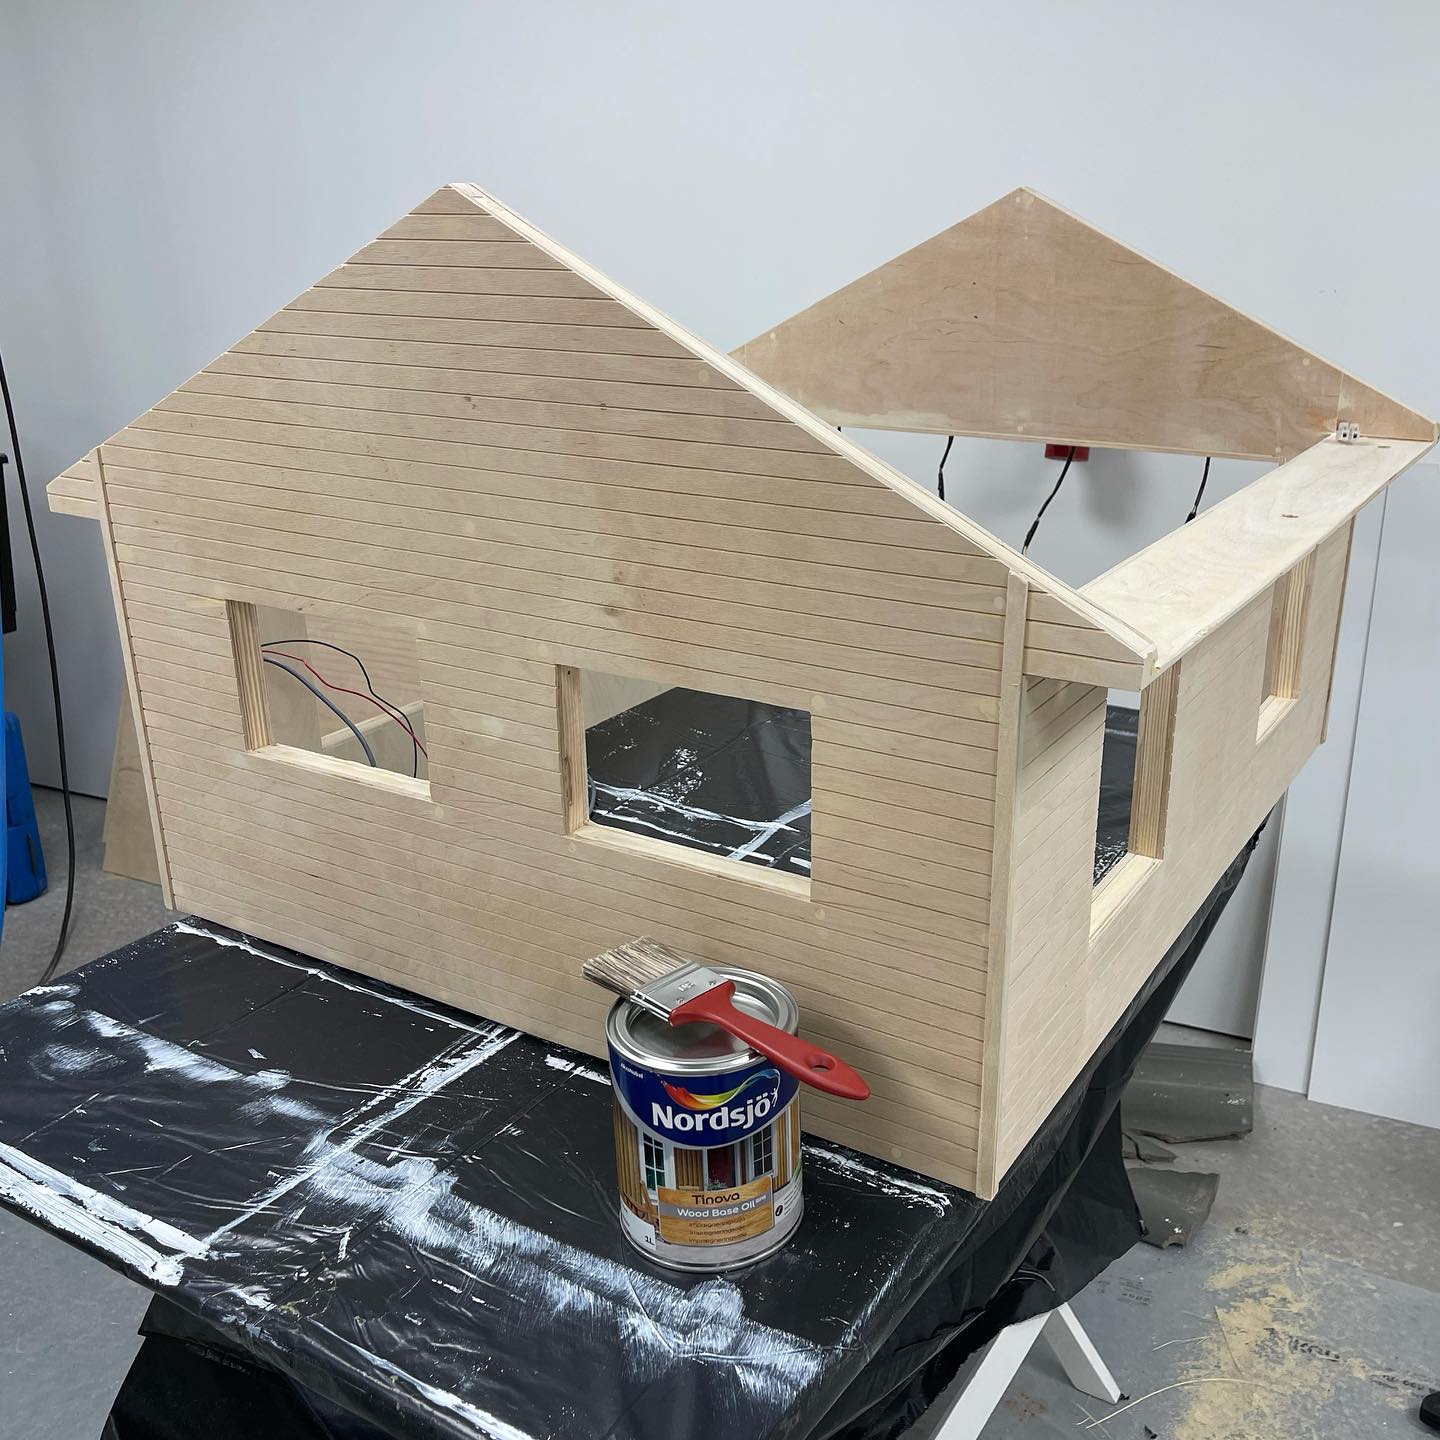
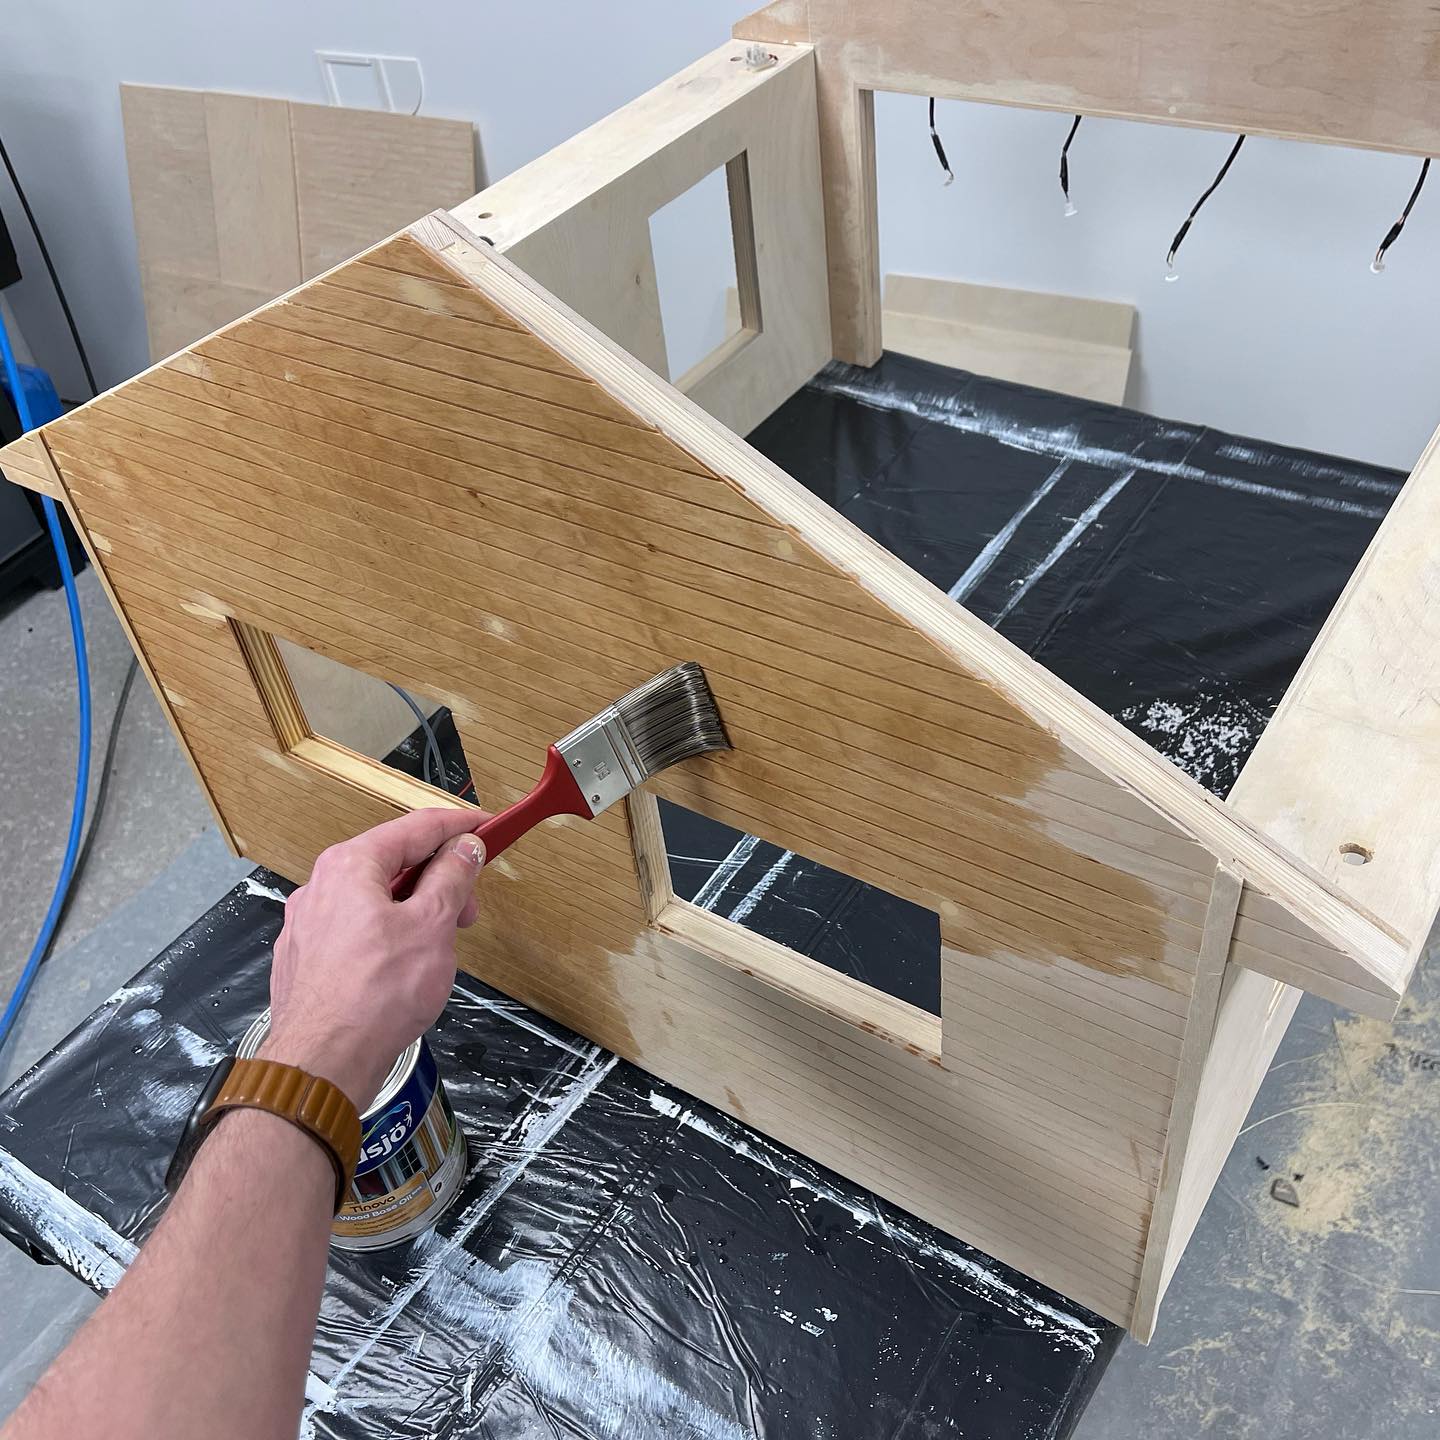
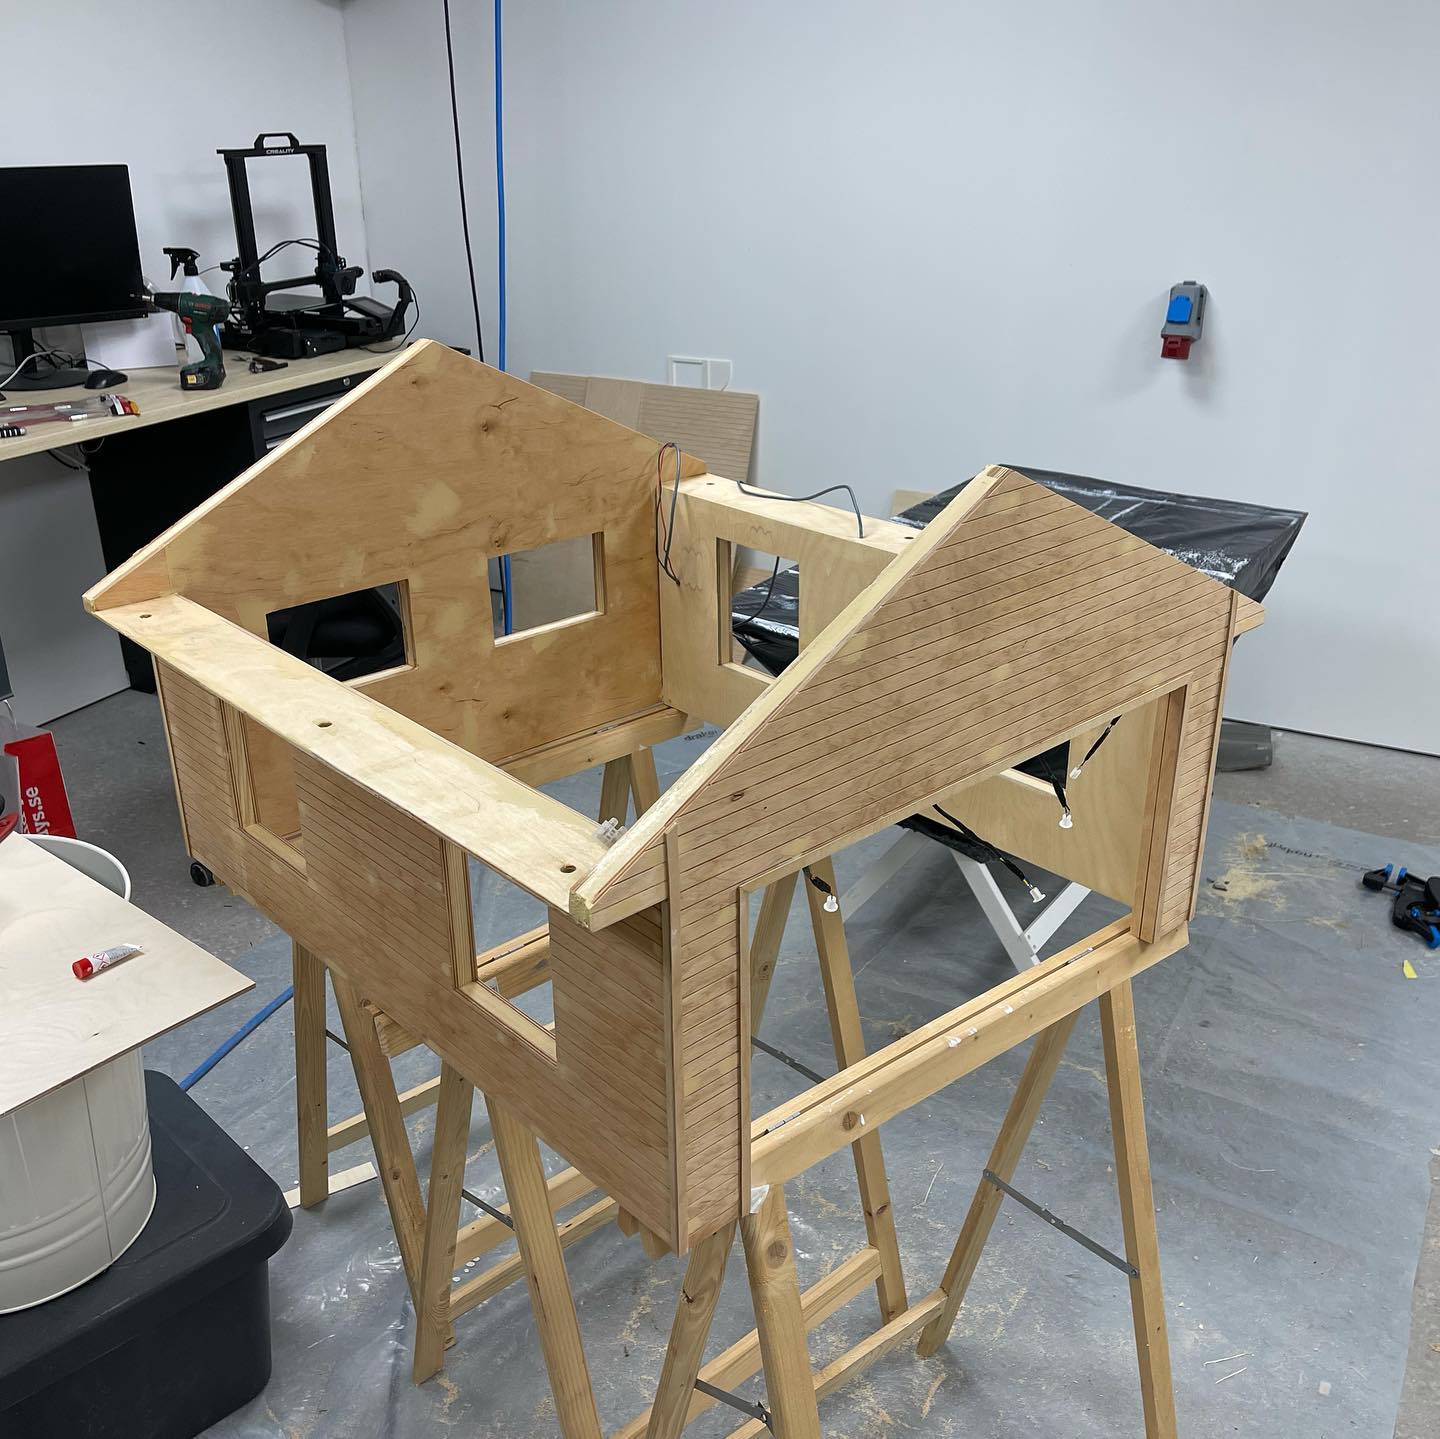
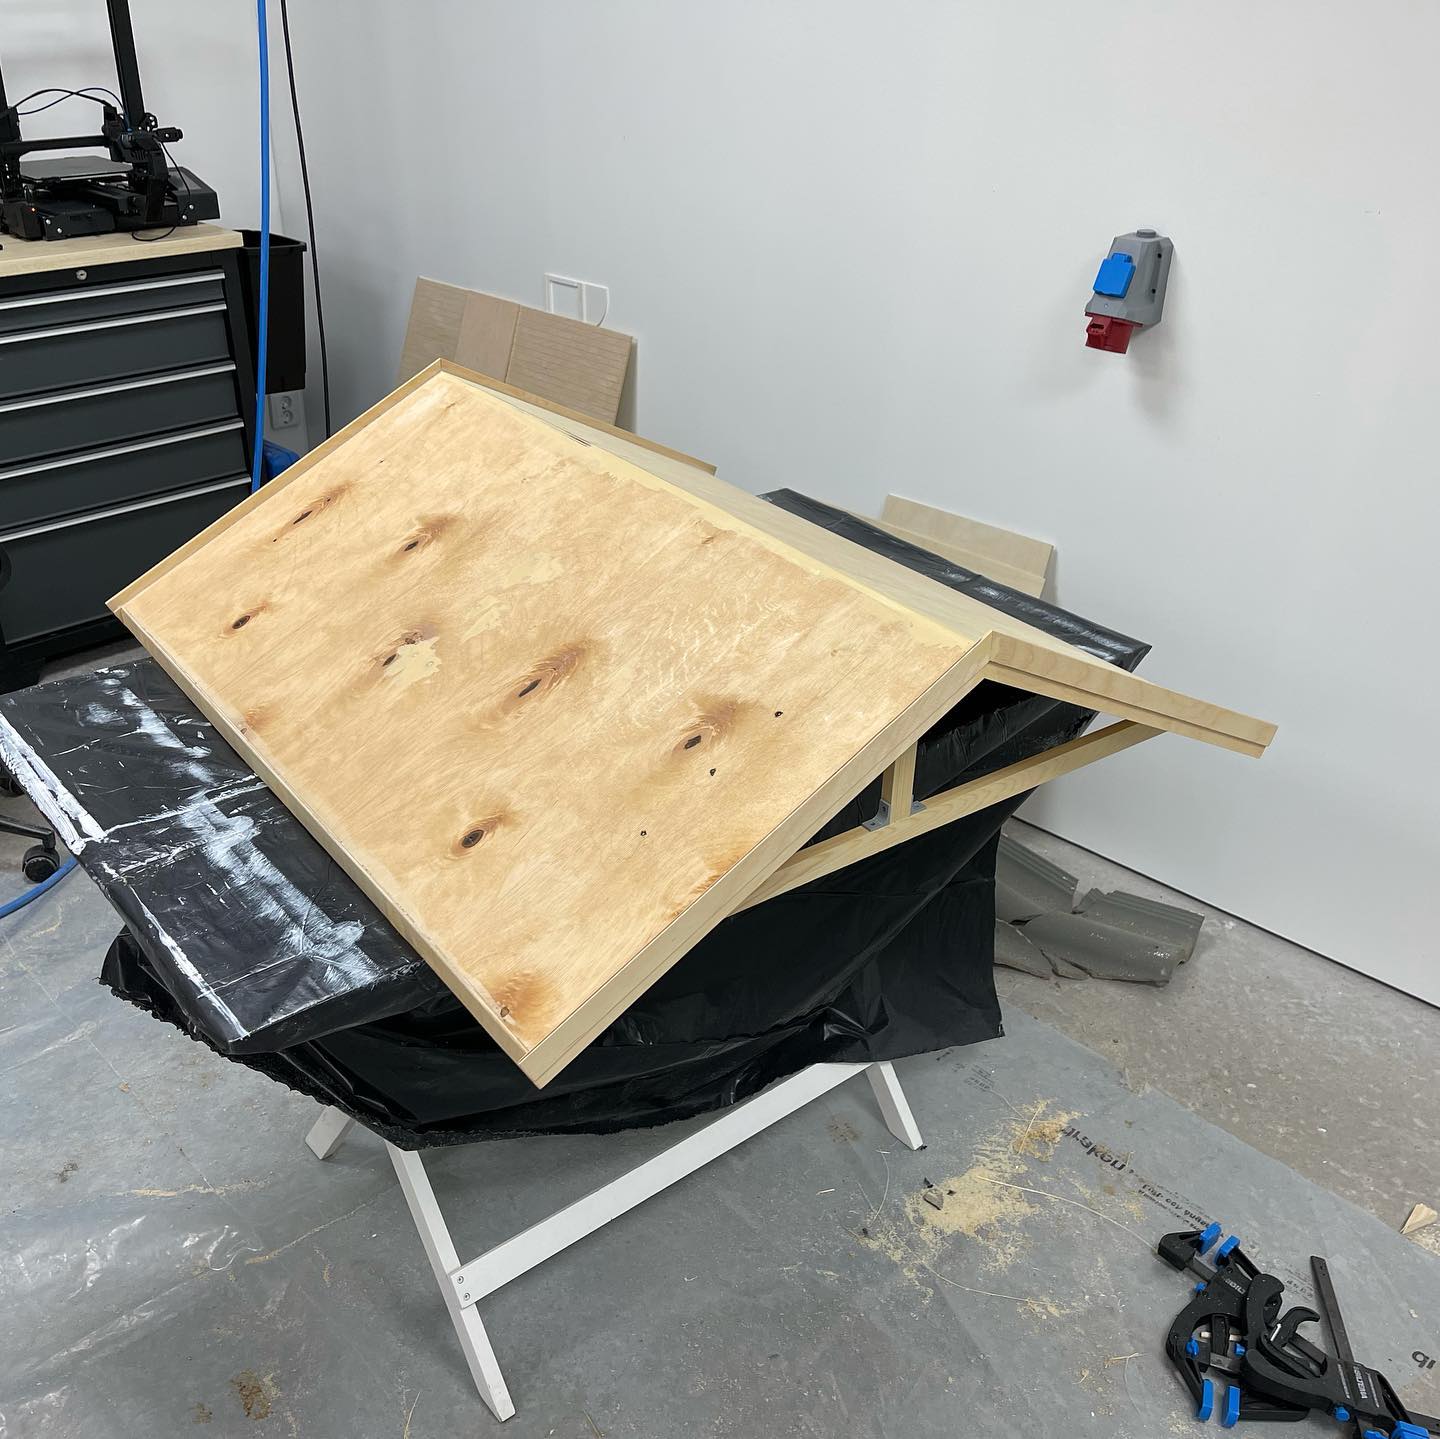
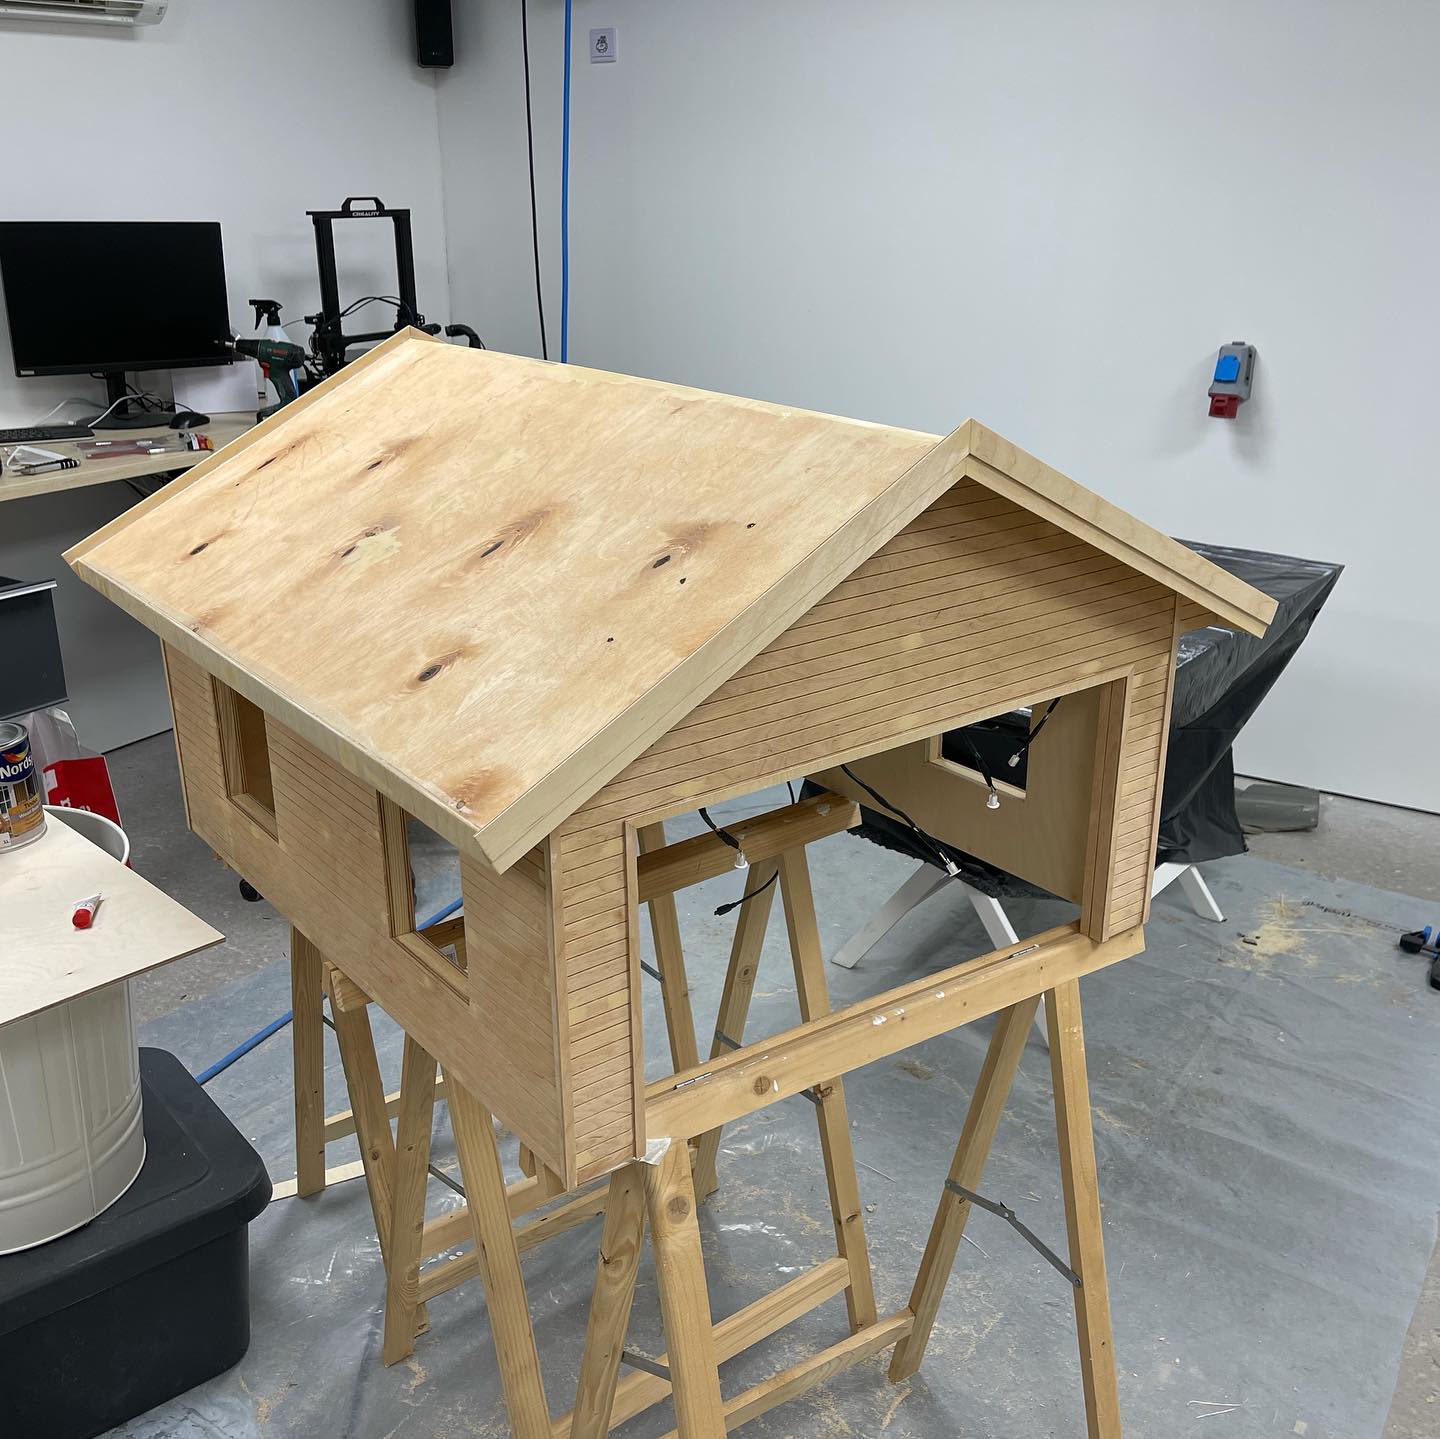
Putting some finishing touches to the roof tonight ✔️ Basically this means that the woodworking part is done, finally 😃 Next up: Oil and paint 🎨
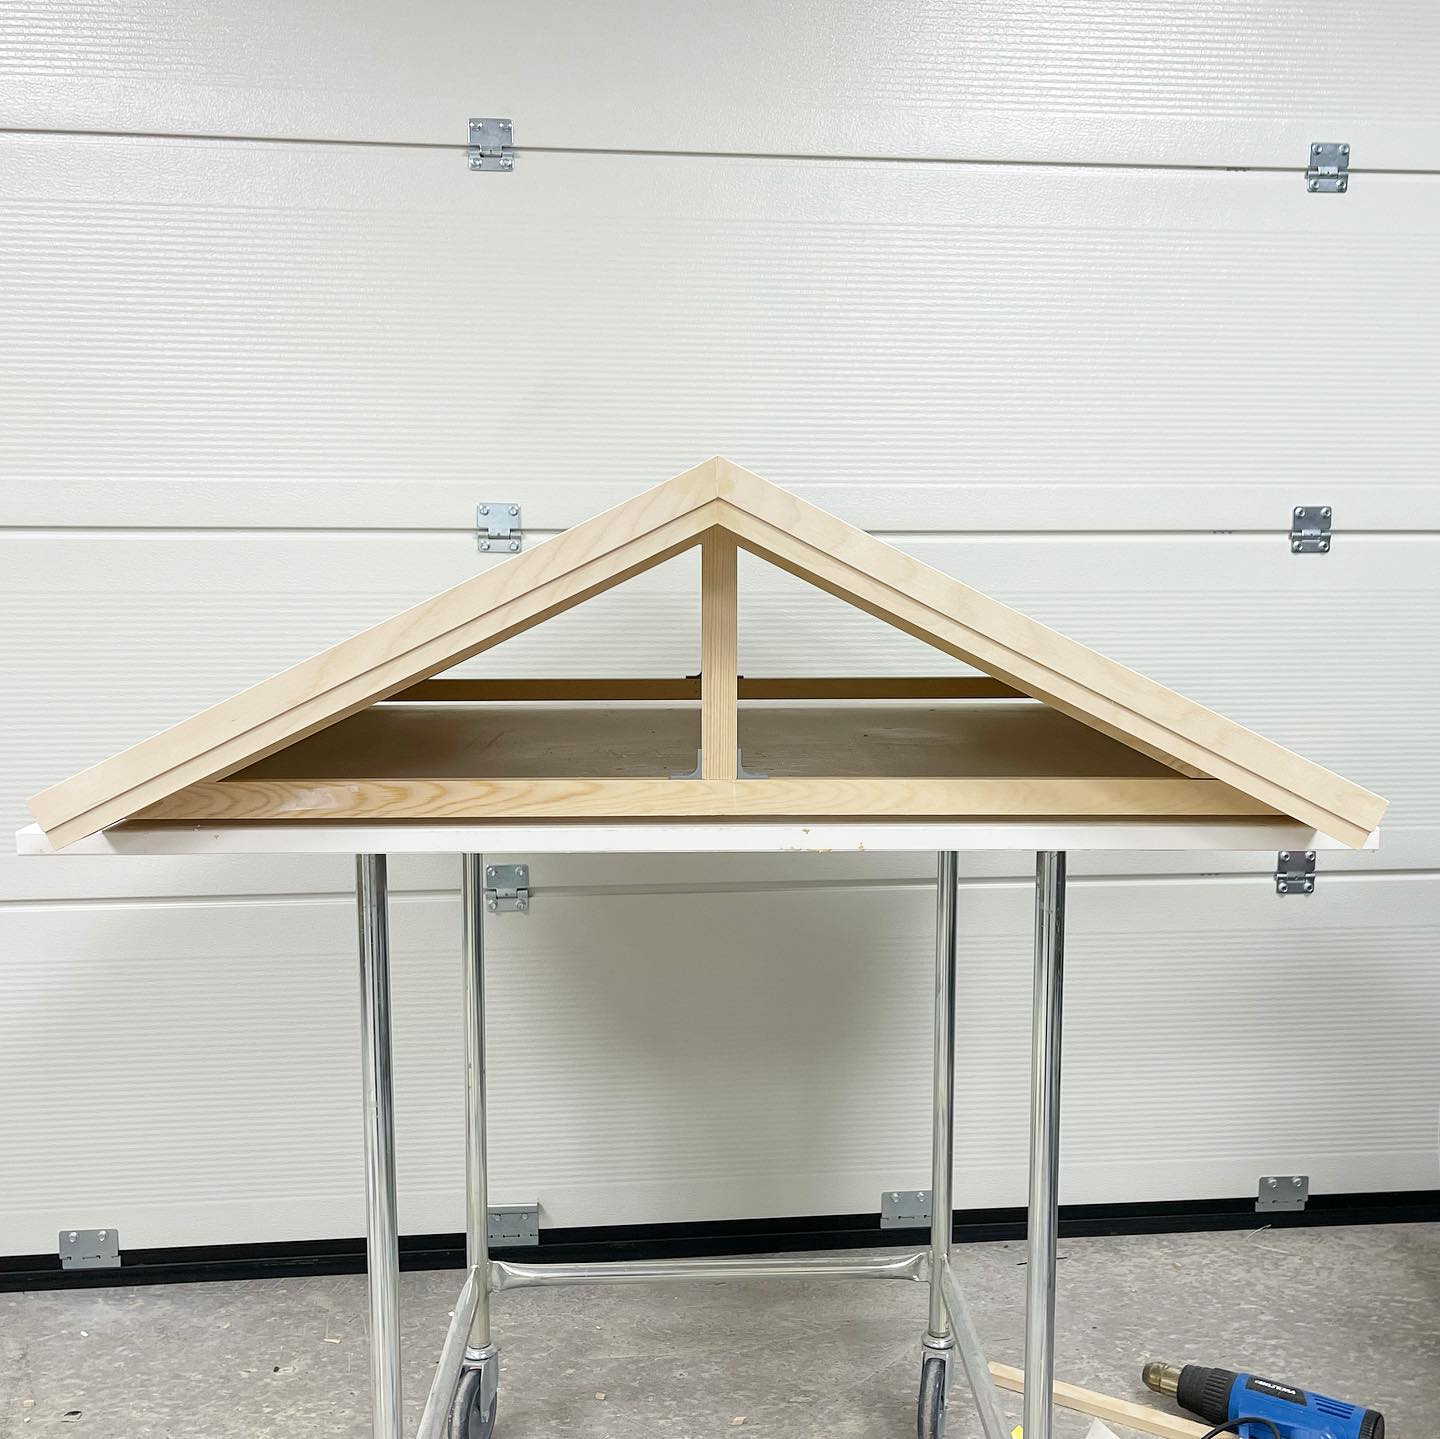
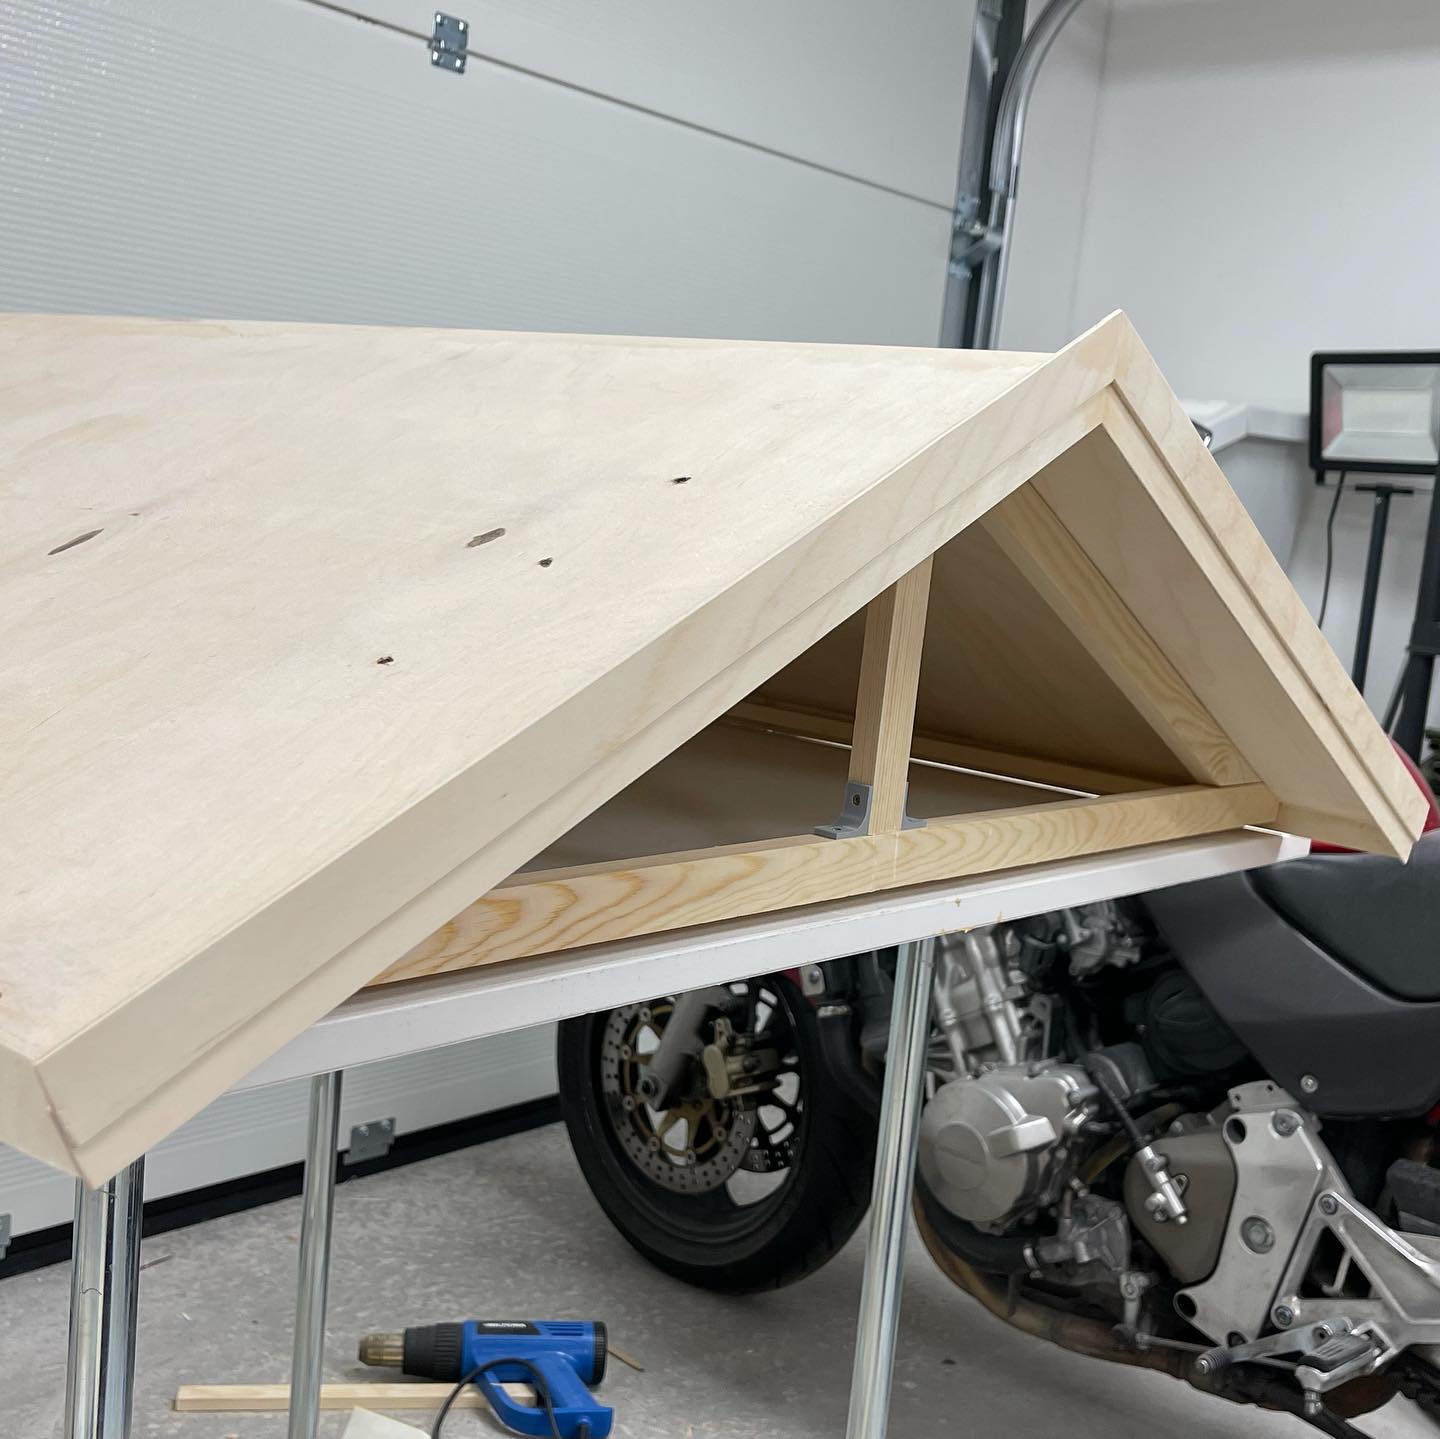
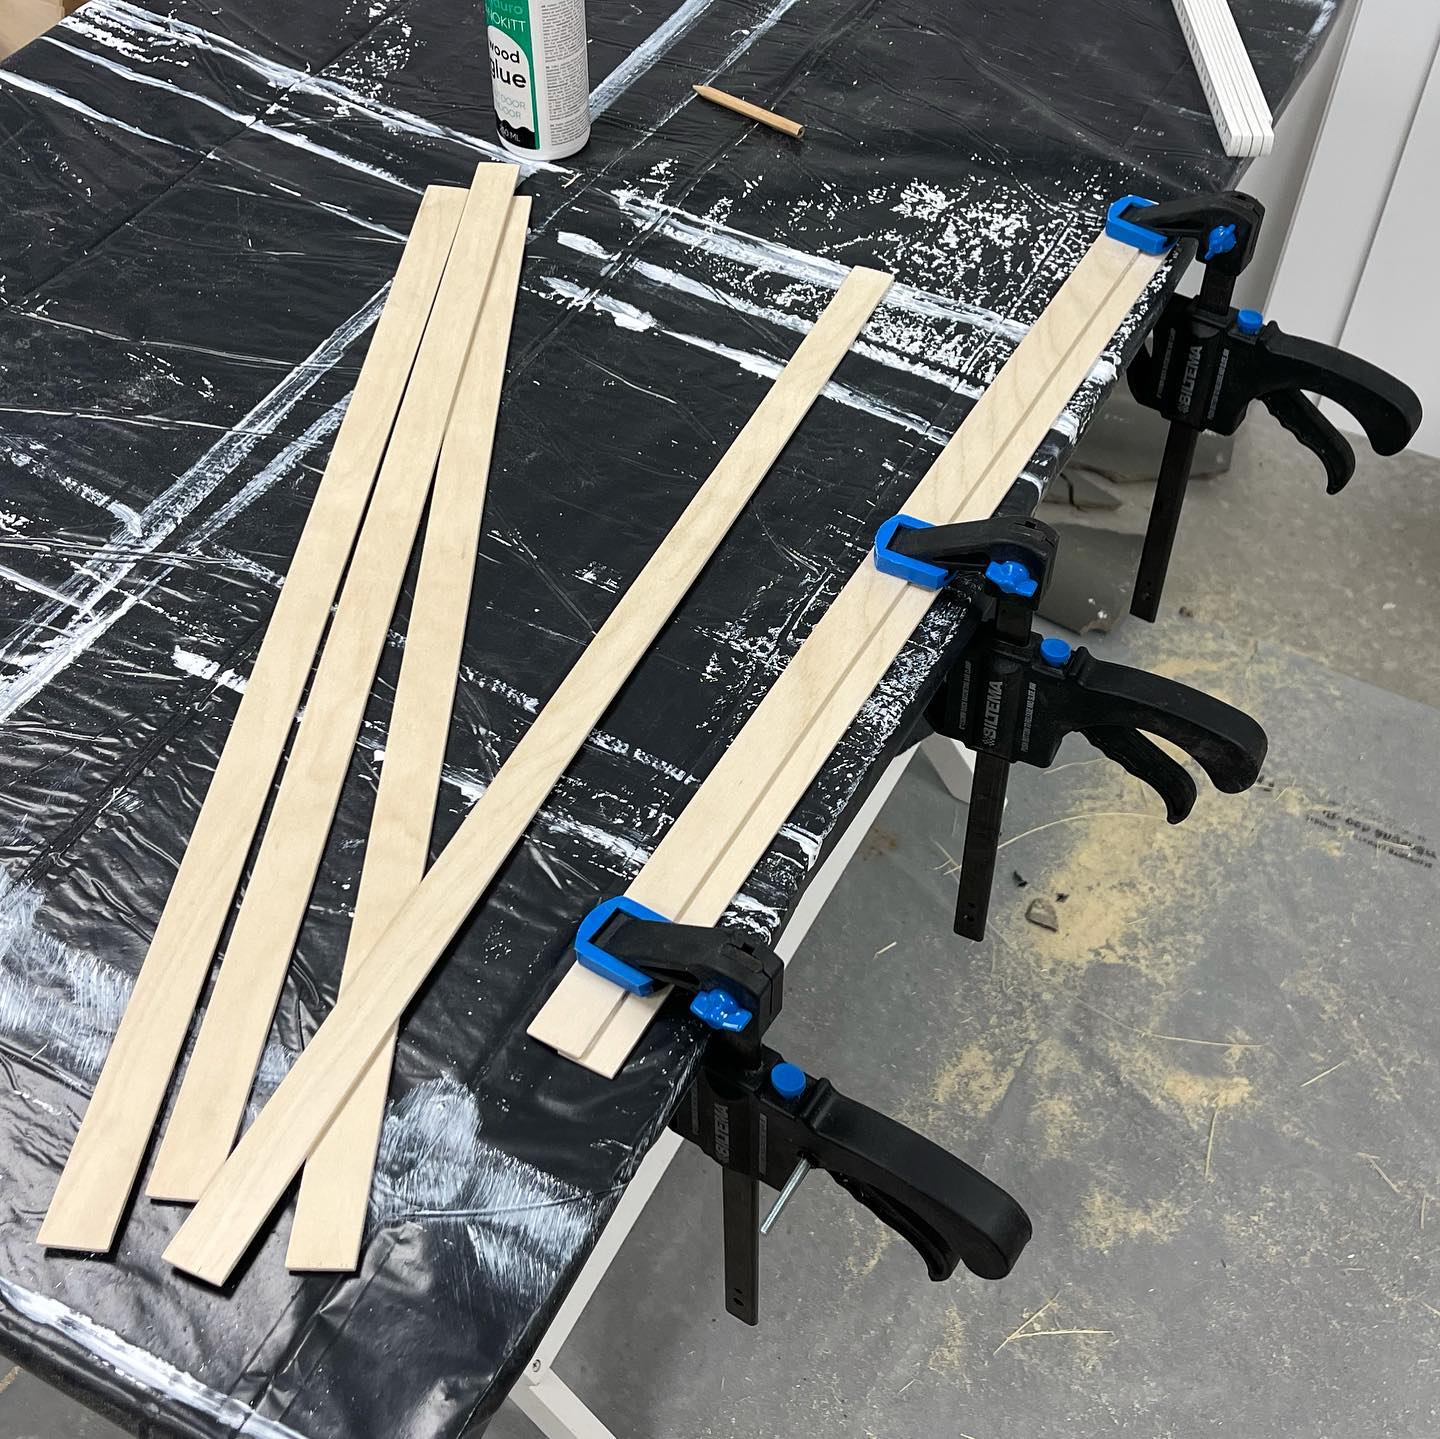
Redoing the roof, for the millionth time 😑
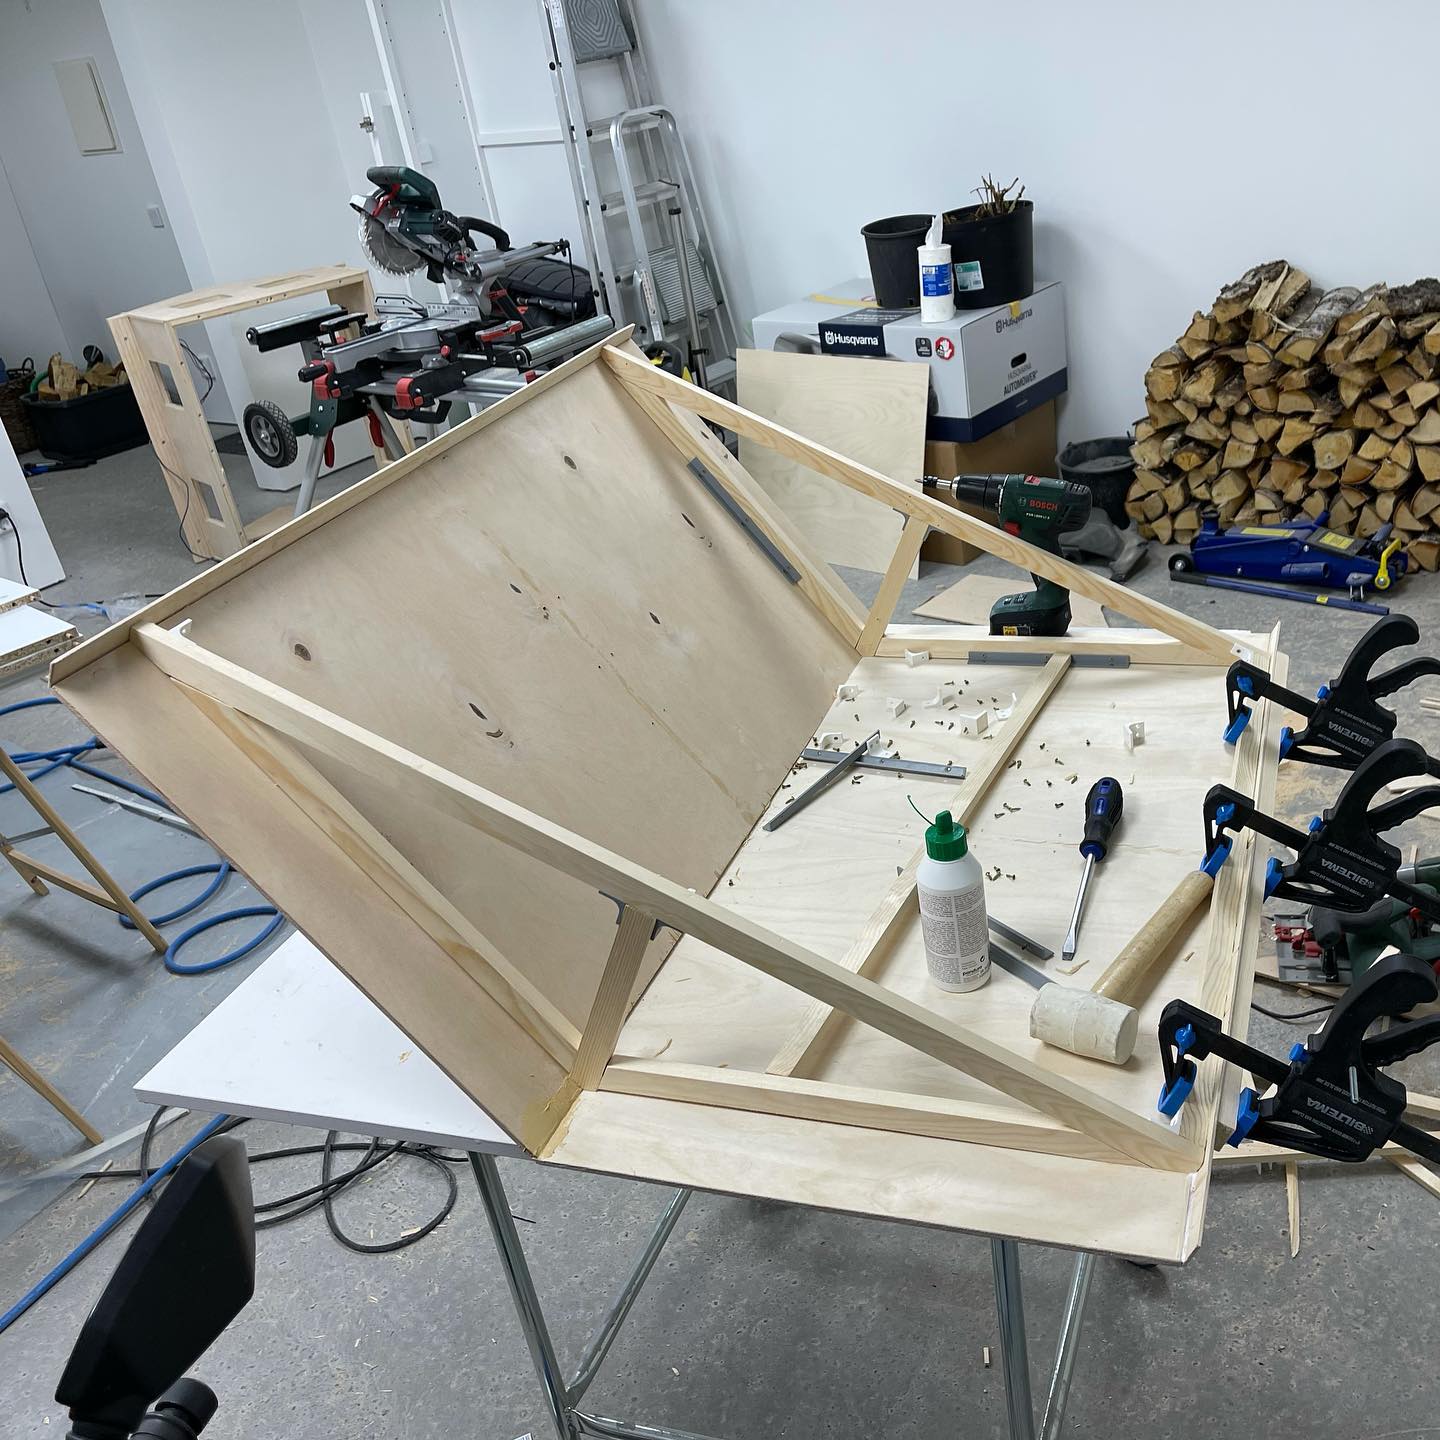
Inner walls done. Time for some sanding 😃
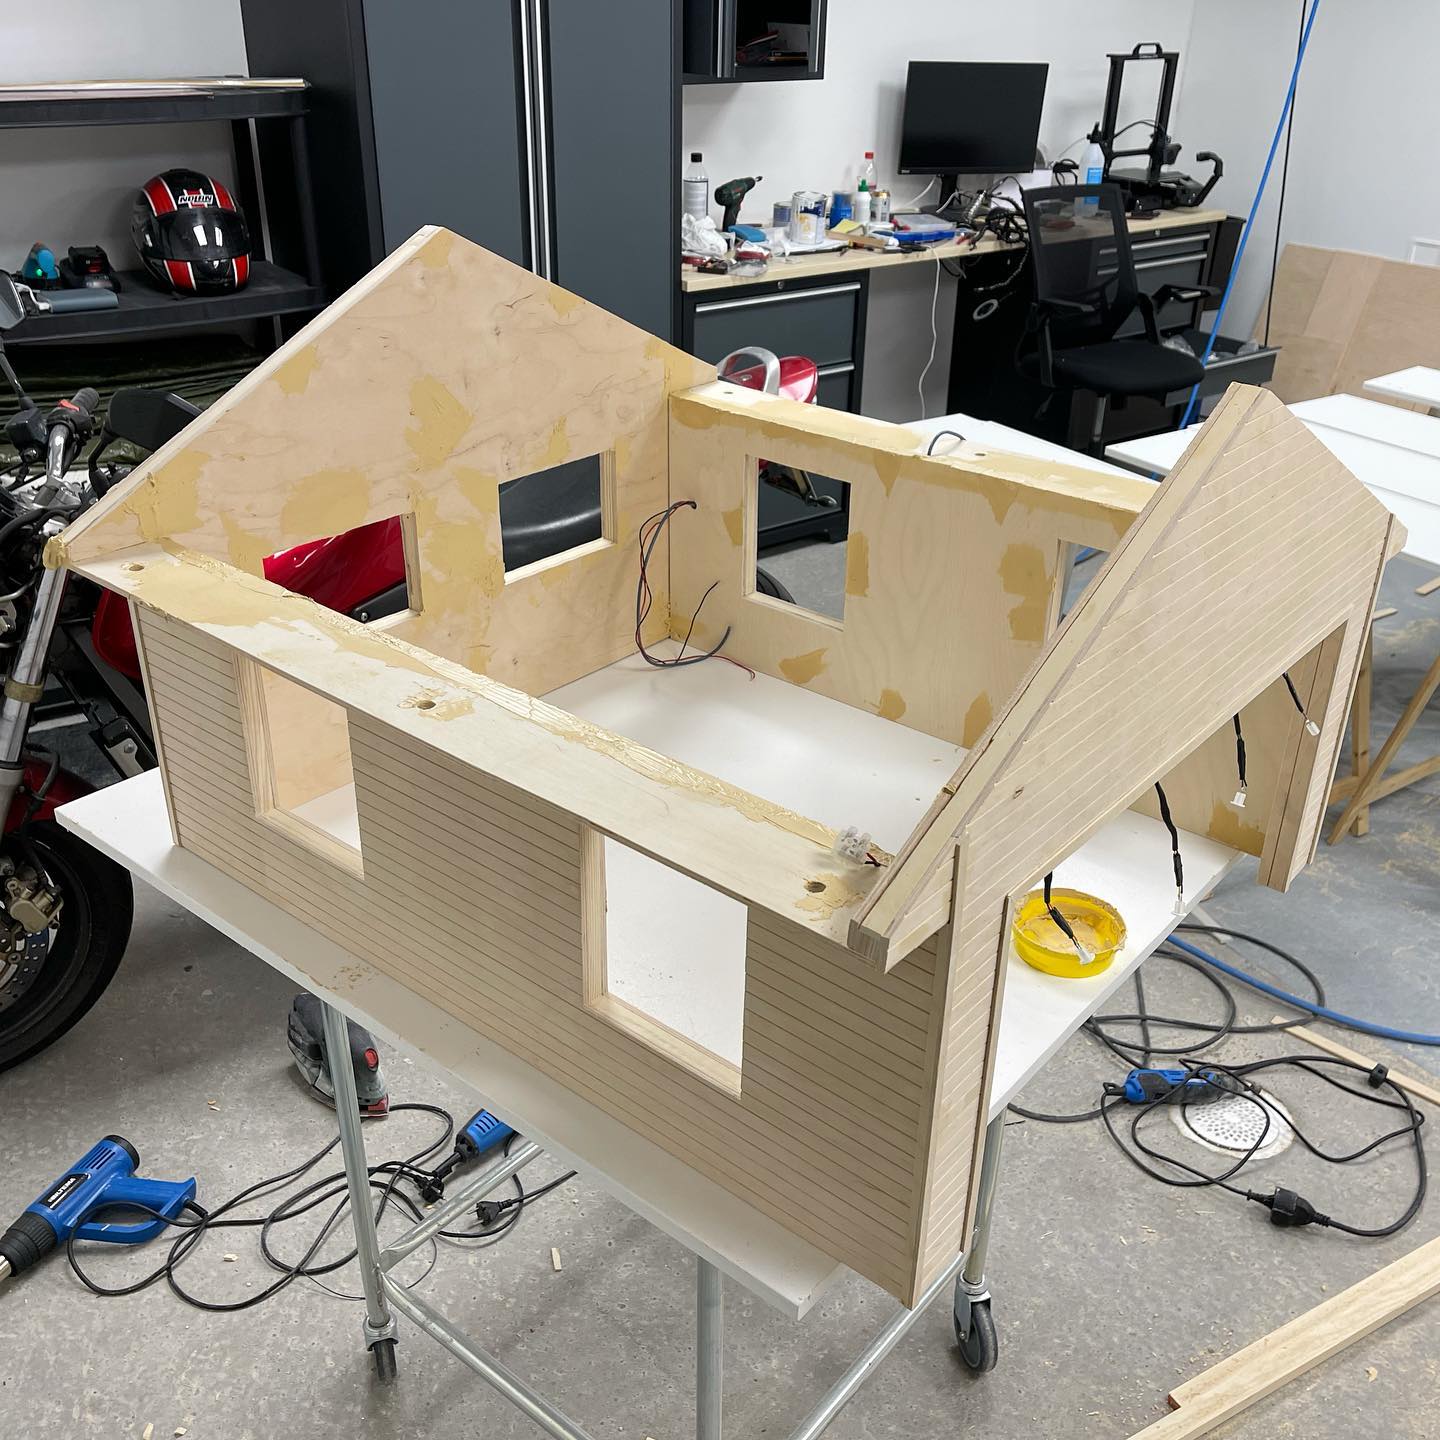
Let there be light 💡
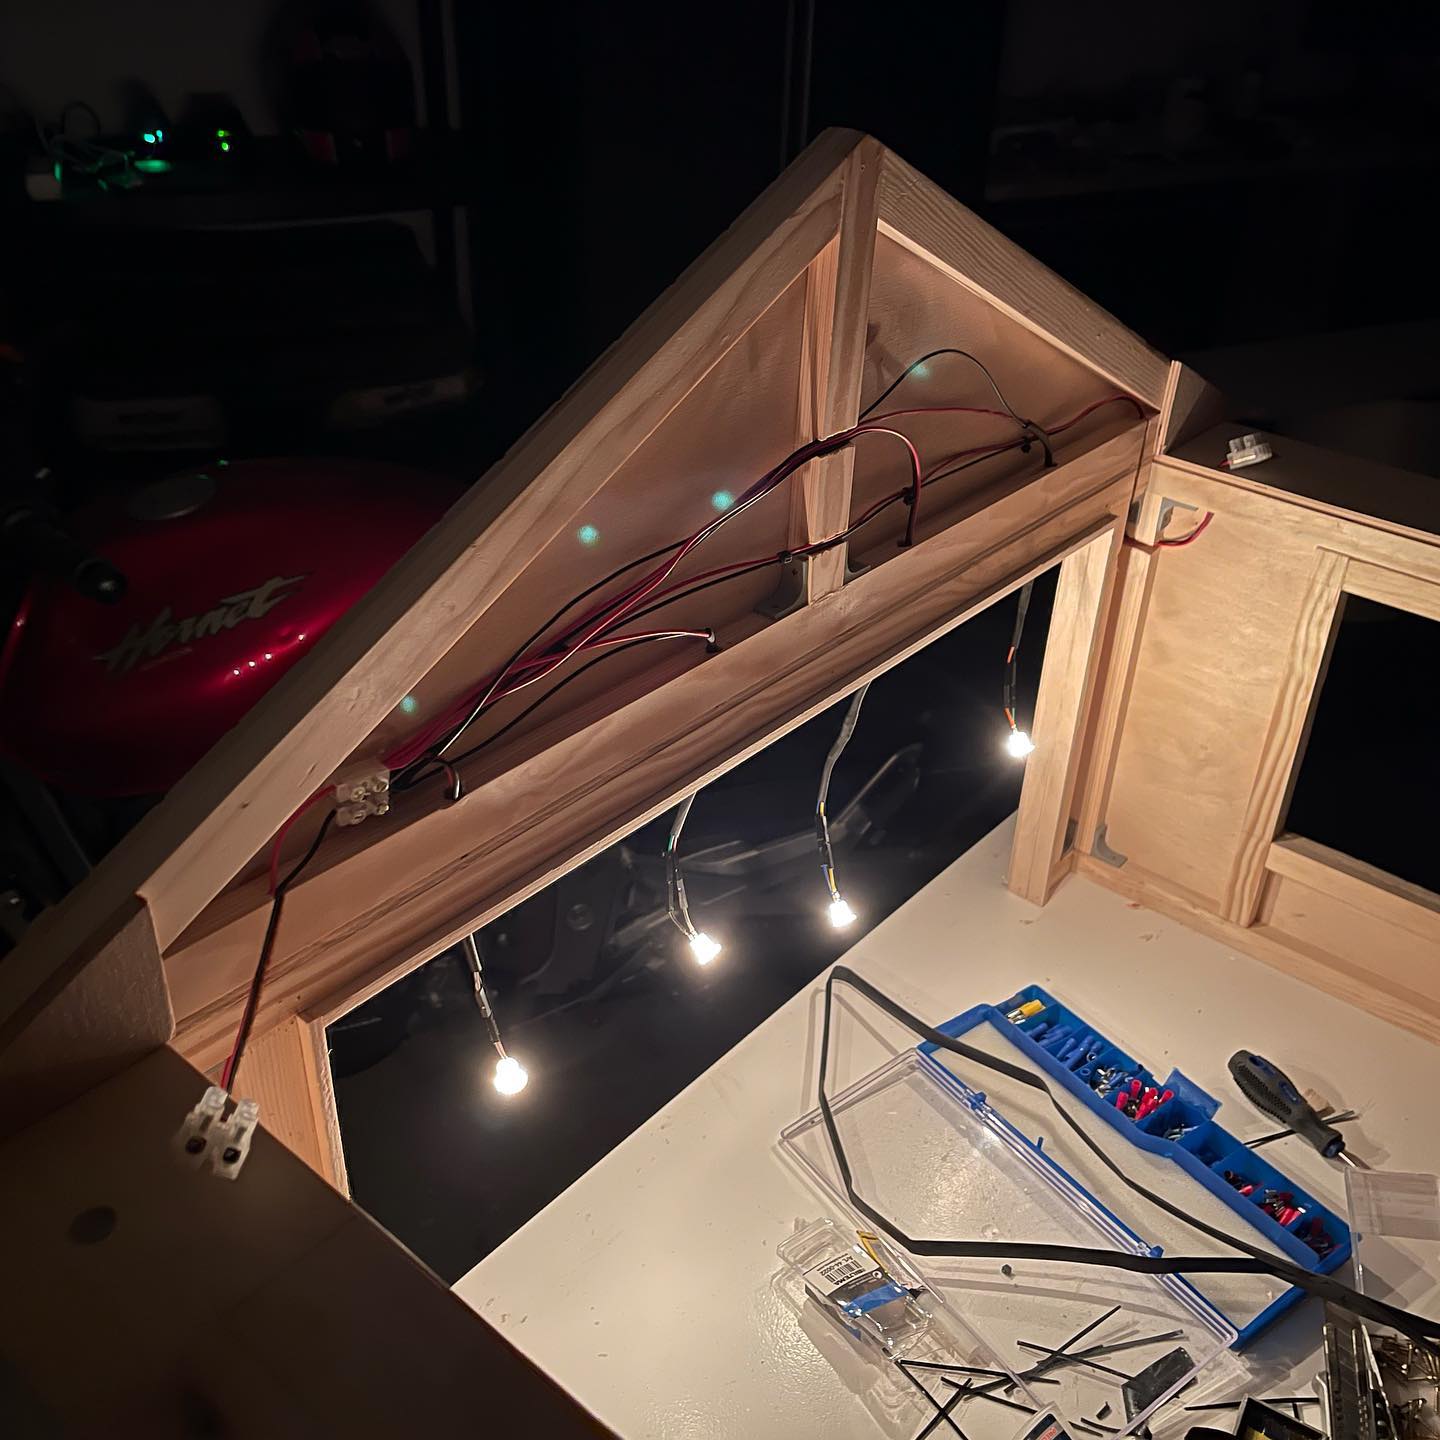
Gotta love @solderseal ❤️ Makes it so easy and quick to create a waterproof and super strong connection, for people like me who are utter shit at soldering 😬
A tiny piece of a roof, holding down an entire roof ☺️
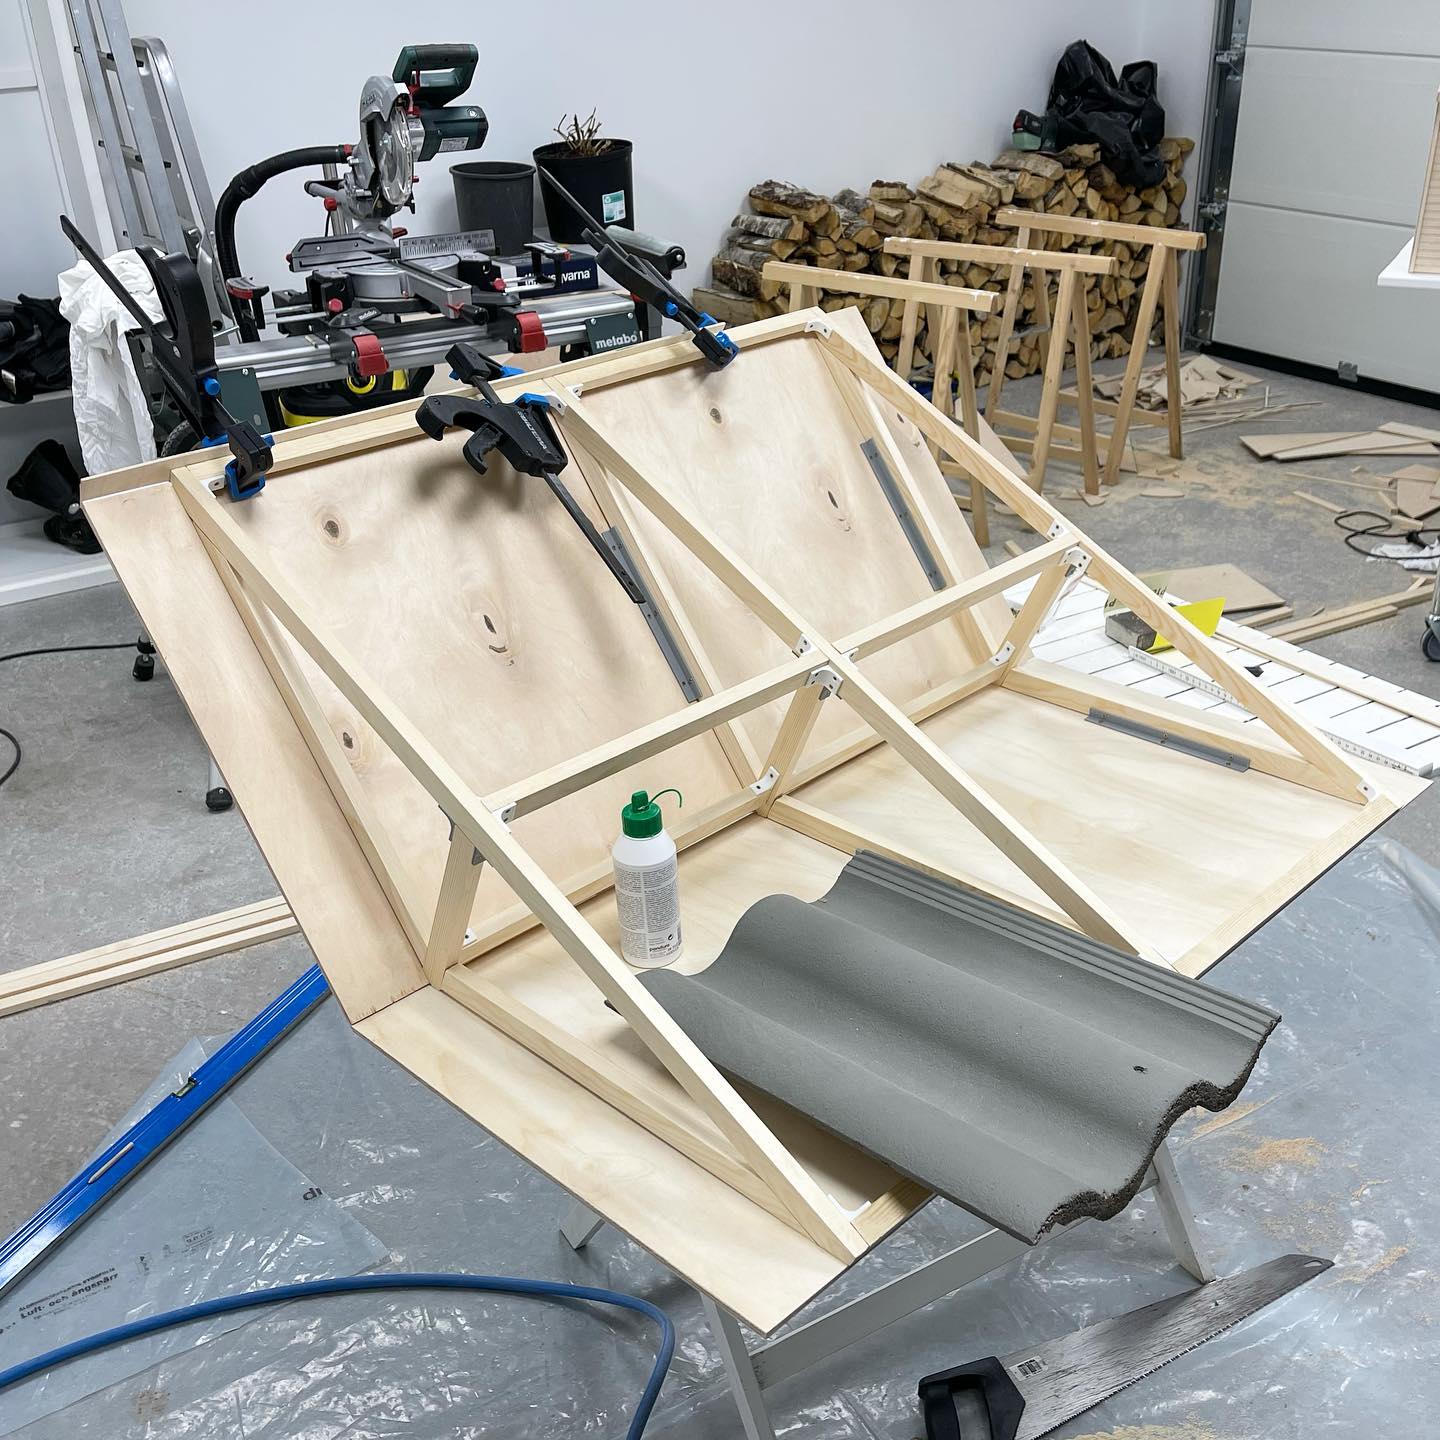
And some bigger ones, for the base of the roof. Went with some classic E10 lamps/sockets here
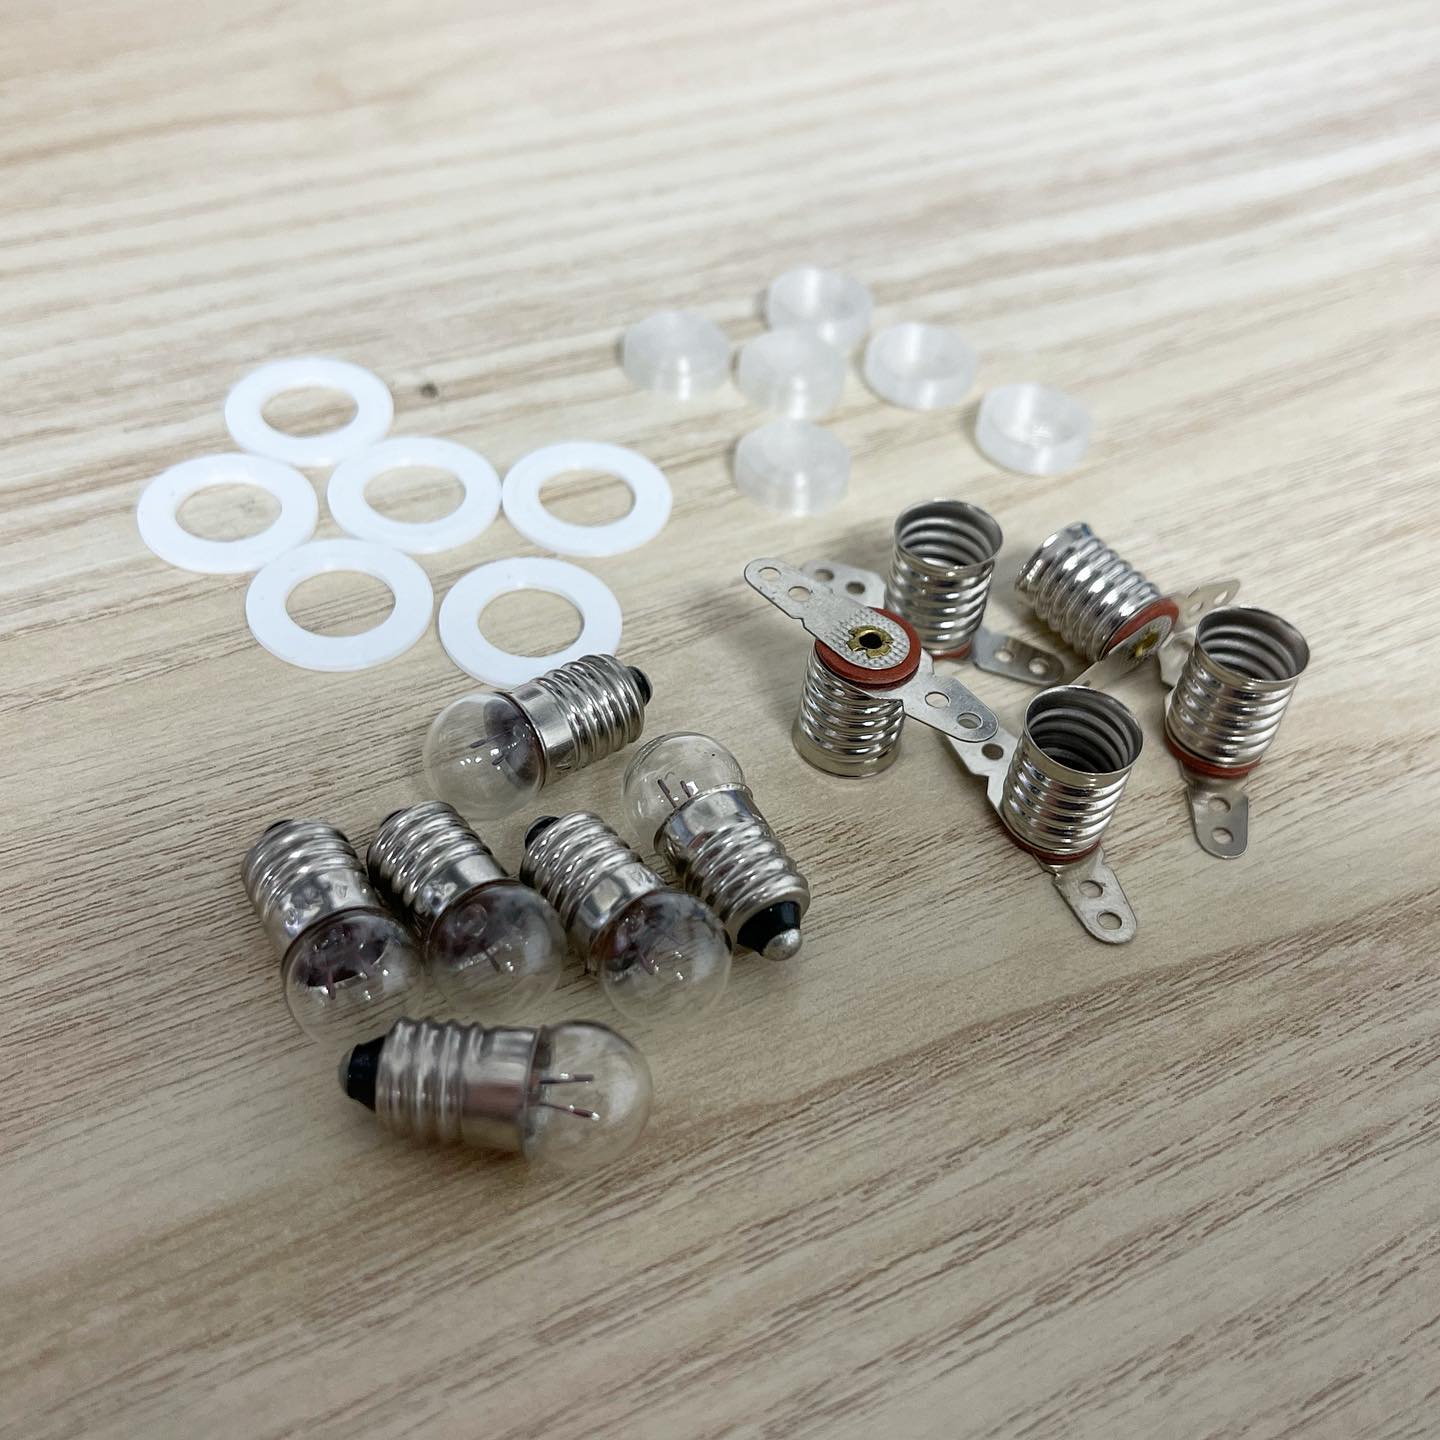
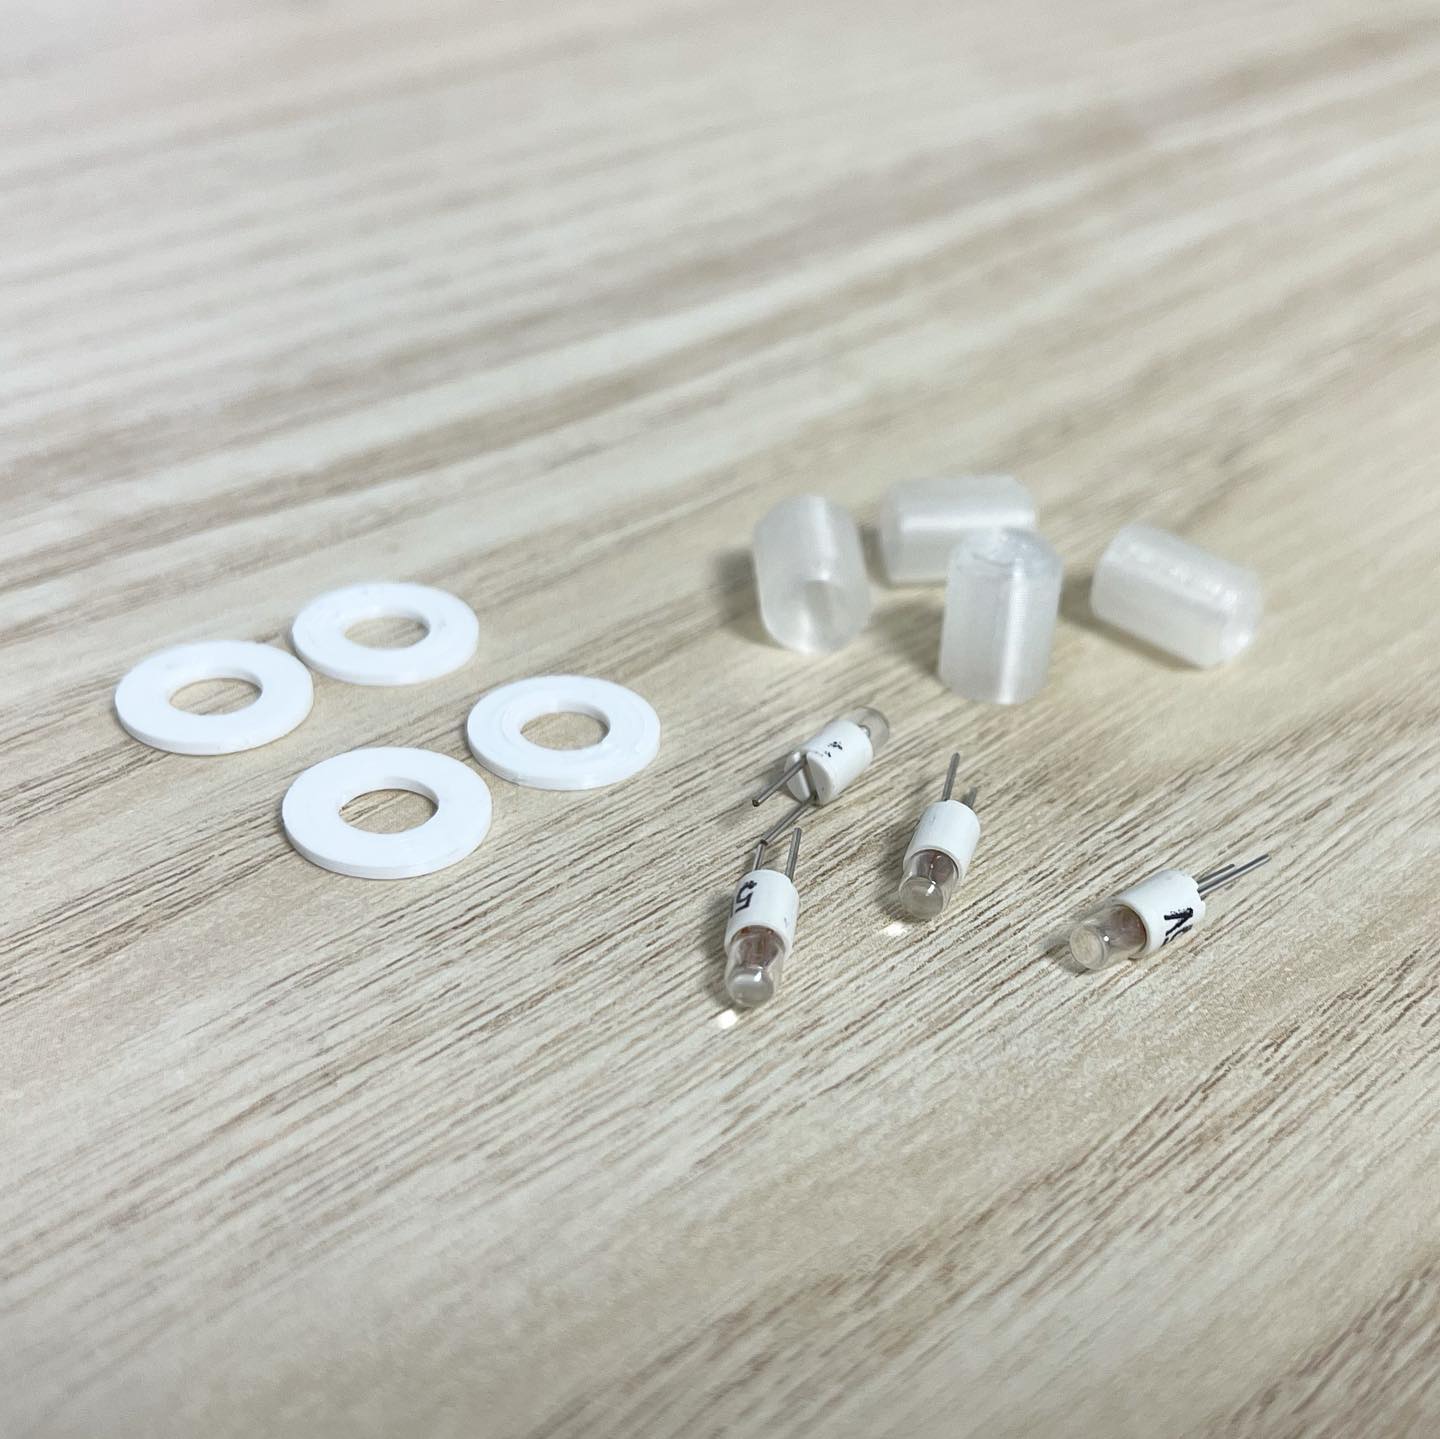
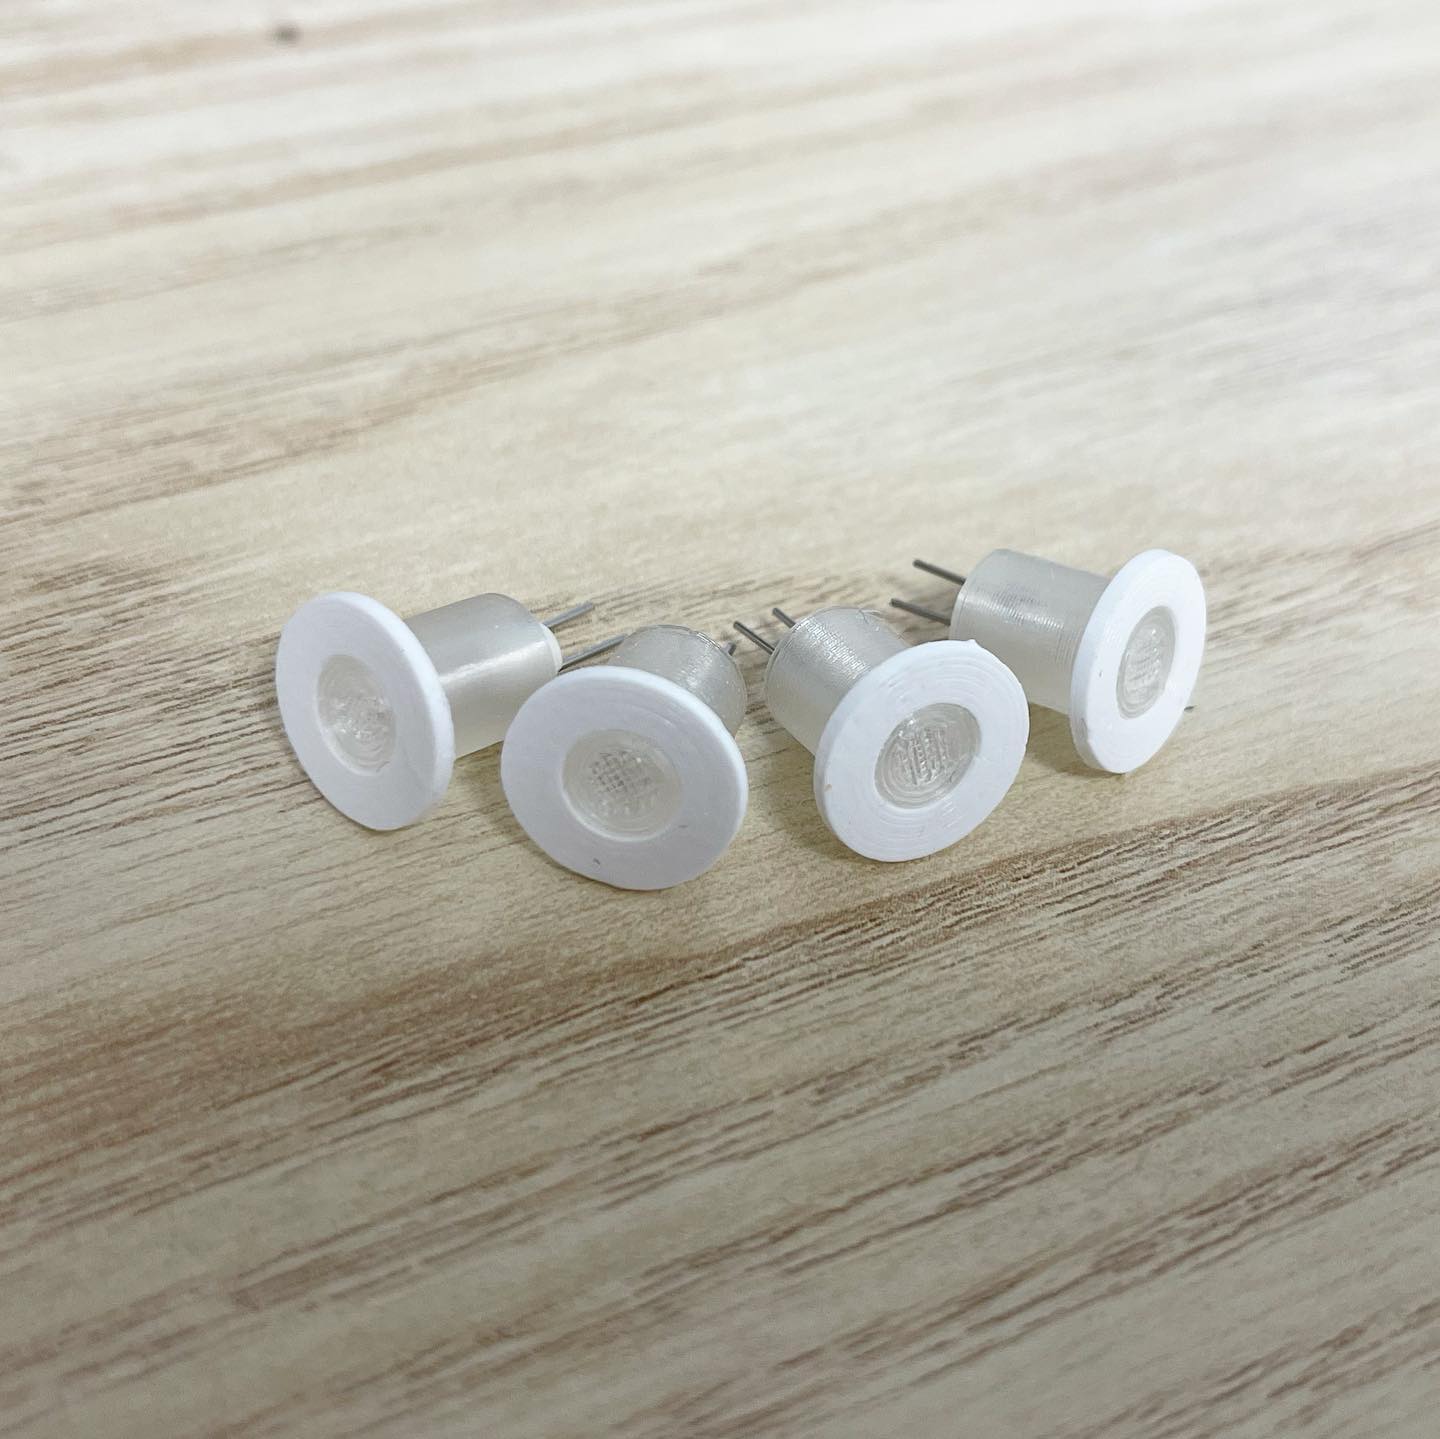
Designed and printed a couple of downlights that will be placed above the garage door. Will show you the results once they’re mounted and connected. This is also the first time I’ve tried printing with clear PLA from Addnorth. Not as transparent as I would have hoped, but they still let through a lot of light from the tiny 5V lamps 😃👍🏻
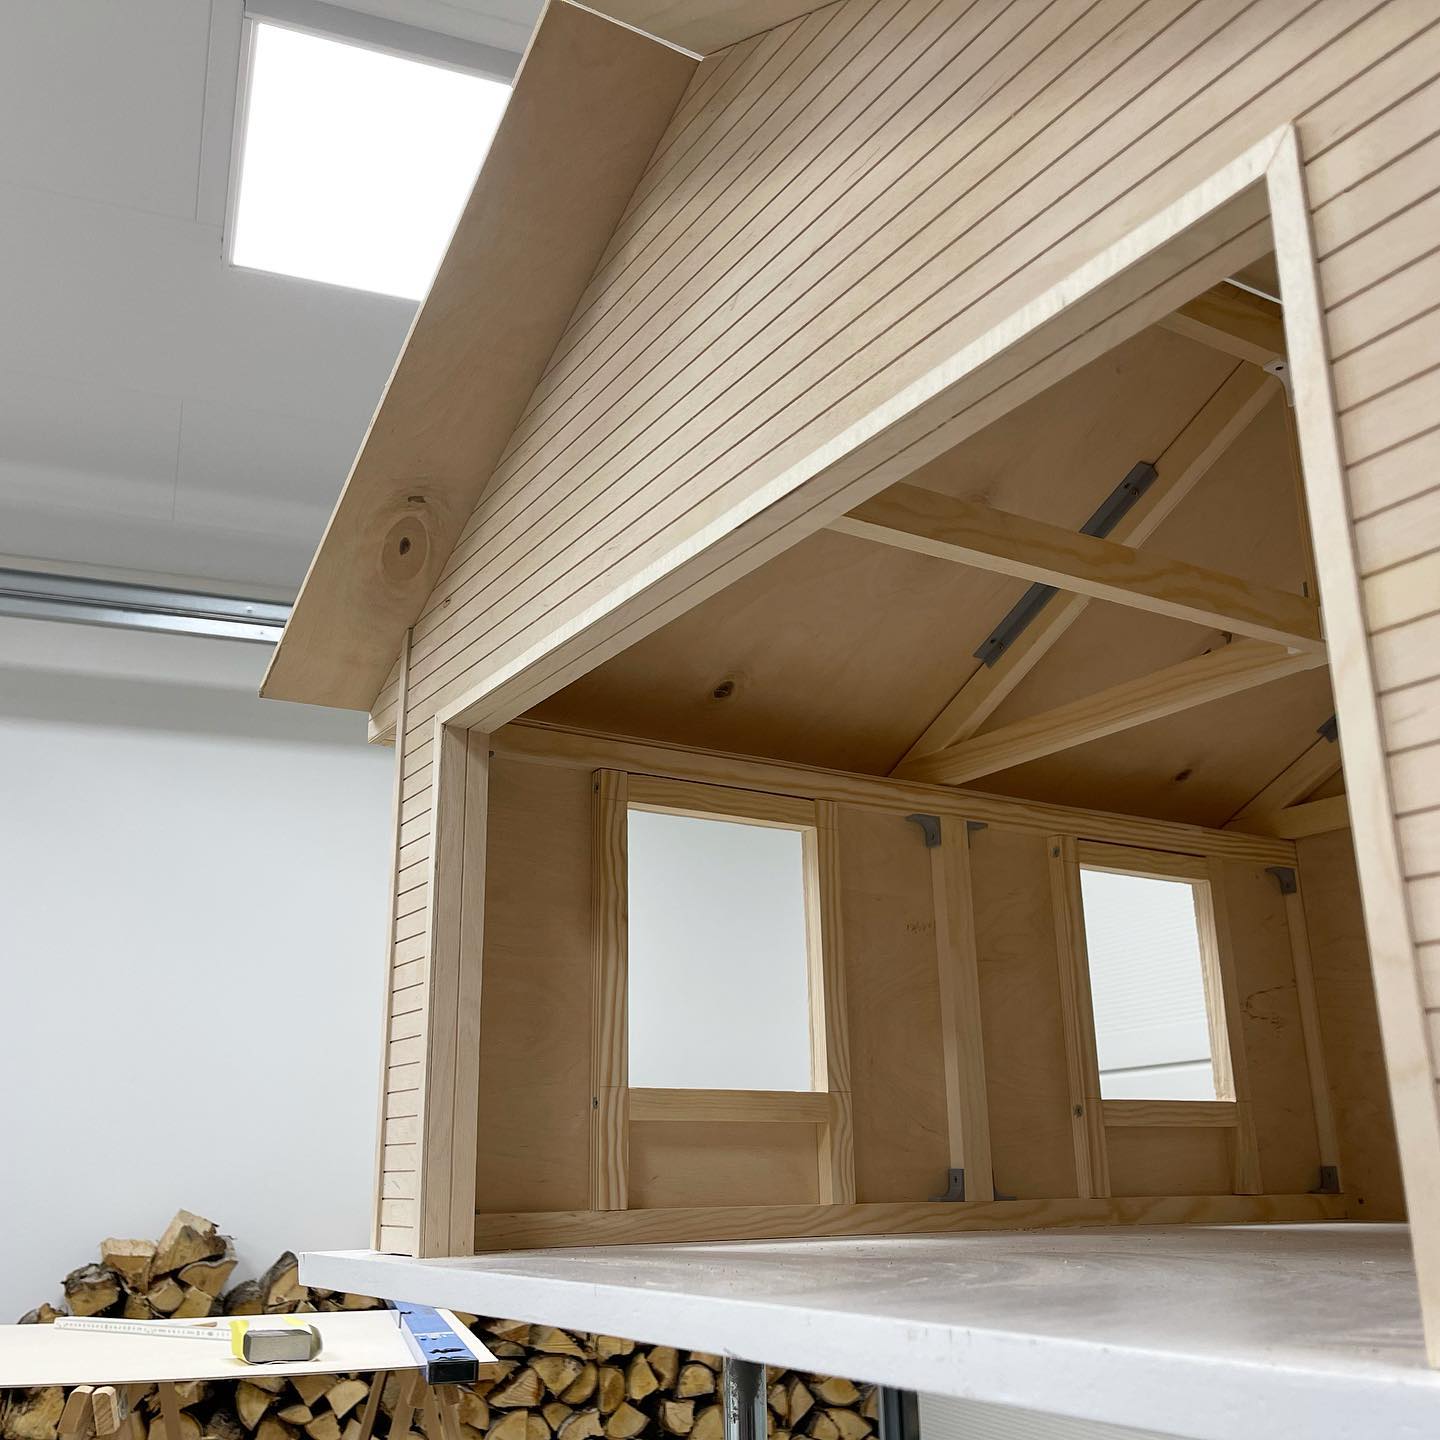
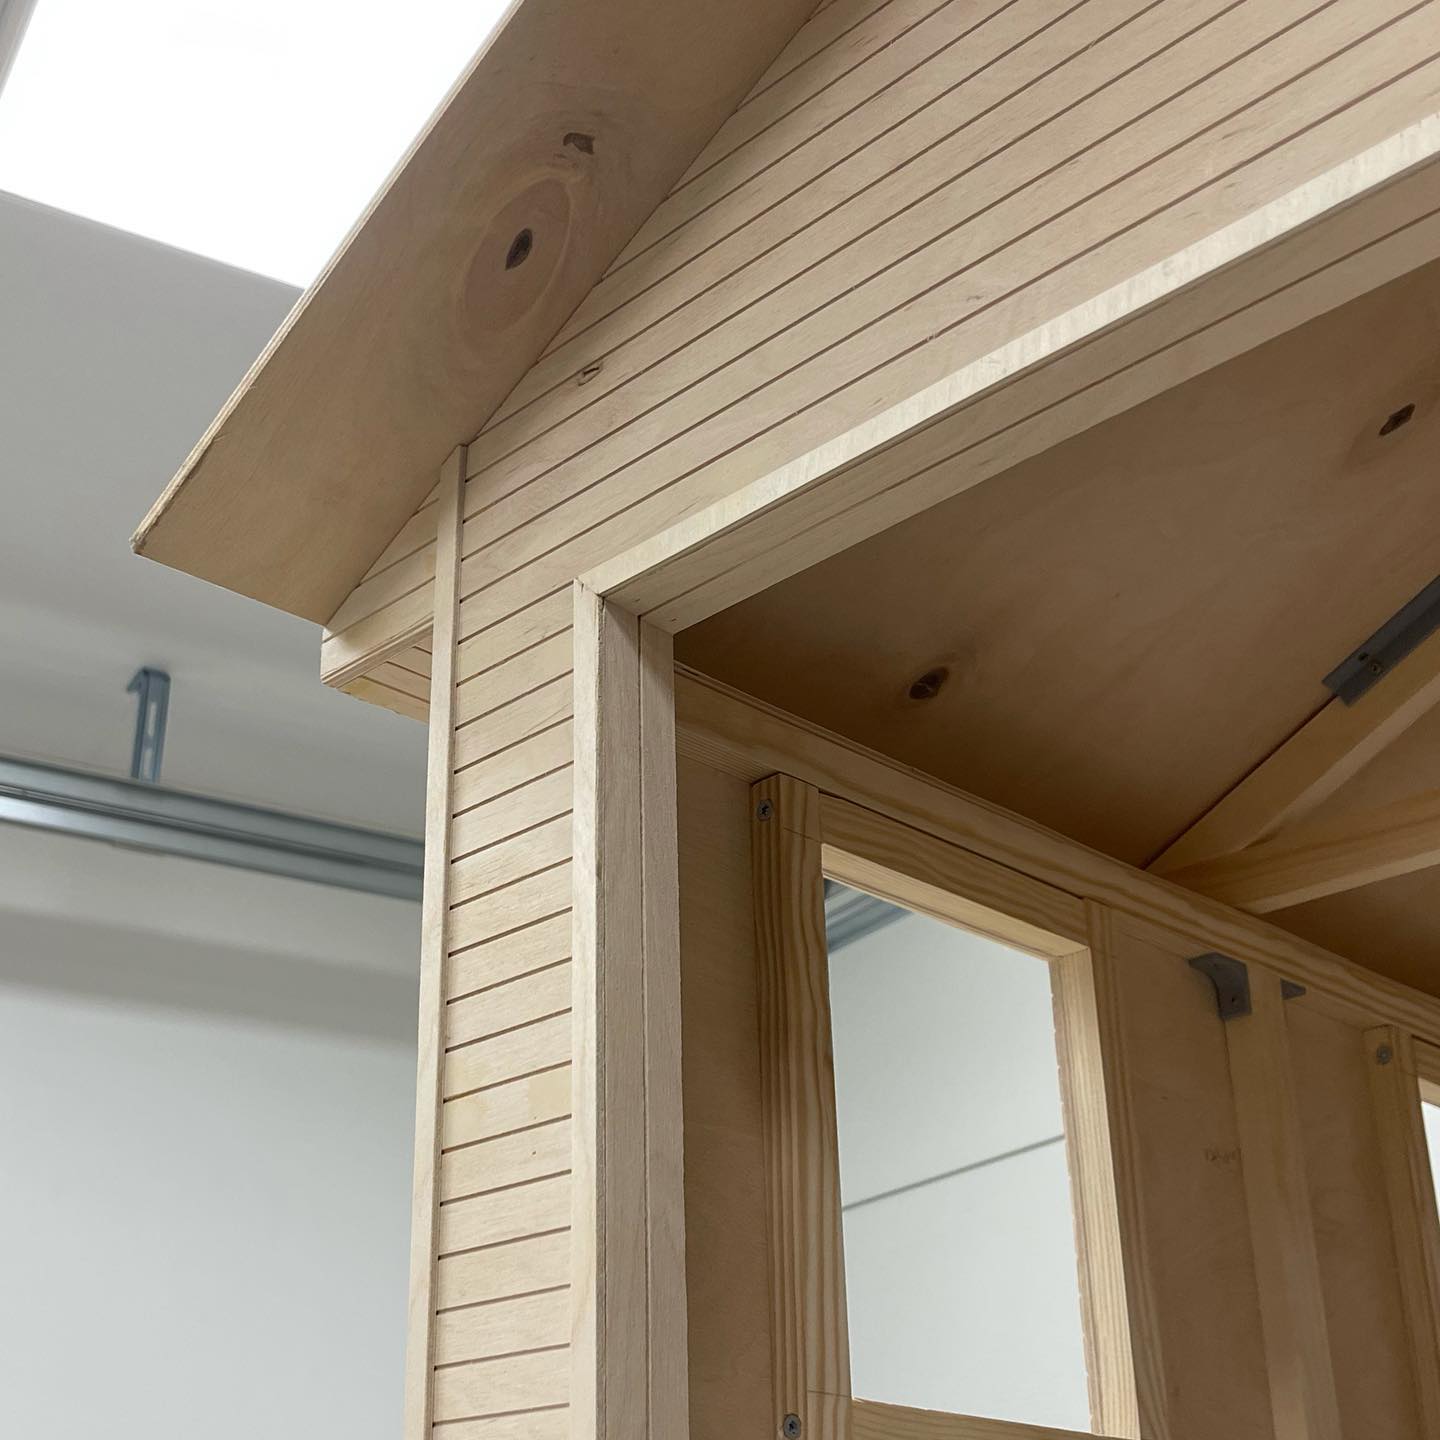
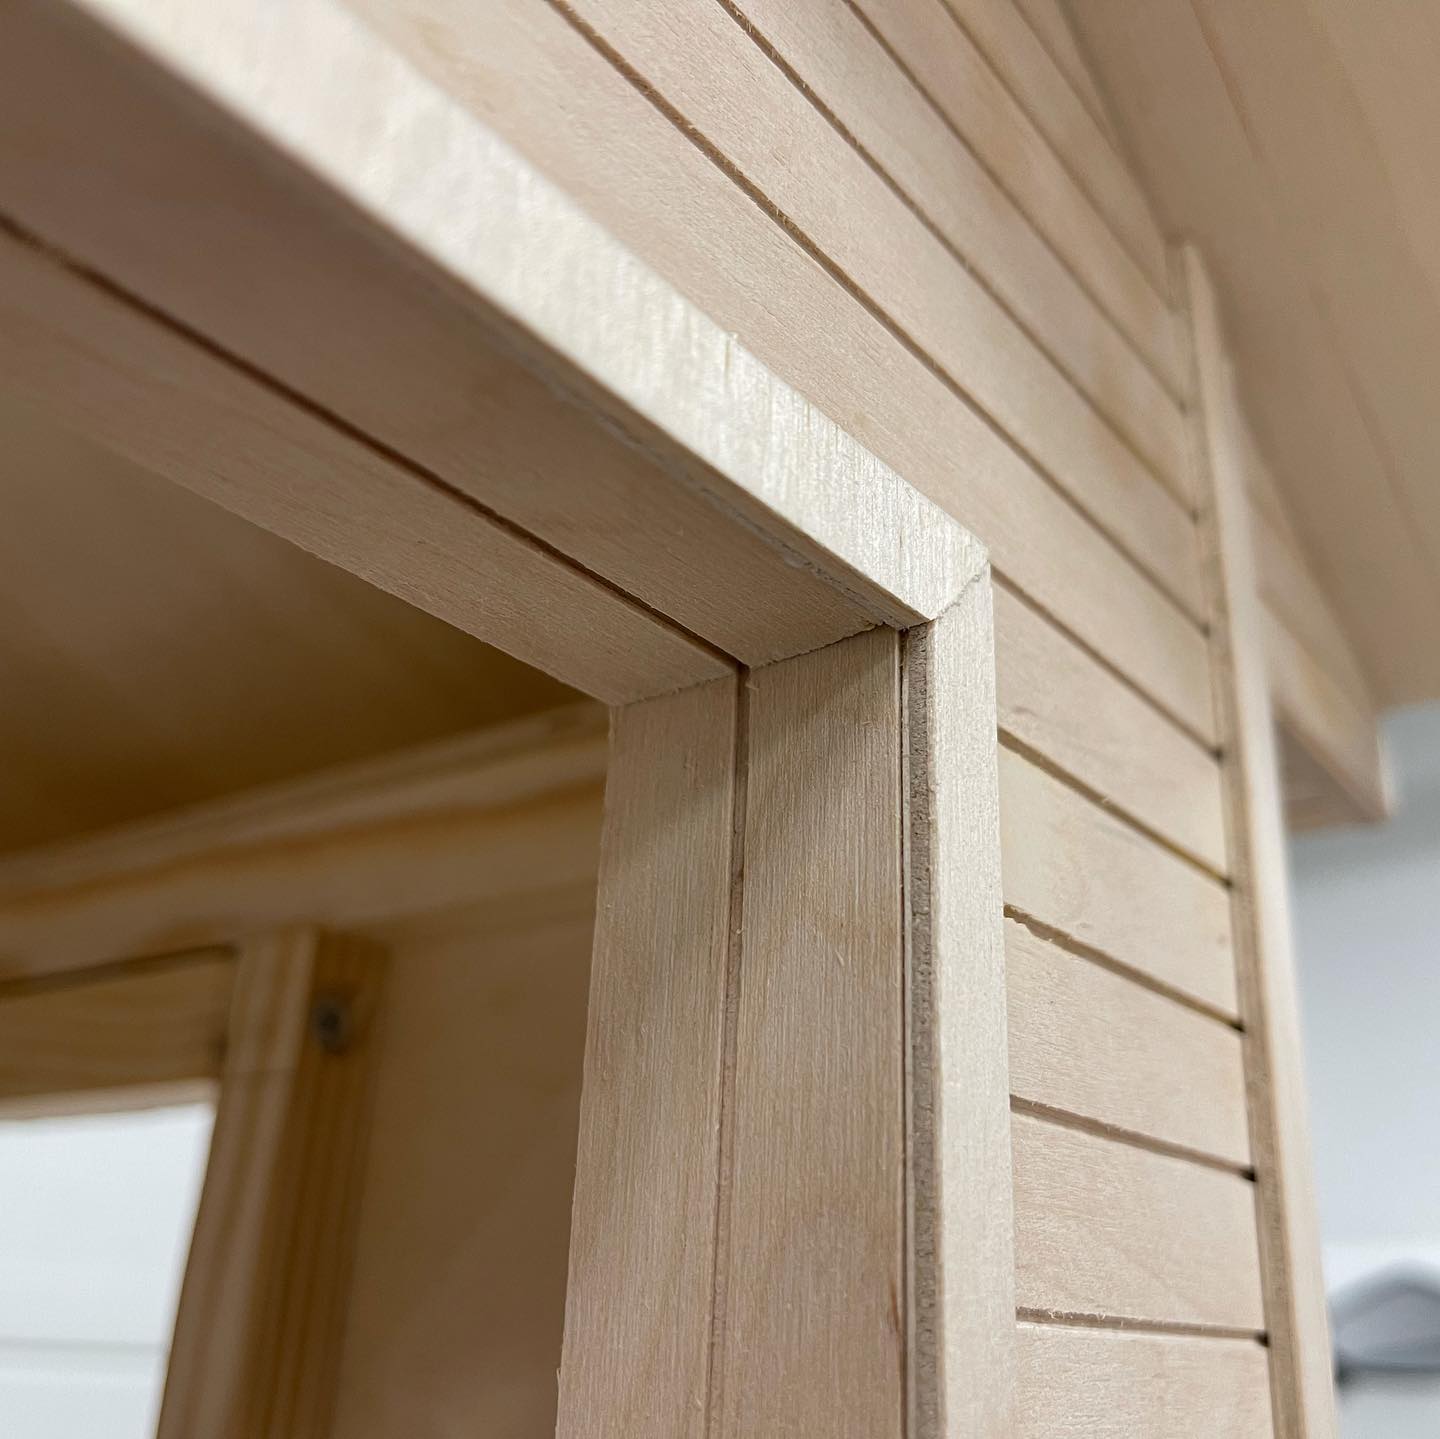
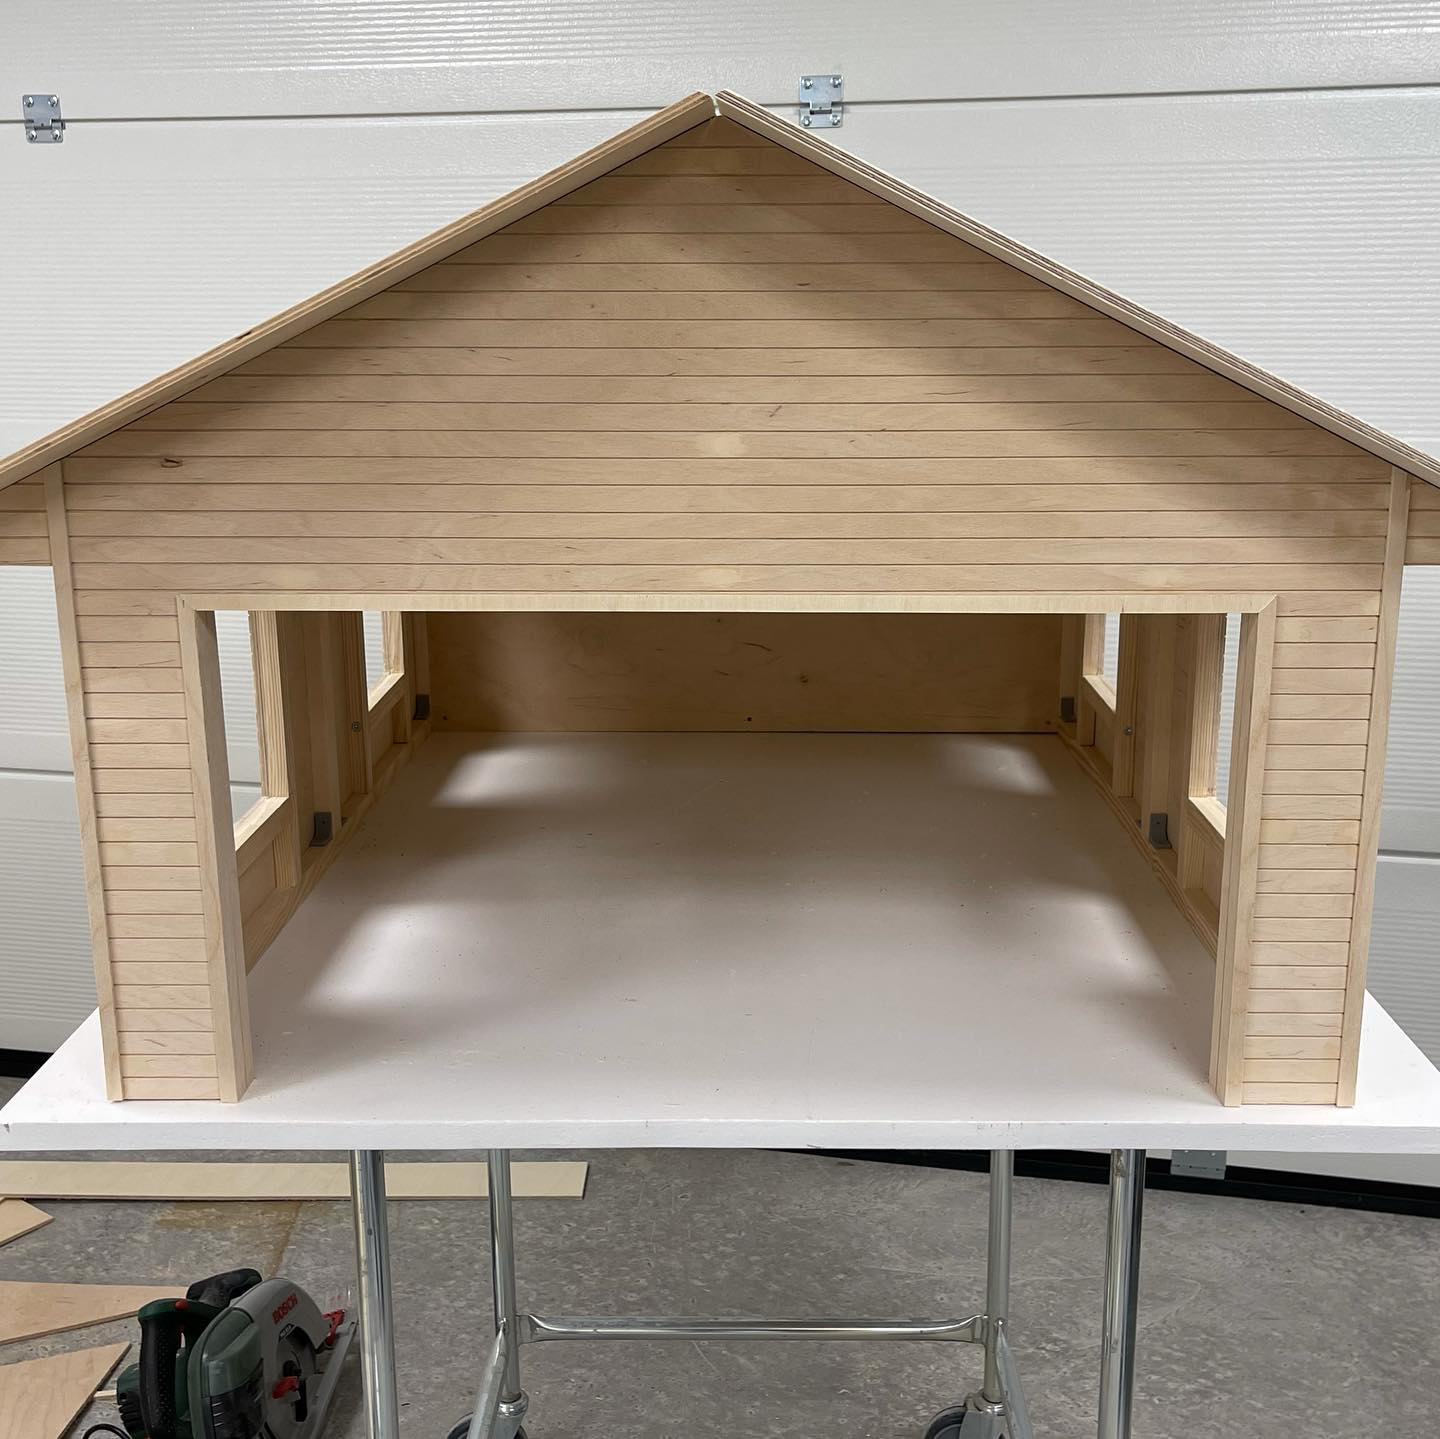
Spent some time doing the wooden jambs and some other details around the garage door today. Turned out pretty nice 😃
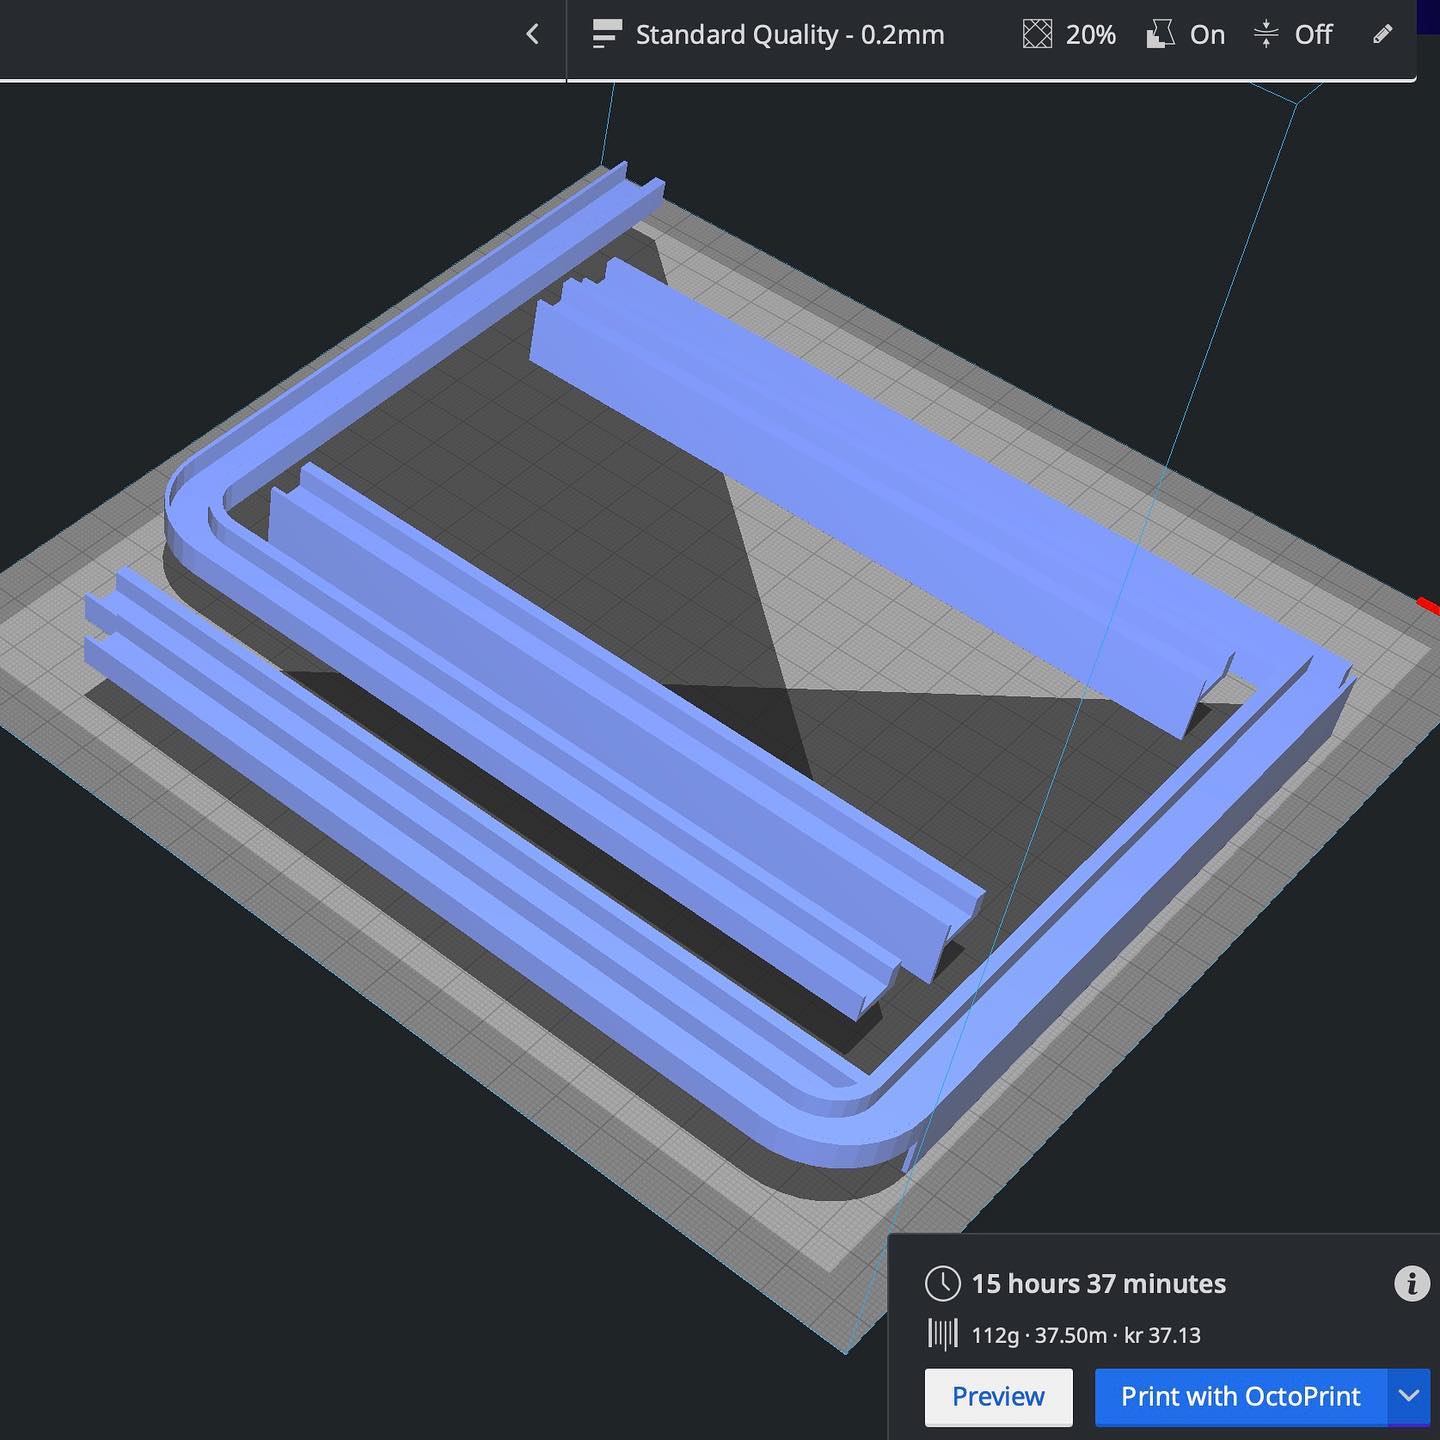
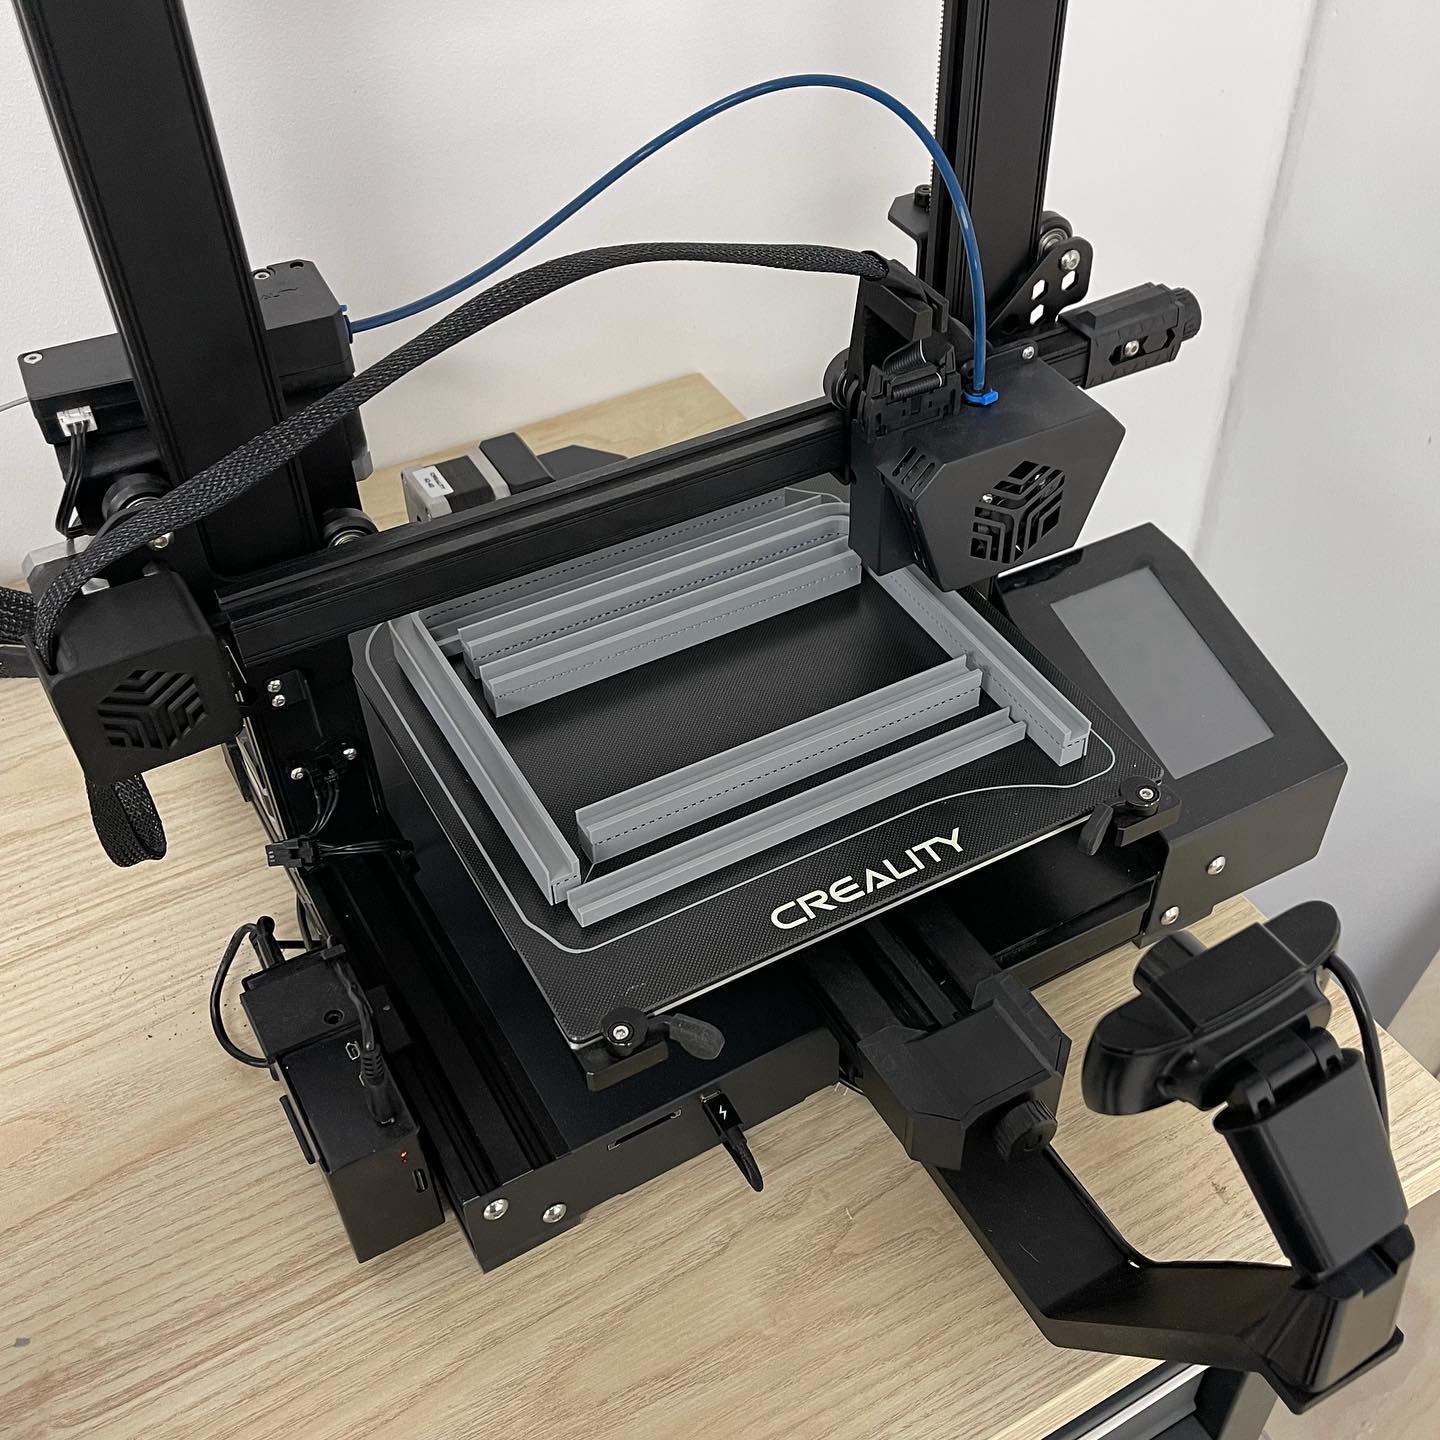
The downside of not being an engineer, or even very smart, is that a lot of time is wasted on trial and error 😬 Here’s a 16h print, just to check if the steep 90° angle of the garage door rail will work or not 🤷🏻♂️
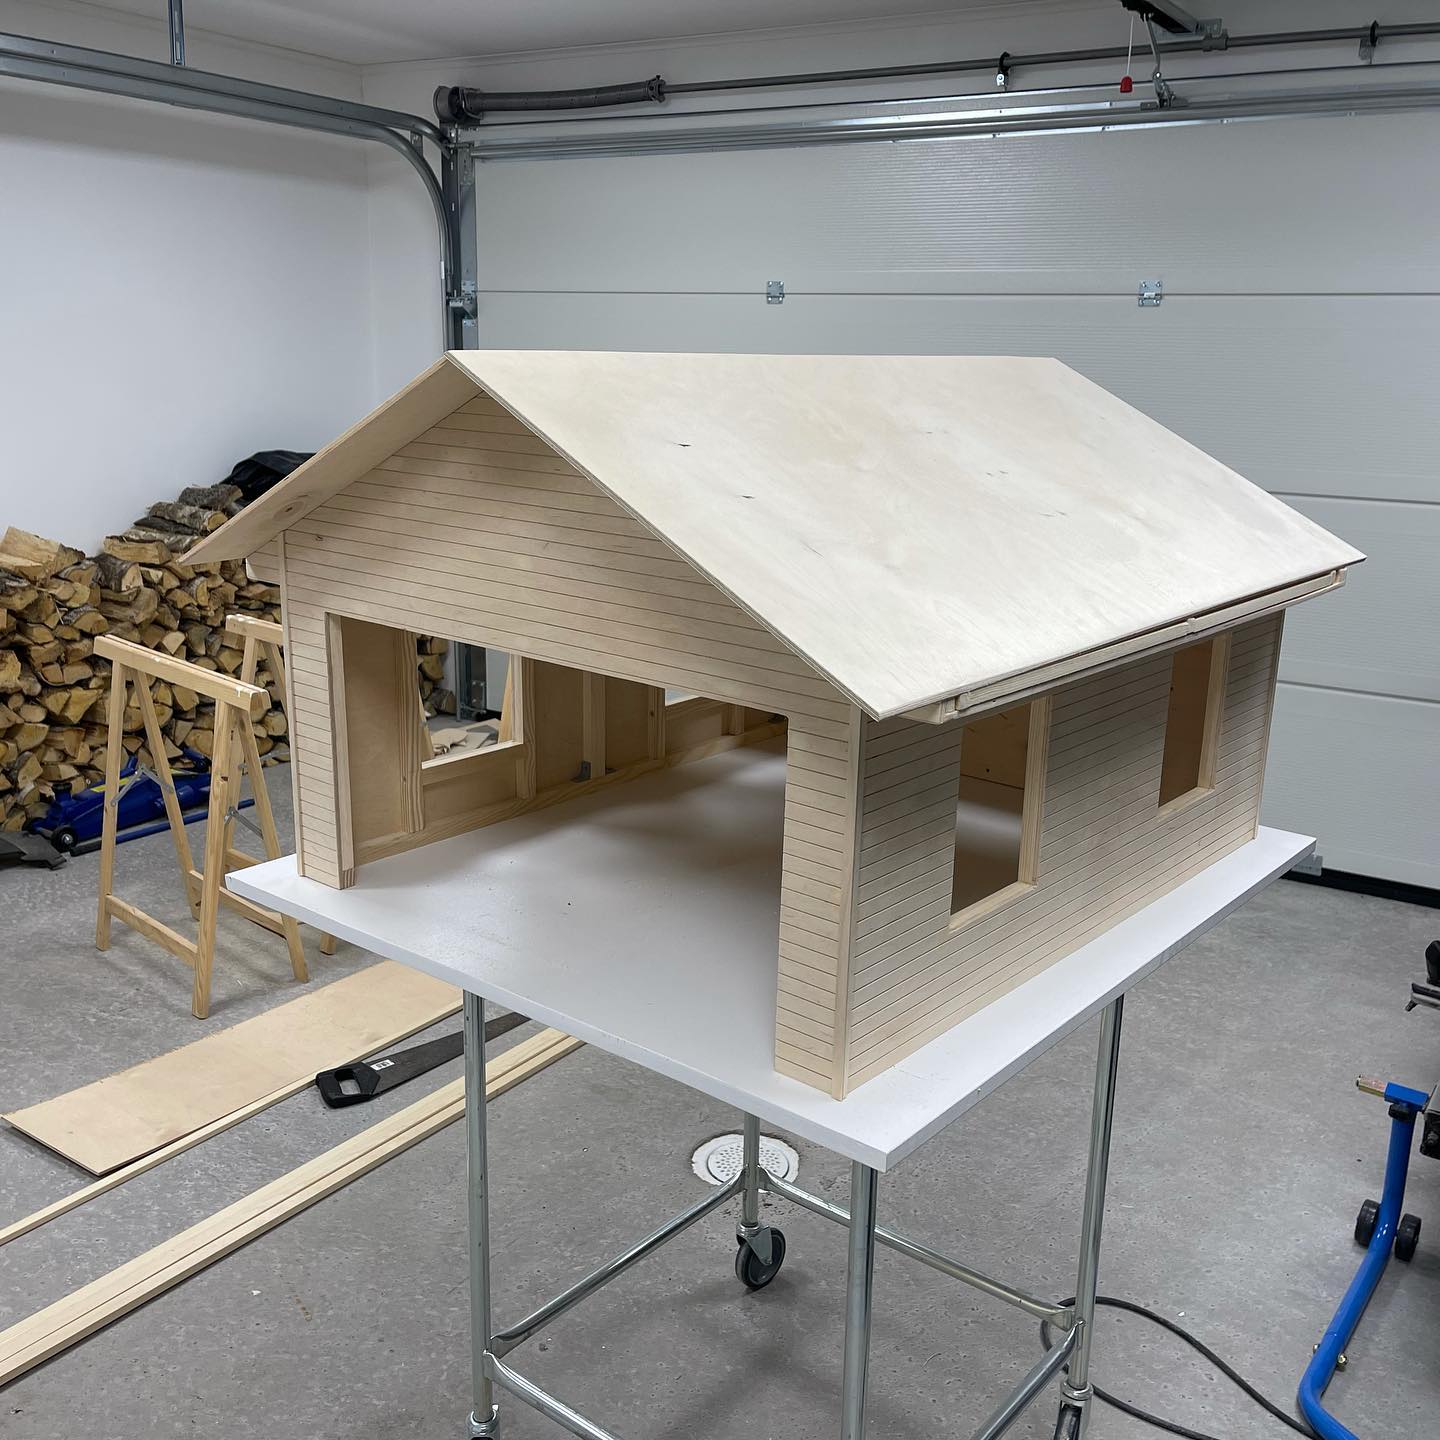
Started working on an early prototype of what the joints between garage door modules will look like. Just a rough first draft, but it’s nice to see that it works as intended 😃🚪
Time for some inner walls 👍🏻 Will probably wait a little with mounting them though, to be able to have the electric wiring inside of the walls
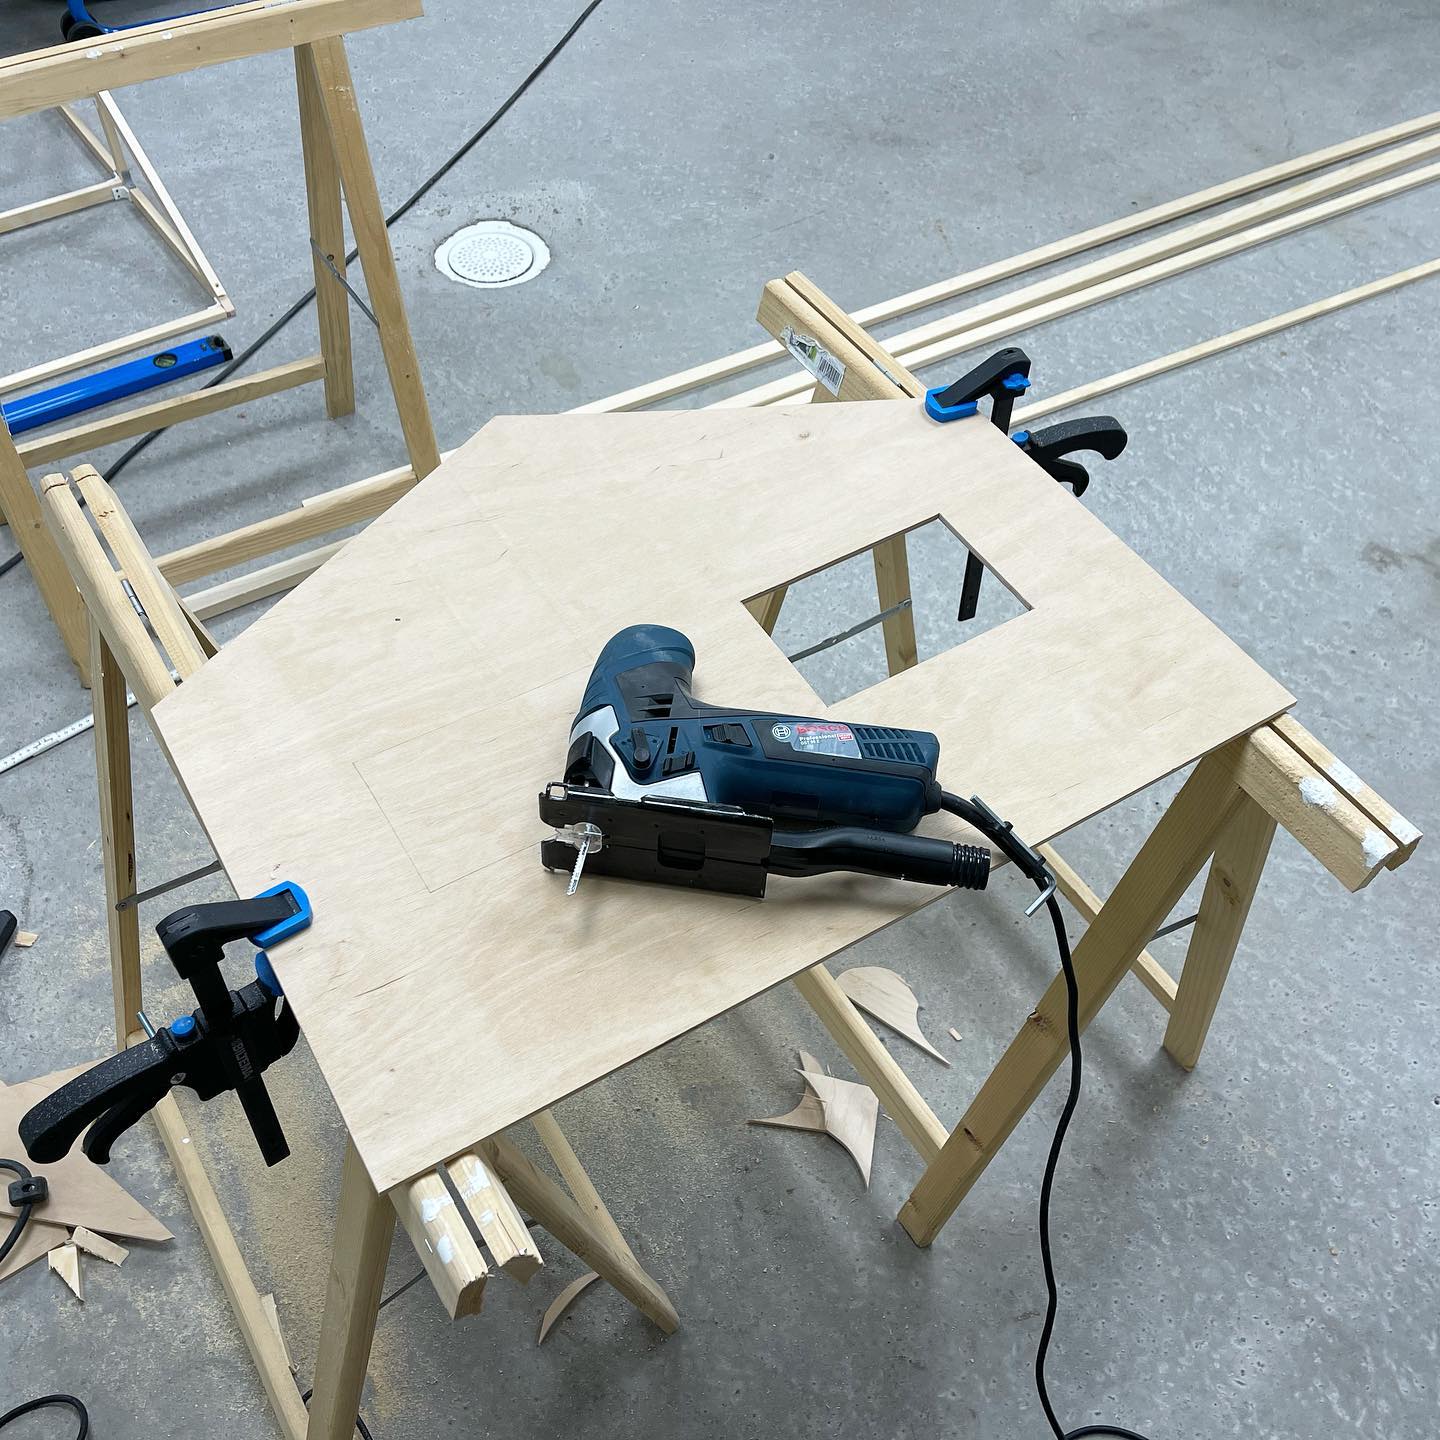
Finally some progress with the roof 😃 Still needs some work with tolerances etc. to get that perfect fit, but so far so good
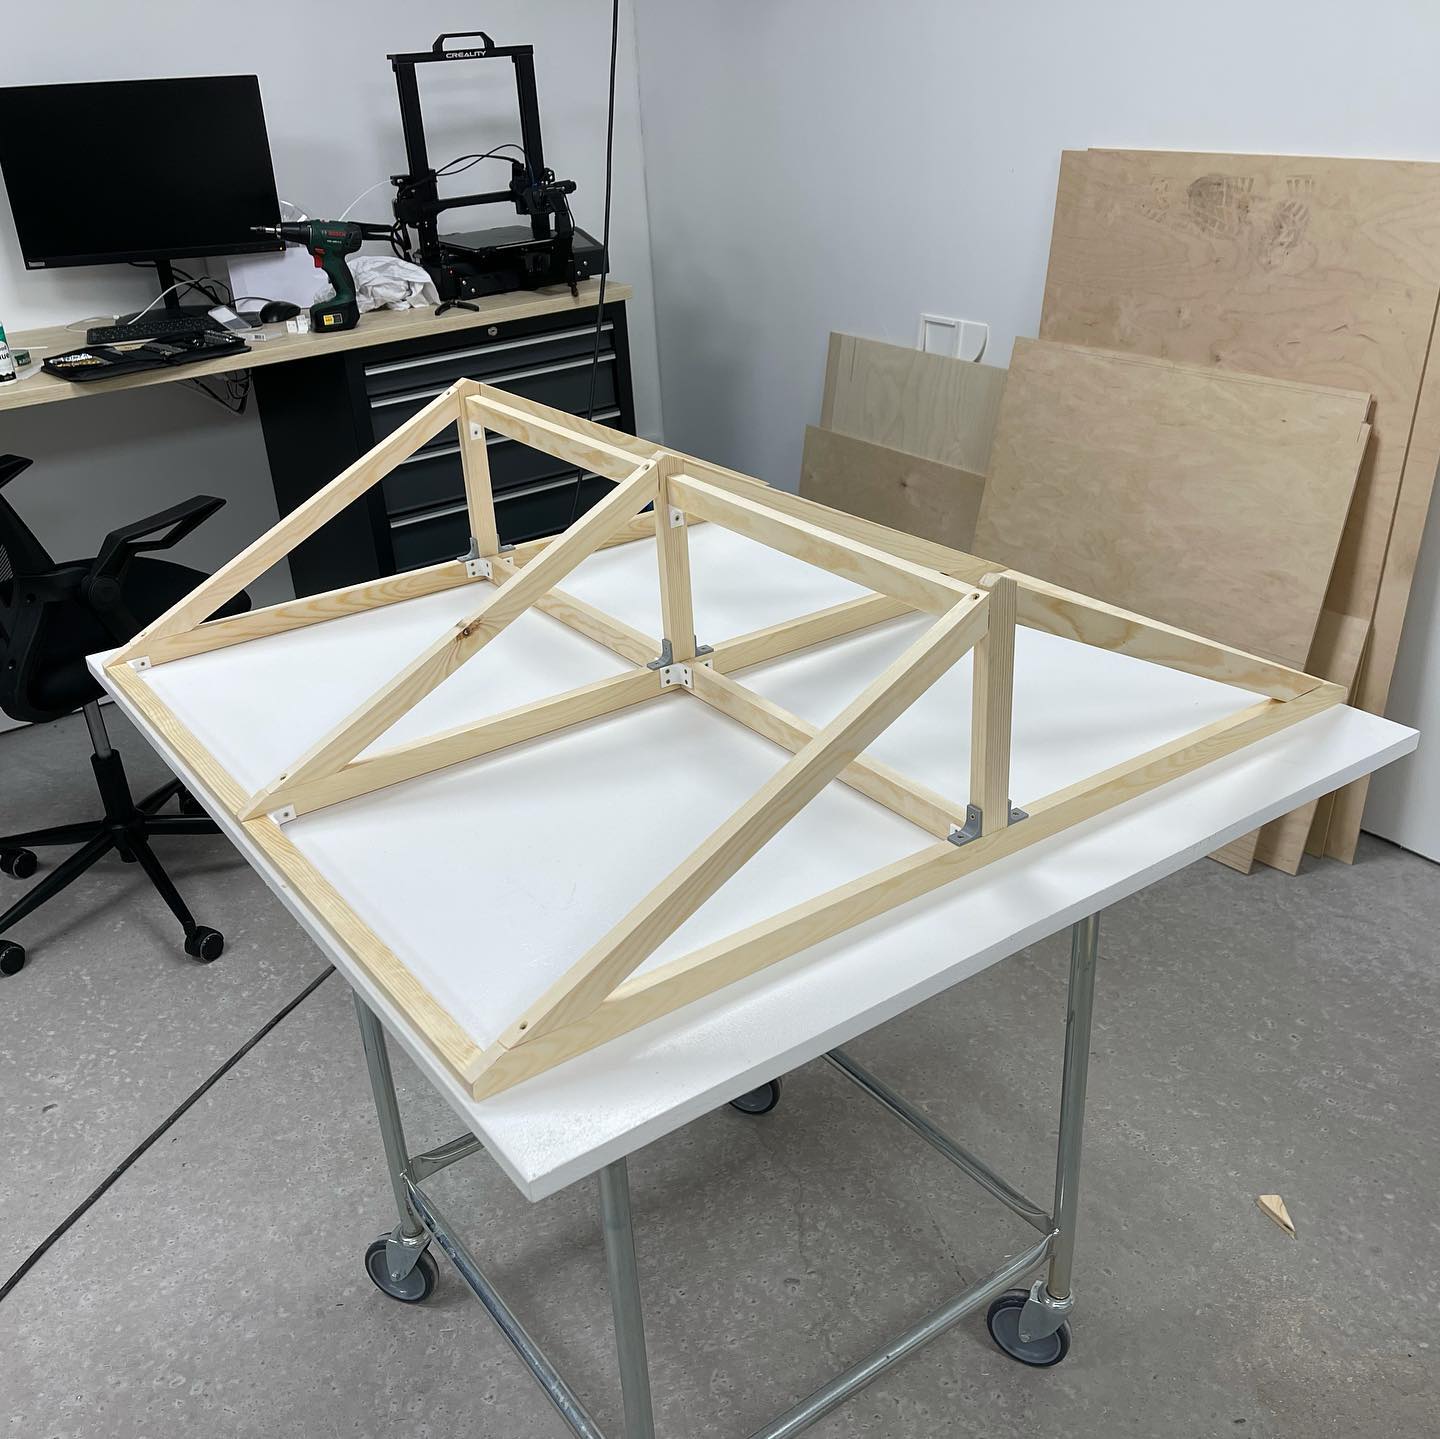
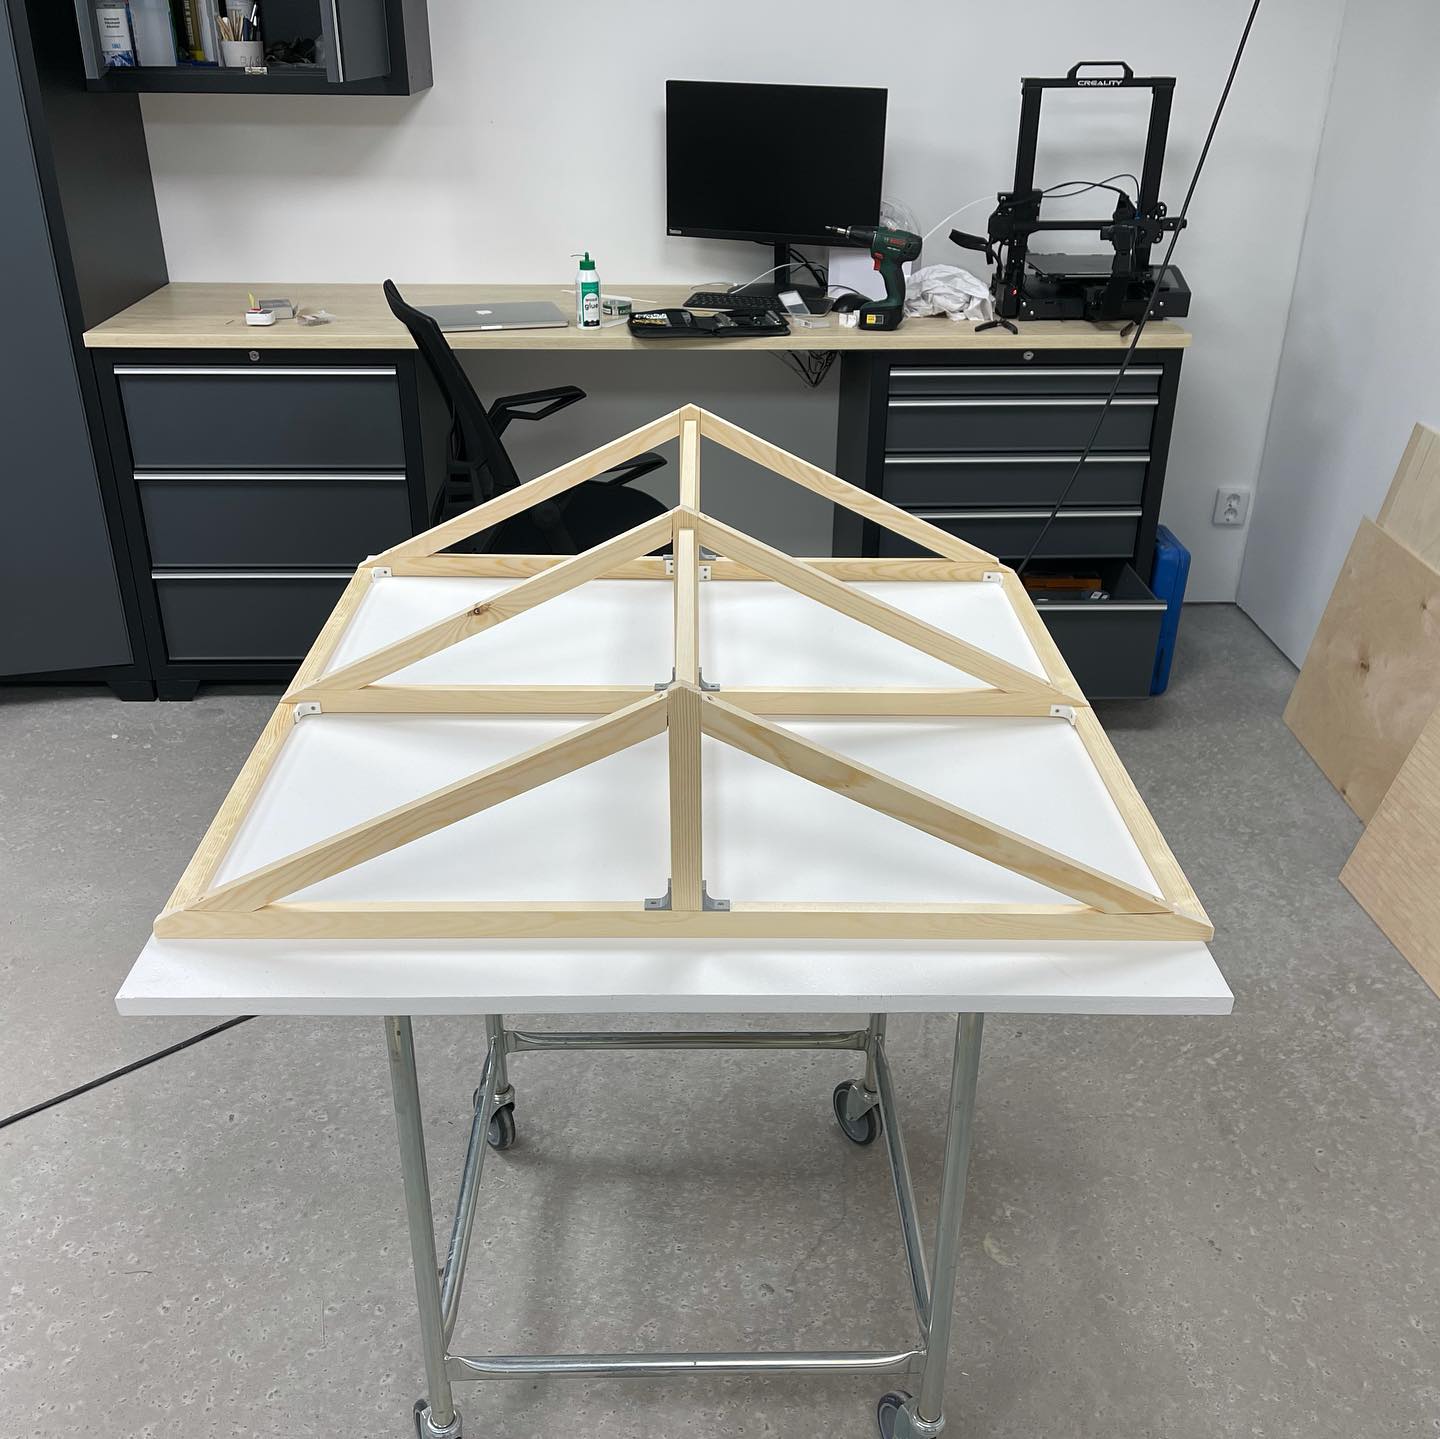
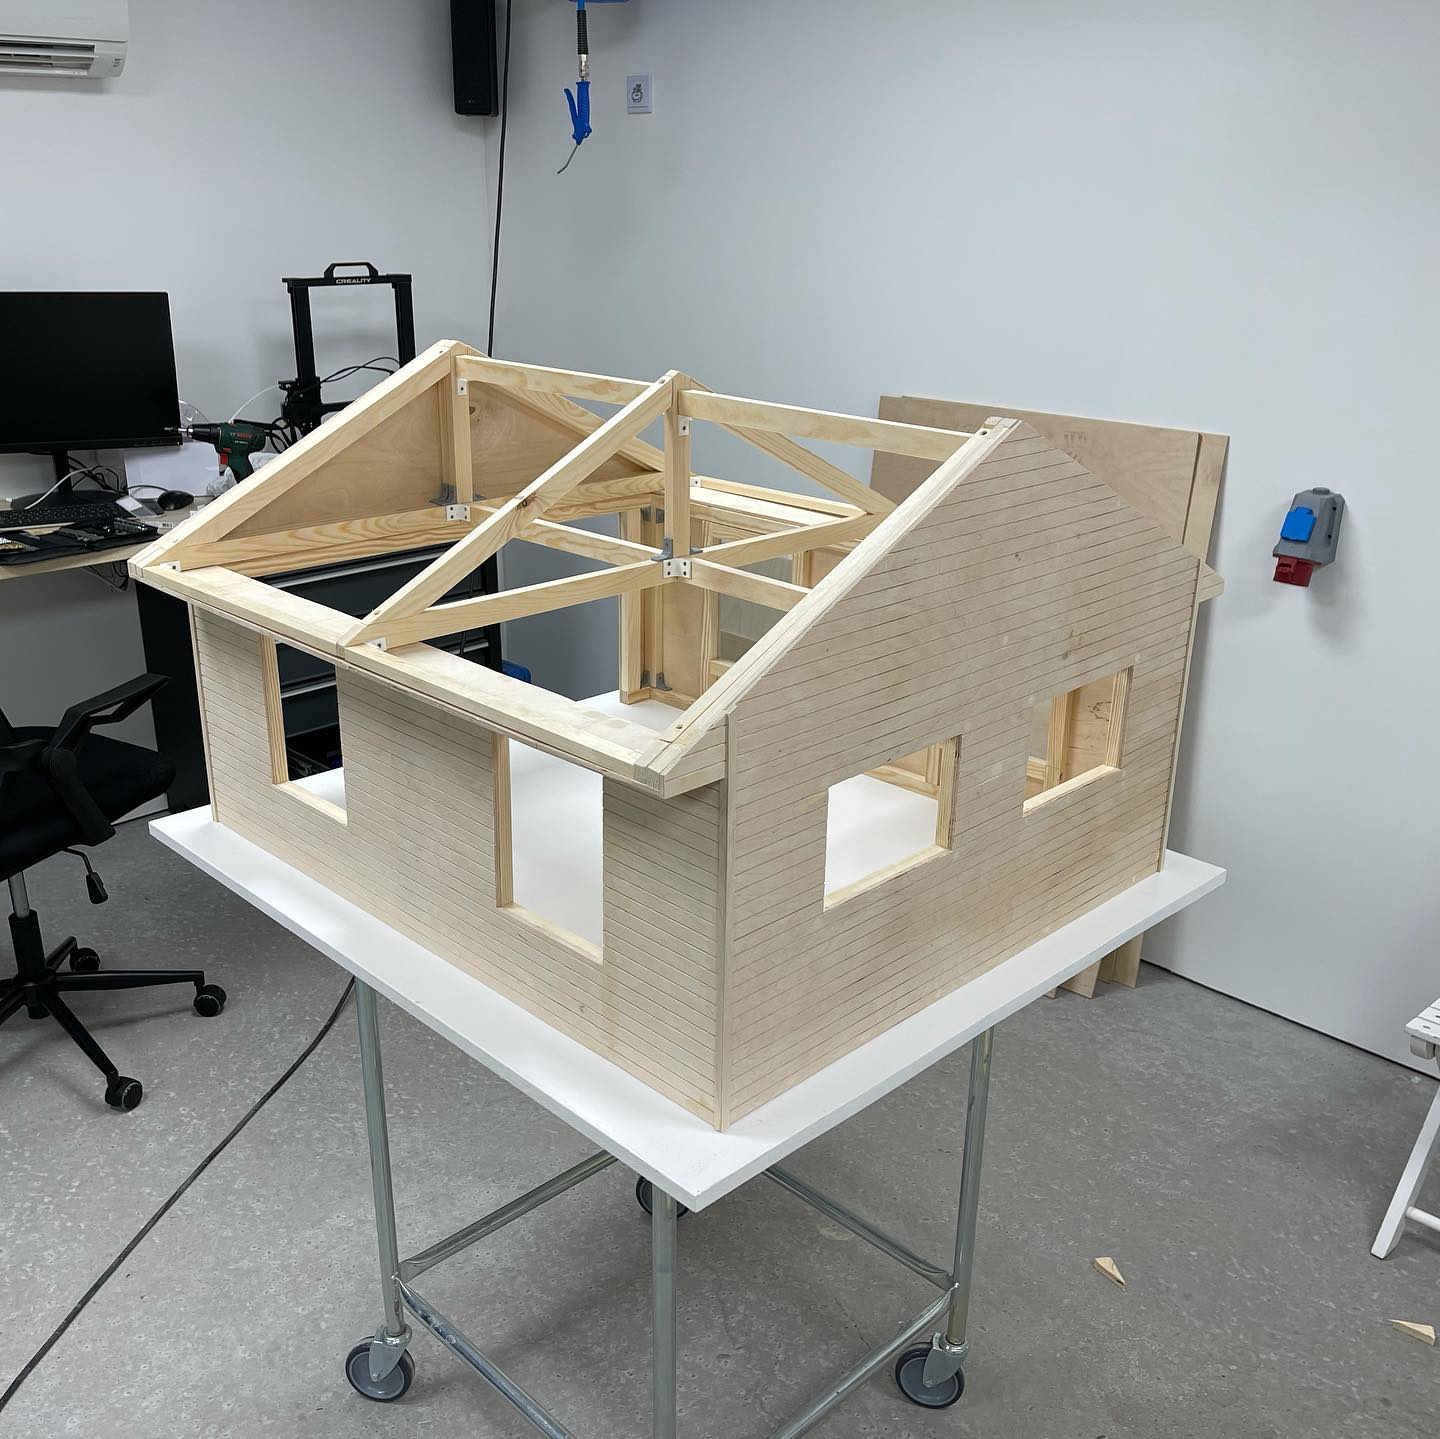
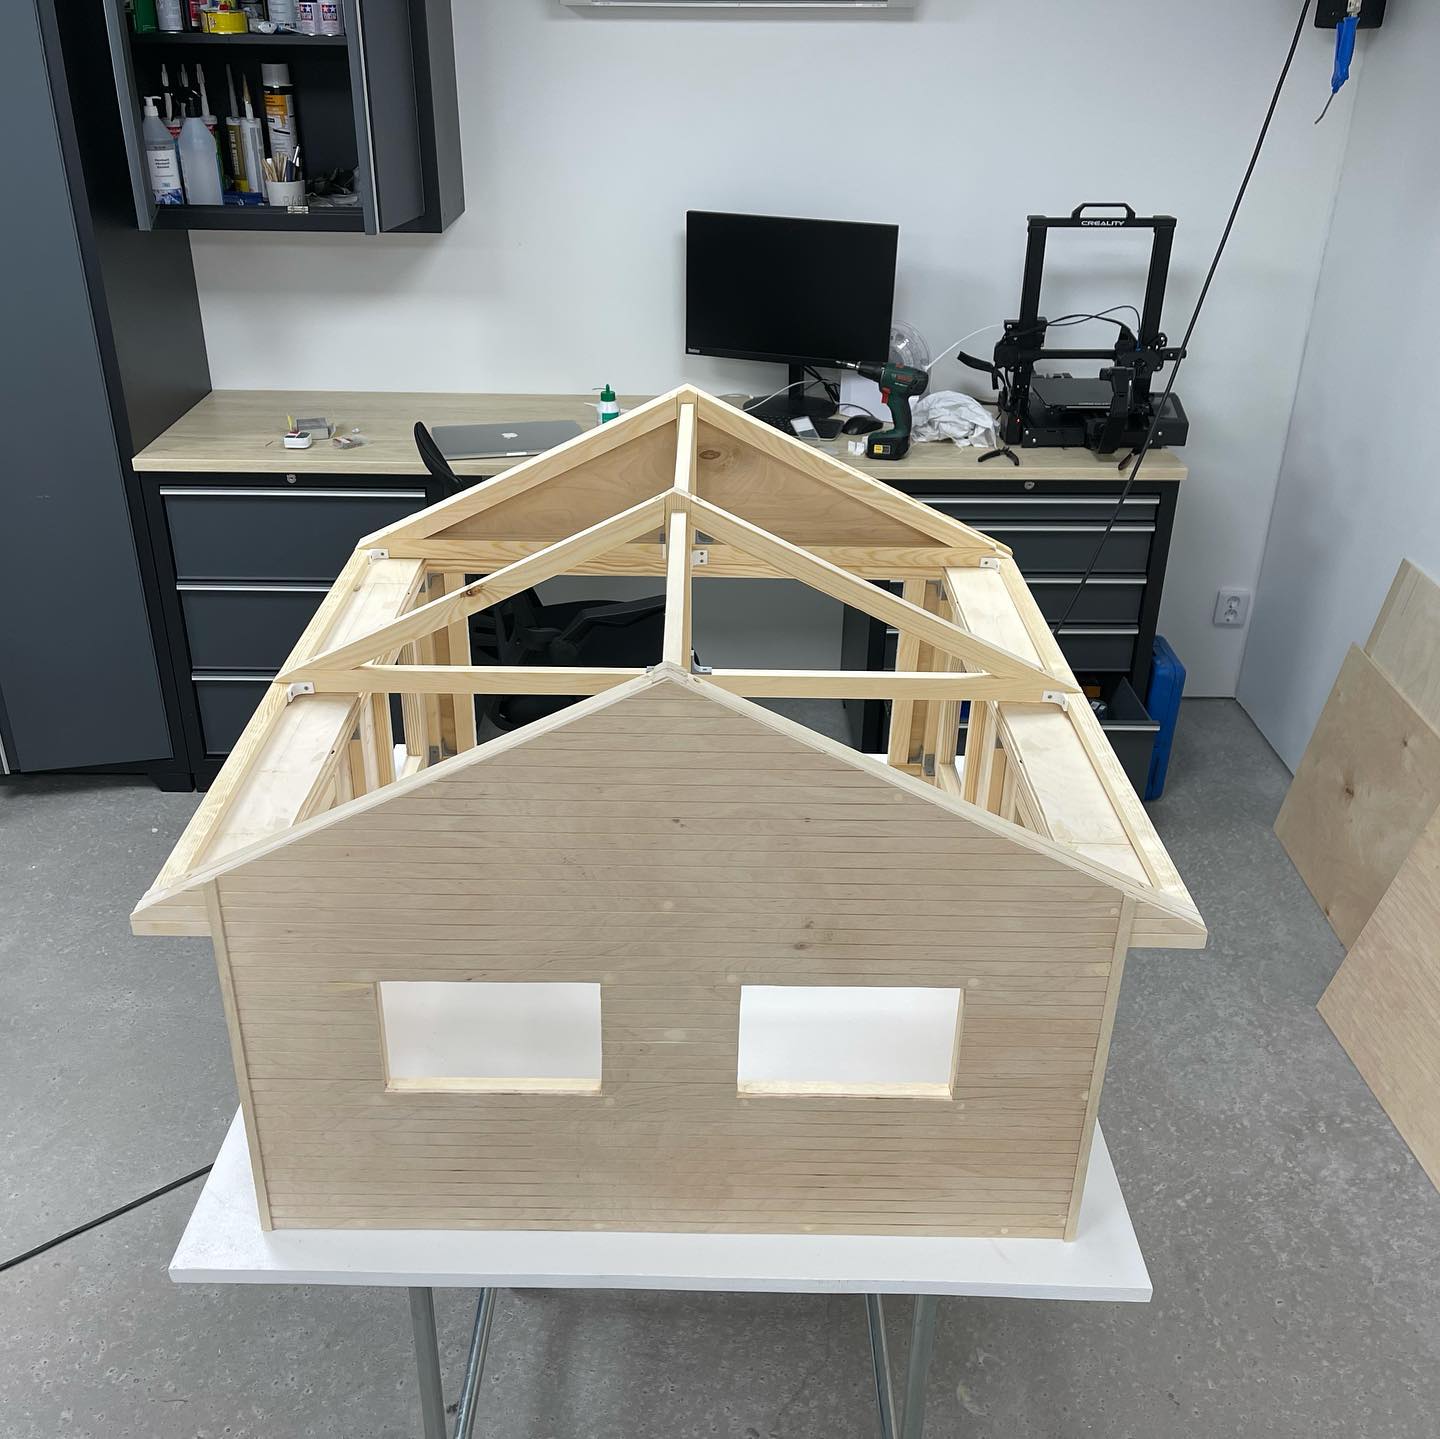
Was going to start with the roof, but just thinking about how to do it right made my head hurt, so here are some corner boards instead 😅😬
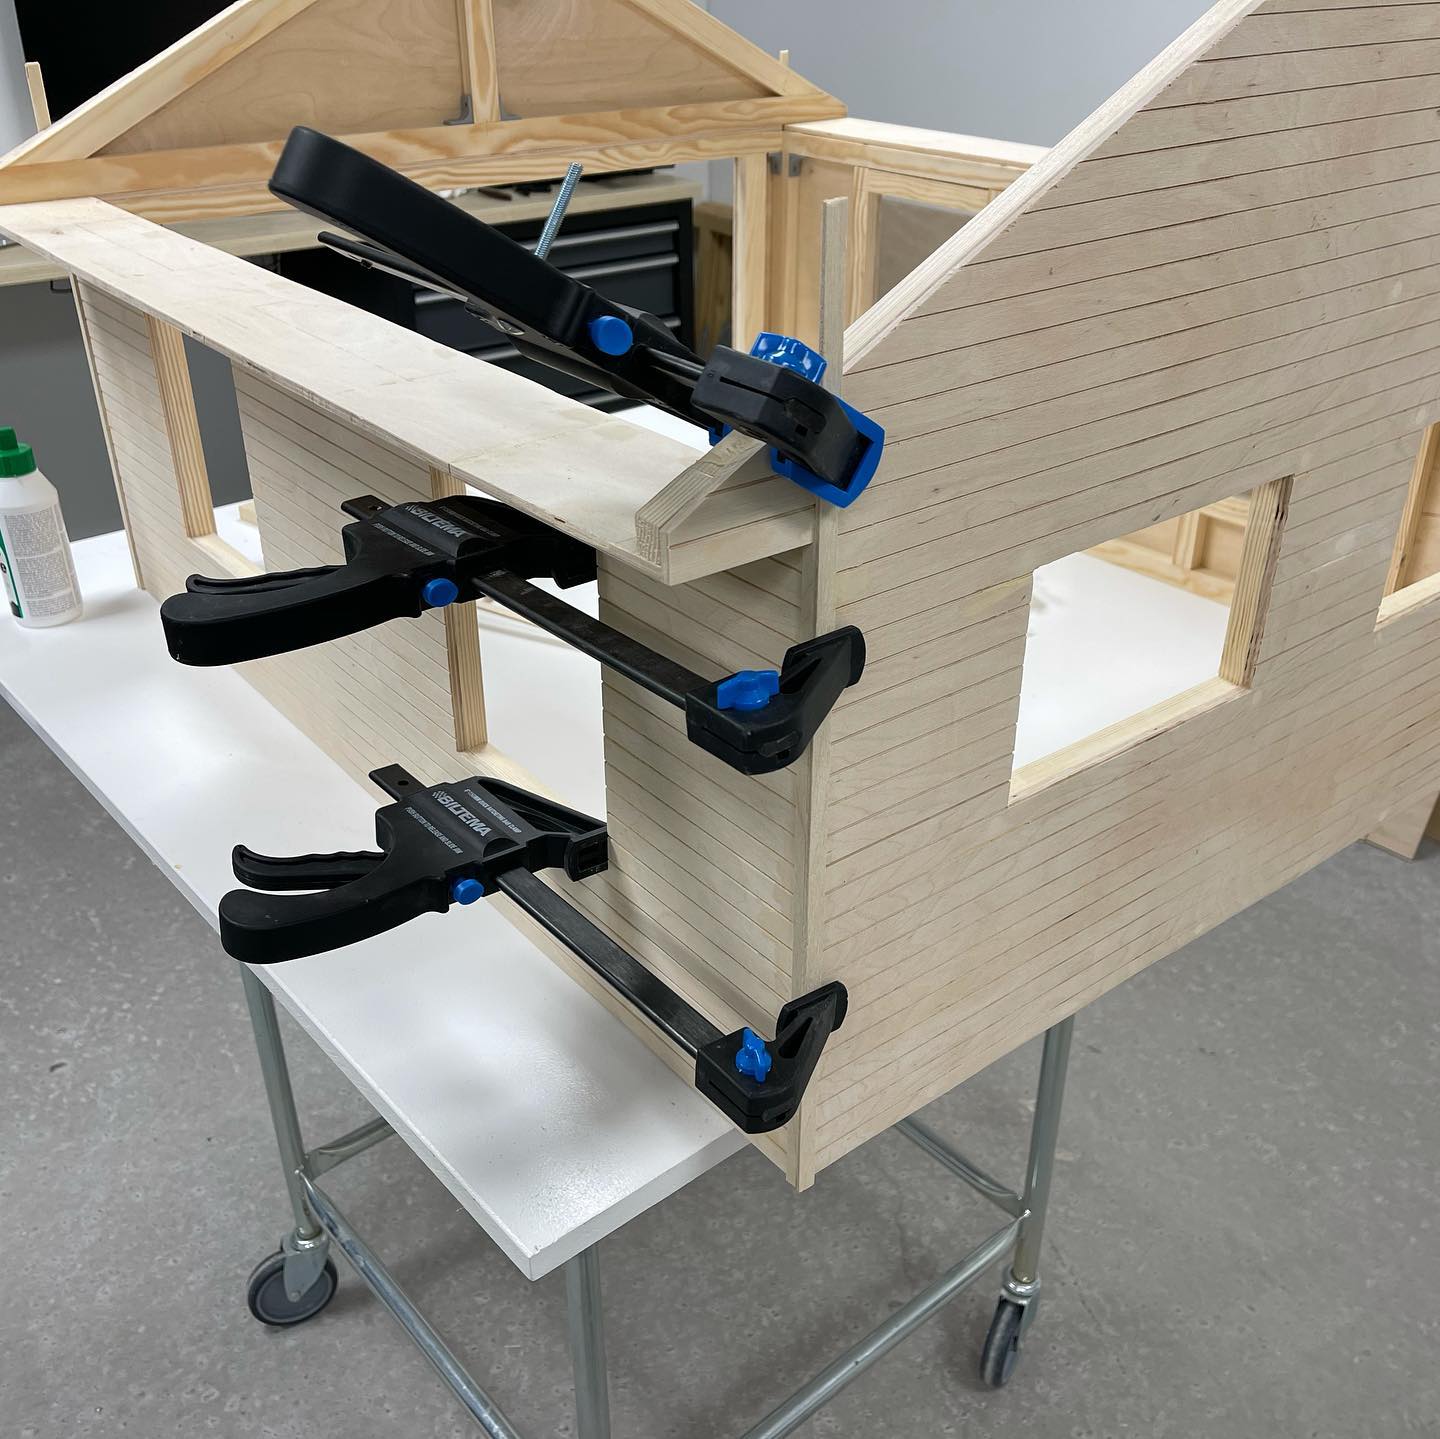
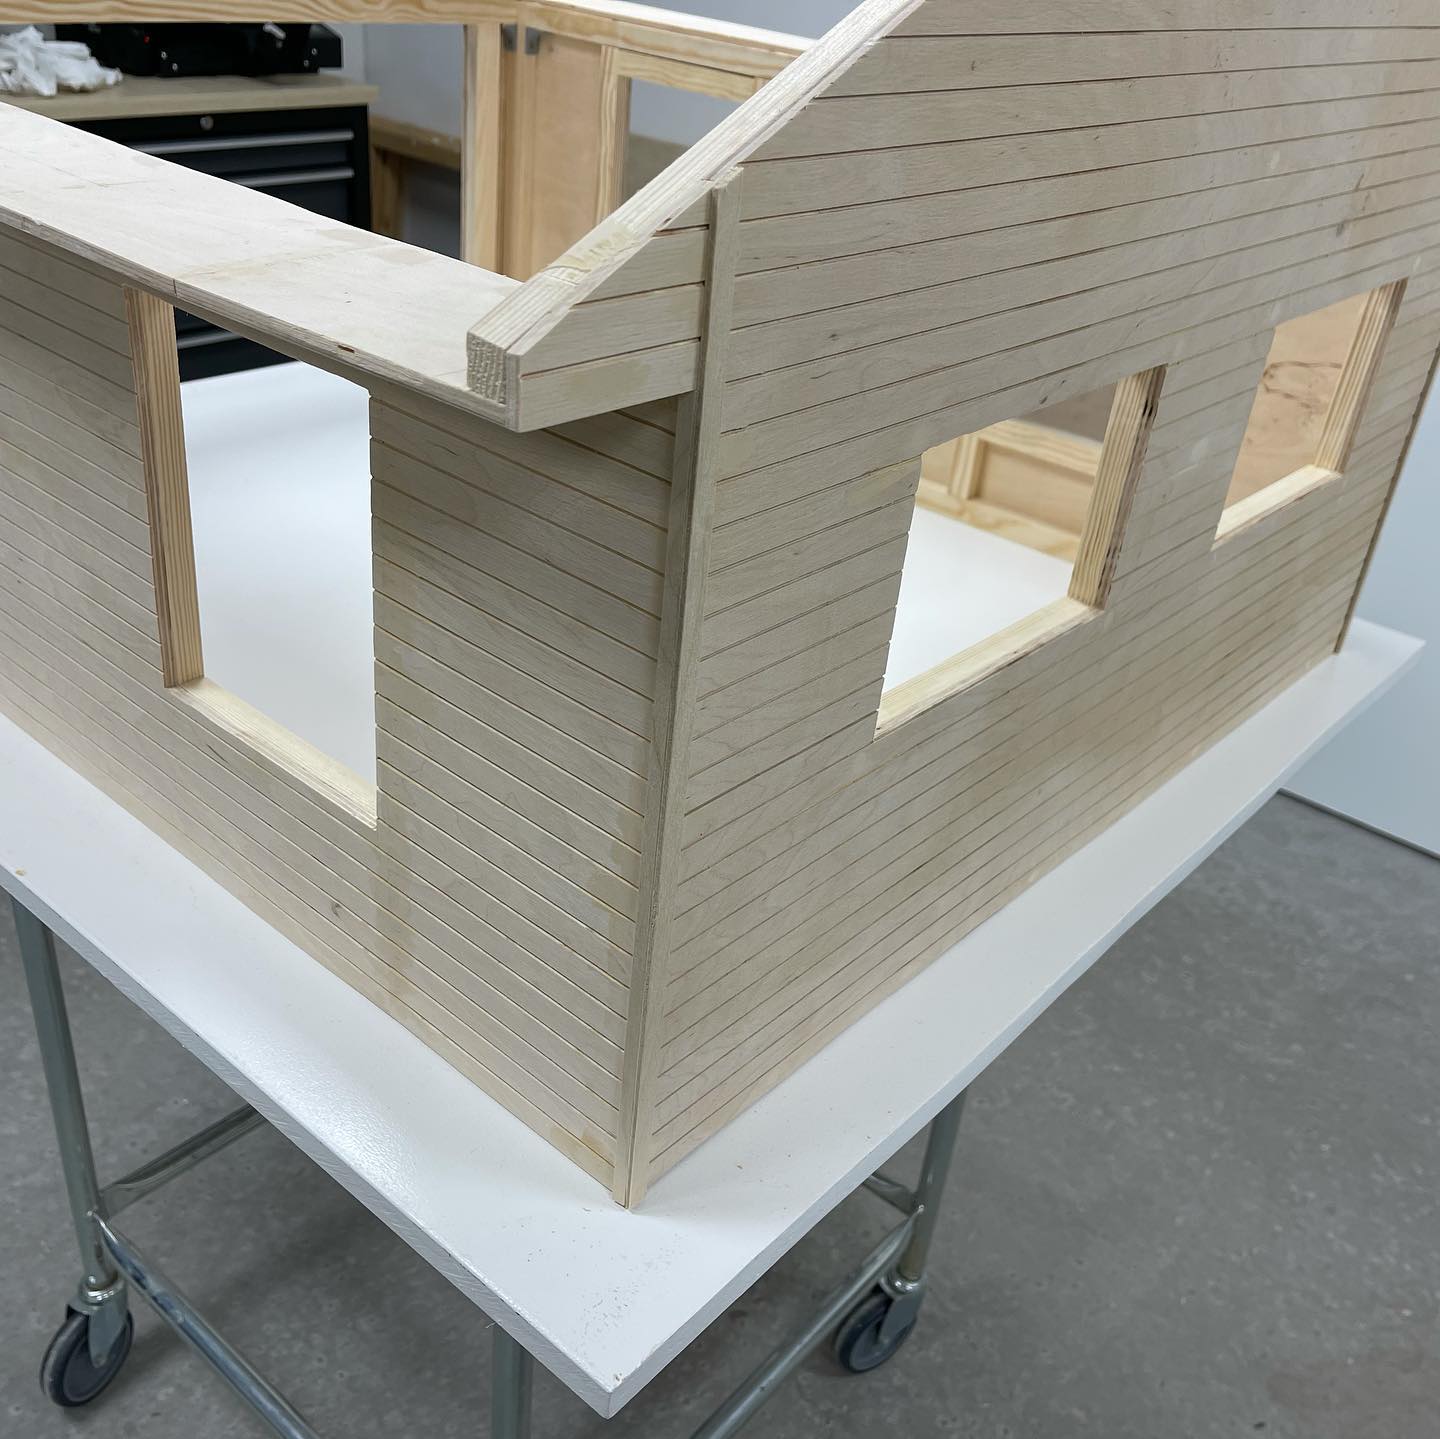
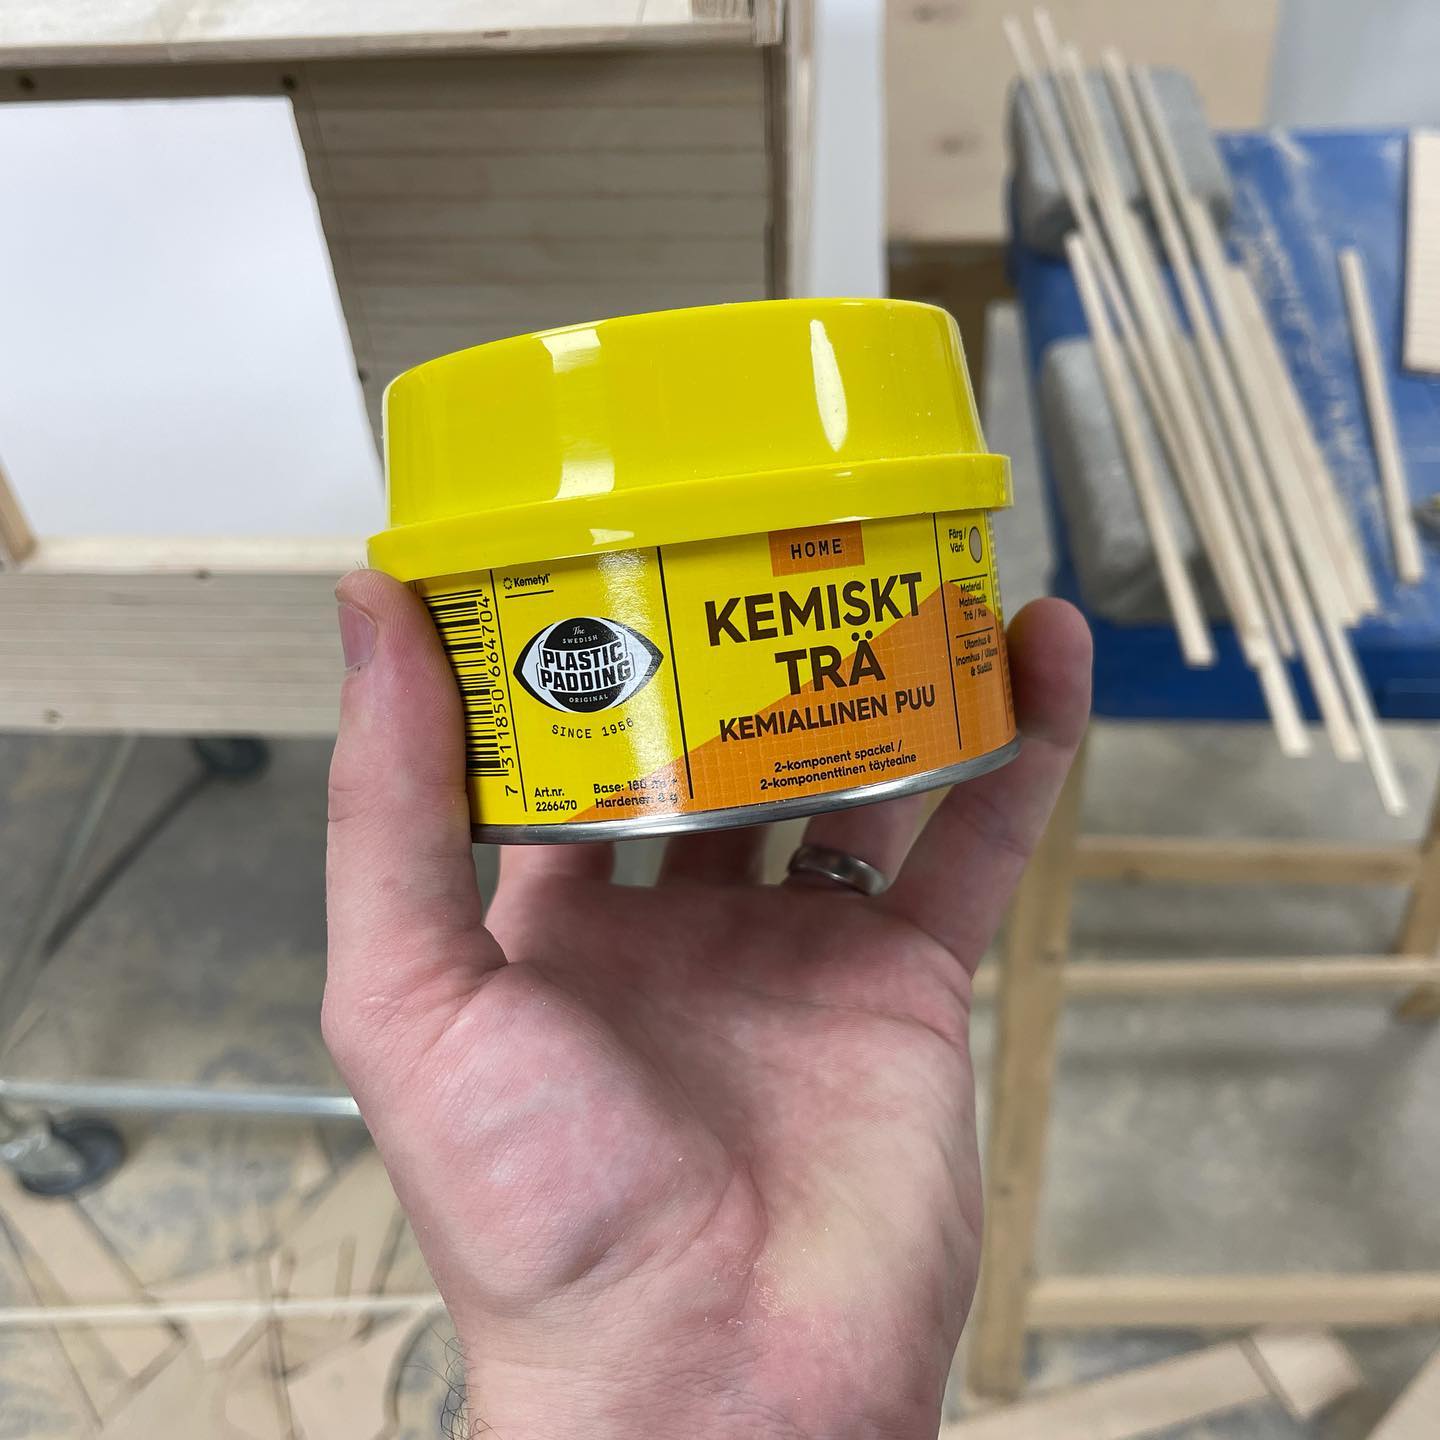
Covering up all the screw holes. A really tedious job, but it has to be done 😑 I’ve been using Chemical Wood from Plastic Padding as filler for many outdoor projects around the house. Horrible to work with once it starts setting, but the results are always perfect and it’s rock solid once fully hardened 👍🏻
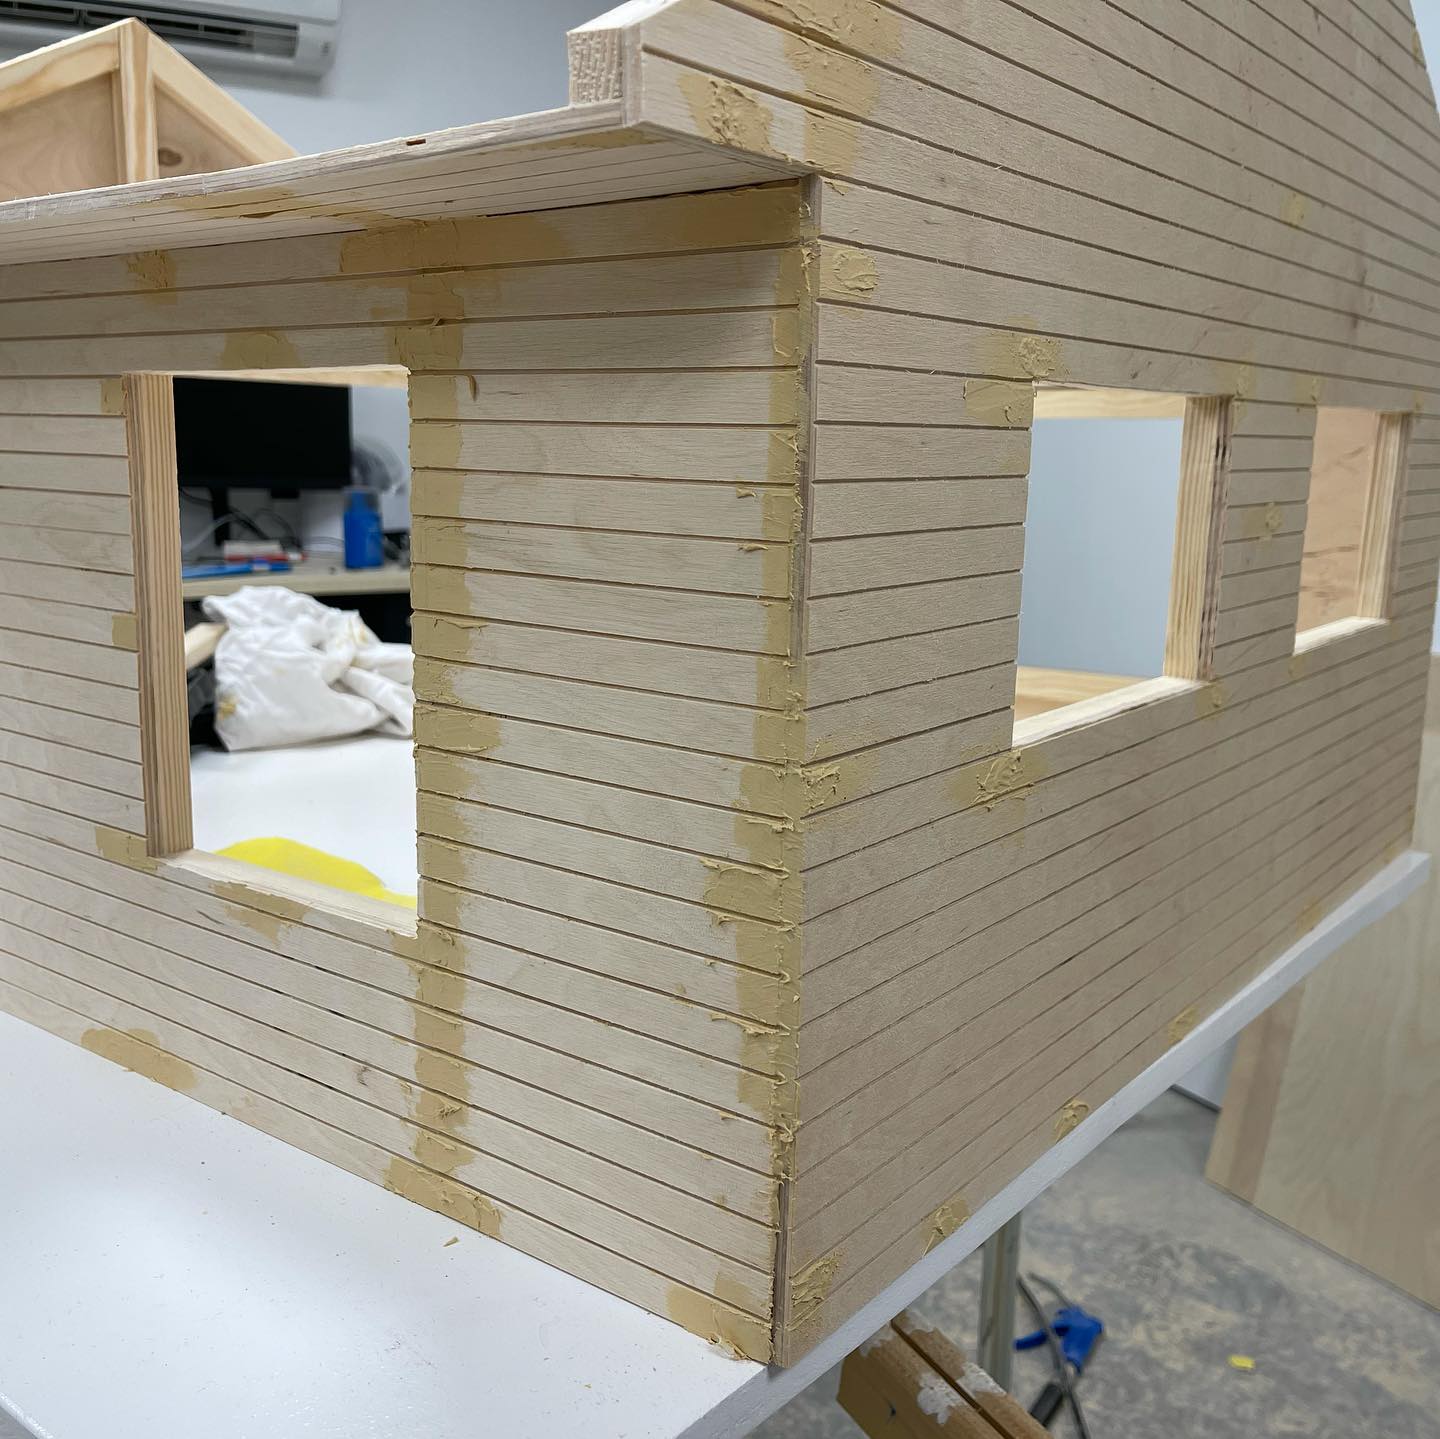
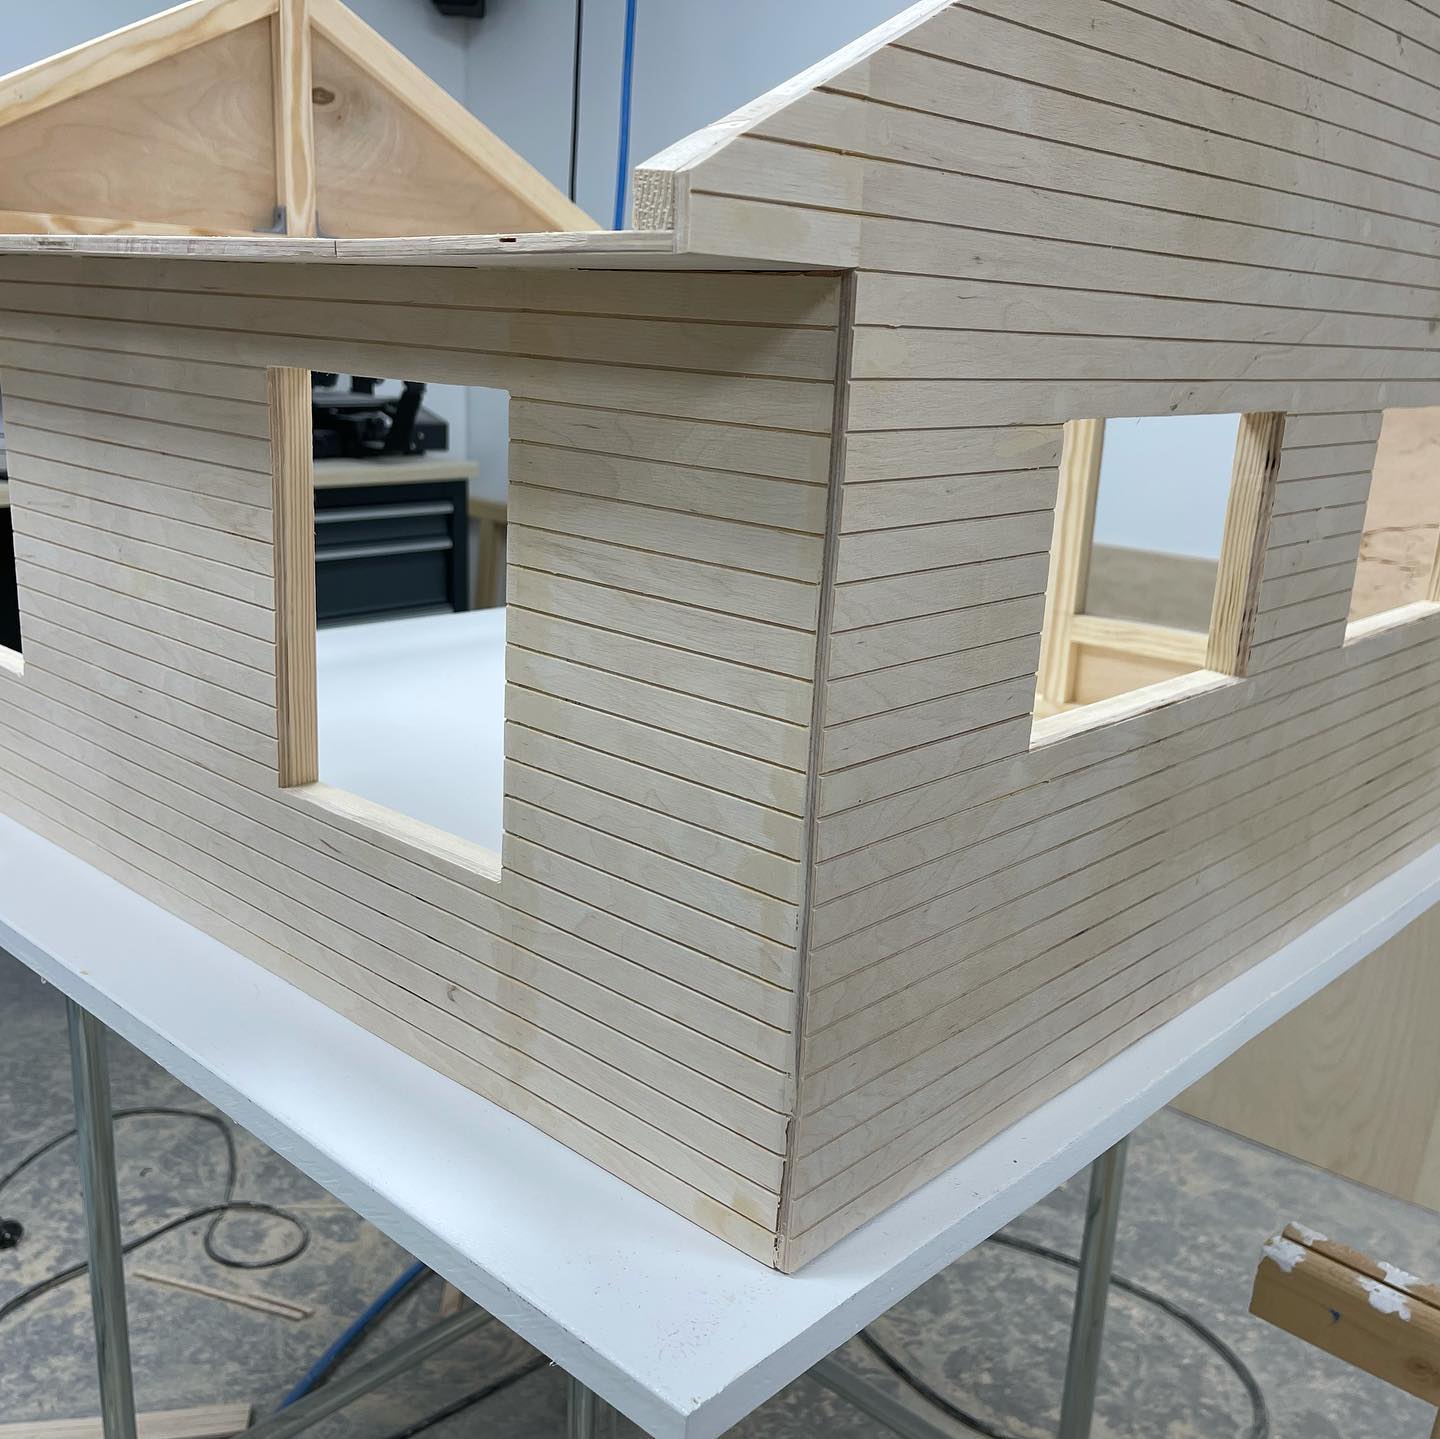
Roof-ends done 👍🏻
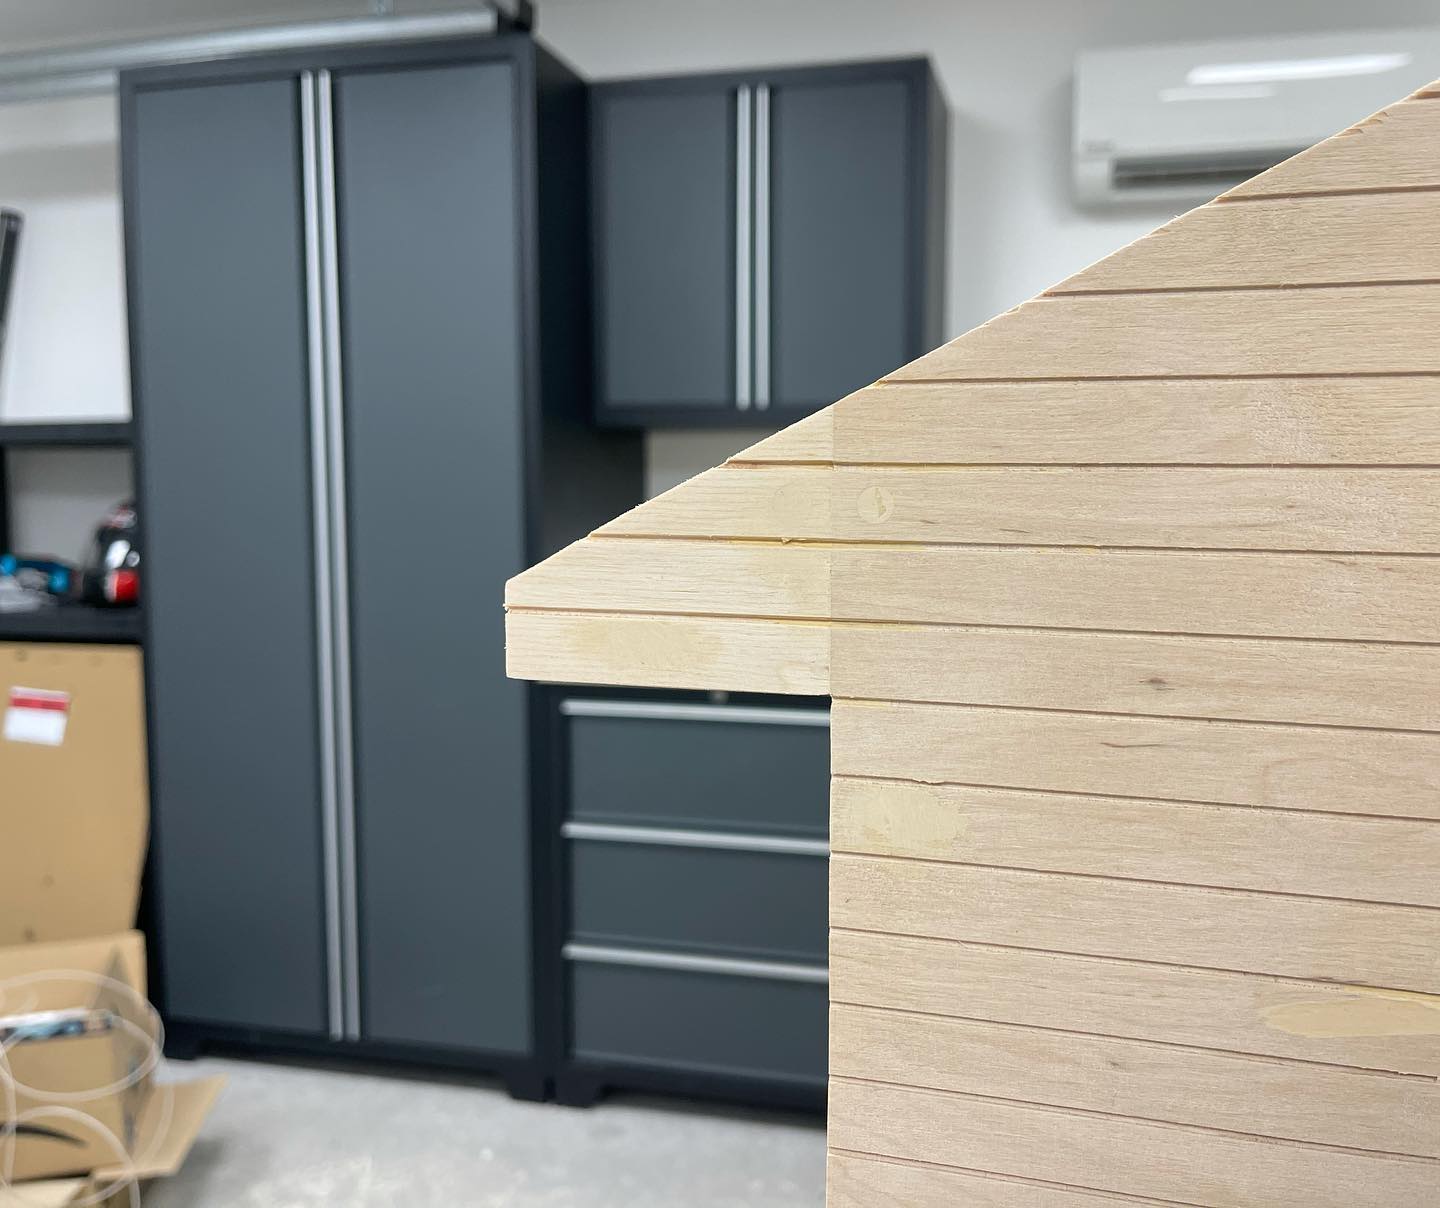
All four outer walls in place. The plywood sheets aren’t wide enough to reach all the way out to the edges of the roof, so I’ll have to add those tips later on 👍🏻
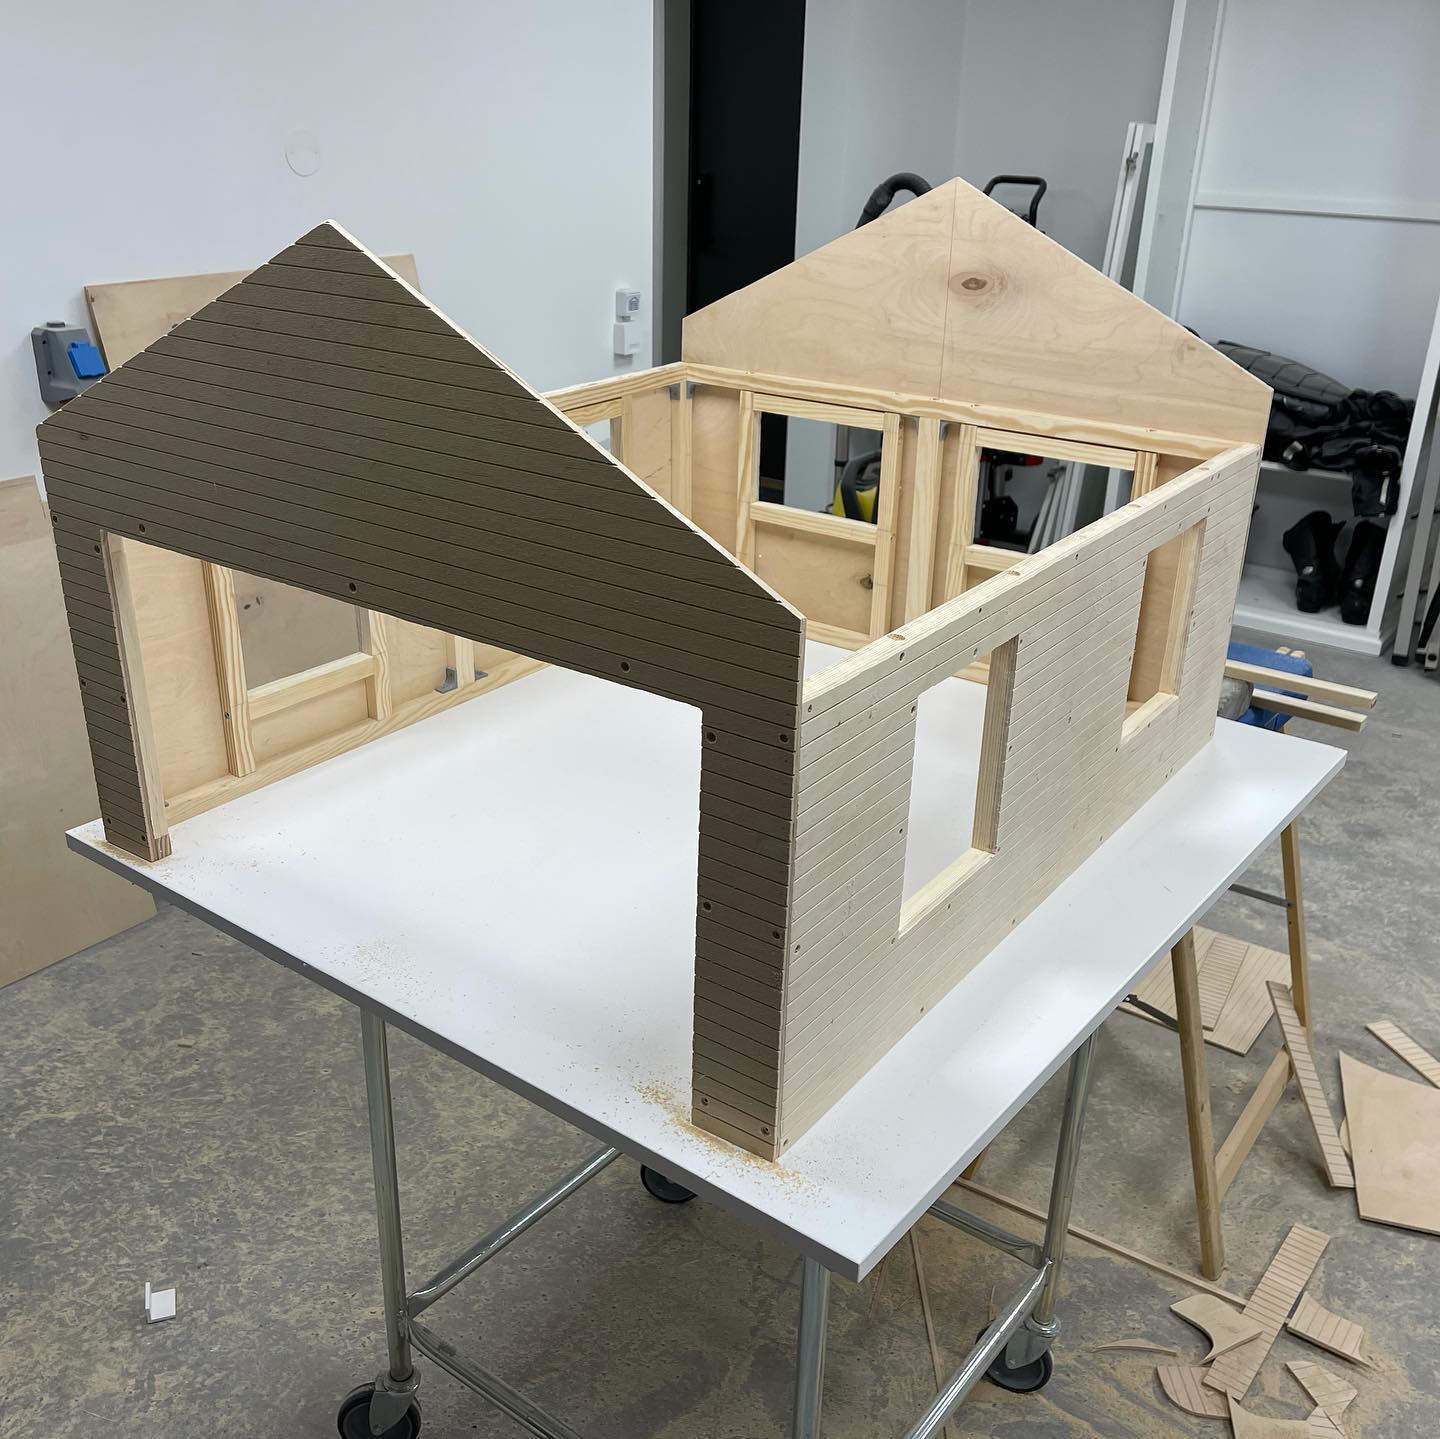
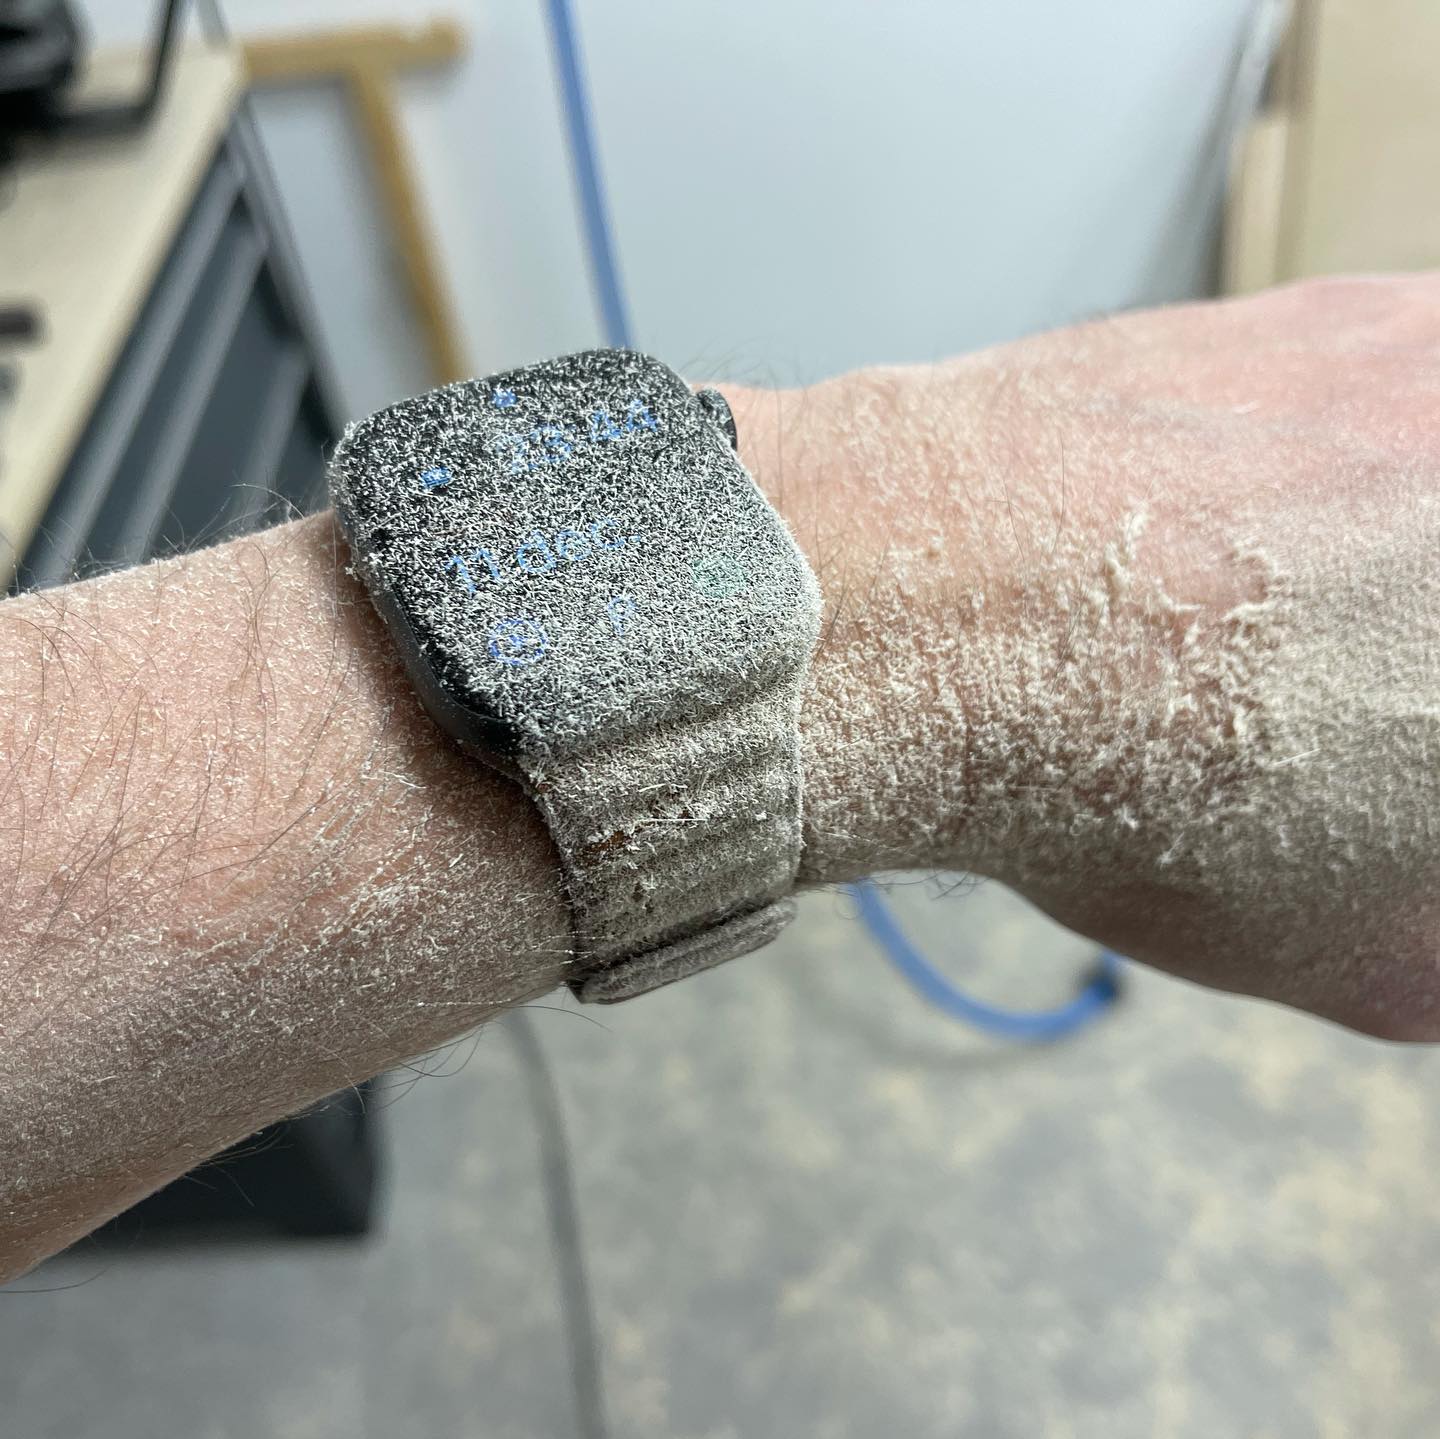
Sawdust literally everywhere 😬
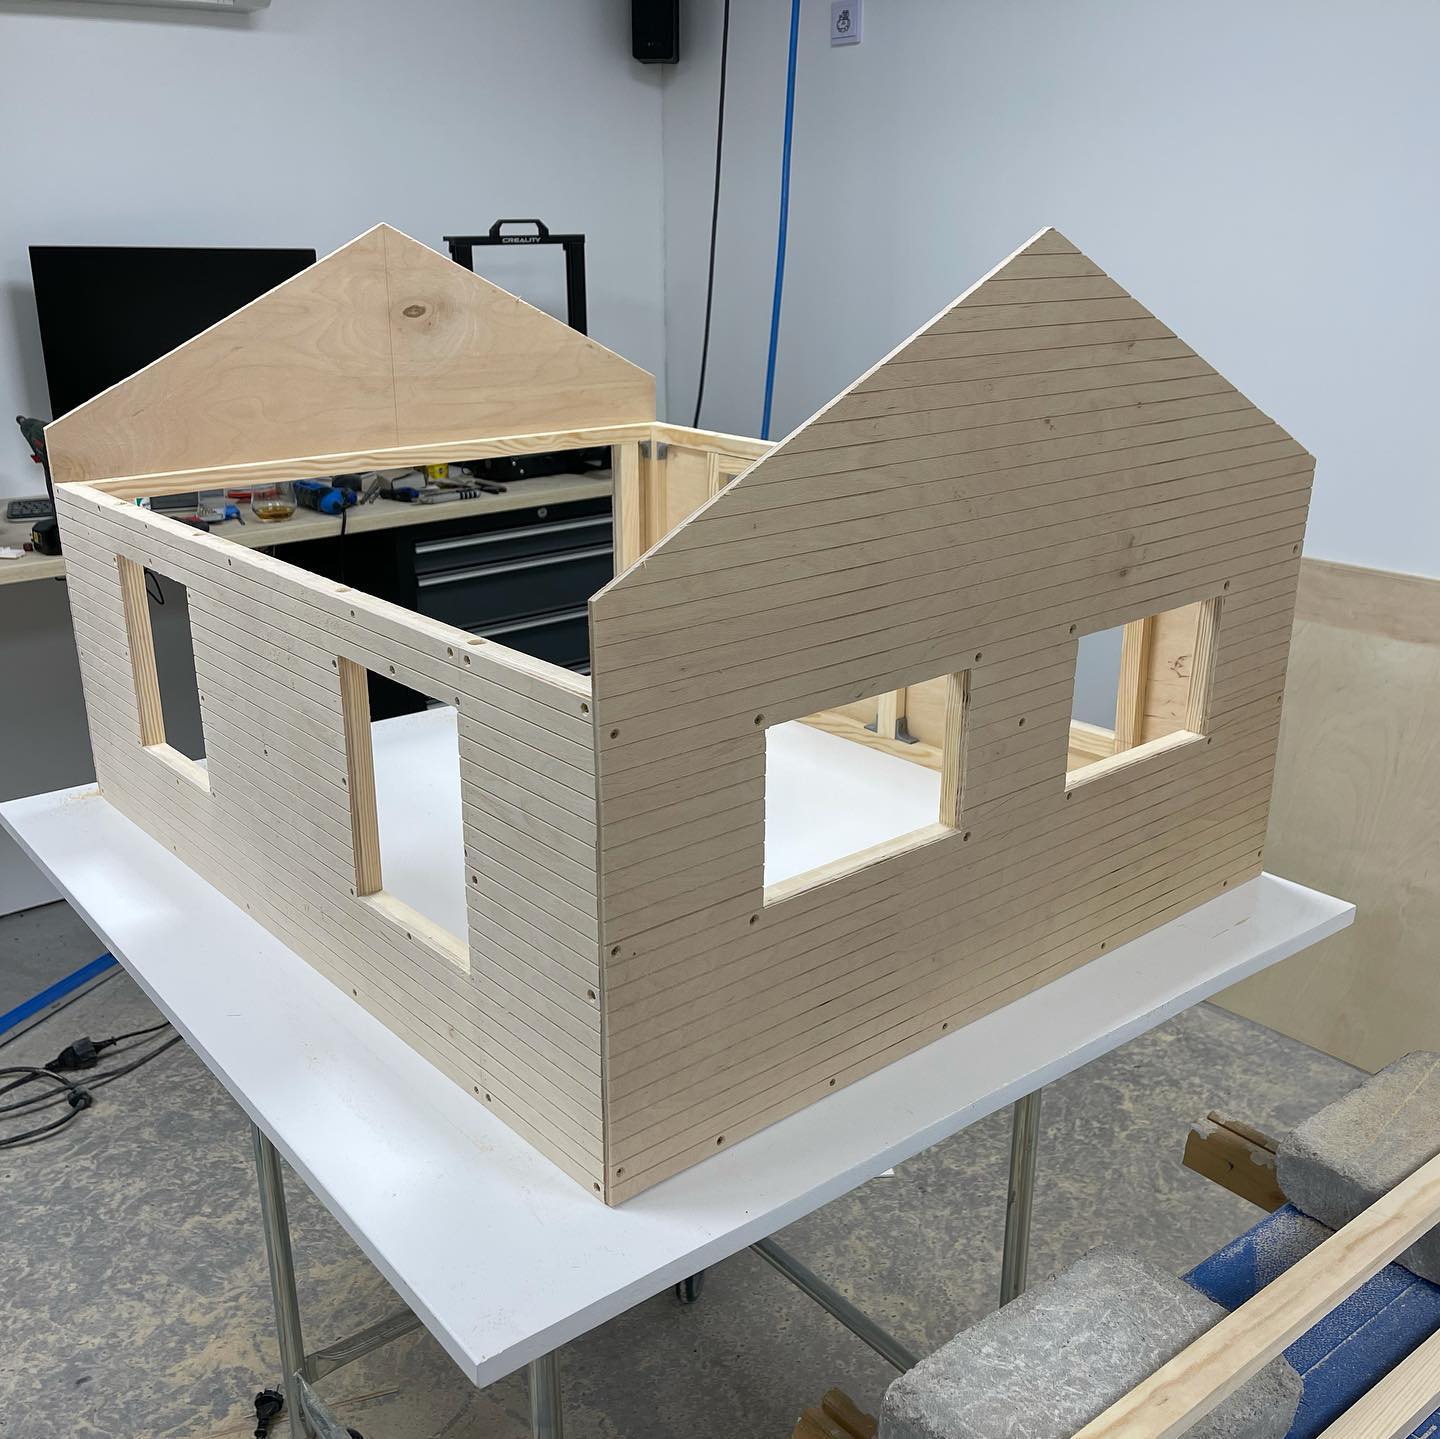
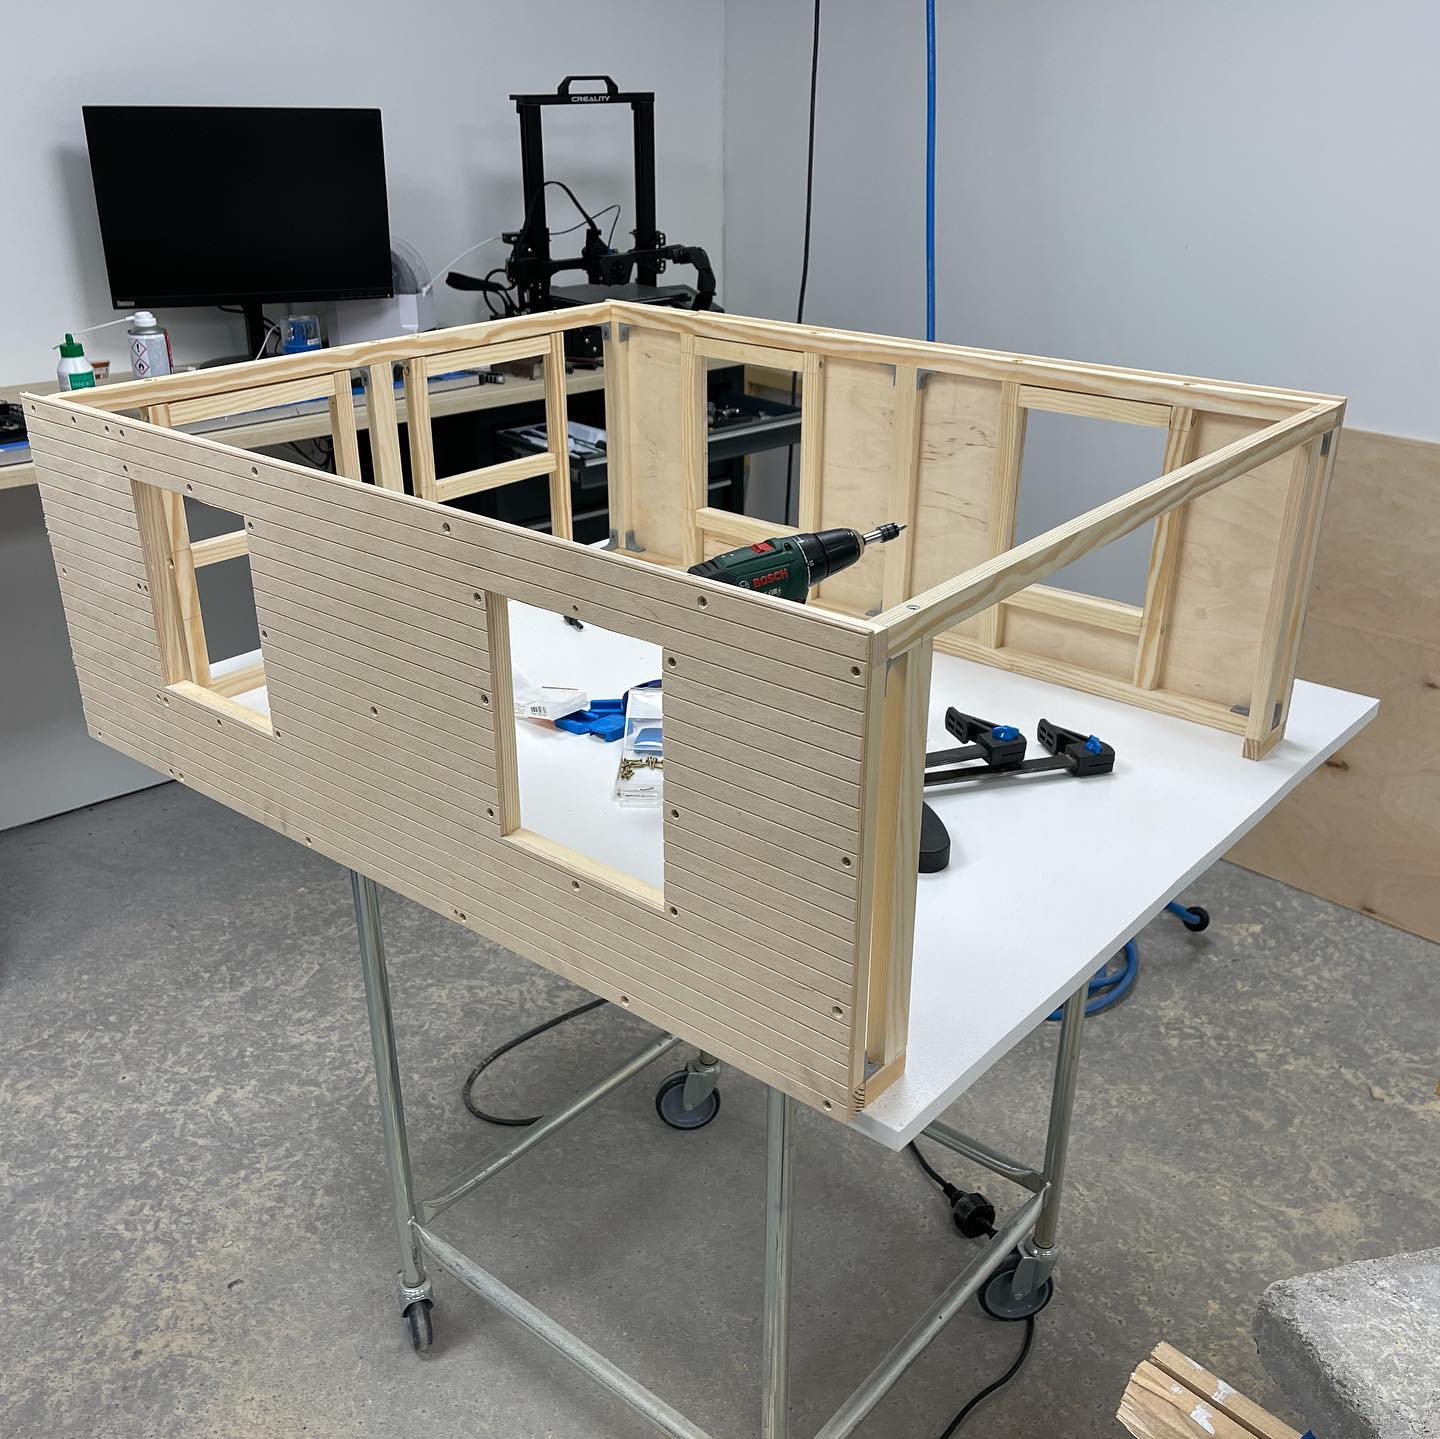
Side walls mounted 😃 The back and front will require a little more work though, since they will continue up to meet the roof at an angle
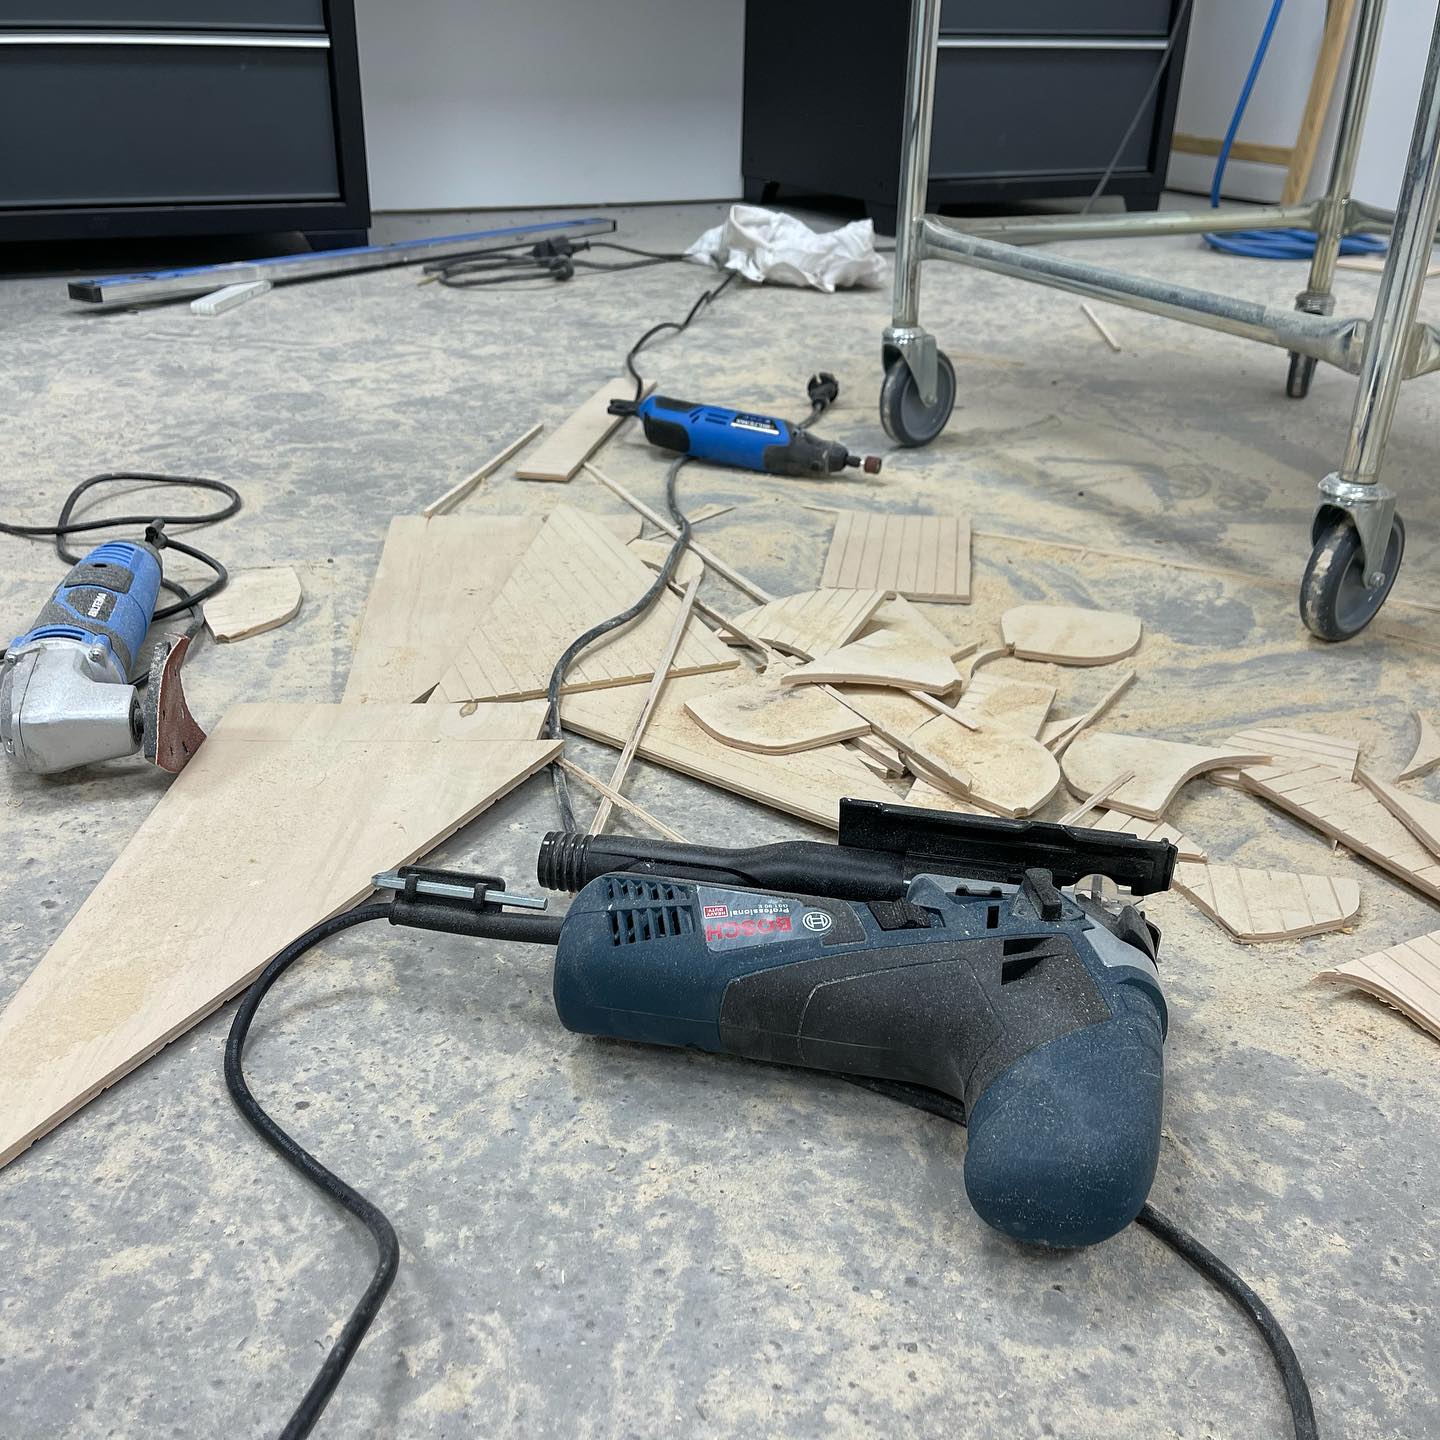
From surgery room-clean to absolute mayhem in no time at all 😬😟
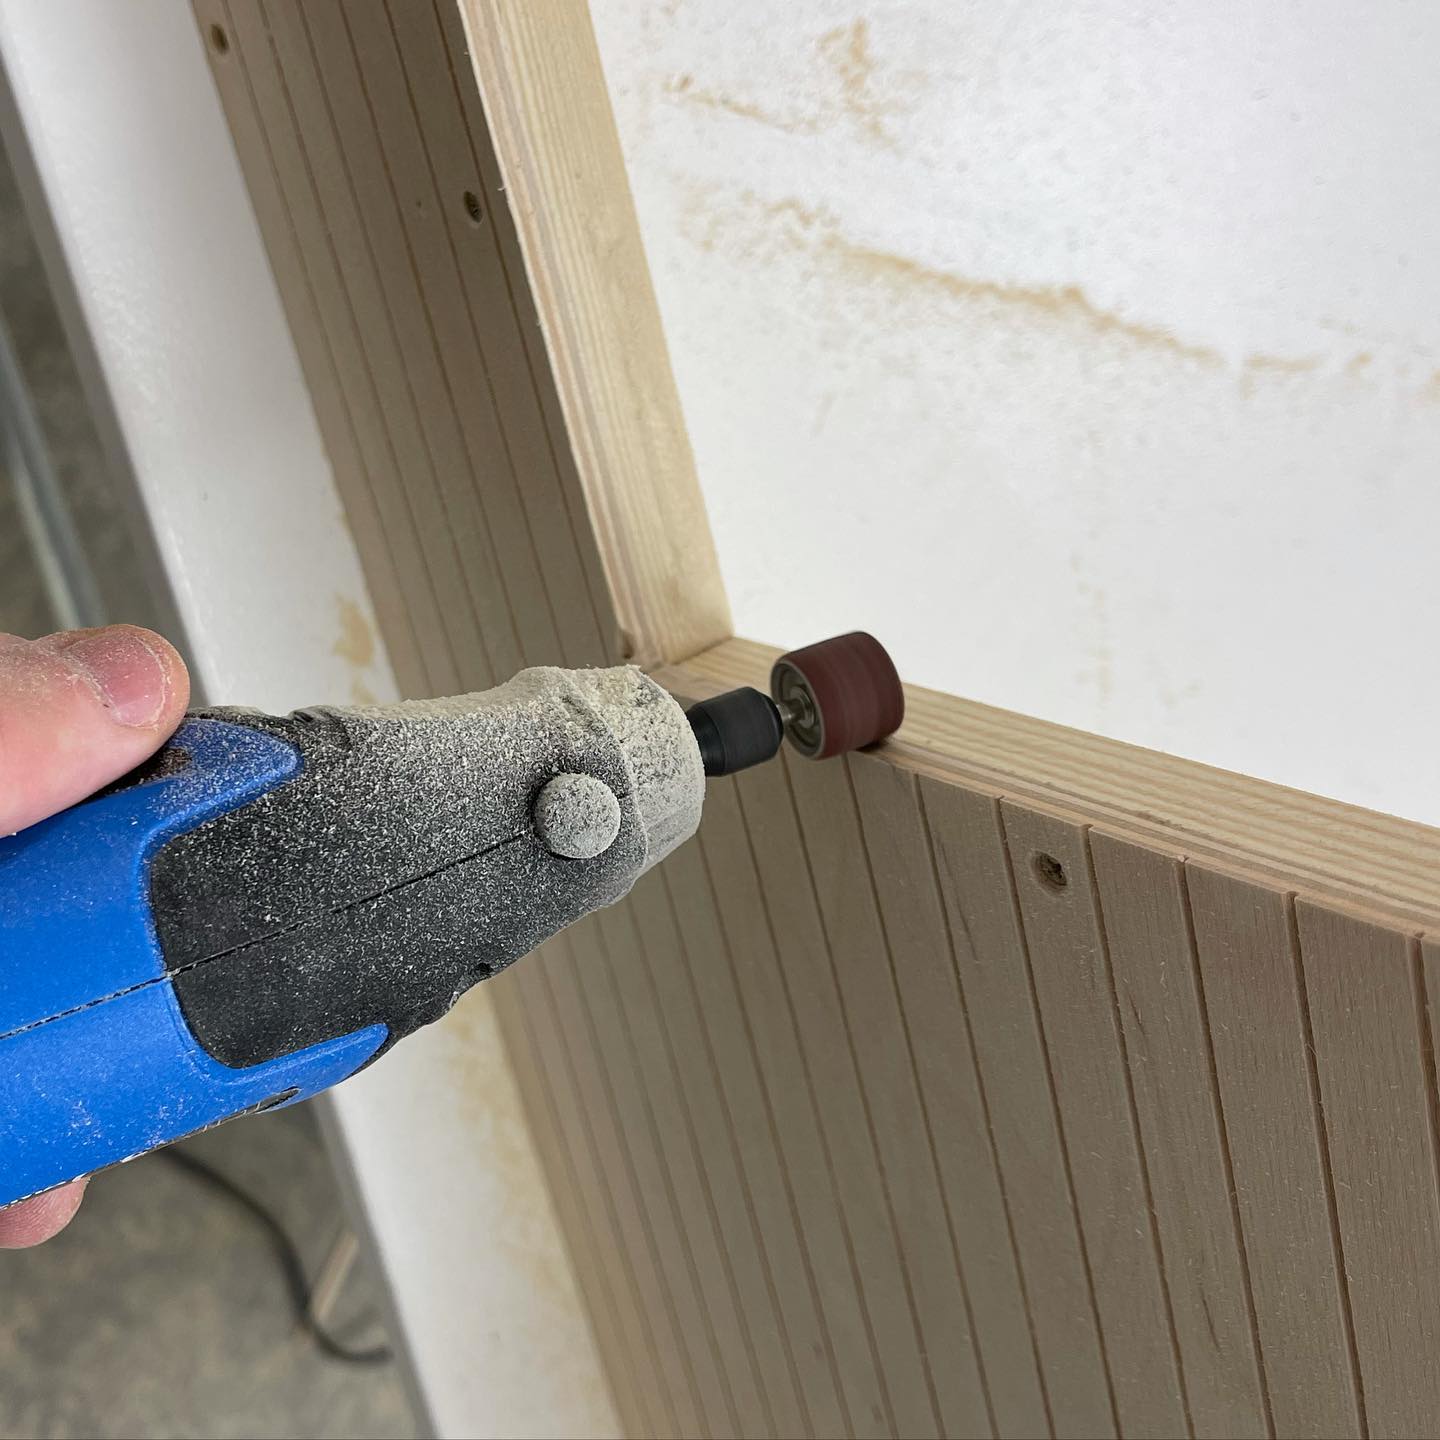
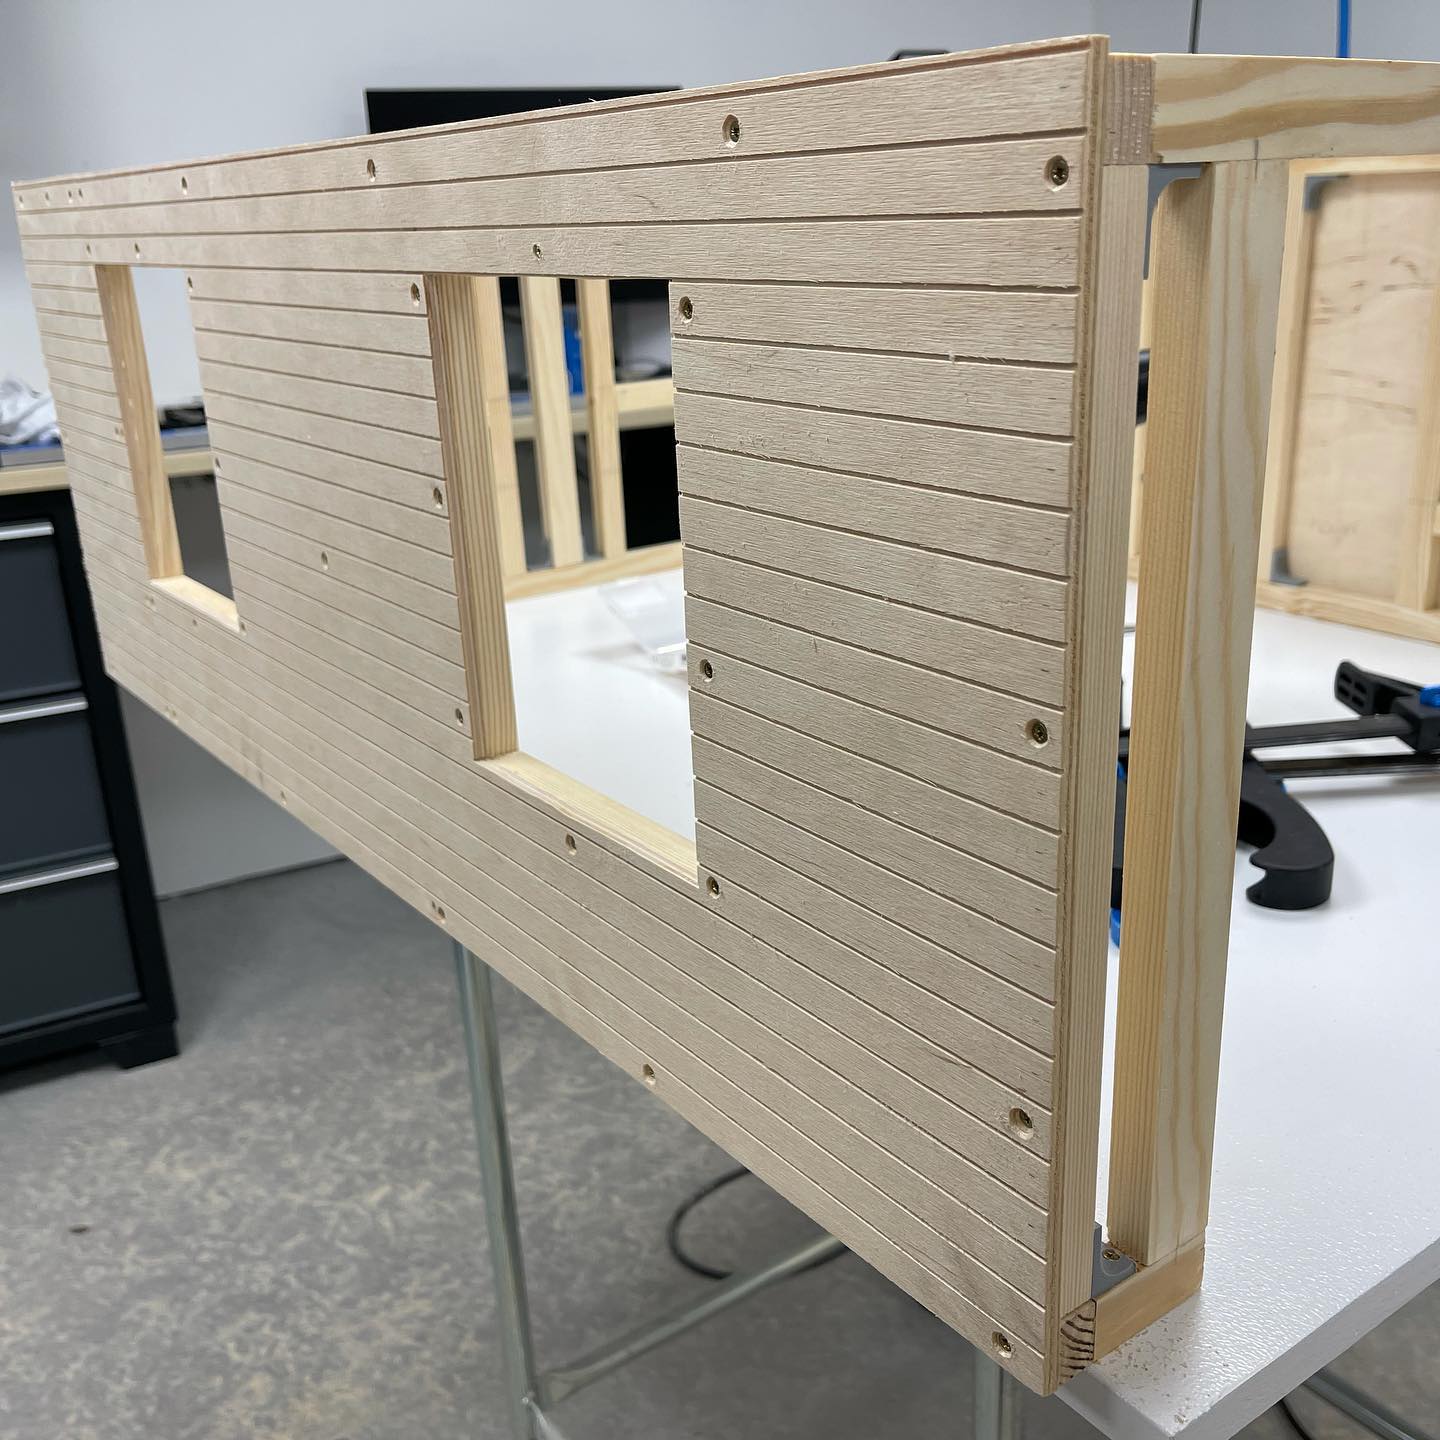
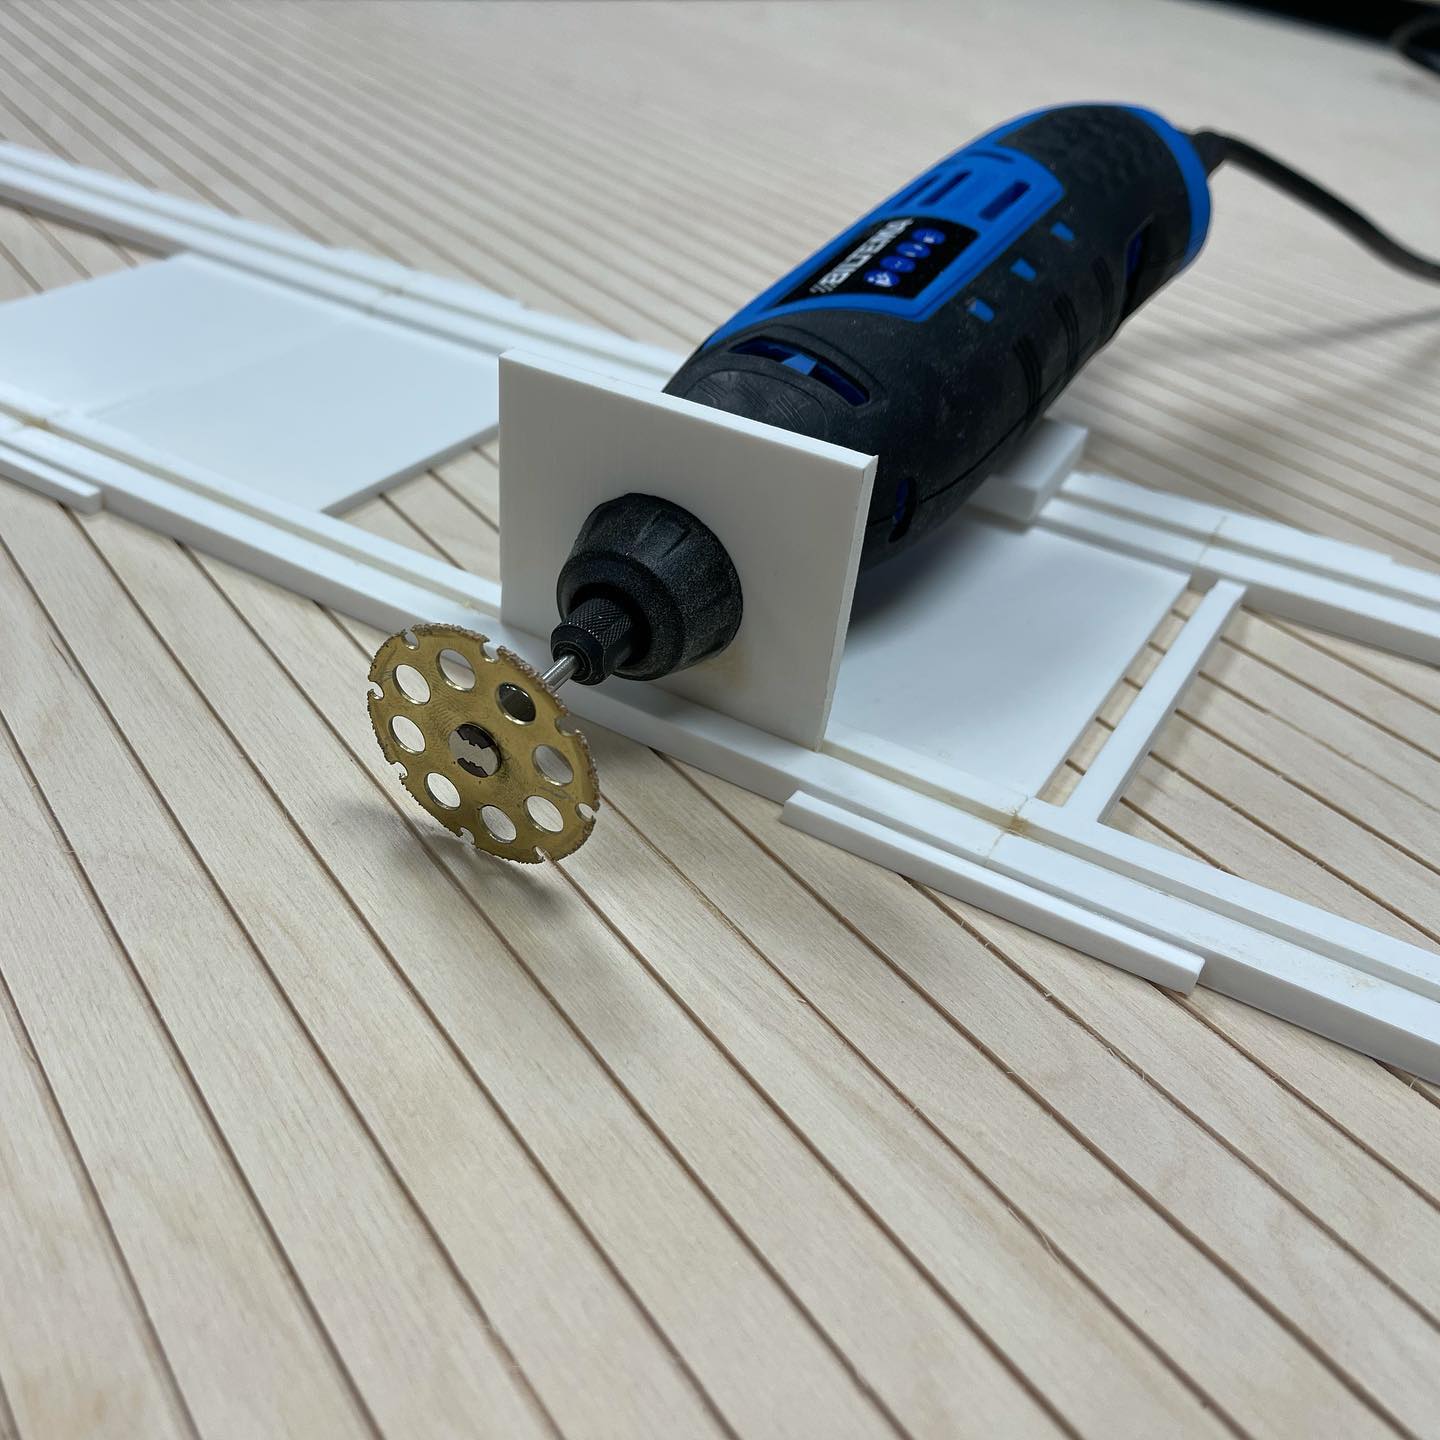
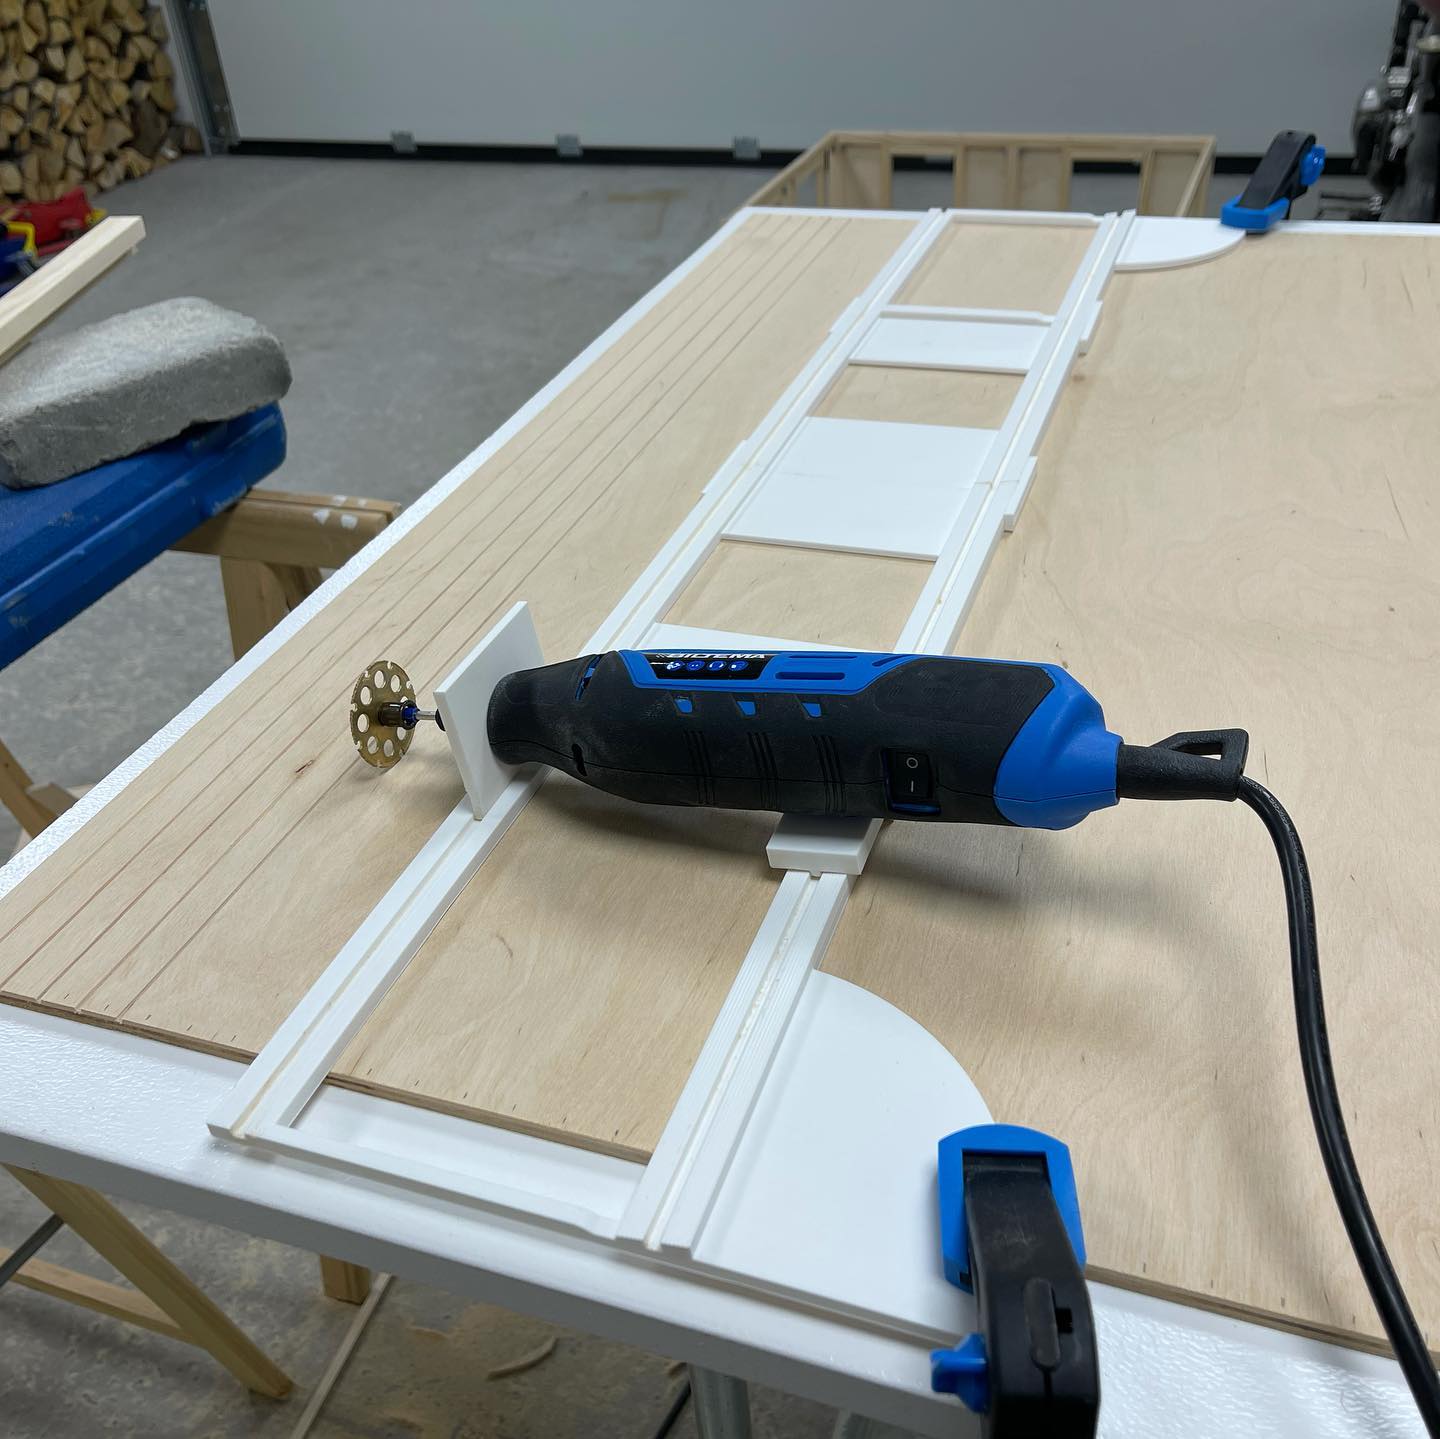
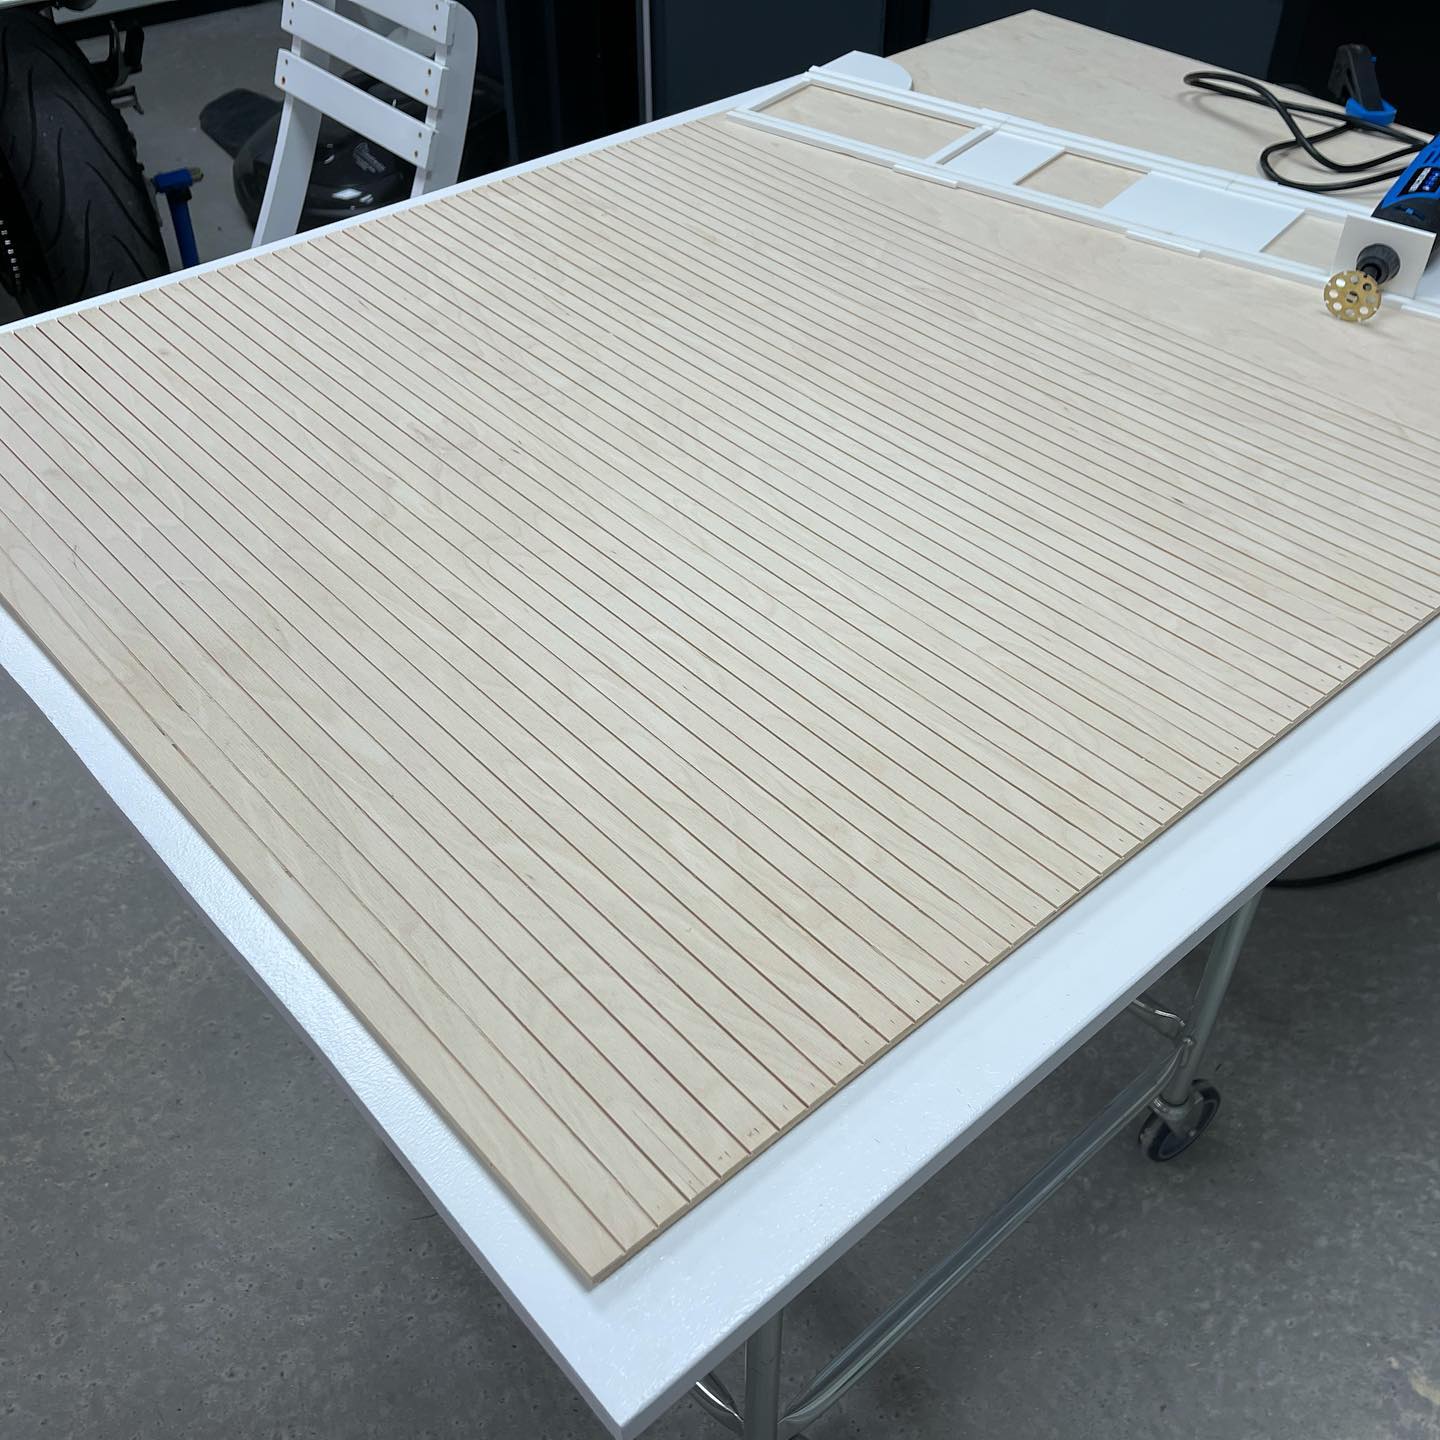
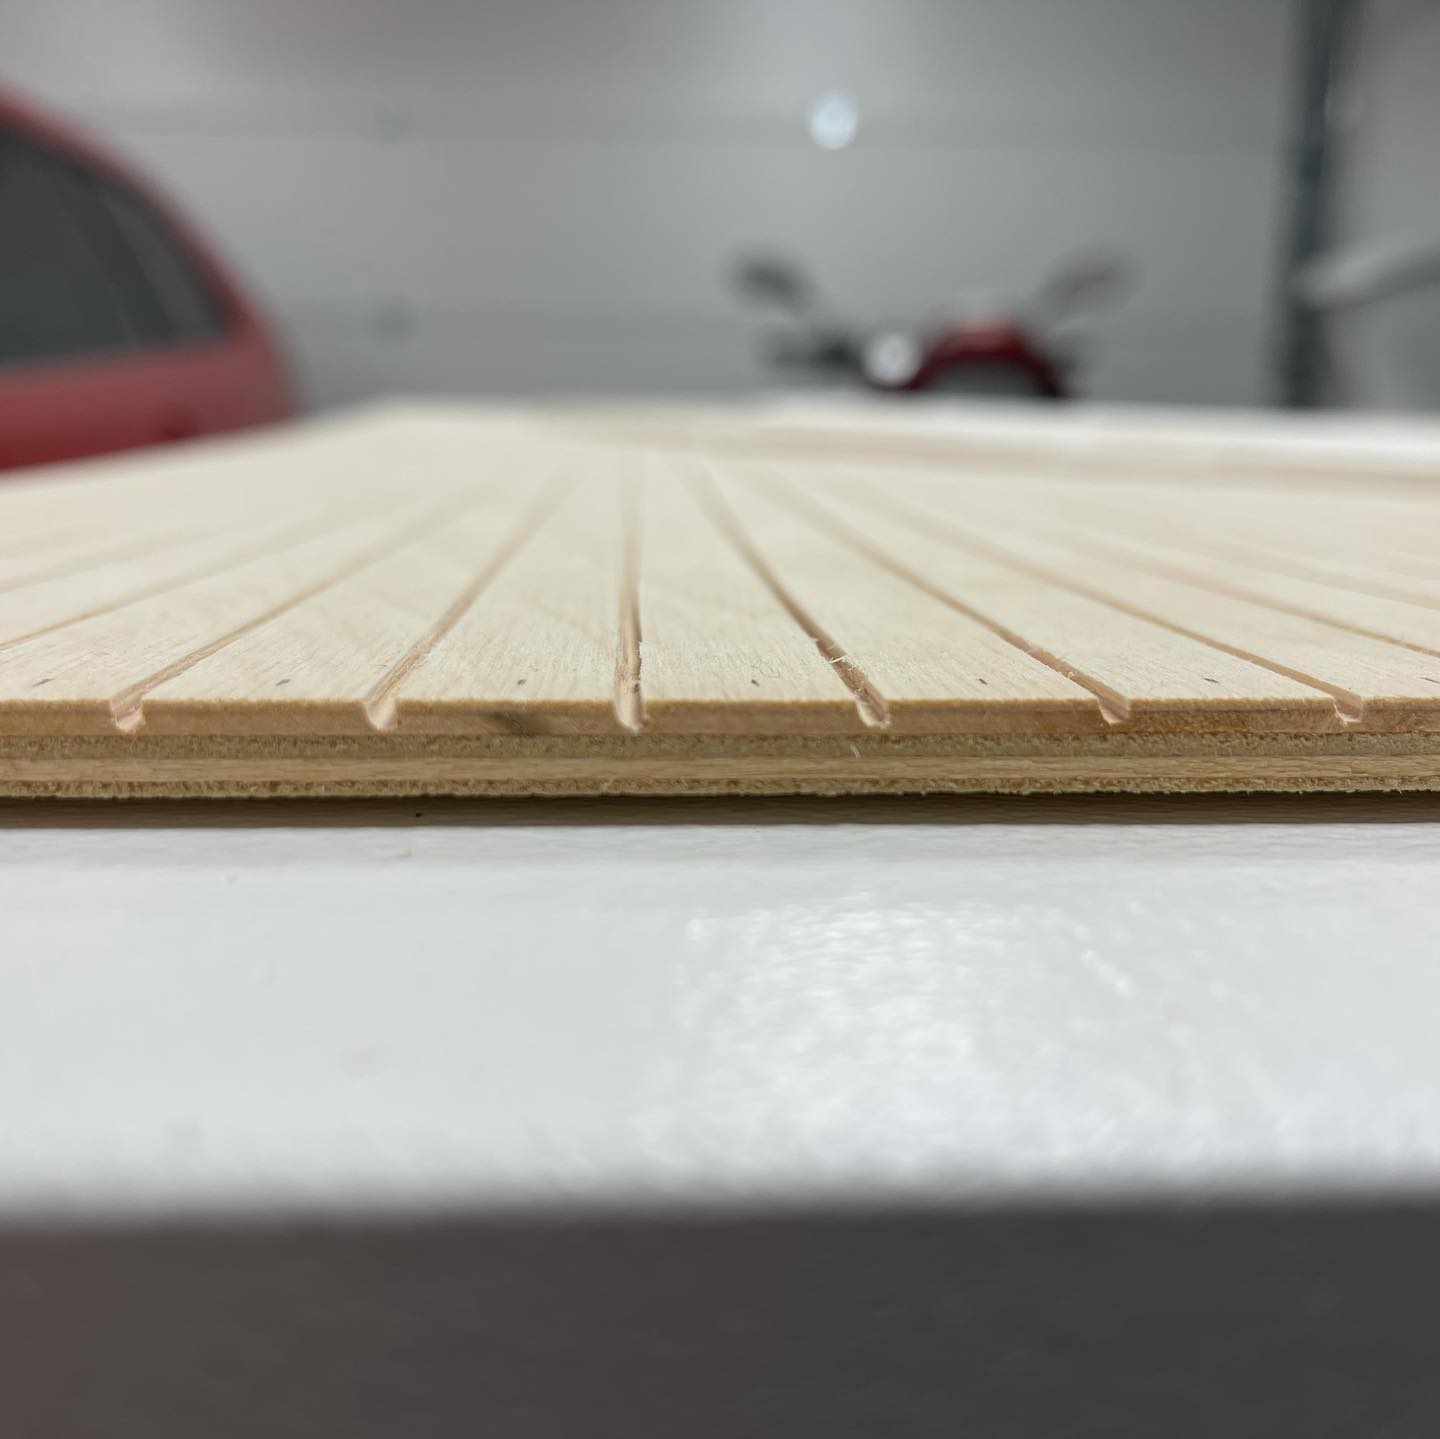
If it works, it ain’t stupid 😅 I’ve been thinking a lot about how to replicate the gap between facade boards. I couldn’t get precise enough results with my circular saw, I don’t have a table saw, router bits are too thick and glueing on strips of wood to the plywood is just bound to fail for many reasons. So I figured, why not 3D-print a sliding board and some brackets for my cheap ”dremel”. The results turned out amazing! Plus, as an added bonus I automatically get the correct groove angle compared to real life facade boards 🤗 Probably the weirdest way to achieve this, but also probably one of my better ideas ✔️
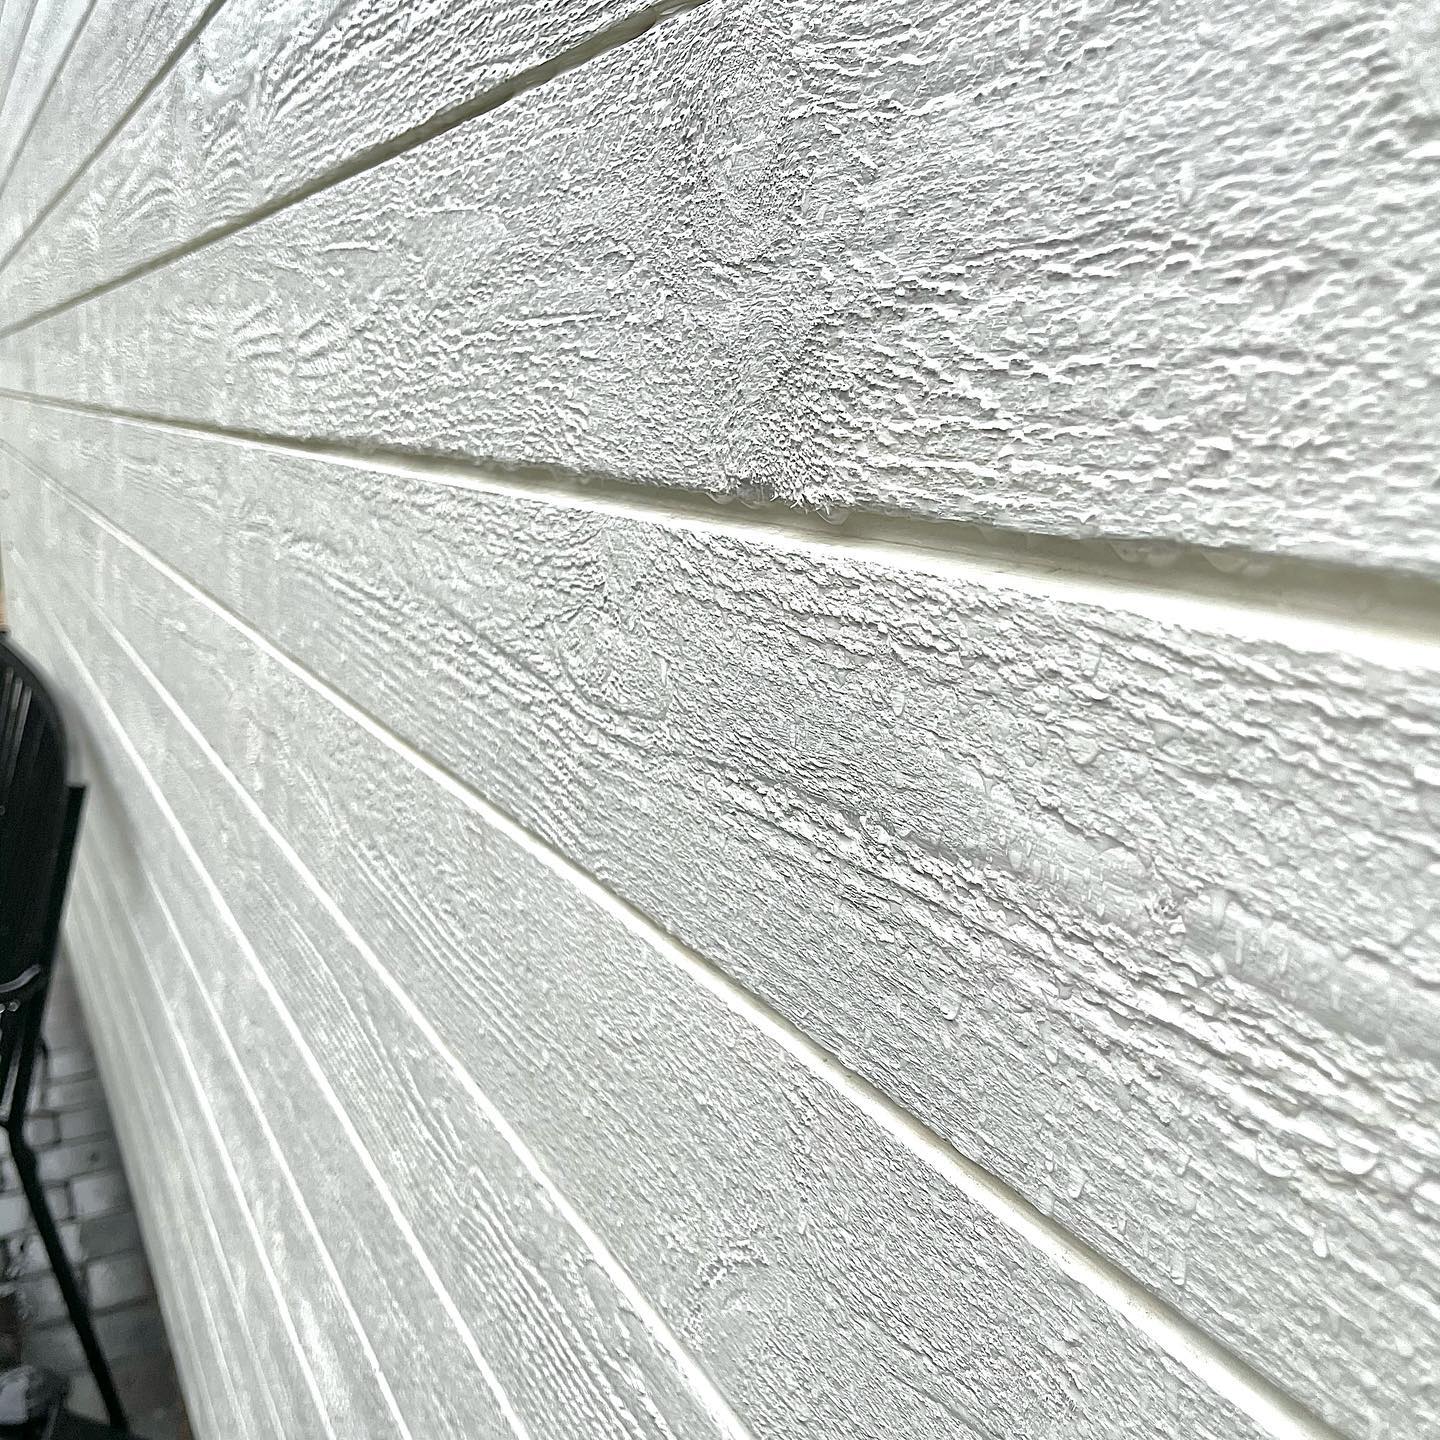
So far so good 😃 Nice to see how it’s beginning to look like an actual building. Had a few issues with my limited brain capacity not being able to calculate the right amount of material needed, but after a trip to the local hardware store everything’s coming along nicely 👍🏻
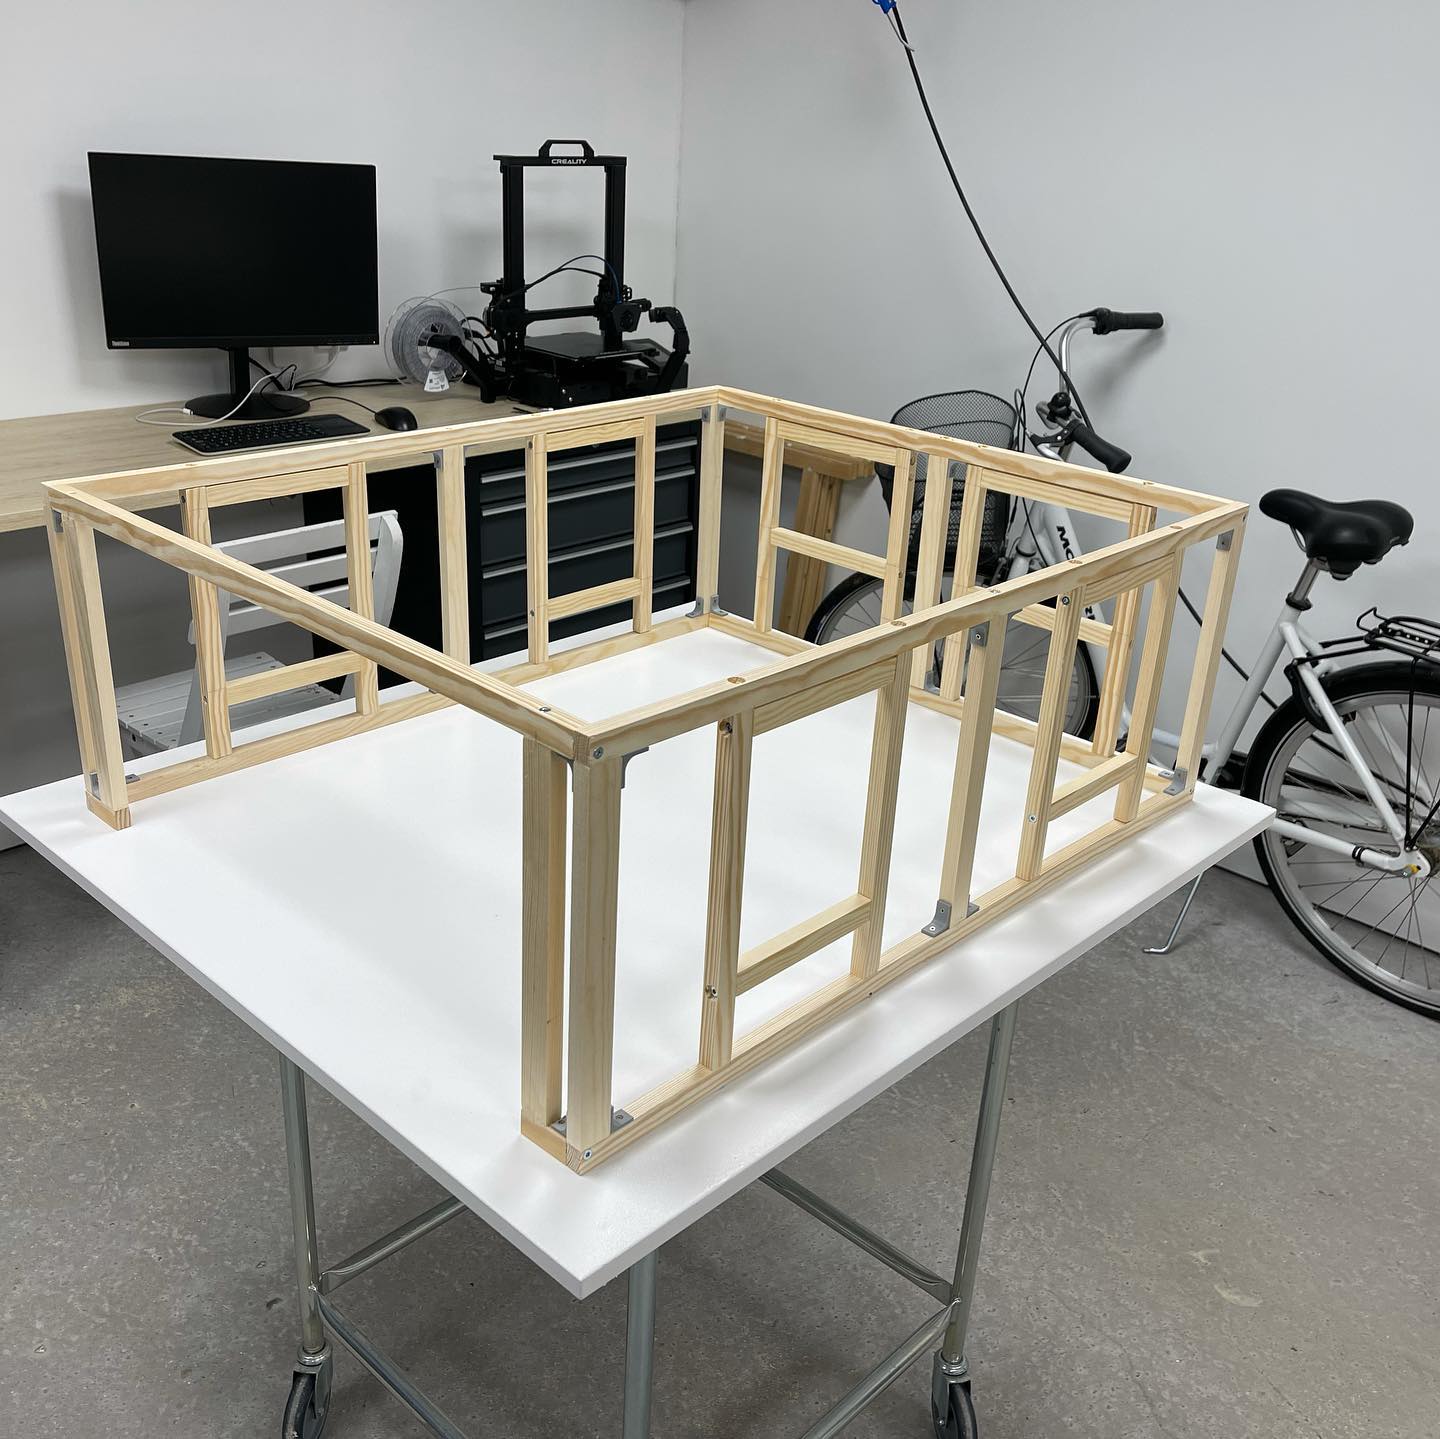
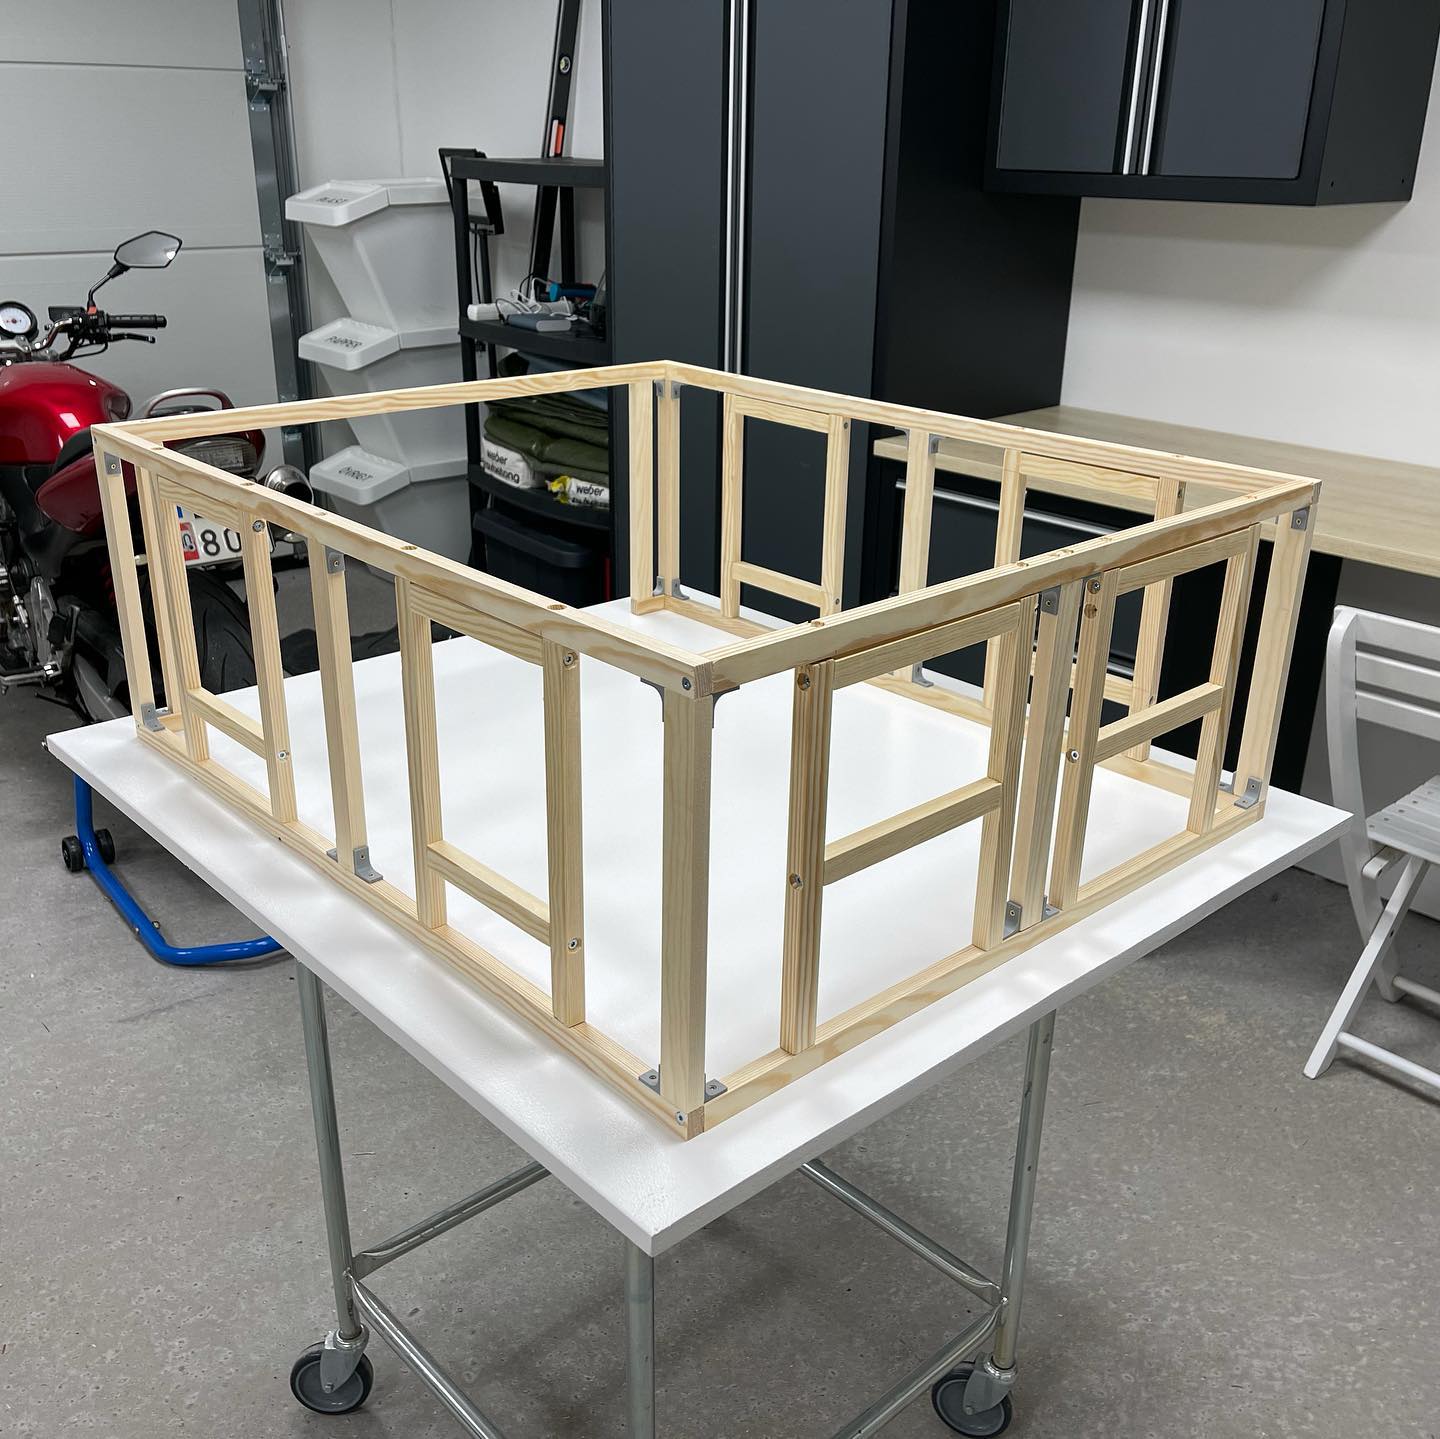
Just as with a real house, the starting point of this build will be with the wooden frame. This will be then be covered with 6 mm thick plywood both on the inside and outside. The 3D-printed 90° angles are there to stiffen the construction as much as possible. Probably unnecessary, but plastic is cheap and it can’t hurt 😉
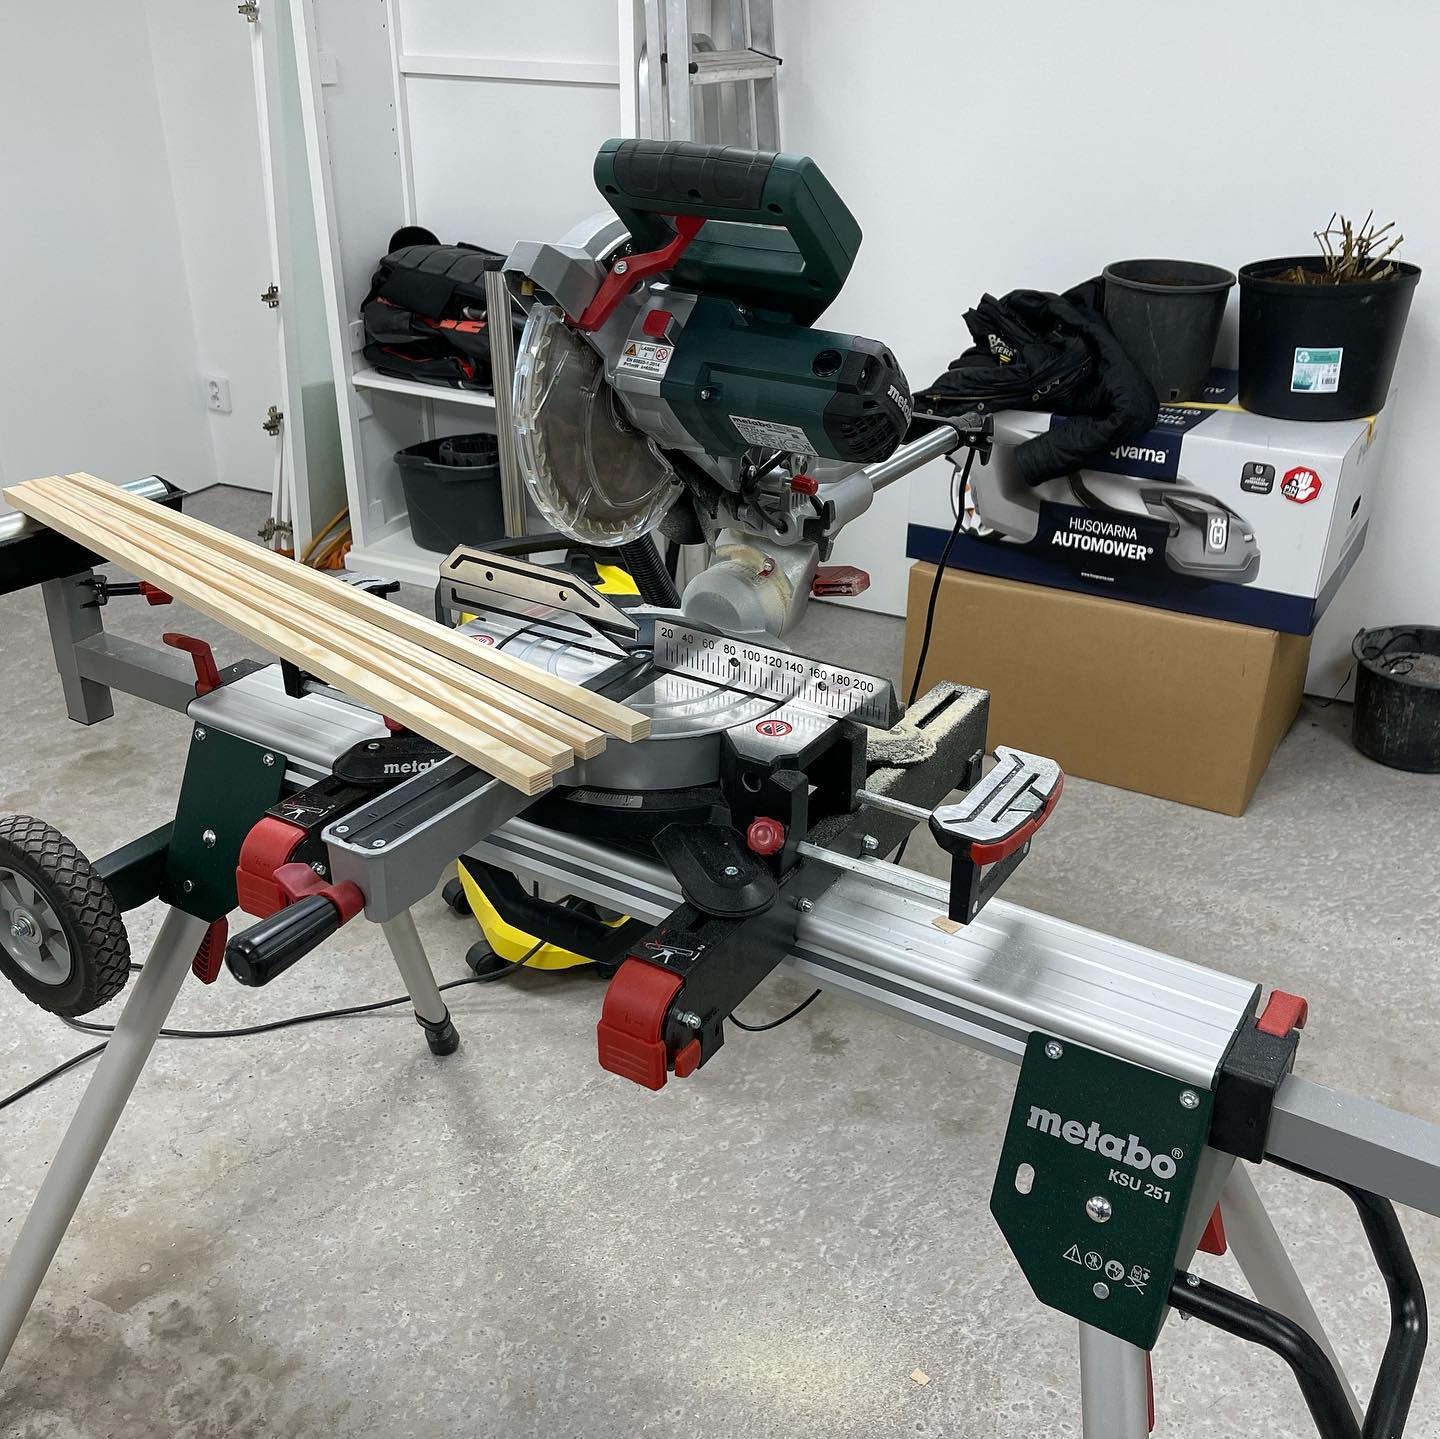
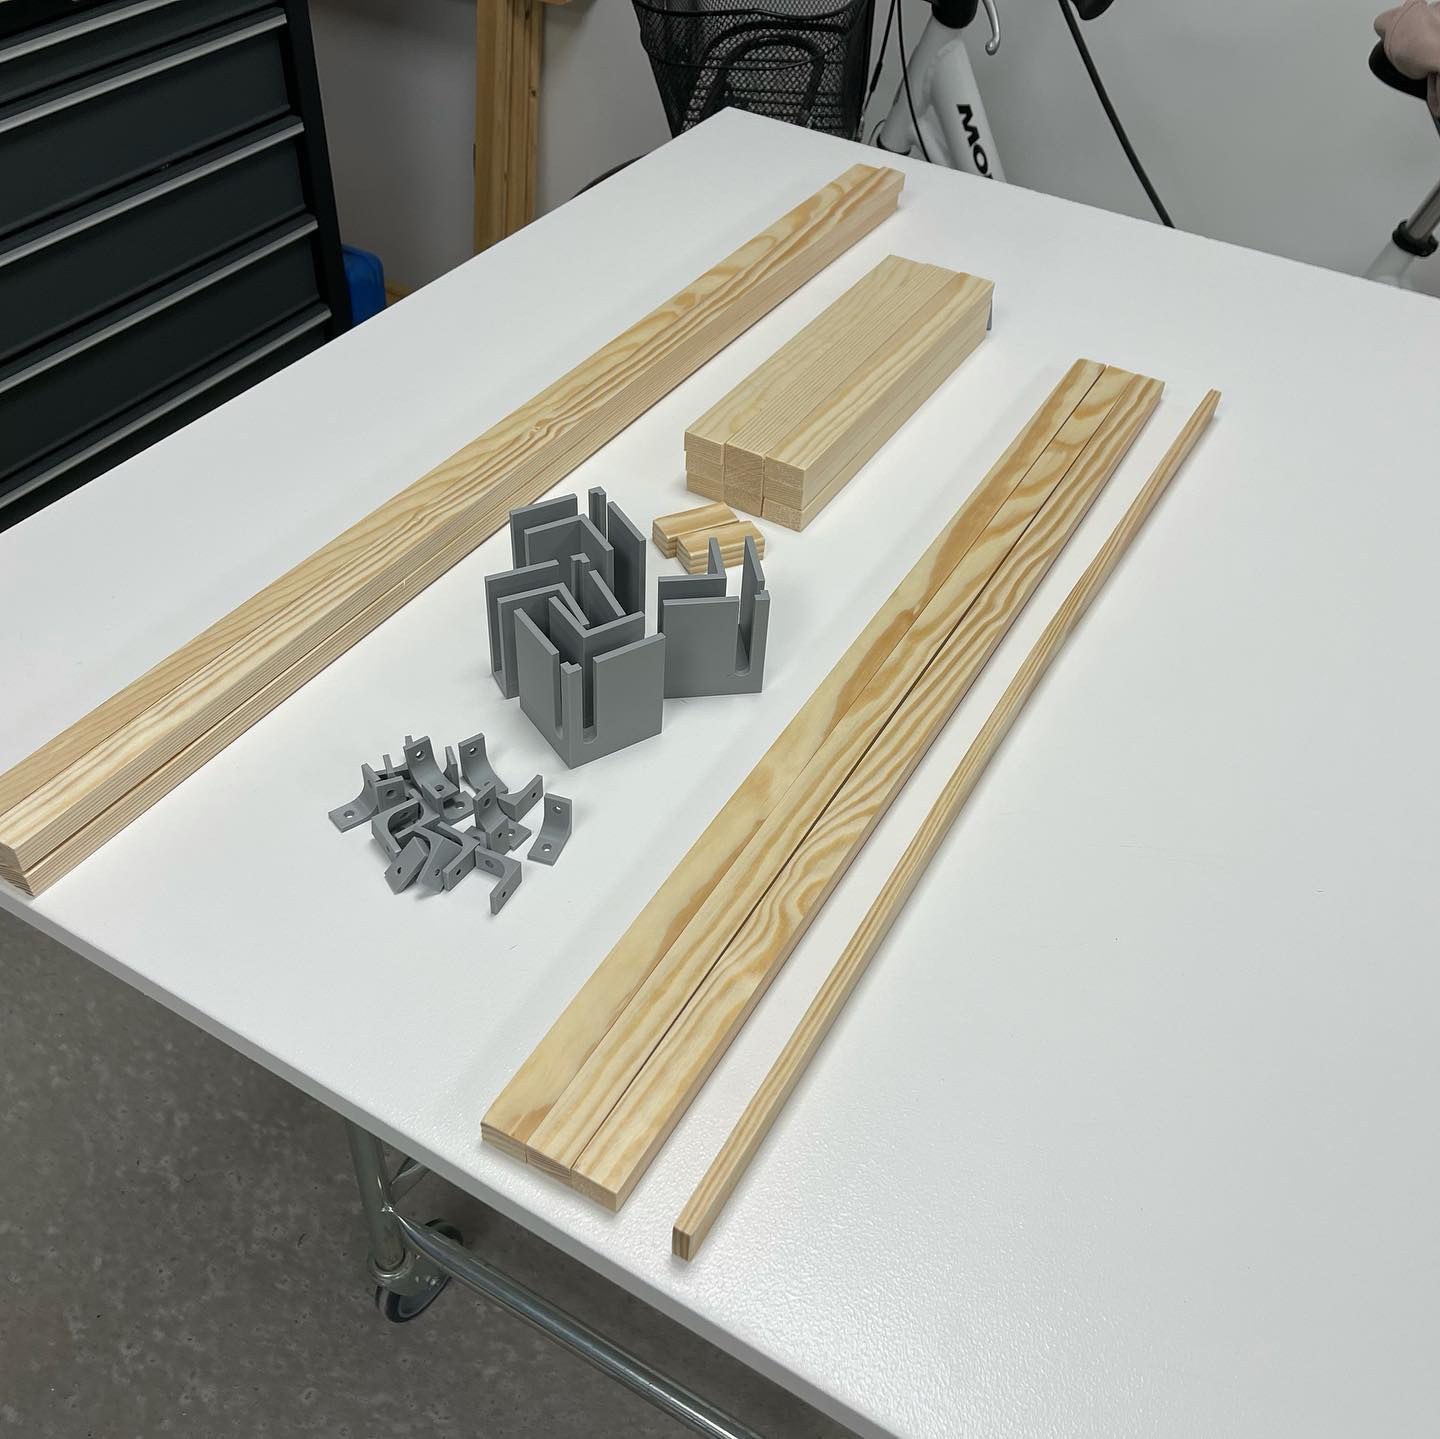
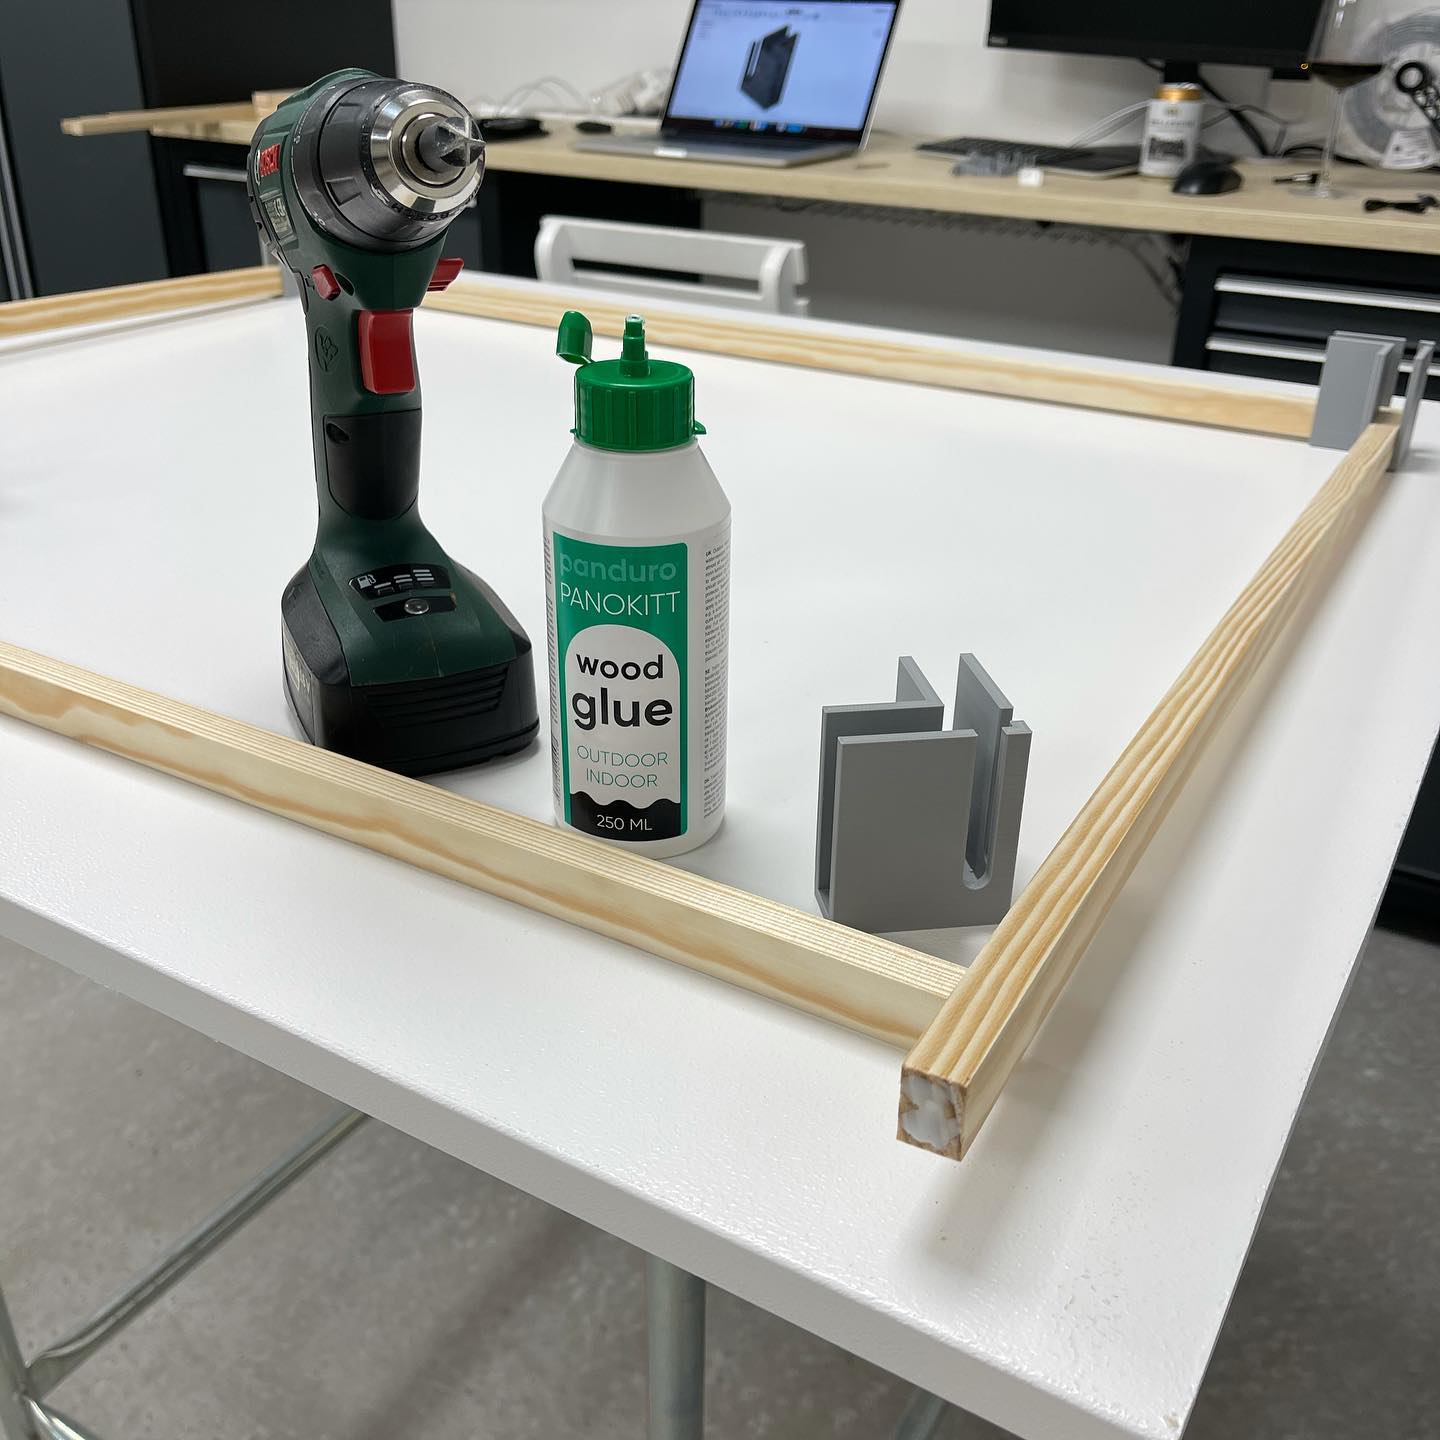
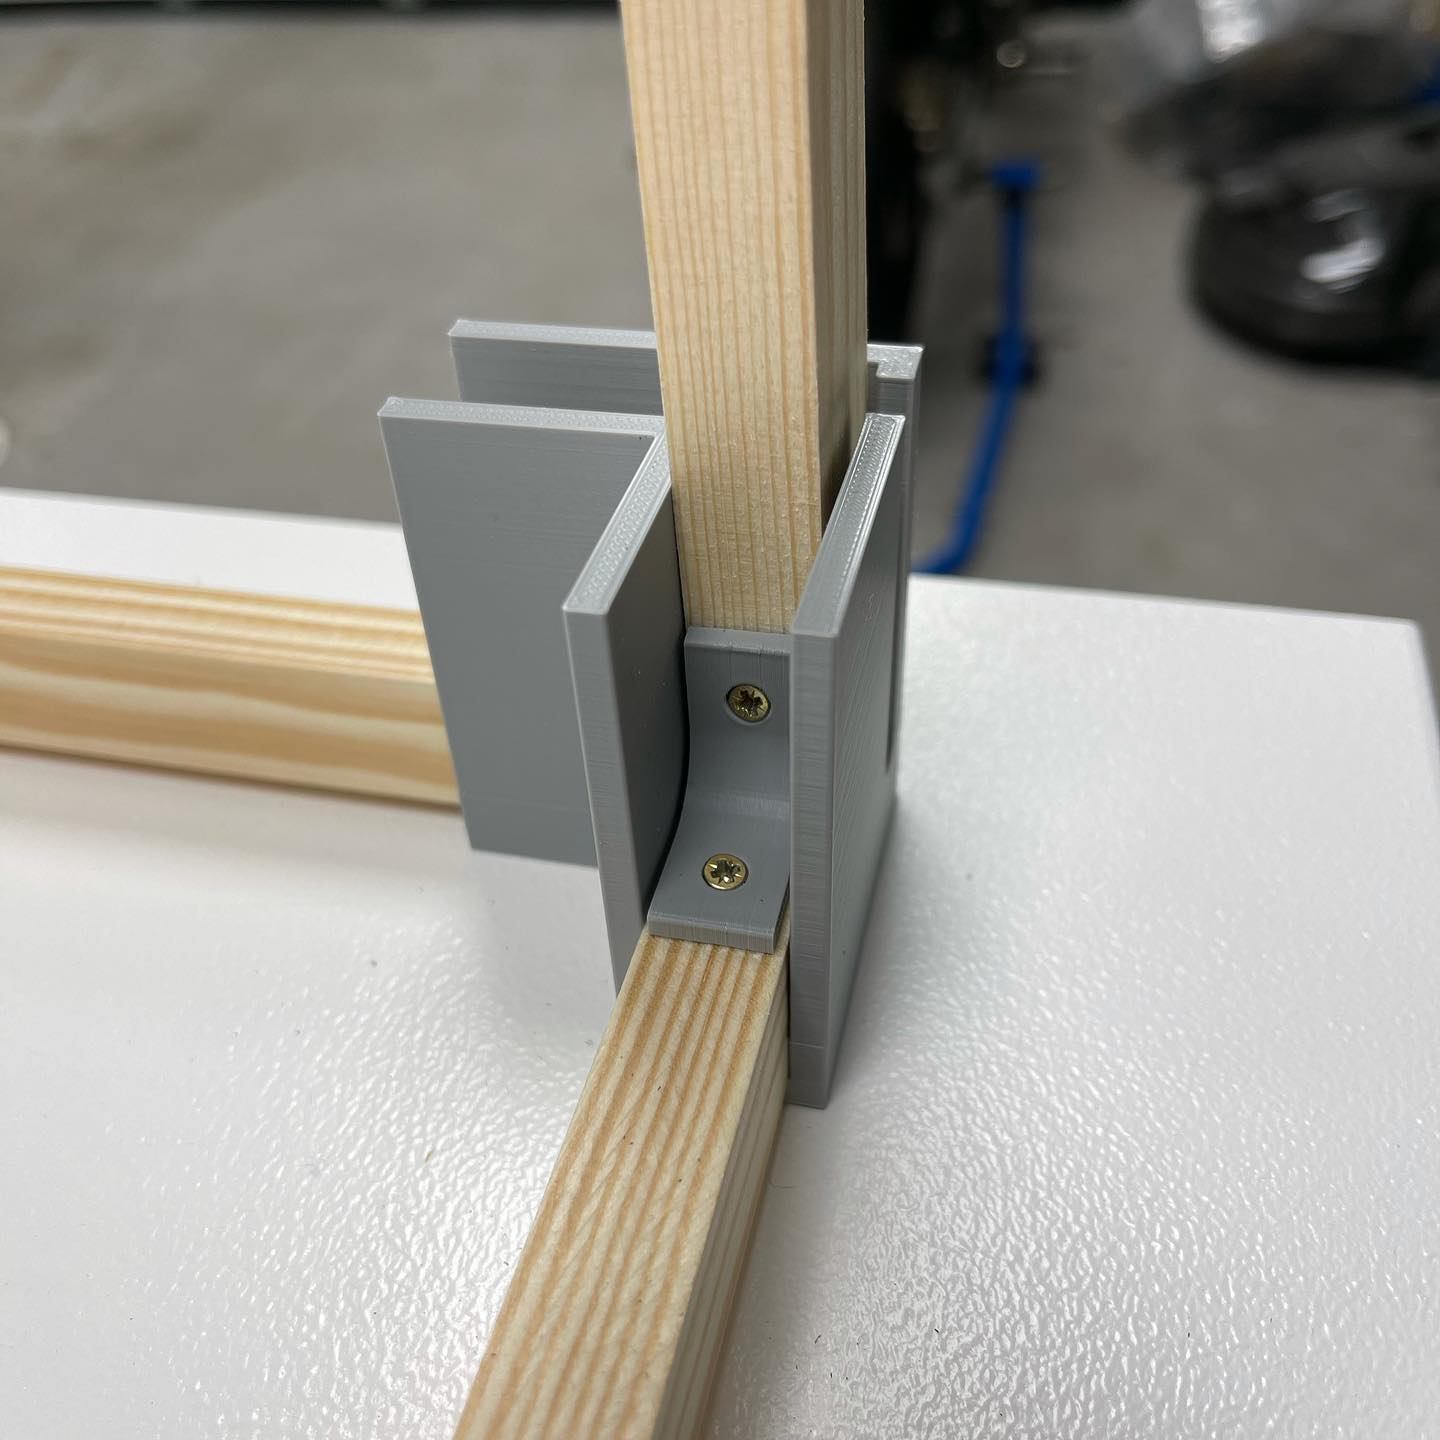
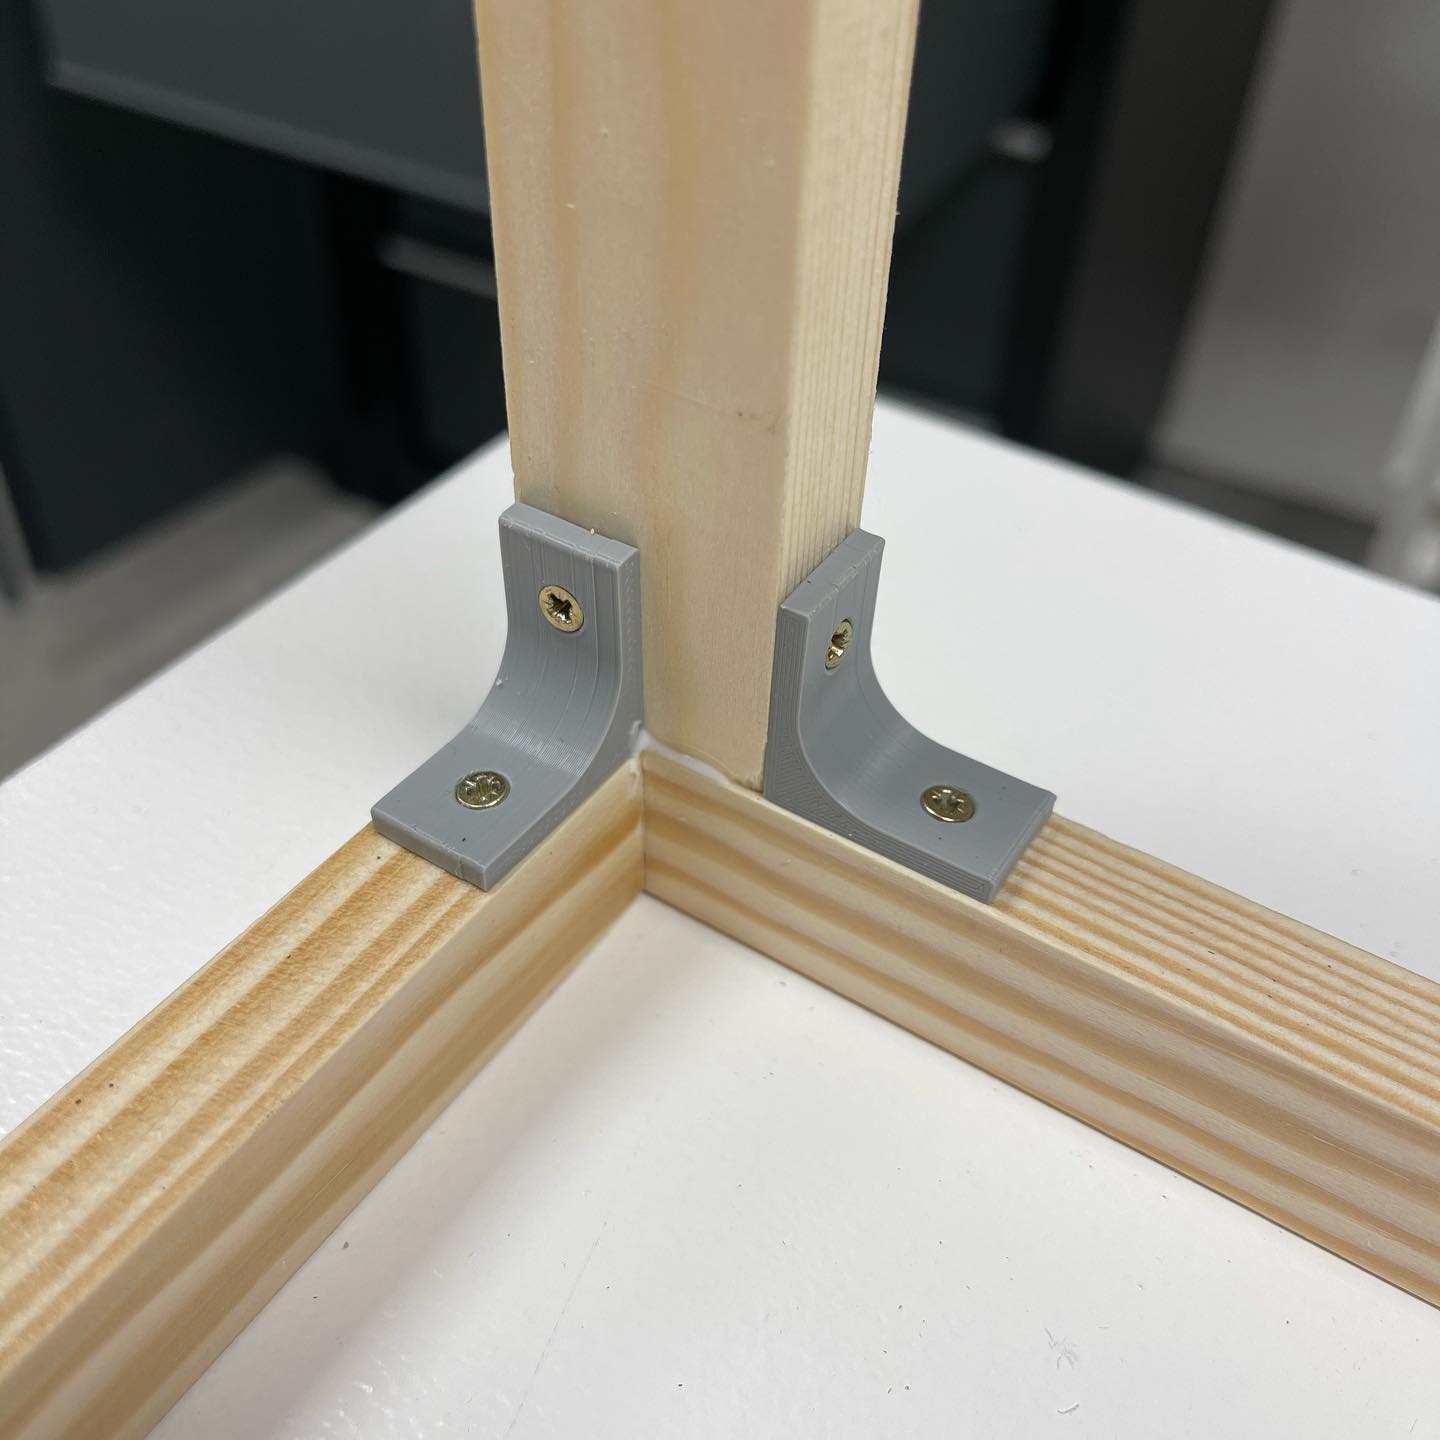
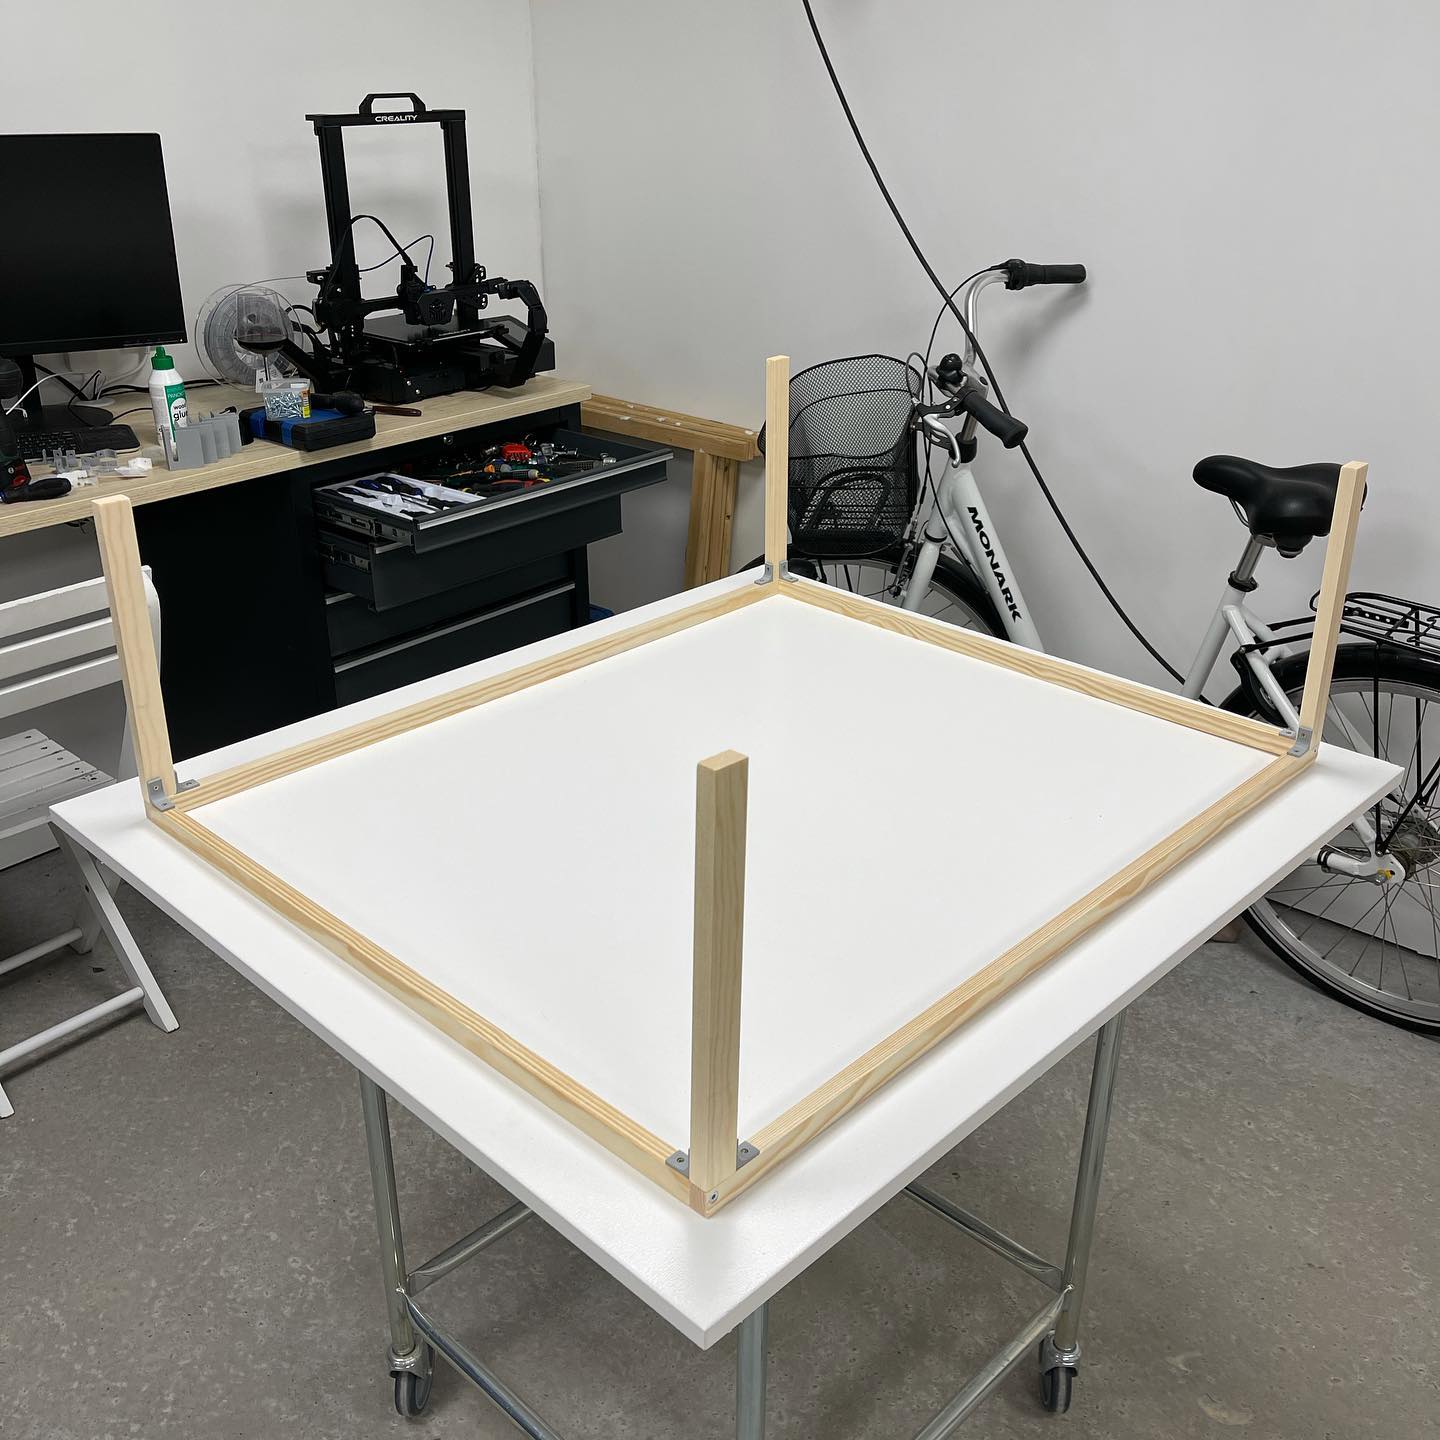
It’s on! The first step is to print some brackets, holders and other useful stuff for building the wooden frame of the garage. Having a 3D-printer is such an advantage for almost every DIY-project imaginable, and certainly for this one. I’m using the Creality CR-6 SE, mostly with standard PLA filament from Addnorth
So, here’s the plan! This is a ”quick” sketch of what the end result will look like. The real garage will be a lot more detailed, but you get the general idea. Basically a scale 1/10 model of our real garage. I will try to retain the scale for most of the model, although some objects (windows for example) will be scaled up to my liking 🏠
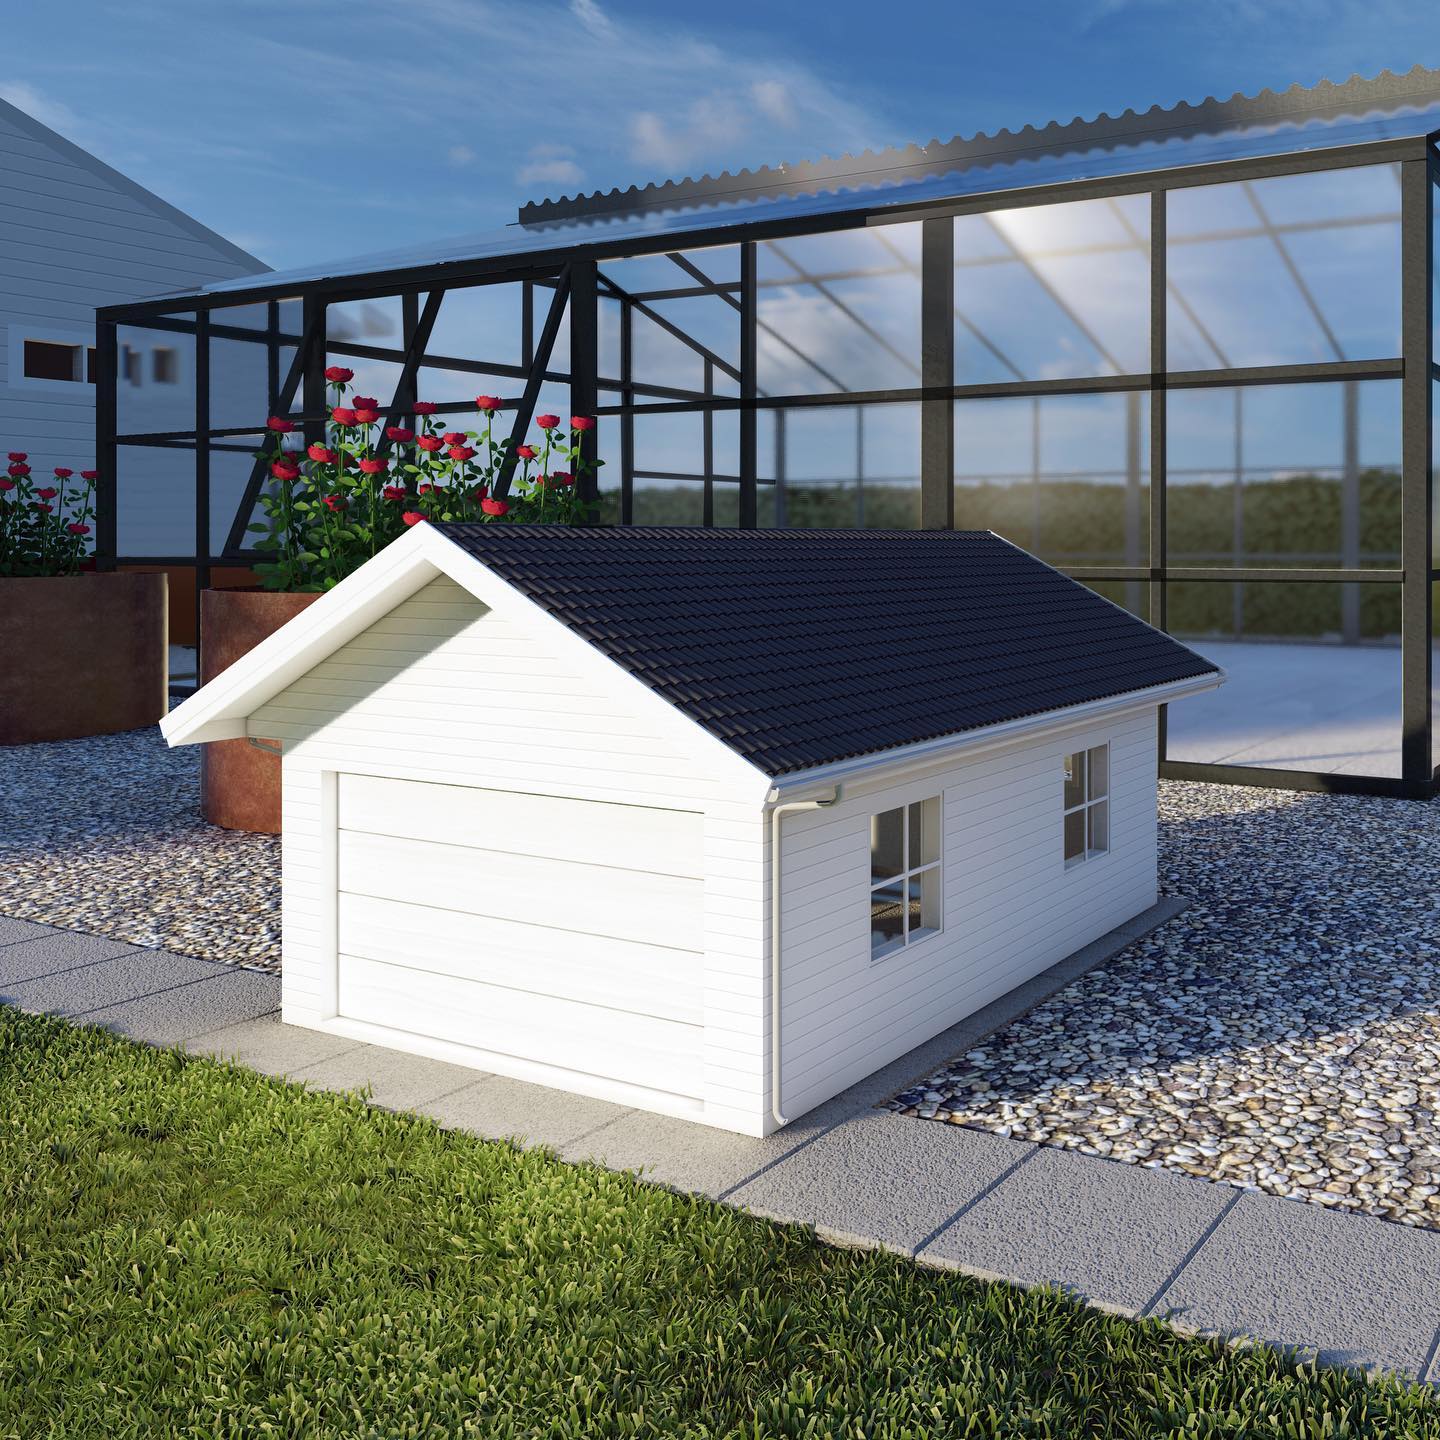
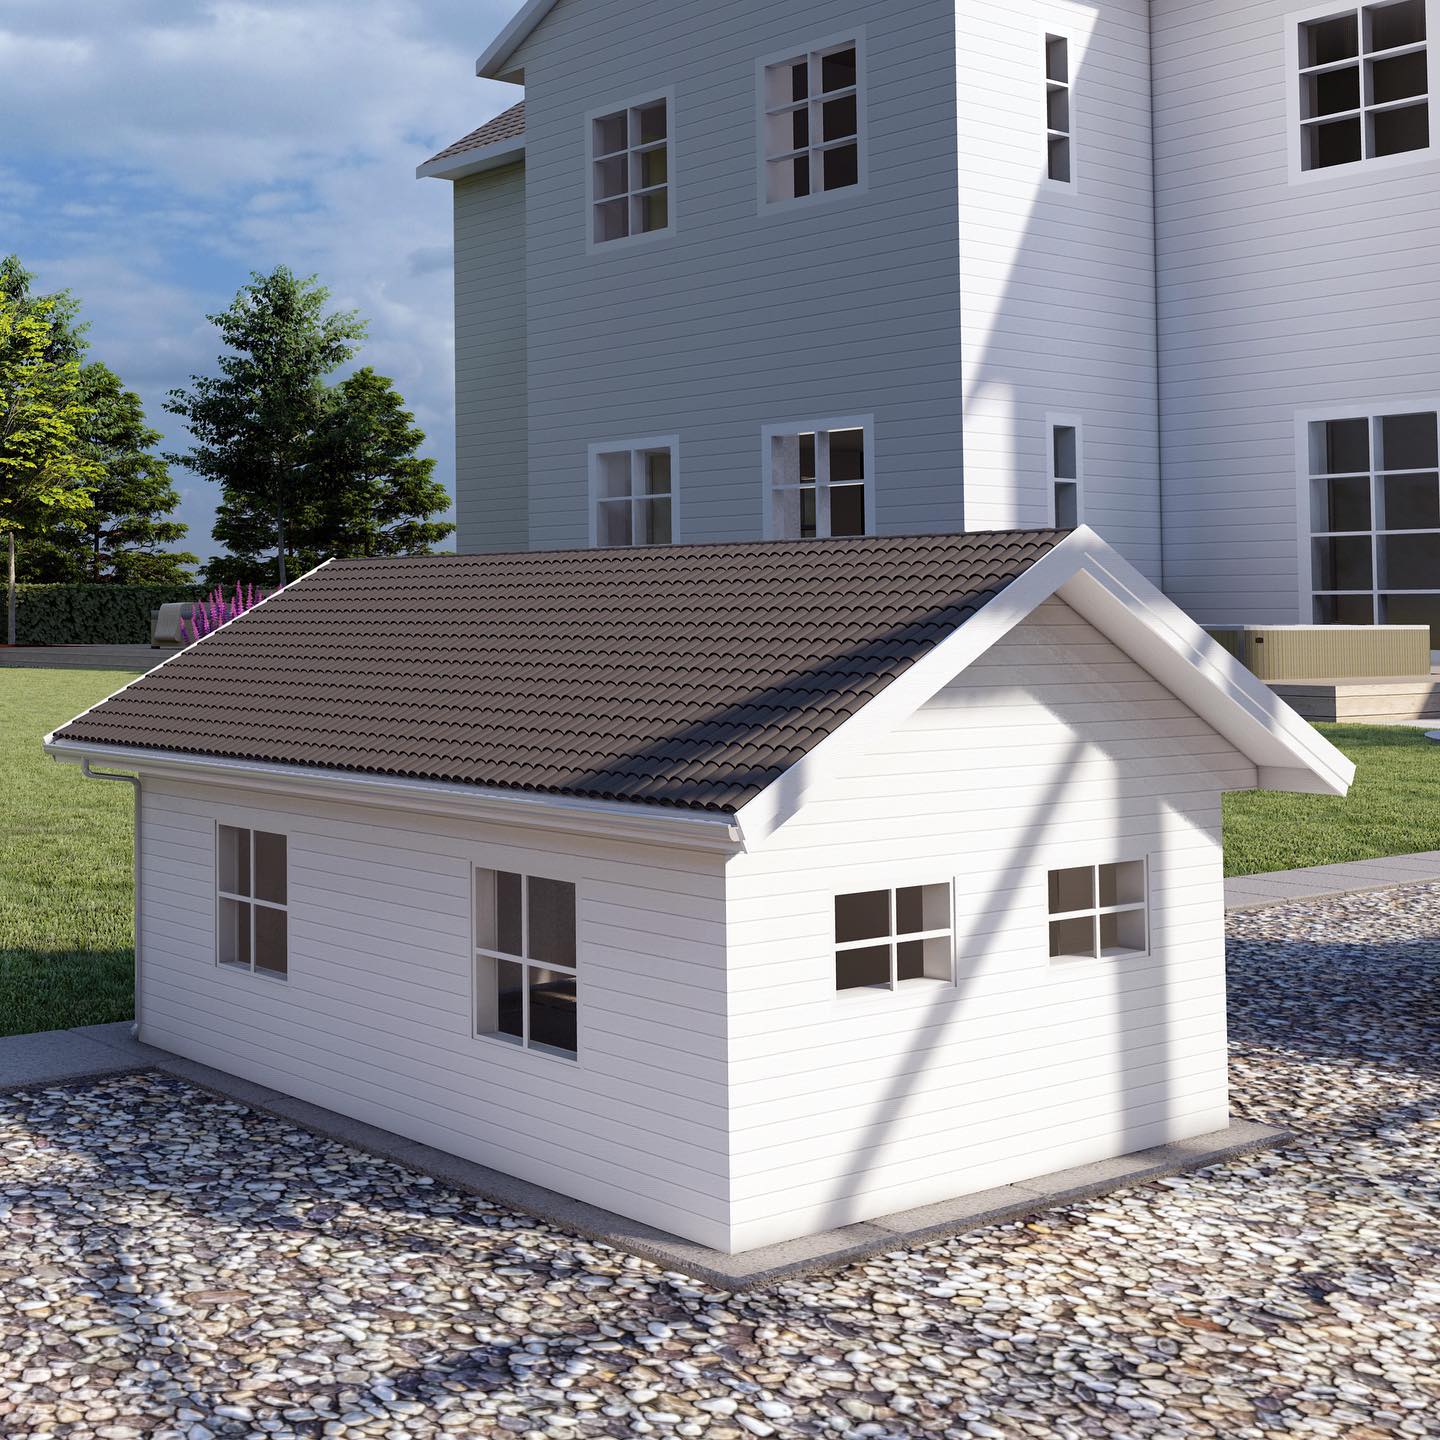
This is the current parking space. Just your average, boring setup. Soon to be replaced by something a little more... unique 😃